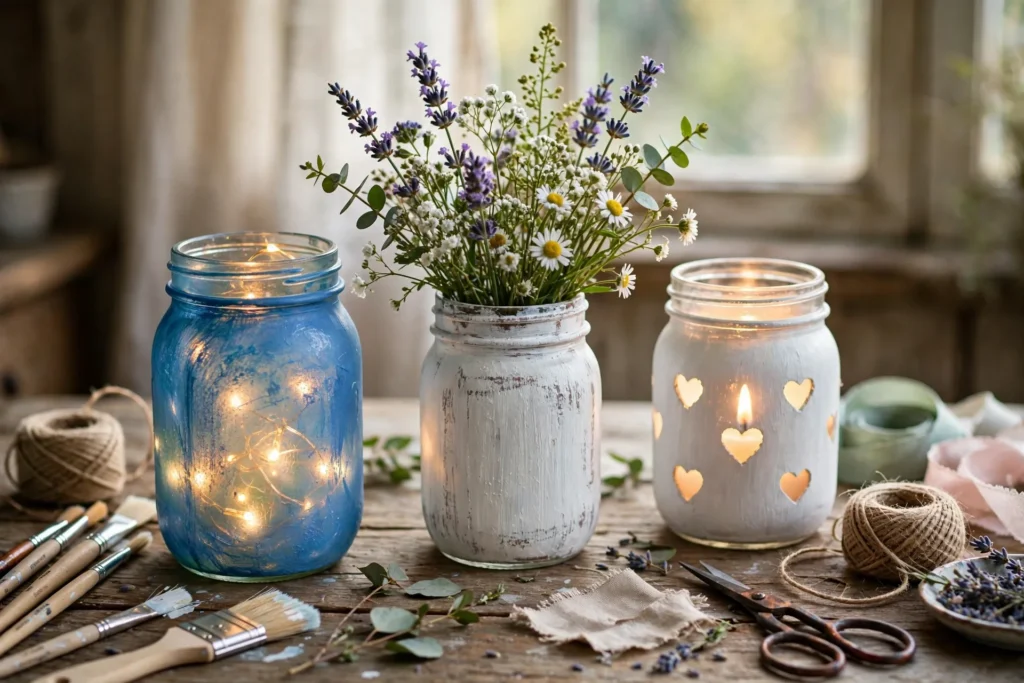

You know that cabinet corner where empty mason jars go to wait? I had a whole shelf of them — leftover from canning experiments, candle gifts, and that one summer I decided to serve everything in mason jars. One rainy weekend I finally did something about the clutter, and that’s how I fell headfirst into Mason Jar Crafts. Let me tell you — these humble glass jars are the most versatile craft supply hiding in your kitchen.
The best part? You don’t need a craft room or fancy supplies. Most of these projects use things you already own — acrylic paint, ribbon, twine, fairy lights, and bits from the junk drawer. My first painted jar lantern took under twenty minutes with a half-dried bottle of paint, and it still glows on my porch table two years later.
Below are 18 Mason Jar Crafts I’ve actually made, tested, and lived with — sorted from the simplest afternoon projects to a few that ask for a little more patience. Every one is beginner-friendly. Grab a jar and let’s make something.
18 Mason Jar Crafts You’ll Actually Want to Make
1. Painted Mason Jar Lanterns
This is the project that started it all for me, and it’s still the one I hand to every beginner. Wash a jar, let it dry fully, then brush on two thin coats of acrylic craft paint in a color you love — sea-glass blue, chalky white, and soft sage all look gorgeous. Once dry, drop in a battery tea light. Skip real flames here: painted glass gets hot and soot stains the paint. Line three of these along a walkway or cluster them on a tray for an instant centerpiece.
2. Mason Jar Herb Garden Planters
Fresh basil on the windowsill in February? Yes, please. Fill a wide-mouth jar with an inch of small pebbles for drainage (jars don’t have drain holes, so this layer matters), add potting soil, and plant basil, mint, chives, or parsley. A sunny windowsill and a light watering when the top inch feels dry is all they ask. I keep three in a row by my kitchen window and snip herbs straight into dinner. Tie a little twine around the neck and they look straight out of a farmhouse magazine.
3. Bathroom Counter Organizers
My bathroom counter used to be a graveyard of plastic packaging. Now it’s a row of pretty jars. Use short wide-mouth jars for cotton balls and cotton swabs, a tall one for makeup brushes, and paint a thin band around each in your bathroom’s accent color so they look like a set. The trick: keep them short enough that you can reach the bottom. Your morning routine gets noticeably calmer when everything has a glass home.
4. Pantry Storage Jars
Decanting dry goods into mason jars is the cheapest kitchen upgrade there is. Pasta, rice, lentils, oats, flour, sugar — everything looks better in glass, and you can see at a glance what needs restocking. Add a chalkboard label or a strip of kraft paper tied with twine so you remember what’s what. Use the two-piece lids for a tight seal. I did my whole pantry in one afternoon and it still makes me unreasonably happy every time I open the door.
5. Handmade Mason Jar Candles
Making candles in jars is easier than it sounds and the results beat store-bought every time. Melt soy wax flakes, stir in a few drops of fragrance oil, anchor a cotton wick in the center with a dab of hot glue, and pour. Let them set overnight before trimming the wick. My go-to combo is vanilla and coffee for the living room. One safety note: never leave a burning jar candle unattended, and keep the wick trimmed to a quarter inch so the flame stays small and clean.
6. Glowing Photo Jars
This one makes people gasp at gift exchanges. Print a photo, curl it gently inside a jar so it faces outward, and tuck a short string of battery fairy lights behind it. When the lights switch on, the photo glows like a little lantern. It works beautifully with wedding photos, baby pictures, or a favorite vacation shot. I’ve made these for three friends now, and each one cried. Fair warning: you’ll want one for yourself too.
7. Fairy Light Centerpieces
Sometimes the simplest idea wins. Coil a string of warm-white fairy lights inside a plain jar, tuck the little battery pack inside, and screw the lid on loosely. You now have a centerpiece that works for dinner parties, weddings, and ordinary Tuesday nights alike. For a frosted look, mist the inside lightly with frosted-glass spray paint first — the glow turns soft and dreamy. I keep two on my dining table year-round and just swap the ribbon around the neck with the seasons.
8. Mason Jar Soap Dispensers
Those plastic soap bottles are an eyesore, and the fix costs about five dollars. Buy a mason jar soap pump lid kit (they come in regular and wide-mouth sizes), fill the jar with your favorite liquid soap, and screw the pump on. That’s genuinely the whole project. I made one for the kitchen and one for the guest bath in under ten minutes, and guests always ask where I bought them. Refill from a big jug and you’ll cut down on plastic waste too.
9. Rustic Flower Vases
A mason jar vase never goes out of style. Fill with fresh wildflowers in summer, dried wheat stalks in fall, or eucalyptus sprigs in winter — the jar itself barely changes but the whole look transforms with the season. For parties, wrap the middle with burlap and twine or a strip of lace. Pro tip: drop a small piece of floral foam or a flower frog in the bottom so stems stay where you put them instead of flopping to one side.
10. Sewing Kit Pin Cushions
If you sew — or want to start — this little kit is pure genius. Glue a circle of fabric stuffed with batting or fiberfill onto the flat jar lid to make a pincushion top, then use the jar itself to store buttons, needles, and thread. Everything lives in one tidy package. I keep mine on my desk and it’s saved me from the “where did I put the scissors” hunt more times than I can count. It also makes a thoughtful gift for a crafty friend.
11. Snow Globe Holiday Jars
With Christmas about six weeks out, now is the perfect time to make these. Glue a small figurine — a tiny tree, a snowman, a little house — to the inside of the lid, fill the jar almost to the top with water, add a teaspoon of glitter and a drop of glycerin (it slows the glitter so it drifts instead of plopping down), then seal the lid tight with hot glue around the rim. Flip it over and shake. Kids are mesmerized, and they cost almost nothing to make.
12. Matching Spice Jar Set
Half-gallon jars are for the pantry; the small four-ounce jars are spice-jar gold. Buy shaker lids that fit, fill with your most-used spices, and label the lids. Suddenly your spice drawer looks like a cooking show set, and you’ll stop buying duplicates because you can actually see what you have. I alphabetized mine like a nerd and honestly, cooking got a little more fun. Keep them away from the stove — heat and light fade spices faster.
13. Mini Succulent Terrariums
Wide-mouth jars make perfect little worlds for succulents. Layer pebbles, a spoonful of activated charcoal (it keeps things fresh), then cactus soil. Nestle in two or three small succulents, top with decorative sand or tiny stones, and water sparingly — a tablespoon every couple of weeks is plenty. No drainage holes means overwatering is the number-one killer, so when in doubt, skip the water. These make wonderful desk gifts.
14. Painted Desk Organizers

Pens, pencils, scissors, paintbrushes — corral them all. Paint jars in colors that match your desk setup, let them dry, and group two or three together. For a sturdier base that won’t tip, glue the jars to a small wooden board or a painted tray. I did this for my craft desk last spring and the “where are my good scissors” problem vanished overnight. Add a strip of washi tape near the top of each jar for a finished look.
15. Makeup Brush Holders
Fill a jar halfway with decorative beads, dried rice, or small pebbles, then stand your brushes upright in it — the filler holds them in place and looks pretty doing it. It’s the five-minute version of those expensive acrylic organizers. Choose a filler color that matches your vanity: white sand for a clean look, gold beads for glam. Wash the filler every few months so it stays fresh, and wipe the jar inside while you’re at it.
16. Layered Cookie Mix Gift Jars
Show up to a dinner party with one of these and you’re everyone’s favorite guest. Layer flour, sugar, cocoa powder, chocolate chips, and oats in a quart jar so the stripes show through the glass, screw on the lid, and tie a handwritten recipe card around the neck with ribbon. The recipient just adds butter and eggs. I keep the dry ingredients pre-measured in bags so I can assemble three or four in one sitting during the holidays.
17. Hanging Wall Sconces
This one takes a bit more effort but the payoff is huge. Mount a small wooden board on the wall, attach metal hose clamps sized to your jars, and slide the jars in — instant sconces. Fill them with fairy lights, small plants, or candles (battery only on the wall, please). Two flanking a mirror or a front door look like something from a boutique hotel. Make sure your wall anchors are solid; a jar of soil is heavier than it looks.
18. Citronella Porch Lanterns
Summer evenings on the porch, minus the mosquitoes. Wrap sturdy wire around the jar neck to make a hanging handle, fill with citronella torch fuel or place a citronella candle inside, and hang from shepherd’s hooks or tree branches. The glass shields the flame from breezes so they stay lit longer. I line my patio steps with them from June through September, and the warm glow plus the bug protection makes them the hardest-working jars I own.
How to Paint and Seal Mason Jars (The Right Way)
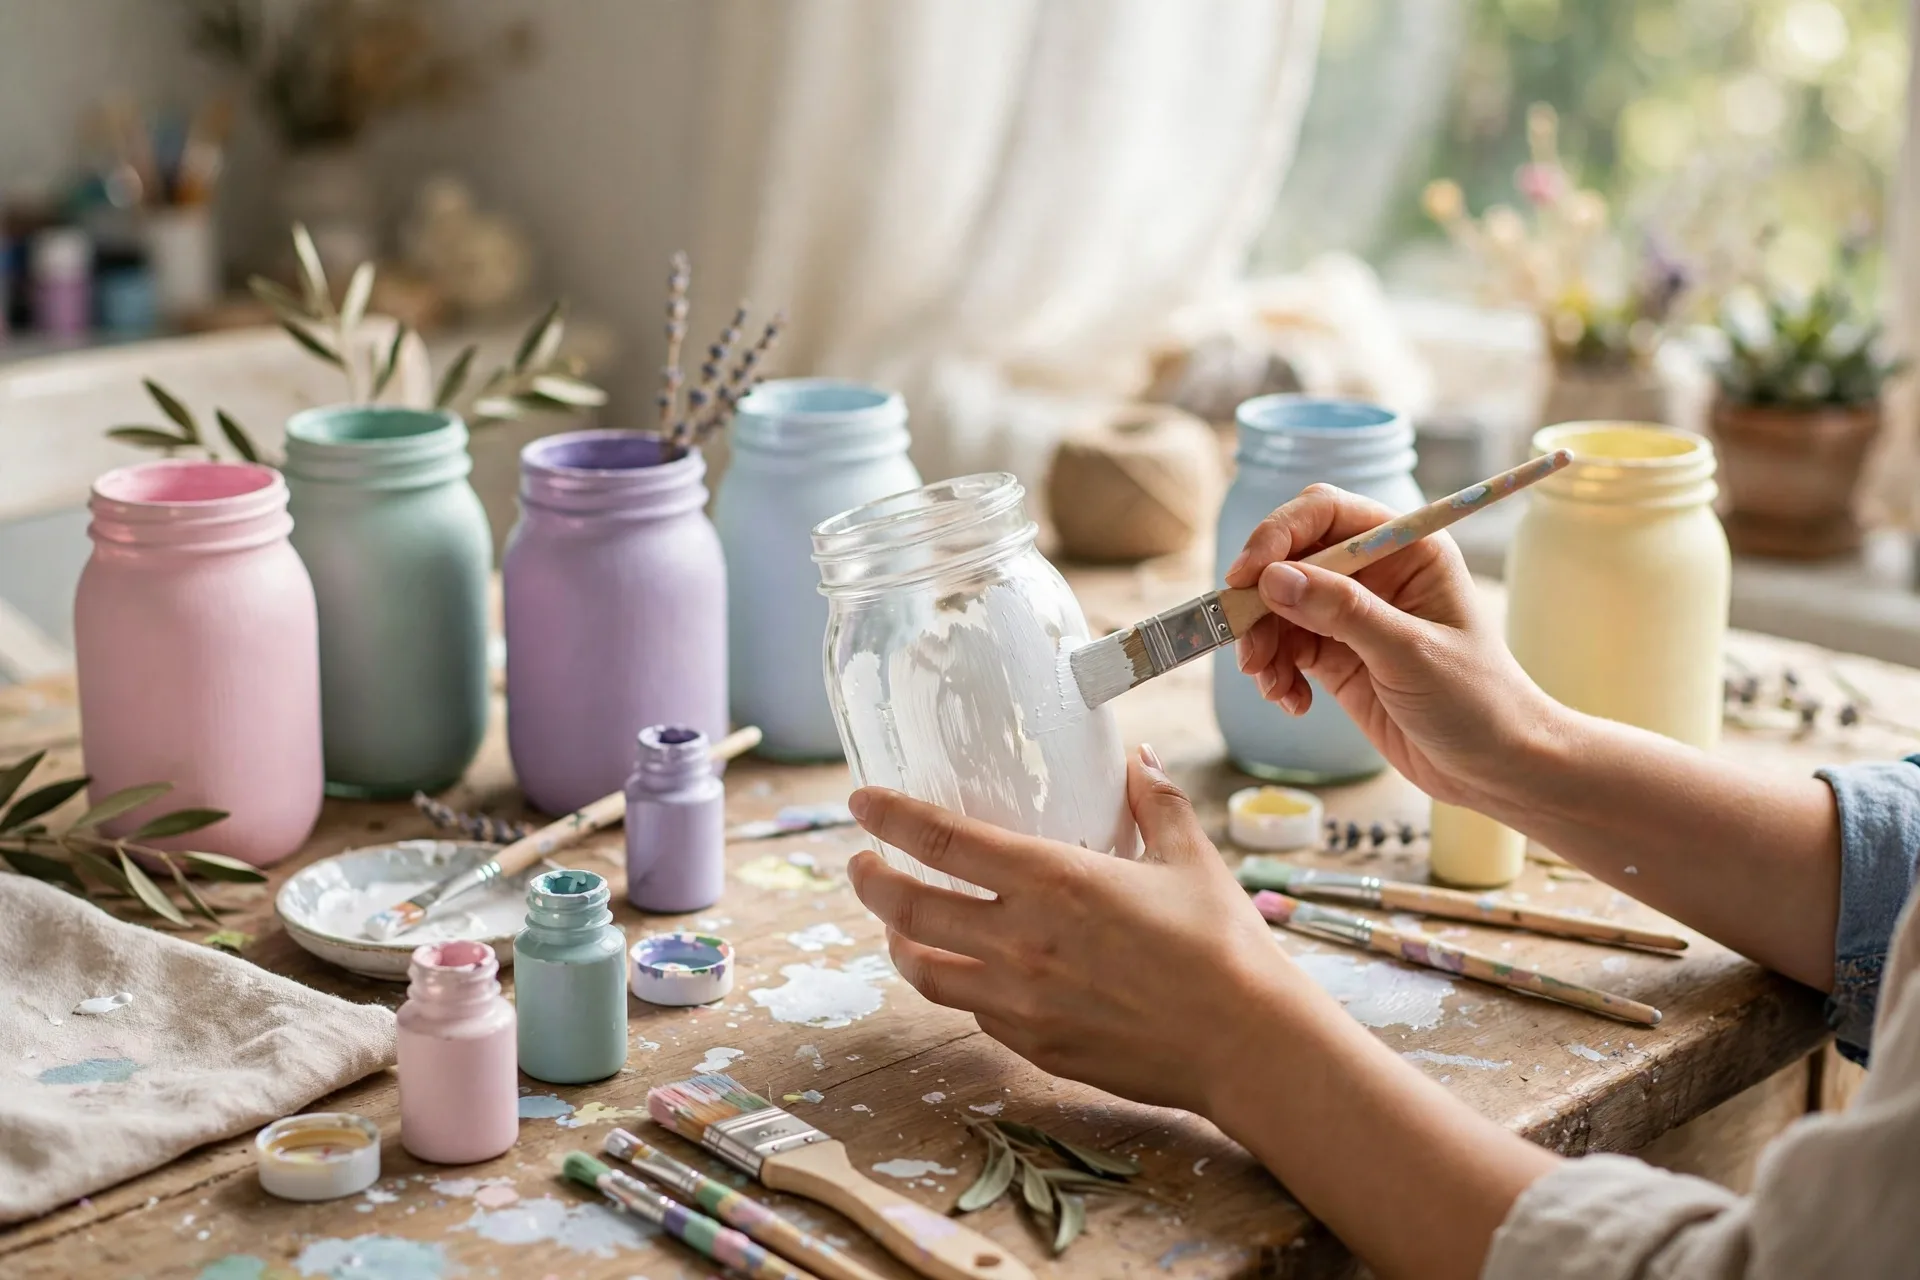
Almost every project above starts with paint, so let’s get the technique right. First, wash jars in hot soapy water and dry them completely — paint won’t stick to greasy glass. For the smoothest finish, wipe the outside with rubbing alcohol on a cotton pad right before painting.
Use acrylic craft paint or chalk paint, and apply two or three THIN coats rather than one thick one. Thick coats drip, show brush marks, and take forever to dry. Let each coat dry fully — usually about 30 minutes — before adding the next. A foam brush gives the smoothest coverage; a regular bristle brush leaves a nice rustic texture if that’s your style.
Once the paint is fully dry (give it a full 24 hours), seal it. A clear matte or satin spray sealer protects the paint from chips and makes the jars wipeable. Spray in light passes from about ten inches away. If the jar will hold water or live outdoors, this sealing step is non-negotiable — unsealed paint peels within weeks in humidity.
For a distressed farmhouse look, lightly sand the raised lettering and edges with fine sandpaper after sealing. The paint wears off the high spots first, which looks intentional and charming instead of damaged.
5 Beginner Mistakes to Avoid
1. Skipping the wash. Even brand-new jars have a factory film on them. Paint applied to unwashed glass peels in sheets. Hot soapy water, full dry, every time.
2. One thick coat of paint. It seems faster but it drips, streaks, and stays tacky for days. Three thin coats always win.
3. Forgetting drainage. Planted jars have no drain holes. That pebble layer at the bottom isn’t decoration — without it, roots sit in water and rot.
4. Real flames in painted jars. Painted glass plus open flame means soot stains at best and cracked glass at worst. Battery candles and fairy lights give the same glow with zero risk.
5. Not sealing outdoor jars. A beautiful painted lantern left unsealed on the porch will look sad by the second rainstorm. Two minutes with spray sealer saves the whole project.
Start With Just One Jar
You don’t need to make all eighteen this weekend — pick the one that made you smile and start there. That’s how my shelf of empty jars turned into lanterns, planters, and gifts that people actually ask about. The paint is cheap, the jars are probably already in your kitchen, and the worst thing that happens is you wash it off and try again. I’d love to hear which one you try first.