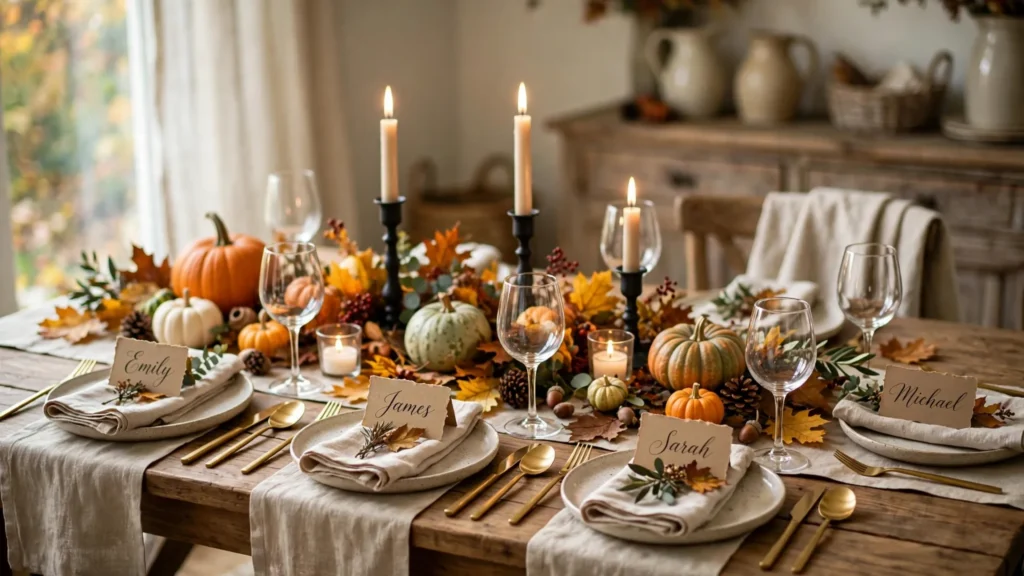

Let me tell you about the Thanksgiving dinner that changed my mind about place cards. For years, I thought they were a fussy extra — something only magazine tables had. Then I watched my cousin Maria spend three days cooking a gorgeous meal, only for everyone to awkwardly hover around the table, shuffling plates and asking “where should I sit?” for ten minutes. Meanwhile, the year I tried homemade name cards, my uncle sat down, saw his name written on a little kraft card tucked into a mini pumpkin, and said, “You made these? For us?” He took his home. It’s still on his fridge.
That’s the whole point of DIY Thanksgiving place cards. They’re small, they’re cheap — most cost under a dollar each — and they make your guests feel like the dinner was made for them specifically. No fancy calligraphy degree required. Whether you’re hosting your first Thanksgiving or your twentieth, let’s walk through the materials, one foolproof place-card project, and 15 ideas that range from rustic to elegant.
Why Place Cards Are Worth the Effort
First, the practical part: place cards solve the seating dance. If you have a big family, a new partner meeting everyone for the first time, or a kid who absolutely cannot sit next to his cousin (you know the pair), assigning seats quietly keeps the peace. It also lets you place talkative people near the quieter ones, keep the kitchen-helper near the serving dishes, and give grandma the comfortable chair without making it weird.
Second, the part that matters more: they tell your guests you thought about them before they arrived. A handwritten name on the table is one of the cheapest, most genuine gestures in hosting. People notice. And unlike a big centerpiece project, place cards take an hour at most for a full table — you can make them the night before while dinner prep simmers.
What You Need to Make Thanksgiving Place Cards
Most of these ideas use the same basic supply kit, so gather it once and you’re set for almost every project below:
- Kraft cardstock or heavy paper — kraft (brown paper bag color) is the classic fall look and hides mistakes beautifully. Buy a pack of 4×6 tent cards or cut your own from cardstock sheets.
- A good pen — a brush lettering pen (Tombow Dual Brush is the beginner favorite) for faux calligraphy, plus a metallic gold or white paint marker for writing on leaves, pumpkins, and dark paper.
- Scissors and a ruler — for cutting cards to size. A paper trimmer makes it faster, but scissors work fine.
- Twine or jute string — the workhorse of fall crafting. Holds tags, ties napkins, looks rustic.
- A hole punch — for tag-style place cards.
- Mini pumpkins or gourds — the small ones (3-4 inches) from the grocery store or pumpkin patch, about $0.50-$1 each.
- Dried leaves, acorns, and pinecones — free from your yard or a park walk. Press flat leaves under books for 24 hours before using.
- Wine corks — saved up over the year, or buy a bag at the craft store.
- Sprigs of fresh herbs — rosemary, sage, and thyme are meal-friendly and smell wonderful.
- Glue dots or a glue stick — for attaching embellishments without a mess.
- Washi tape in fall patterns — instant decoration for plain cards.
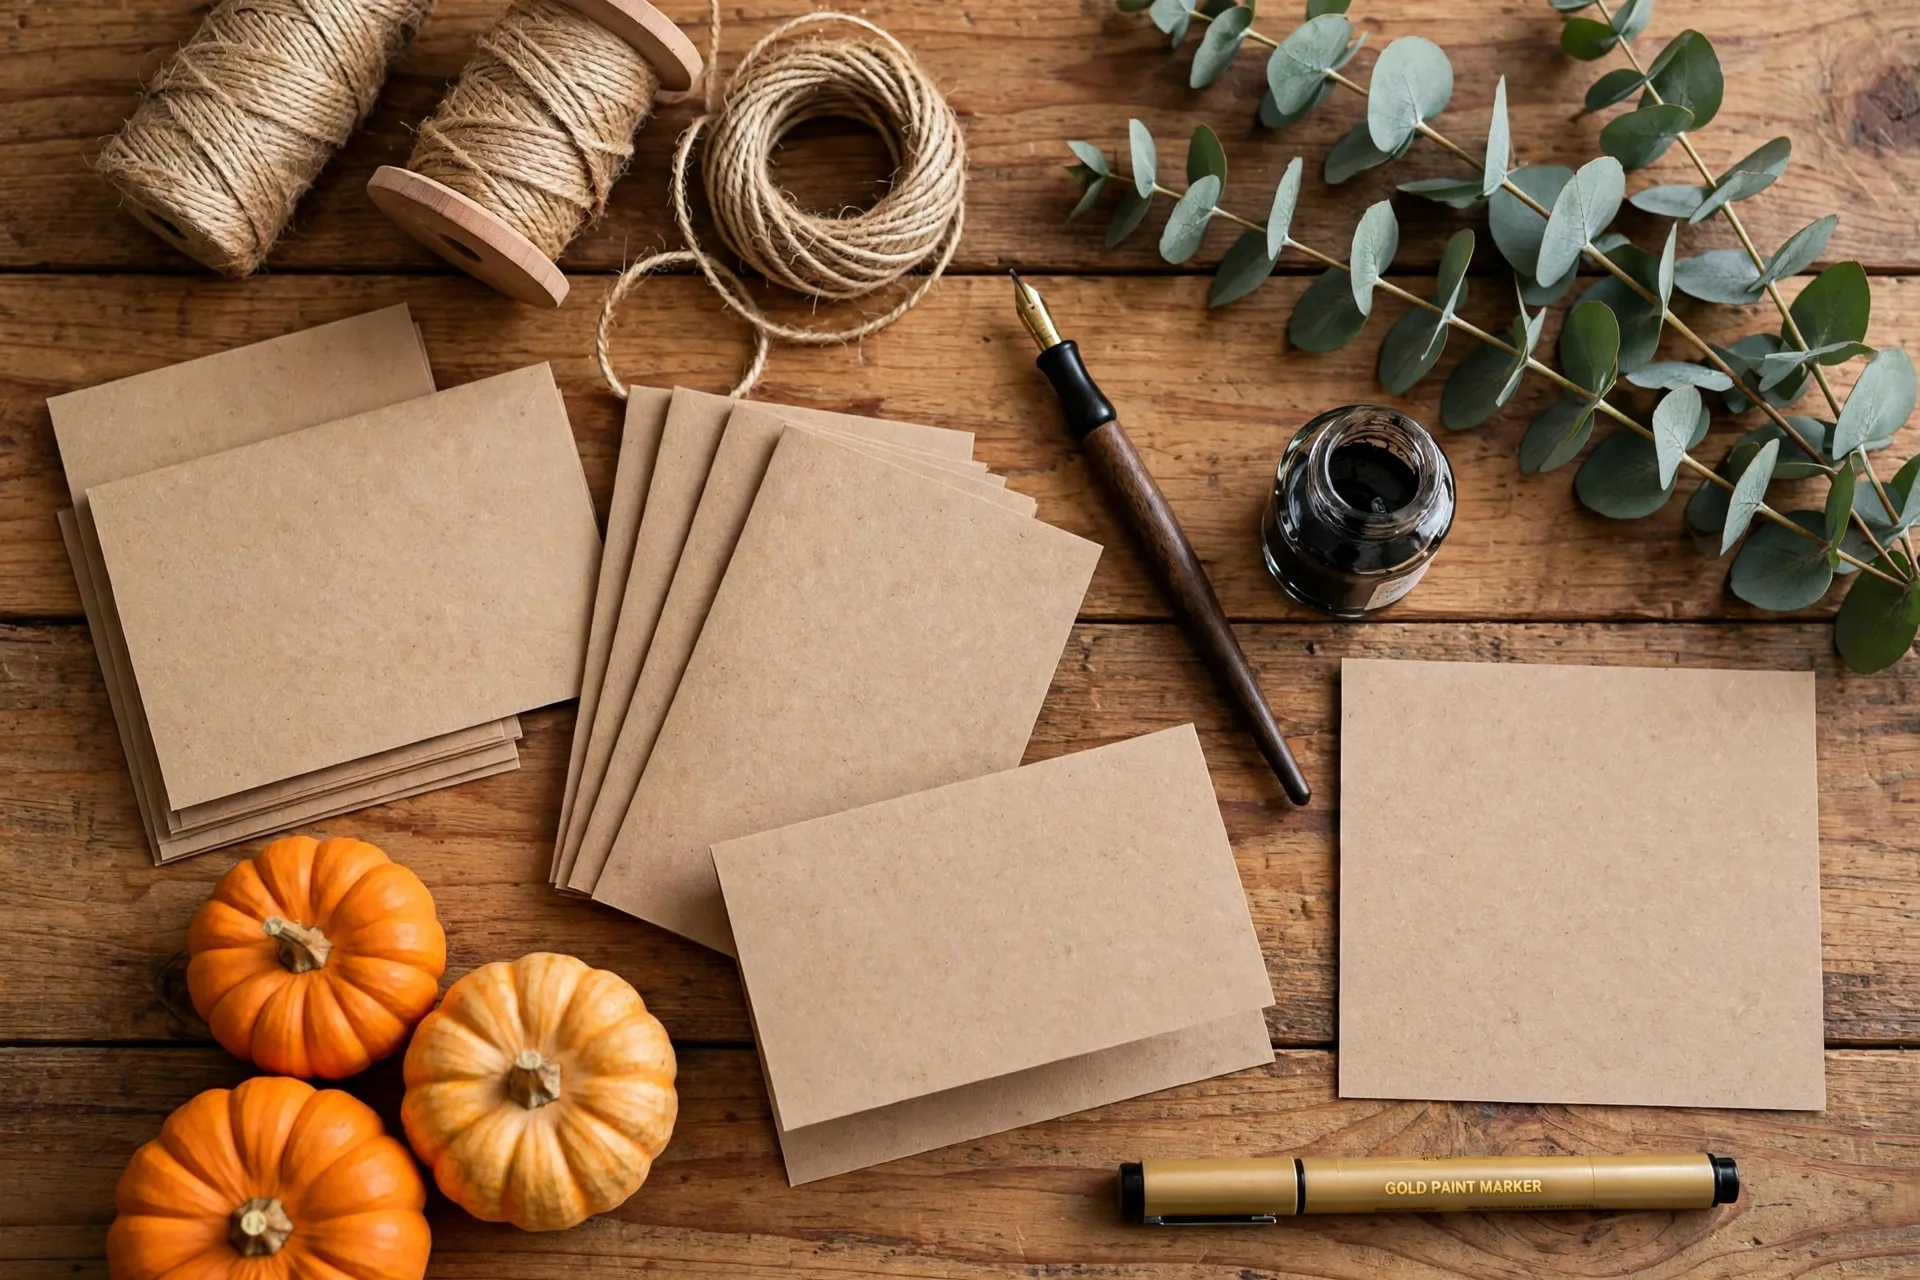
Total cost for a table of 12: roughly $5-10 if you’re using natural materials, maybe $15 if you buy mini pumpkins and new pens. Compare that to boxed place cards at $12+ for ten, and homemade wins on price and personality.
How to Make a Classic Kraft Tent Place Card (Step by Step)
This is the foundation every other idea in this article builds on. Master this one project — it takes about 15 minutes for your first card and 3 minutes each after — and you can adapt it endlessly. You’ll end up with a sturdy tent card with a hand-lettered name and a little sprig of greenery.
Step 1: Cut your cards. Cut kraft cardstock into rectangles measuring 4 inches wide by 3 inches tall. If you’re using pre-made tent cards, skip this step. For a table of 12, cut a few extras — you’ll thank me when you misspell a name.
Step 2: Score the fold line. Measure to the middle of each card (2 inches from the top) and press a crease along it with a ruler edge or the back of a spoon. Scoring first gives you a crisp tent fold instead of a lumpy one.
Step 3: Practice the names. Before touching the real cards, write each guest’s name on scrap paper with your brush pen. This is where most mistakes happen — writing “Katharine” on the good card before realizing she goes by “Katie.” Practice also warms up your lettering.
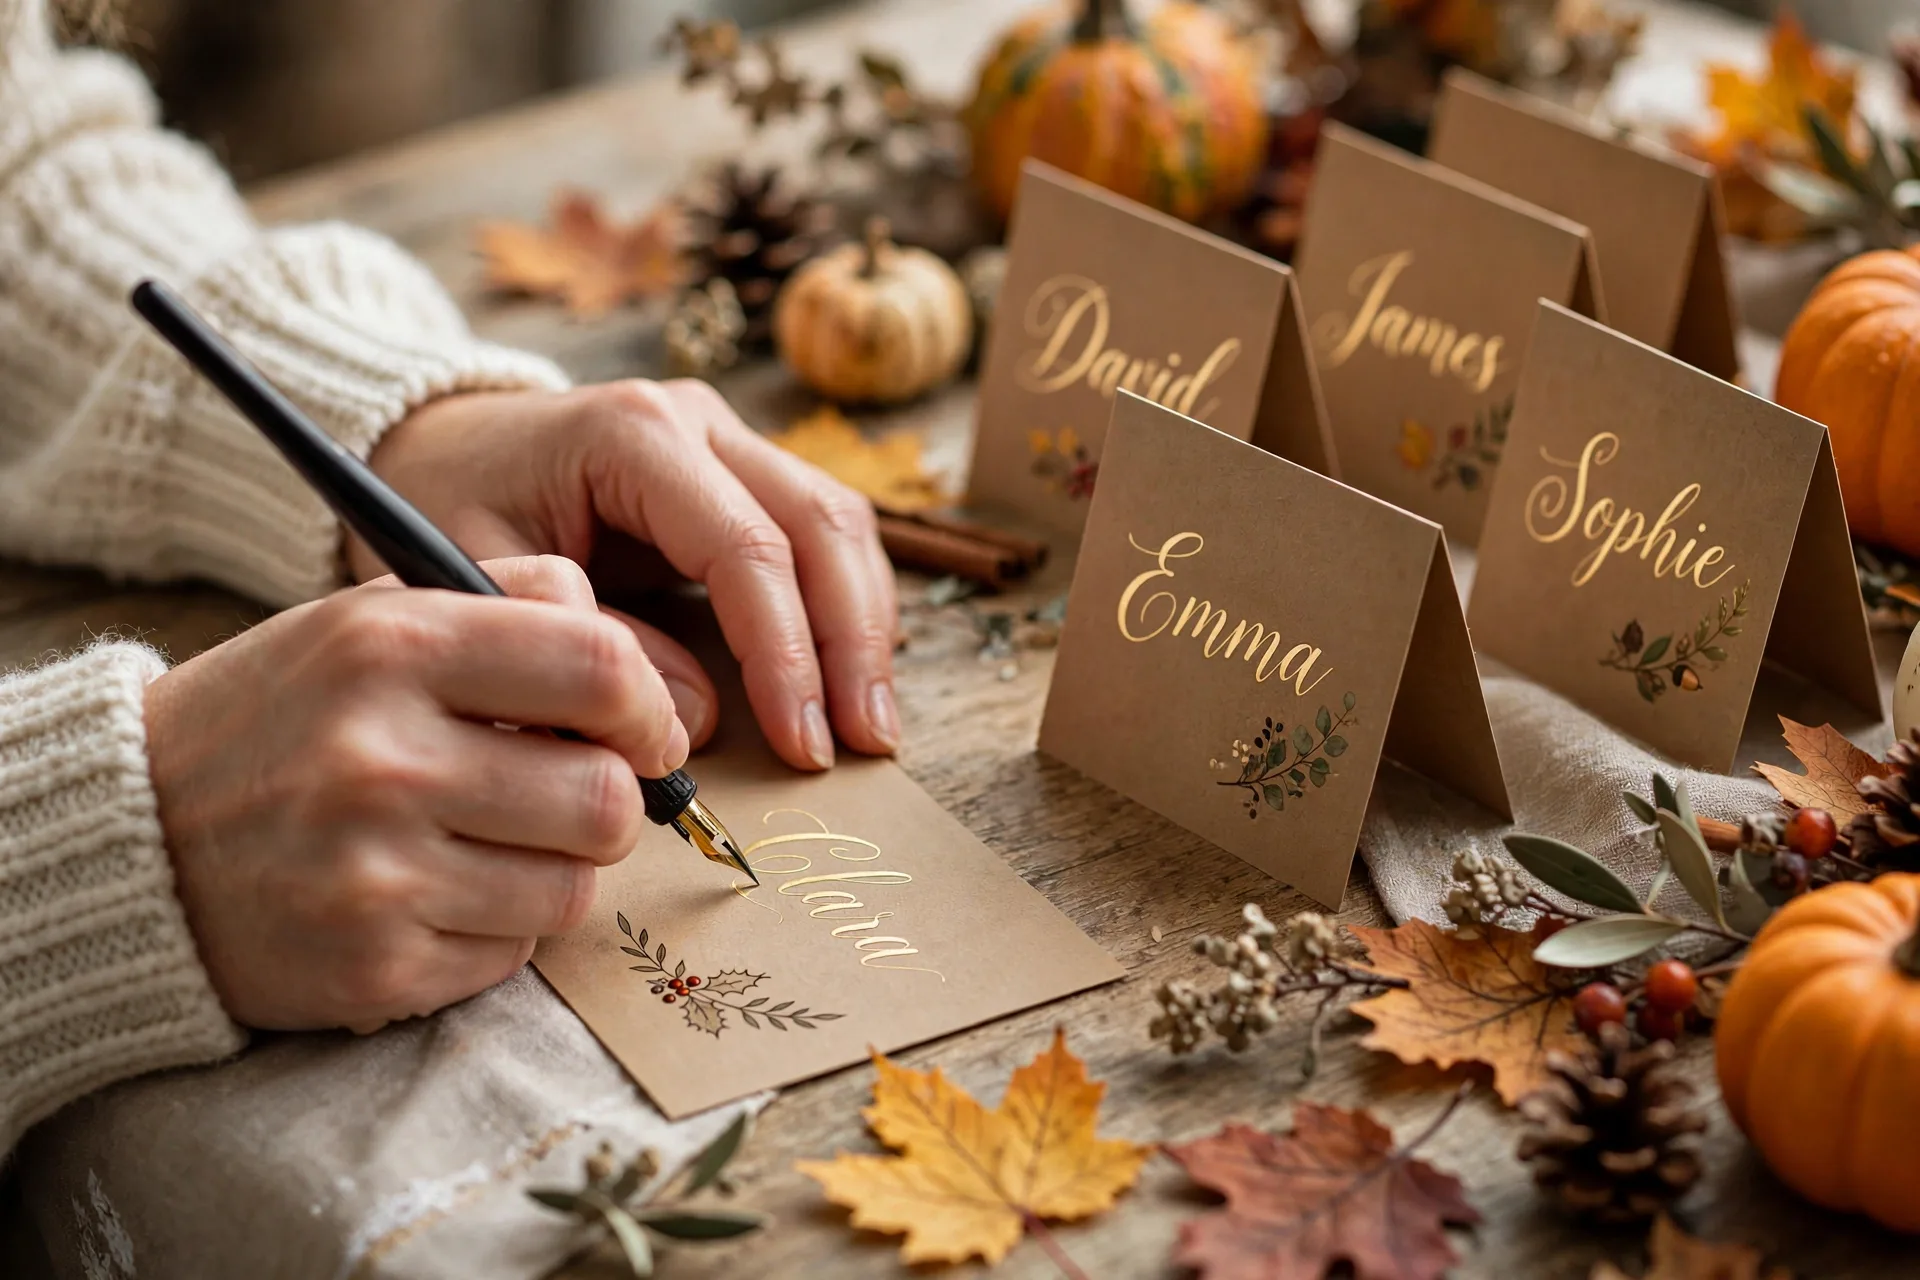
Step 4: Write the names with faux calligraphy. Don’t worry if you don’t know real calligraphy. The faux method: write the name in your normal script, then thicken the downstrokes (the parts of letters where your pen moves downward) with a second stroke. Instant elegant look. Center the name on the top half of the card (the half that faces out when folded).
Step 5: Add a small embellishment. In the bottom corner of the card, draw a simple sprig — a curved line with a few leaves — or stick a strip of fall washi tape along the edge. Less is more here; the name is the star.
Step 6: Fold and test the tent. Fold each card along the scored line and stand it on a flat surface. If it wobbles, trim a hair off one side. Cards folded “short side down” (a wide, low tent) are sturdier than tall, narrow ones.
Step 7: Add fresh greenery. Right before setting the table — not the night before — tuck a small sprig of rosemary or eucalyptus behind each tent card, or tie one to the card with twine. Fresh herbs wilt if left overnight, so this is a day-of step.
Step 8: Place and double-check. Set each card at its place setting, slightly above the napkin or leaning on the plate. Walk around the table and read every name from the chair’s perspective. Names should face outward so guests can read them when they sit down.
15 DIY Thanksgiving Place Card Ideas You’ll Love
Now the fun part. These 15 ideas are organized from easiest to most detailed — start at the top if you’re crafting the night before, or jump to the end if you want a project worth bragging about.
1. Classic Kraft Tent Cards
The project you just learned. Kraft paper, faux calligraphy, a sprig of rosemary. This look goes with literally every table style — farmhouse, modern, traditional — and it’s the one I make when I’m hosting and short on time. Add a tiny dried flower in the corner if you want to dress it up.
2. Mini Pumpkin Place Cards
The Pinterest-famous one. Write each guest’s name directly on a mini pumpkin with a gold or white paint marker. Or tie a kraft tag to the pumpkin’s stem with twine. Guests get a little pumpkin to take home, which doubles as a party favor. White “baby boo” pumpkins look especially elegant on a formal table.
3. Rosemary Sprig Name Tags
Bundle a small sprig of rosemary with a kraft tag, punch a hole in the tag, and tie them together with twine. Lay each bundle across a napkin on the plate. These smell amazing when guests sit down, and rosemary is naturally antimicrobial — your cards won’t wilt by dessert.
4. Painted Leaf Place Cards
Collect large, flat leaves (magnolia leaves are the classic, but maple works too). Let them dry flat under a book for a day, then write names on them with a gold paint marker. No paper needed, zero cost, and they look incredible scattered on a runner or laid on napkins. Test your marker on one leaf first — some leaves absorb ink.
5. Wine Cork Card Holders
Cut a thin slit across the top of a wine cork with a craft knife, and slide a small card into the slot. The cork stands on its own and holds the card upright. These are sturdy enough to reuse year after year. Decorate the cards with a fall stamp or a simple leaf doodle.
6. Acorn Name Tags
Glue a small kraft tag to a large acorn (or tie the tag around the acorn cap with twine) and set one at each place. Acorns are free, adorable, and perfectly sized for a place card. If you can’t find big acorns locally, craft-store wooden acorns work the same way.
7. Chalkboard Mini Signs
Tiny chalkboard easels or chalkboard tags are available at craft stores for under a dollar each. Write names in chalk or a chalk marker, and — the best part — wipe them clean and reuse them for Christmas. For extra flair, draw a little turkey or leaf in the corner.
8. Wood Slice Place Cards
Small wood slices (about 2-3 inches across, available at craft stores) with names written in paint marker or wood-burned for the ambitious. The rustic woodland vibe pairs beautifully with pinecones and greenery down the center of the table. These double as keepsakes guests will actually keep.
9. “I’m Thankful For” Interactive Cards
Put the guest’s name on one side of a tent card and “I am thankful for…” on the other, with a pen at each seat. During dinner, everyone writes down one thing and you go around the table sharing. This is the idea that gets talked about for years — and it’s practically free to make.
10. Pinecone Card Holders
Stand a small pinecone on its flat end and wedge a card between its scales. No glue, no cutting, done in seconds. Pinecones grip cards surprisingly well. This is the perfect last-minute option if you realize the night before that you want place cards after all.
11. Printable Place Cards
Search for free Thanksgiving place card printables, print on heavy cardstock, cut, fold, write names. This is the fastest route to a polished look if your handwriting isn’t your favorite — the printed design does the heavy lifting. Match the printable style to your table colors.
12. Photo Place Cards
Print small photos of each guest (2×3 inches works well) and use them as the card, with the name written on the back or below. First-time guests feel instantly included, kids love finding their own face, and it sparks conversations all evening. Phone photos printed at home are totally fine.
13. Edible Cookie Place Cards
Bake sugar cookies in leaf, pumpkin, or turkey shapes, write names with icing, and prop one at each setting. Guests can eat their name after dinner. This one takes more time, but if you’re already baking for Thanksgiving, it’s a small addition — and the table smells like cookies.
14. Napkin Wrap Name Tags
Roll a napkin, tie it with ribbon or twine, tuck in a name tag, and add a sprig of wheat or dried lavender. This combines your place card and your napkin into one pretty bundle. Use different ribbon colors to mark each family’s seats, or keep it uniform for a classic look.
15. Gold-Dipped Pear or Apple Place Cards
Dip the bottom half of a small pear or apple in gold craft paint, let it dry, and tuck a name tag under it or tie one around the stem. Fruit place cards look straight out of a magazine, guests can eat them later, and the gold paint makes even grocery-store fruit look luxurious.
Tips for Beautiful Place Cards (Every Time)
Write the full guest list first. Before you cut a single card, make a list of every guest with the exact name you want on their card. Check spellings — especially with family names that have unusual spellings. Nothing deflates the moment like handing Aunt “Michele” a card that says “Michelle.”
Cut extras. Make 3-4 more cards than you need. You’ll smudge one, misspell one, and possibly get a last-minute guest. Extras turn a disaster into a non-event.
Match your cards to your table. You don’t need everything to match perfectly, but aim for the same color family. Kraft paper and gold lettering works with almost any fall palette. White cards with black lettering look crisp against dark tablecloths.
Keep embellishments flat and low. Place cards sit near plates and glasses. Tall decorations get knocked over; bulky ones block conversation across the table. If it sticks up more than an inch or two, rethink it.
Do them the night before (except fresh elements). Cut, fold, write, and decorate everything the night before Thanksgiving. Only add fresh herbs, leaves, or food items on the day — they’ll look fresh instead of wilted.
Test your pens. Paint markers bleed on some papers and skip on some leaves. Do a quick test on scrap material before committing to the real cards. This two-minute habit saves more place cards than any other tip here.
Common Mistakes (And How to Fix Them)
Mistake 1: Writing names too small. Guests shouldn’t have to pick up the card to read it. Names should be readable from about two feet away — that’s a normal chair-to-plate distance. Go bigger than you think; a tent card with a tiny name in the corner looks timid.
Mistake 2: Cards that won’t stand up. Wobbly tent cards are the number-one frustration. The fix: score the fold deeply, keep the tent low and wide rather than tall, and stand cards on a firm surface (a plate works, a wrinkled tablecloth doesn’t). For tags tied to pumpkins, make sure the tag hangs toward the guest, not behind the pumpkin.
Mistake 3: Forgetting the seating logic. Cute cards in bad seats still cause a bad evening. Before you assign names to cards, sketch your table on paper and place people intentionally: keep feuding relatives apart, put kids near the bathroom exit if they’re young, and give anyone with mobility issues the easiest chair to reach.
Mistake 4: Ink that smears. Gel pens and some paint markers stay wet longer than you’d expect. Let cards dry fully before stacking them or tucking them into place settings — give them at least 30 minutes. If you’re writing the night before, dry time is a non-issue.
Mistake 5: Overcomplicating it. I’ve seen people abandon place cards entirely because their vision involved hand-painted watercolor turkeys. Start with the classic kraft tent card. If you finish early and feel inspired, add details. A simple card that actually gets made beats an ambitious card that never leaves the craft store.
Your Table Is Ready for Something Personal
Here’s my honest recommendation: if this is your first time making place cards, do the classic kraft tent cards with faux calligraphy and a sprig of rosemary. They take under an hour, they look great on every table, and your guests will notice. If you already have the basics down, pick one of the wilder ideas — the gold-dipped fruit, the mini pumpkins, the “I’m thankful for” cards — and make this the year your table has a signature touch.
The real secret of DIY Thanksgiving place cards is that they don’t need to be perfect. A slightly wobbly tent card with a hand-written name means more than a flawless printed one, because it says someone sat down and thought about you specifically. Your guests won’t grade your lettering. They’ll remember that you made something for them.
Have fun with it, and enjoy your Thanksgiving table.