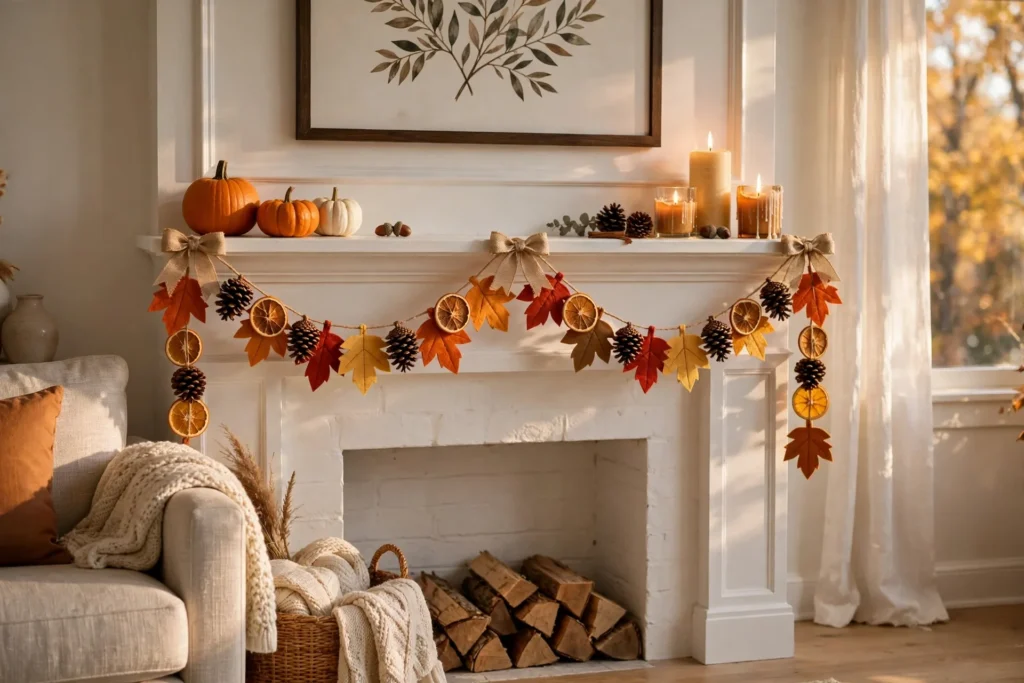

Every year, right around the second week of November, I do the exact same thing: I stand in my living room, look at the bare mantel, and think, “Okay, this is the year I finally make it look like one of those cozy fall photos.” Then Thanksgiving week arrives, the turkey panic sets in, and the mantel ends up with a single sad pumpkin I grabbed on clearance.
Last year I decided to break the cycle with a DIY Thanksgiving garland — and honestly, it changed everything about how my house felt during the holiday. There’s something about a handmade garland, strung with felt leaves or dried orange slices, that makes a room feel instantly festive without spending a fortune. It took me one lazy Sunday afternoon, cost me less than a store-bought wreath, and when my mother-in-law walked in and said, “Where did you BUY that?” — well, that was the whole point.
If you’ve never made one, don’t worry. A garland is one of the most forgiving DIY projects there is. There is no perfect symmetry to achieve, no power tools to fear, and the slightly handmade look is literally part of the charm. Let me walk you through my favorite base tutorial, then I’ll share twelve different garland ideas so you can pick the one that matches your style.
My Go-To Core Tutorial: Felt Leaf Garland
This is the project I make almost every year because felt is cheap, forgiving, and it never wilts. One pack of felt sheets from the craft store gives you enough leaves for a full six-foot garland. Here’s exactly how I do it.
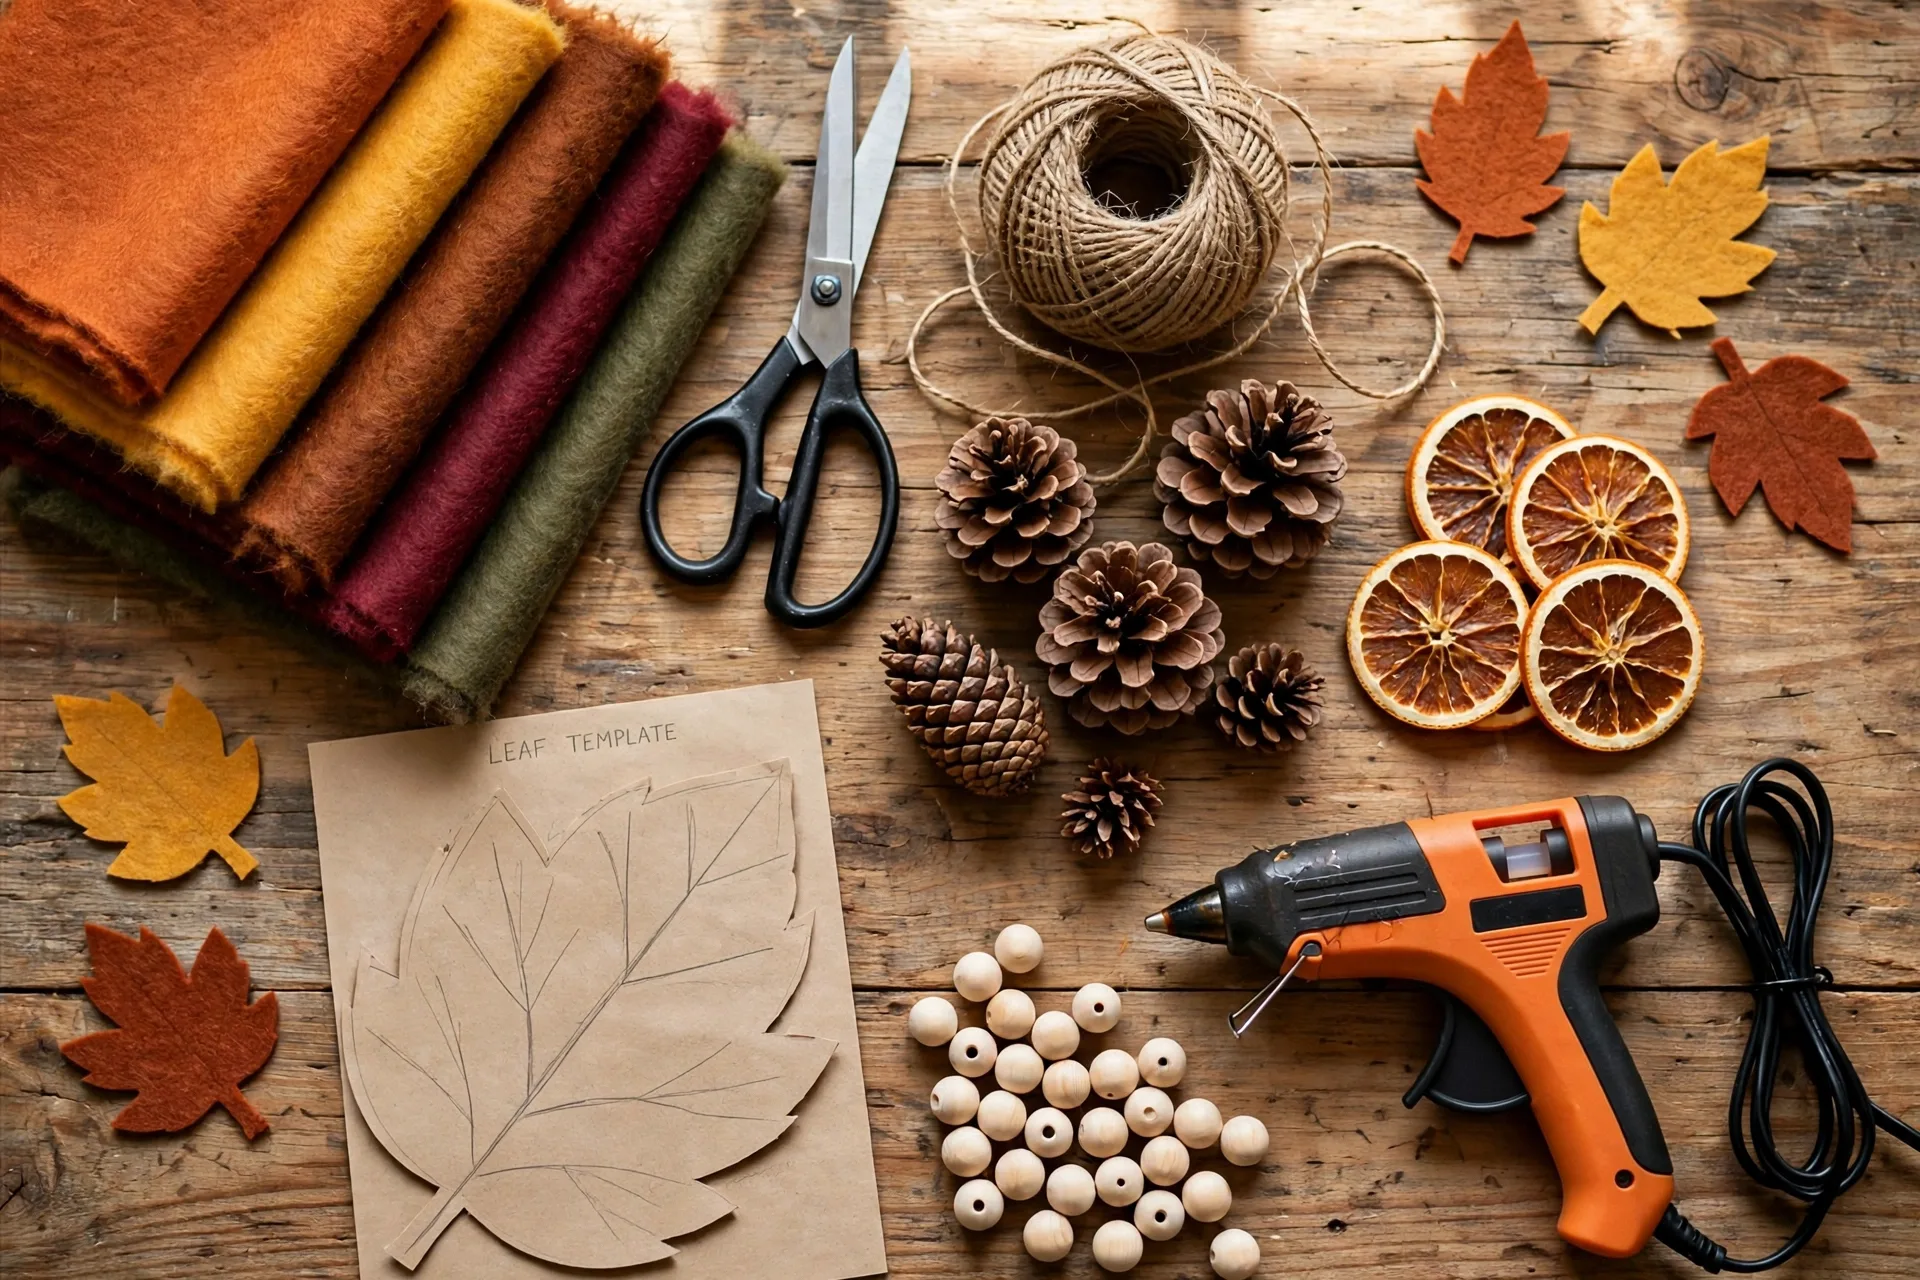
Materials List
- Felt sheets in autumn colors — I like burnt orange, mustard yellow, deep red, and one olive green for contrast
- Natural jute twine (a small ball goes a long way)
- A large sewing needle with an eye wide enough for the twine
- Sharp fabric scissors
- A leaf template — draw one on cardstock, or print a simple leaf shape and trace it
- Chalk or a washable fabric marker for tracing
- Optional: a hot glue gun, wooden beads, mini clothespins
Step-by-Step Instructions
Step 1 — Cut your leaves. Trace your leaf template onto the felt with chalk and cut out 20 to 25 leaves, mixing your colors. Don’t stress about every leaf being identical — real leaves aren’t. I usually cut a few big ones and a few smaller ones for variety.
Step 2 — Cut your twine. Measure your hanging spot first, then cut the twine about two feet longer than you need so you have plenty of tail on each end for tying. A little extra is always better than coming up short mid-project.
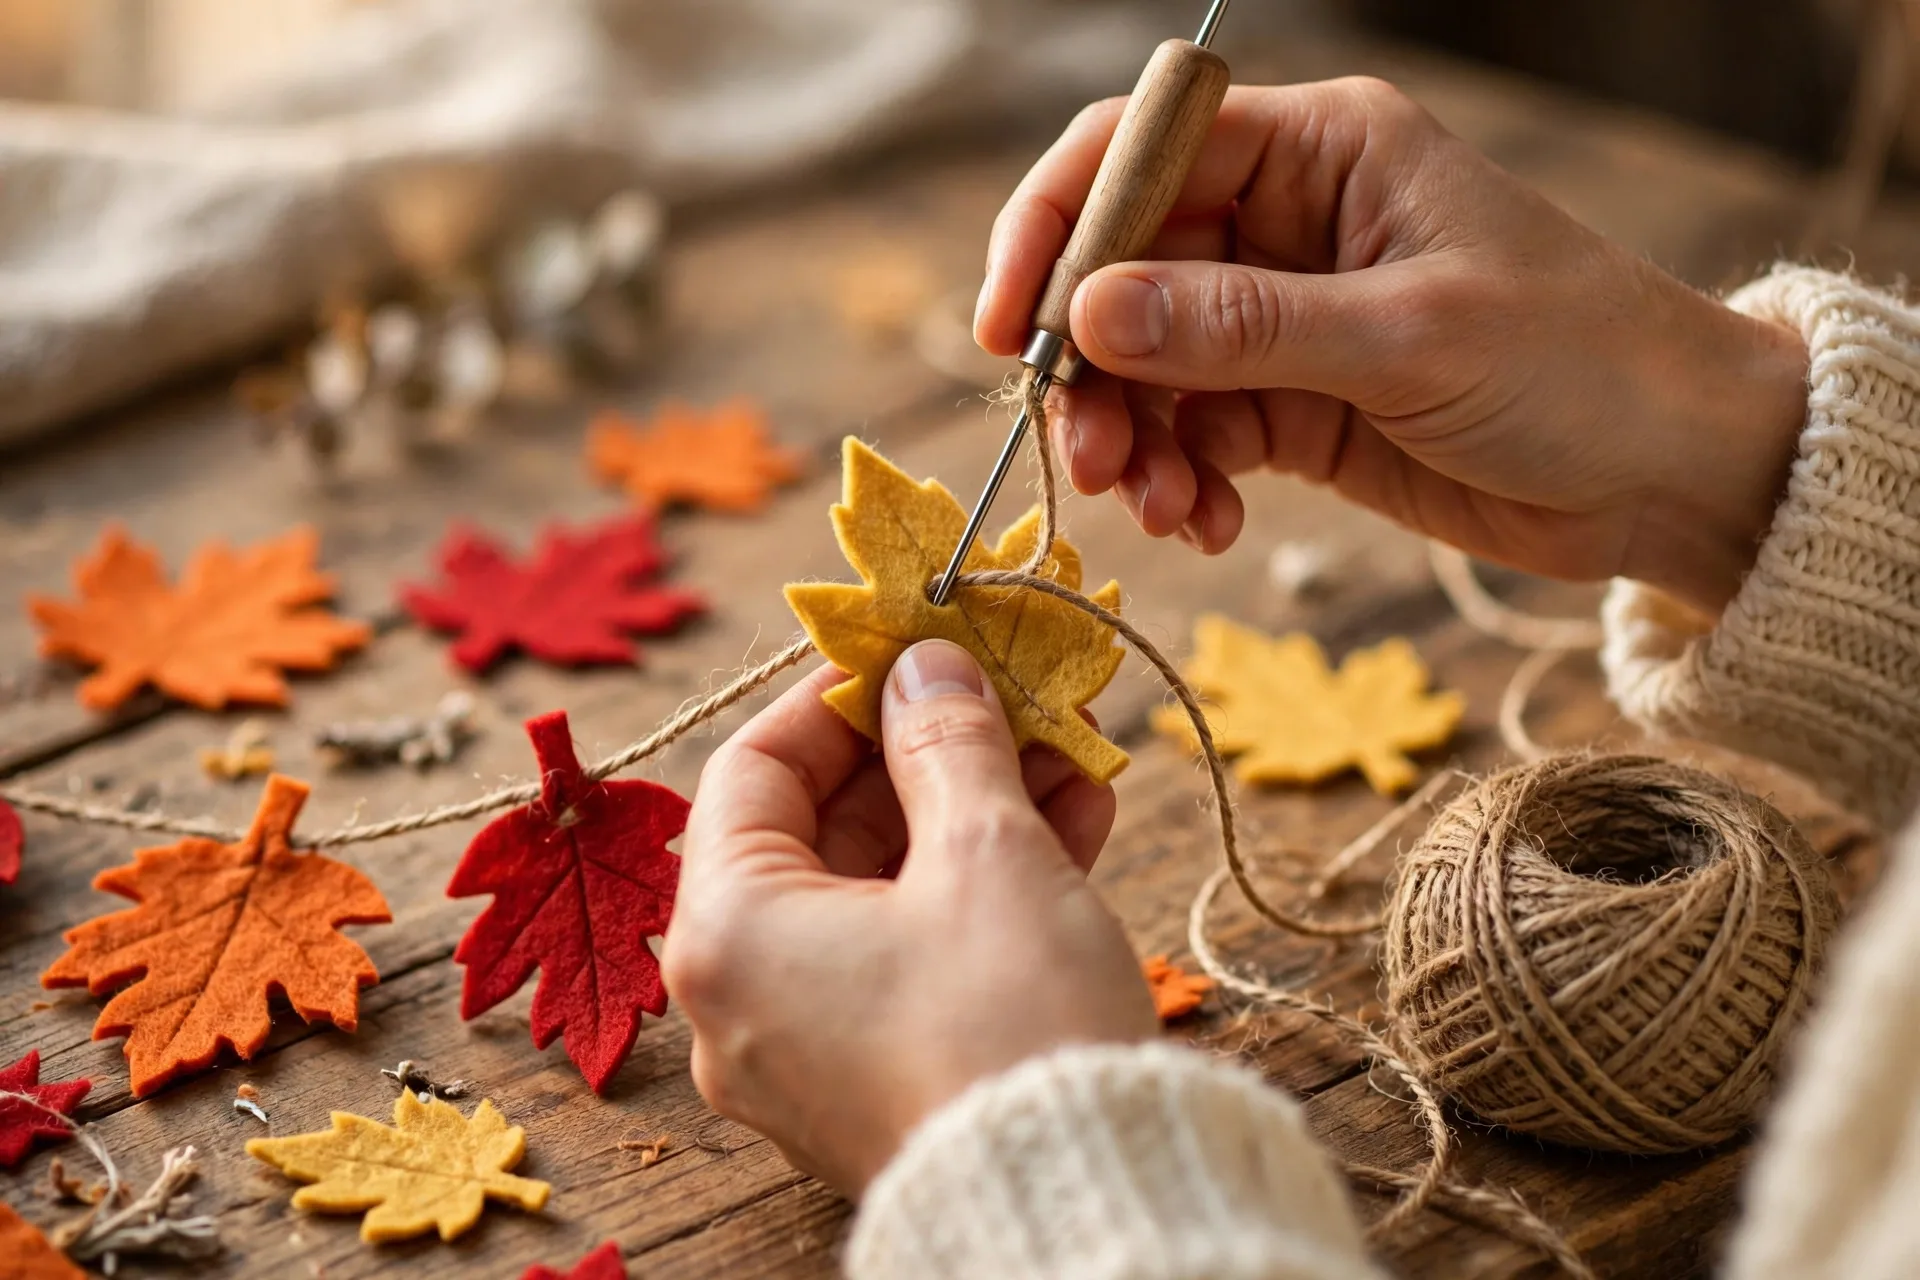
Step 3 — Thread the needle. Thread your jute twine through the large needle. Jute can be fussy, so I like to trim the end at an angle and, if it still won’t go through, wrap a tiny piece of tape around the tip to make it stiff.
Step 4 — String the leaves. Poke the needle through the top of each leaf, about a quarter inch from the edge, and slide the leaf down the twine. I alternate colors in a loose pattern — orange, red, yellow, green, repeat — and I leave about two inches of twine between each leaf so the garland has a nice drape instead of looking bunched.
Step 5 — Adjust and finish. Once all your leaves are on, slide them around until the spacing feels right. Tie a loop or a simple knot at each end of the twine for hanging. That’s it. You’re done.
Step 6 — Hang it. Drape it across your mantel, let the ends hang a little on the sides (that swoop looks so good in photos), or string it across a window or doorway. Step back and admire. This part never gets old.
12 DIY Thanksgiving Garland Ideas to Try
Once you’ve got the basic technique down, the variations are endless. Here are my twelve favorites — a mix of rustic, modern, kid-friendly, and “people will think you hired a decorator” options.
1. Classic Felt Leaf Garland
The one from the tutorial above. If you want to level it up, stitch a simple vein line down the center of each leaf with embroidery thread before stringing — it adds a handcrafted detail that photographs beautifully.
2. Dried Orange Slice Garland
This one smells as good as it looks. Slice oranges crosswise about a quarter inch thick, blot them dry with paper towels, and bake low and slow (around 200°F) for two to three hours, flipping halfway. String the dried slices on twine with cinnamon sticks and a few pinecones. Hang it near a sunny window and the light glowing through the slices is gorgeous.
3. Pinecone and Burlap Garland
String real pinecones — the small ones from your yard work perfectly — onto twine, alternating with little tied burlap bows. Bake your pinecones at 200°F for an hour first to open them up and kill any hitchhikers. This is the most woodsy, cabin-in-the-woods look of the bunch.
4. “Give Thanks” Letter Banner Garland
Cut large letters spelling out THANKFUL or GIVE THANKS from kraft paper, scrapbook paper, or felt, and string them on ribbon with a bit of space between each letter. I add tiny clothespins instead of gluing so I can swap the letters around year to year. It doubles as a conversation starter at the dinner table.
5. Paper Leaf Garland (Kid-Friendly)
Hand this one to the kids. Cut leaf shapes from fall-colored construction or scrapbook paper, punch a hole at the top of each, and let little hands thread them onto ribbon. It won’t be perfect — and that’s exactly what makes it wonderful. Grandparents lose their minds over these.
6. Eucalyptus and Felt Garland
For a softer, more modern look, alternate felt leaves with sprigs of dried eucalyptus on the twine. The silvery green against the warm oranges is a color combination I can’t get enough of. Dried eucalyptus holds its shape for weeks, so make this one early in November and it will still look fresh on Thanksgiving Day.
7. Acorn and Wooden Bead Garland
Paint collected acorns in matte white, gold, or copper, then string them with natural wooden beads on twine. It reads elegant and neutral — perfect if your decor leans more farmhouse than harvest-festival. A coat of clear sealer keeps the paint from chipping.
8. Pumpkin Cutout Garland
Cut mini pumpkin shapes from orange cardstock or felt and string them up, then glue a little green felt stem on each one. Space them out with cream-colored wooden beads in between. This one is simple enough to make with kids but looks polished enough for a grown-up mantel.
9. Metallic Leaf Garland
Press real fall leaves between heavy books for a week, then brush them with gold or copper metallic craft paint and string them on thin ribbon. They catch candlelight like nothing else. Save this one for a garland that hangs near your dining table for the big meal.
10. Gratitude Tag Garland
My personal favorite for meaning, not just looks. Cut small kraft paper tags, string them on twine with pinecones and leaves, and leave a pen nearby. Each guest writes one thing they’re thankful for and clips their tag to the garland with a mini clothespin. By dessert, you’ve got a whole wall of gratitude.
11. Cinnamon Stick and Star Anise Garland
Bundle two or three cinnamon sticks with a small sprig of dried leaves and tie them with twine, then string the bundles along with dried orange slices and star anise. It smells like Thanksgiving walked in the room. Hang it where guests will brush past it — near the entryway is perfect.
12. Scrap Fabric Strip Garland
Dig out your fall-colored fabric scraps — flannel, burlap, old plaid shirts you’ve been meaning to donate — cut them into strips about an inch wide and six inches long, and tie them in knots along a length of twine. Zero sewing, zero gluing, and it gives you that full, chunky farmhouse texture that store-bought garlands charge fifty dollars for.
Tips and Common Mistakes
After making more of these than I can count, here are the things that actually matter:
- Measure your spot before you cut. The most common mistake is cutting twine too short. Measure your mantel or doorway, then add at least two feet for draping and tying. You can always trim excess; you can’t add length back.
- Don’t overcrowd the twine. Beginners tend to push every piece right up against the next one. Leaving two to three inches of space between elements gives the garland room to drape naturally and looks more expensive.
- Mix textures, not just colors. The prettiest garlands combine smooth (felt, paper), rough (pinecones, bark), and shiny (metallic paint, beads). All-smooth looks flat; all-rough looks messy. A little of each is the sweet spot.
- Dry your natural elements fully. Orange slices that still have moisture will spot or curl. Pinecones straight from the yard can bring in tiny bugs — the 200°F oven trick for an hour fixes both problems.
- Store them gently. Loop your garland loosely around your hand and store it in a paper bag or box, not crammed in a bin. Felt and paper garlands will last for years if you treat them kindly.
- Photograph in natural light. If you’re making one partly to show off — no judgment, I do the same — hang it near a window and take your photos in the late afternoon. Golden hour makes every garland look like a magazine shoot.
Making a DIY Thanksgiving garland was the project that finally got me out of my “I’ll decorate next year” rut. It doesn’t need to be perfect, it doesn’t need to be expensive, and it doesn’t need to take your whole weekend. One afternoon, some felt and twine, and suddenly your house smells like cinnamon and looks like autumn decided to move in.
Start with the felt leaf tutorial, pick one of the twelve ideas that made you smile, and make it this weekend — future you, standing in a warmly decorated living room on Thanksgiving morning, will be glad you did.