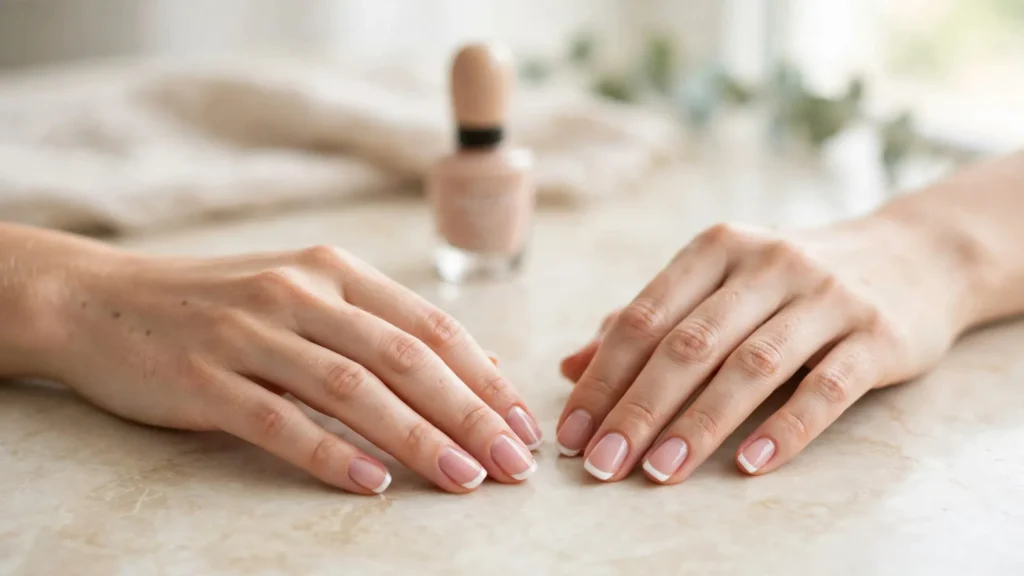

My first attempt at a French manicure at home looked like I’d painted my nails in a moving car. The white tips were uneven, one thumb looked like it had a tiny white mustache instead of a smile line, and I sat there for ten minutes wondering why people made this look so easy on YouTube. That was three years ago. Last weekend, I did a French manicure on myself while half-watching a movie, and it actually looked like the salon set I used to pay $55 for. The difference wasn’t talent. It was knowing which method to start with and which steps you absolutely cannot skip.
If you’re a beginner staring at your bare nails and thinking the crisp white tip is beyond you, here’s the truth: nobody is born with a steady hand. French tips look intimidating, but they are one of the most forgiving designs to learn because there are tools built specifically to do the hard part for you. This guide walks through the easiest beginner method first, then the freehand technique for when your confidence grows, plus every mistake I made so you don’t have to.
What You’ll Actually Need
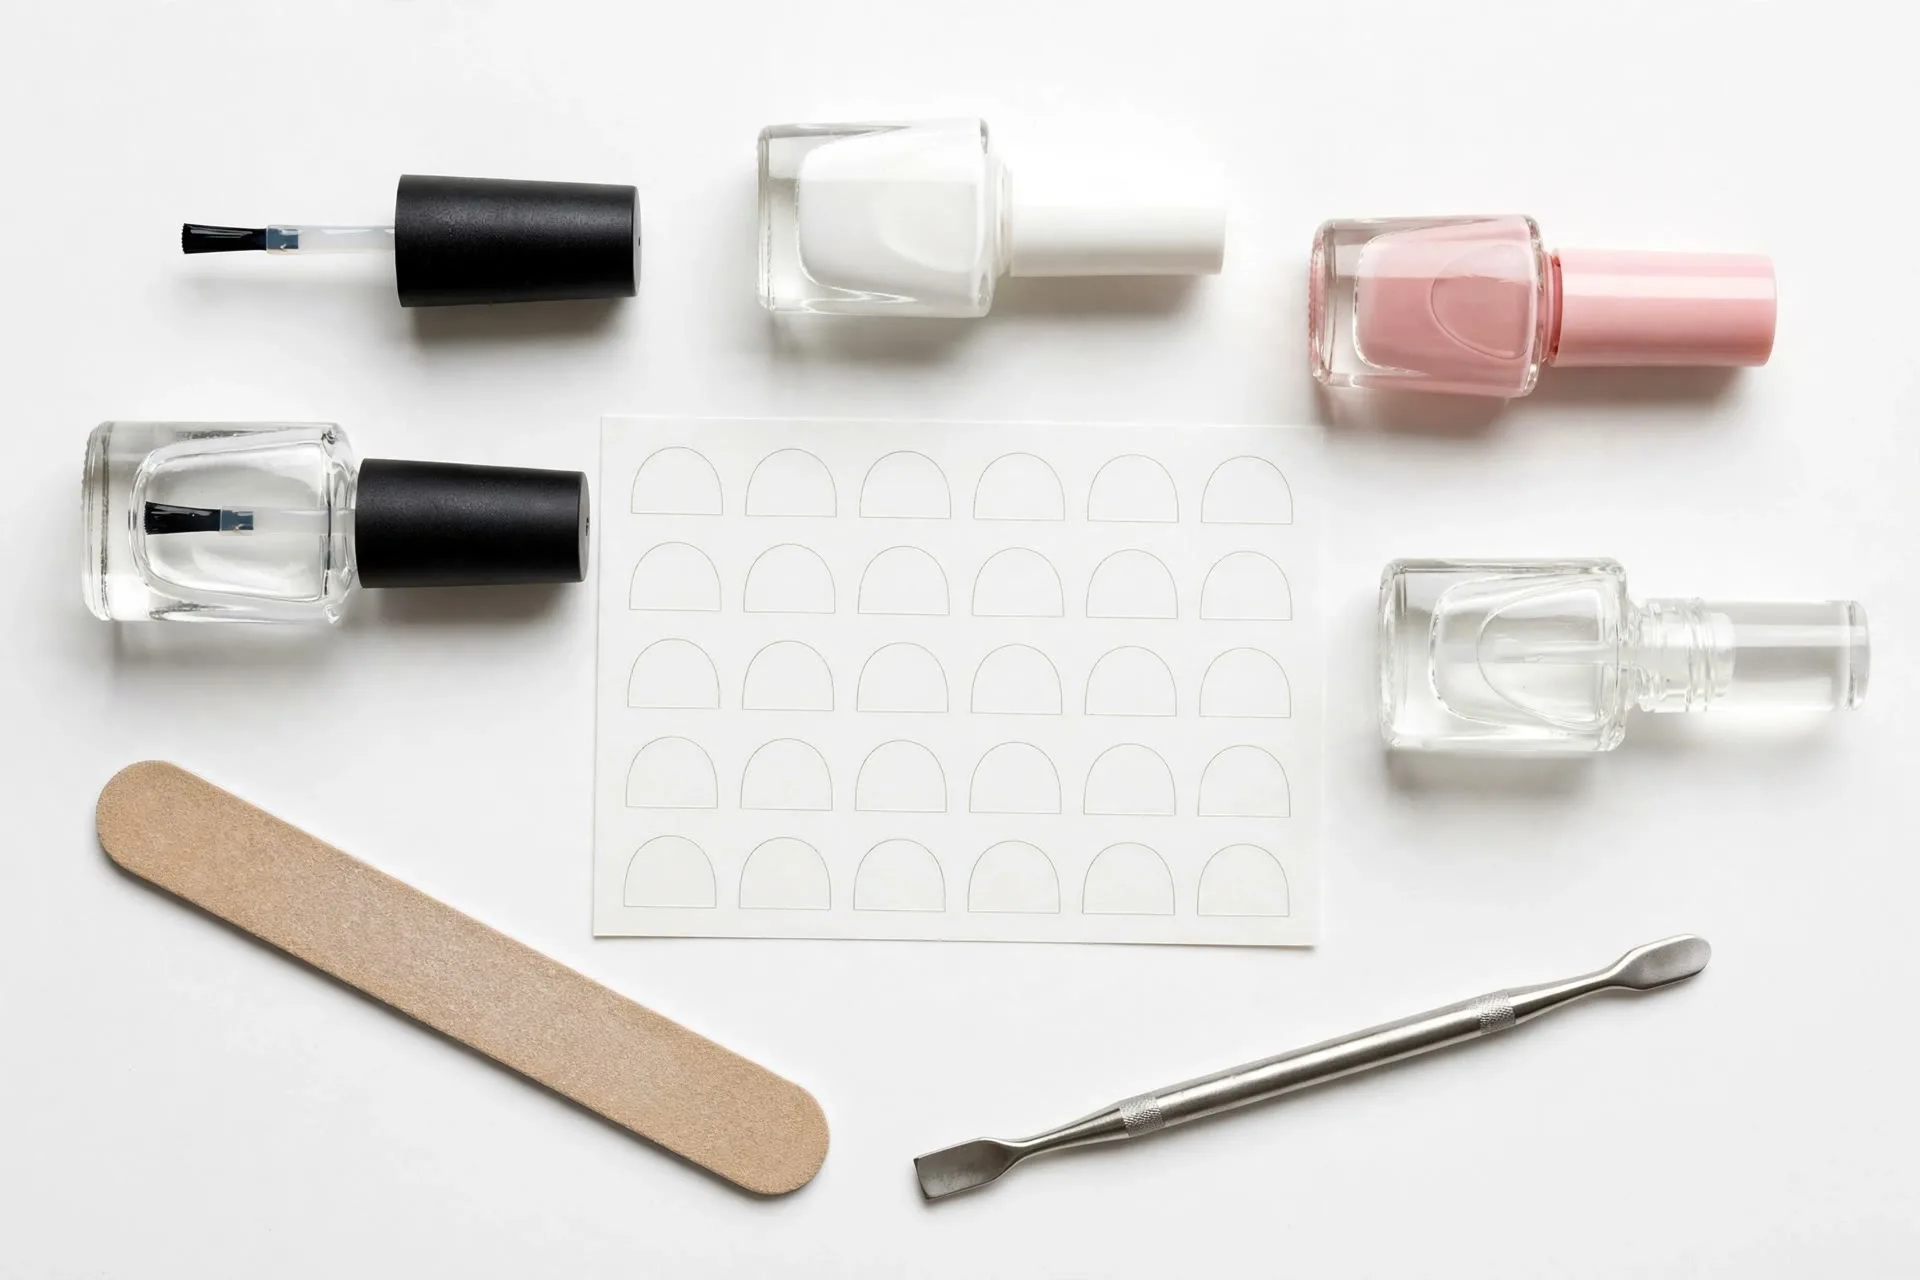
Don’t buy a giant kit. Half of those “everything you need” bundles sit in drawers untouched. You only need a few basics, and you probably own some of them already:
- Nail file and clippers — shape matters more than people realize. A square or soft-square shape is the friendliest canvas for French tips.
- Cuticle pusher or an orange wood stick — pushed-back cuticles instantly make any manicure look professional.
- Base coat — non-negotiable. It protects your nails from staining and helps everything stick longer.
- White nail polish — pick one with a brush you like, because the brush is doing most of the work for you.
- Sheer pink or nude polish — this is the secret that makes the whole thing look expensive. A sheer wash melts the white tips into the nail.
- Top coat — the difference between “lasts two days” and “lasts a week.”
- French manicure guide stickers — the beginner’s best friend. ORLY makes popular ones, but any brand with curved smile-line guides works.
- Small cleanup brush + acetone polish remover — an angled brush dipped in remover fixes every wobble.
- Cuticle oil — the finishing touch that makes nails look like a salon did them.
That’s it. No lamps, no drills, no 47-piece kit. Regular polish works beautifully for learning, and if you eventually want gel-level wear time, the same techniques apply with gel polish cured under a small LED lamp.
Step Zero: Prep Your Nails (The Step Beginners Skip)
I’ll be honest — the first time I did this, I skipped prep entirely. I painted over ragged cuticles and an uneven shape, and the tips looked lumpy no matter how carefully I painted. Prep is genuinely half the job.
Trim your nails to the length you want and file them into a square or soft-square shape. French tips look best when the free edge is straight across with slightly softened corners; pointy or oval shapes make the smile line much harder to place. Then push your cuticles back gently after a short soak in warm water, or use a cuticle remover if yours are stubborn. Buff the nail surface lightly — one pass, not a grinding session — to smooth ridges so polish goes on evenly. Wipe each nail with polish remover to get rid of oils and dust, then let them dry completely. Oil on the nail plate is one of the top reasons polish peels off within a day or two.
The Easiest Method: French Tip Guide Stickers
This is the method I wish someone had told me about first instead of letting me freehand for a month of disappointment. Guide stickers are thin curved strips that sit on your nail and give you a perfect smile line every time. Here’s exactly how to use them:
1. Stick the guides on bare nails
Place one guide sticker on each nail, just below where you want the white tip to end. Follow the natural curve of your cuticle line — the smile line should mirror it. This is where you control the tip depth: place guides closer to the tip for the thin “micro French” look, or further down for a bolder classic tip. Press them down firmly, especially at the sides, so polish can’t seep underneath.
2. Paint two thin coats of white
Using the white polish, paint from the guide to the tip of the nail. Two thin coats beats one thick coat every single time — thin layers dry faster, level out smoother, and don’t dent when you look at them wrong. Let the first coat get touch-dry (about 2-3 minutes) before the second.
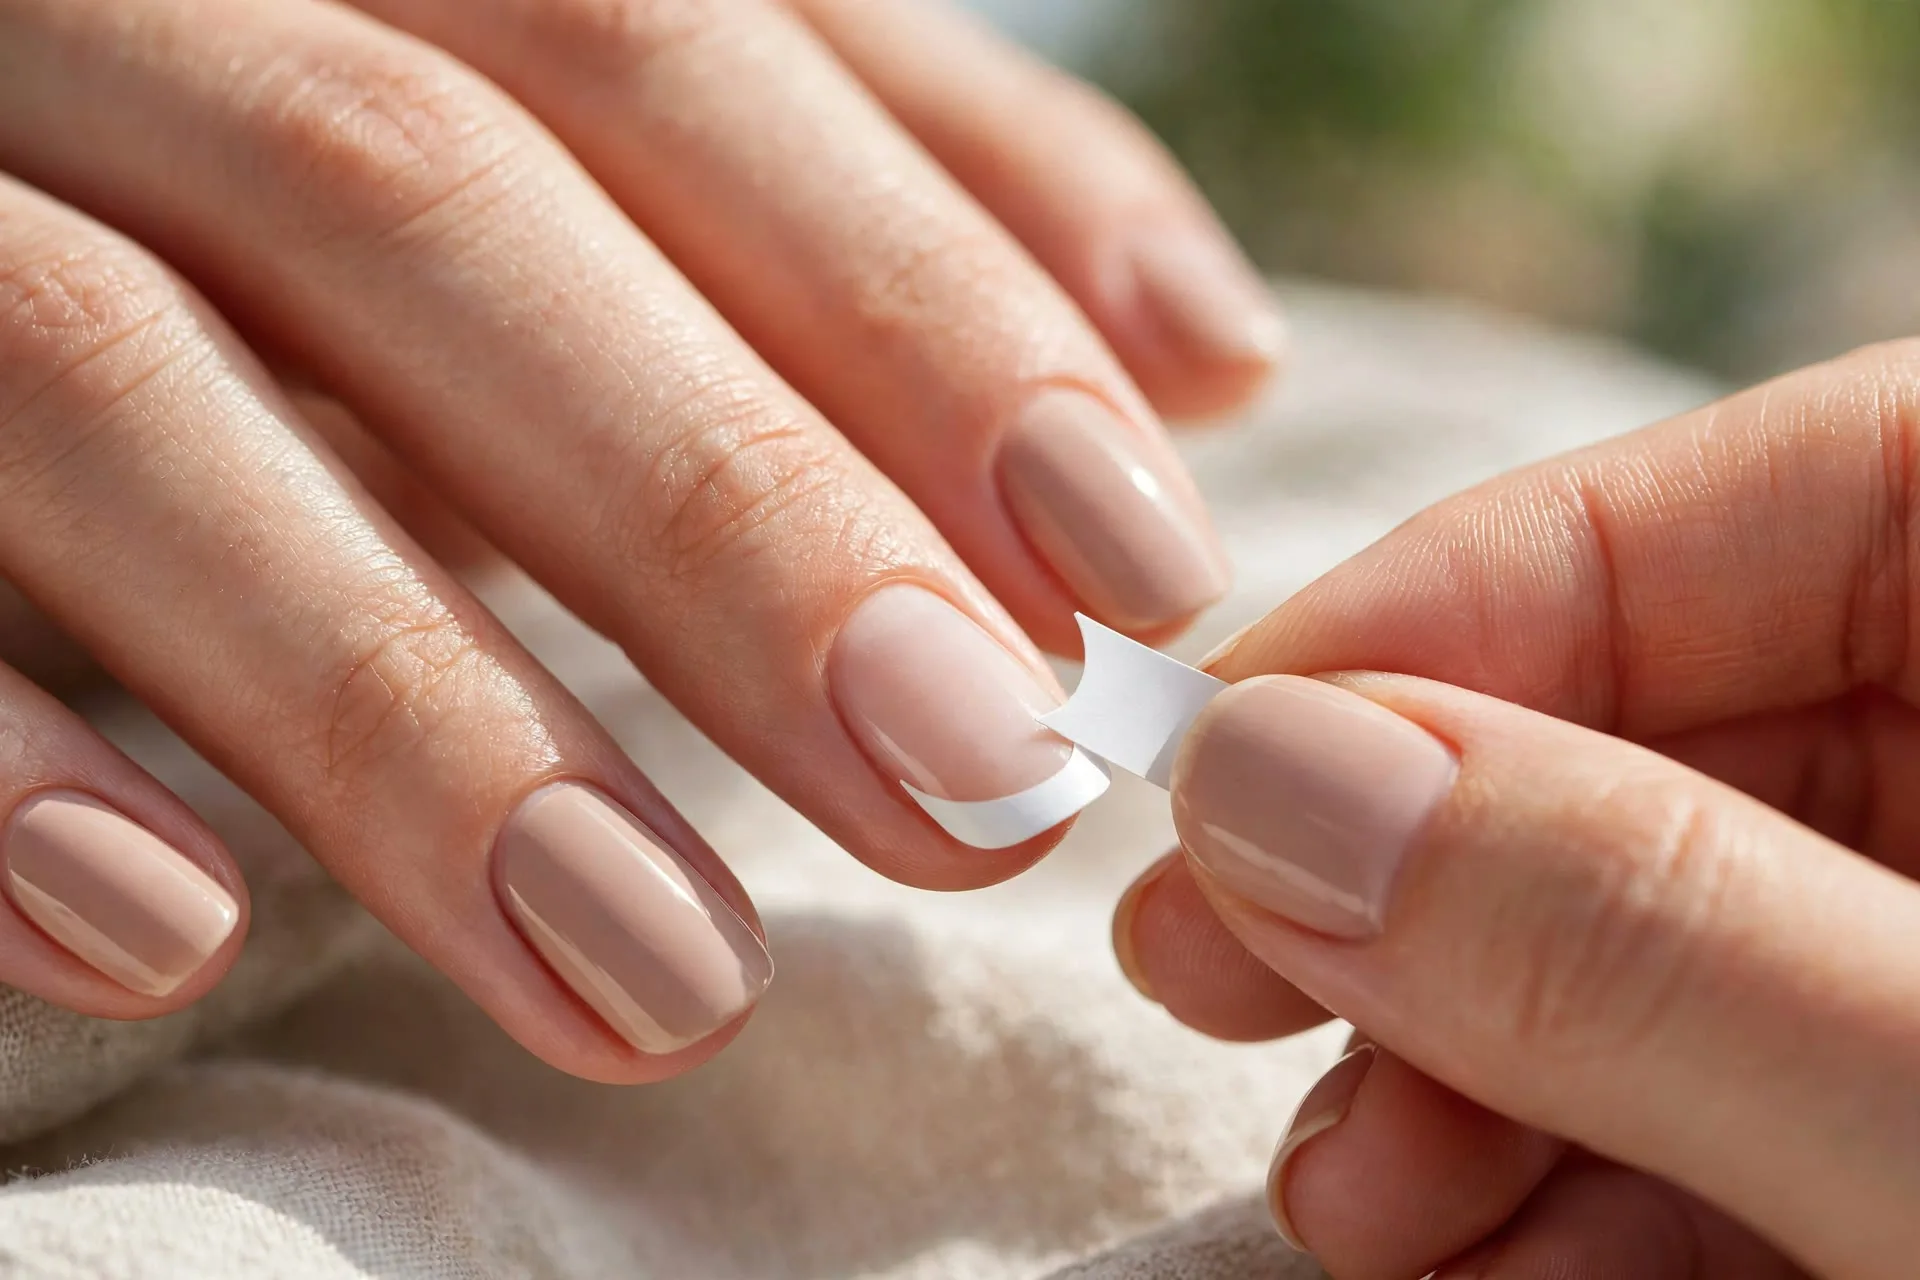
3. Peel the guides while the polish is still wet
This is the make-or-break moment. After the second coat, peel each guide off within a minute or so, pulling slowly toward the side of the nail. If you wait until the polish dries, the guide will lift the white line with it and you’ll get a jagged edge. If a line looks slightly wobbly, don’t panic — the sheer pink wash in the next step hides small imperfections beautifully.
4. Wash a sheer pink or nude over everything
Here’s the step that separates “obvious DIY” from “wait, you did these yourself?” One to two coats of sheer pink or nude polish over the whole nail blends the white tip into the natural nail and gives that soft, milky French look. This is also the great cover-up: any slight unevenness in your tip line gets diffused under the sheer color. Let each coat dry before the next.
5. Seal with top coat
A glossy top coat does three jobs: it evens out any thickness differences between the tip and the base, protects the white from yellowing and chipping, and gives the whole thing that salon shine. Cap the free edge — run the brush lightly across the very tip of the nail — because tips chip first.
6. Clean up and finish
Dip your cleanup brush in acetone and trace around each nail to remove any polish on the skin. This one step makes a shocking difference — clean edges make even an imperfect tip line look intentional. Once everything is fully dry, massage a drop of cuticle oil into each nail. Your hands will look like they just left a salon chair.
The Freehand Method (When You’re Ready to Level Up)
Once you’ve done the sticker method a few times and your hand is steadier, freehand is faster — no guides to place on ten nails. The trick is that nobody paints the smile line in one stroke. Here’s the approach that actually works:
Start with a small dot of white polish at each corner of the tip, then connect them with short strokes to form the curve. A thin nail-art brush (a striping brush) gives you far more control than the fat brush inside a polish bottle — load it lightly and draw the line in segments. Then fill the tip in toward the edge. Paint your non-dominant hand first, when your patience is highest, and save the easier hand for later.
My personal breakthrough was realizing the line doesn’t have to be drawn top-down. Rest your wrist on the table so it doesn’t shake, and rotate the nail instead of moving the brush across. Small, connected strokes, not one heroic swoop. And remember: the cleanup brush is your eraser. Even professionals clean up every nail.
6 Mistakes Beginners Always Make (I Made All of Them)
1. Painting thick coats. Polish has a cruel secret: the surface dries in about 20 minutes, but the layers underneath take closer to an hour to fully harden. Thick coats feel dry on top while staying soft underneath, so you dent them on your pillow and wake up with textured nails. Thin coats. Every time.
2. Skipping base coat. White polish especially can stain, and every polish lasts less without a base. Thirty seconds of base coat buys you days of wear.
3. Making the tips too deep. If the white covers half the nail, it looks like a costume, not a manicure. Aim for roughly a quarter of the nail length — enough to read clearly, not enough to dominate.
4. Straight lines instead of a smile. The charm of French tips is the gentle curve. Guides solve this automatically; freehand painters should consciously curve the corners down instead of drawing straight across.
5. Different tip depths on every finger. This is the giveaway that screams “homemade.” Place all your guides first, compare them side by side, and adjust before you paint anything.
6. Touching things too soon. The classic beginner heartbreak is finishing a beautiful set and immediately picking up your phone, digging in your bag, or washing your hands. Give it a full drying window — or at least keep your hands idle for 20 minutes and be gentle for the hour after.
Making It Last: The Aftercare That Matters
A French manicure done right lasts 5-7 days with regular polish. The biggest threats are water and friction: wear gloves when doing dishes, and be honest with yourself about typing habits — nails clicking hard on a keyboard chip tips faster than anything. Keep a bottle of your top coat handy and reapply one thin layer every two or three days; it takes two minutes and refreshes the shine and the protection.
If a tip chips, don’t redo the whole nail. Dab a tiny bit of white polish just on the chip, let it dry, then sweep sheer pink and top coat over it. A spot repair takes 30 seconds and nobody will ever know.
Beginner-Friendly Twists to Try Next
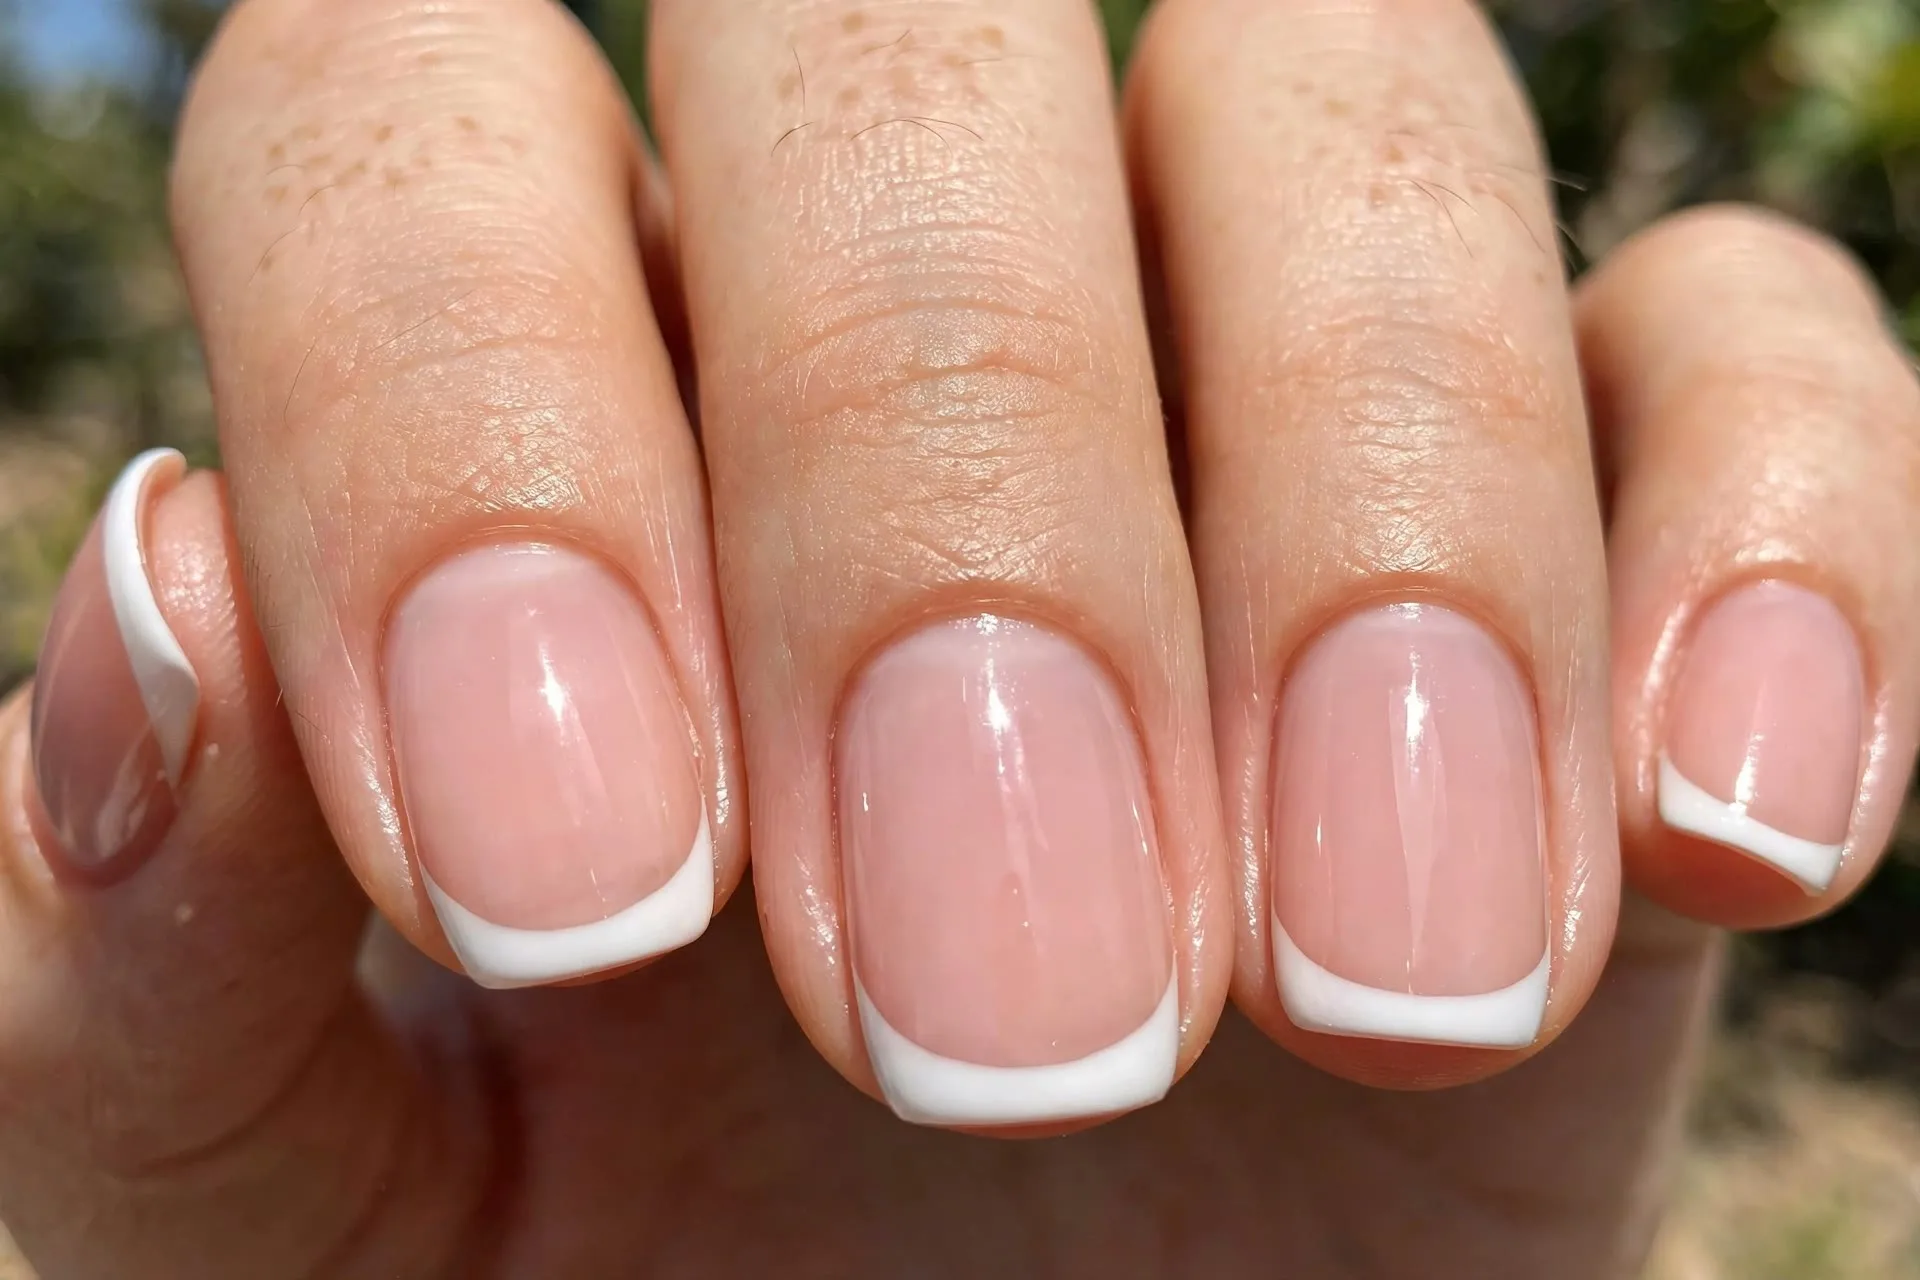
Once the classic white version feels easy, the same techniques open up a whole wardrobe of looks. The micro French — a thin, delicate tip — is the trend that keeps showing up everywhere right now, and it’s actually easier than the classic version because thin lines hide wobbles. Colored tips (soft blue for summer, deep brown for fall) use the exact same guide-sticker method with a different polish. Short nails look fantastic with French tips too; slightly thinner tips on shorter nails create a lengthening effect. And if you fall in love with the style and want three-week wear, the techniques transfer directly to gel polish with a small at-home LED lamp.
My Real-Talk Final Thoughts
Here’s what I want you to take away: the gap between a $55 salon French manicure and your own $10 version isn’t skill, it’s method. The guide stickers exist precisely because professionals know a steady hand is a terrible thing to rely on. Start with the stickers, do your prep properly, keep your coats thin, and clean up your edges. Your third attempt will look dramatically better than your first — everyone I know who does their own nails says the same thing. There’s something genuinely satisfying about looking down at your hands mid-week and knowing you did that yourself. It never quite gets old.