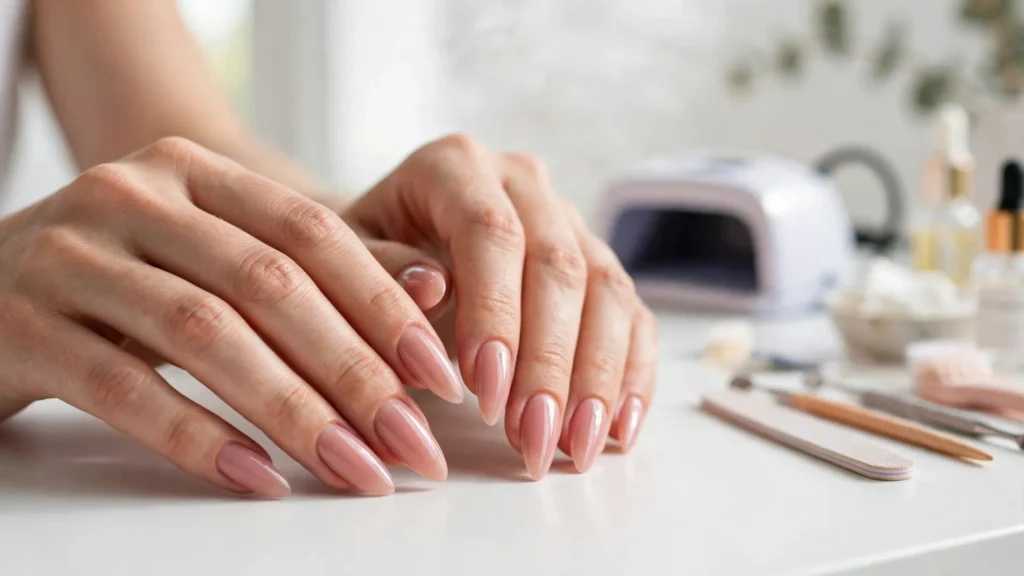

The last time I paid for a full set of nail extensions at a salon, the bill was $85 — and three days later I chipped one opening a soda can. I stared at my broken nail, then at my bank statement, and did what any reasonable person would do: I ordered a Gel-X starter kit at midnight and decided to become my own nail tech.
My first set took three hours, looked lumpy under the top coat, and one tip popped off while I was typing the next morning. The second set took two hours and looked… actually decent. By the third set, I was finishing in about an hour and getting compliments from friends who assumed I’d gone to a salon.
If you’re curious about doing Gel-X nail extensions at home, this is the guide I wish I’d had before my first attempt. I’ll walk you through exactly what you need, every step of the application, the mistakes I made (so you can skip them), and how to take them off without wrecking your natural nails.
What Gel-X Nail Extensions Actually Are
Gel-X is a nail extension system created by Aprés Nail that uses pre-shaped, full-coverage tips made from soft gel — the same family of material as gel polish. You attach each tip to your natural nail with a gel adhesive (called extend gel) and cure it under a UV or LED lamp. No liquid-and-powder acrylic, no strong chemical smell, no heavy filing down of your natural nails.
Compared to acrylics, Gel-X feels noticeably lighter and thinner. Compared to regular press-on nails, the difference is the bond: the cured gel adhesive holds for two to three weeks, whereas press-ons with sticky tabs might last a few days. And when you’re done, they soak off with acetone instead of needing to be pried off.
The one honest caveat: they’re still a chemical product. Uncured gel on your skin can cause irritation or even an allergy over time, and they need a lamp to work. But with careful application, they’re one of the gentlest long-wear extension options you can do at home.
What You Need: The Beginner Kit
You don’t need a professional salon setup. Here’s the kit I actually use — most of it came from my first Aprés Gel-X starter kit, and I’ve replaced individual pieces since:
Gel-X soft gel tips — the Aprés Gel-X kit includes a range of shapes (almond, coffin, square, stiletto) and sizes. If you don’t want the full kit, generic soft-gel full-coverage tips work too, but check they’re actual soft gel, not hard plastic press-on tips, or they won’t soak off properly.
Extend gel (gel adhesive) — this is the glue. Aprés Extend Gel is the original, but brands like Beetles and Modelones make their own versions. One bottle lasts many sets.
A UV/LED nail lamp — a 48W lamp is plenty. Mini flash-cure lamps are handy for setting one nail at a time but not essential; you can just hold the tip in place and move your hand into the main lamp.
Nail dehydrator (pH bond) and primer — these remove oils from the nail plate so the gel actually sticks. Skipping these is the number one reason beginners get lifting.
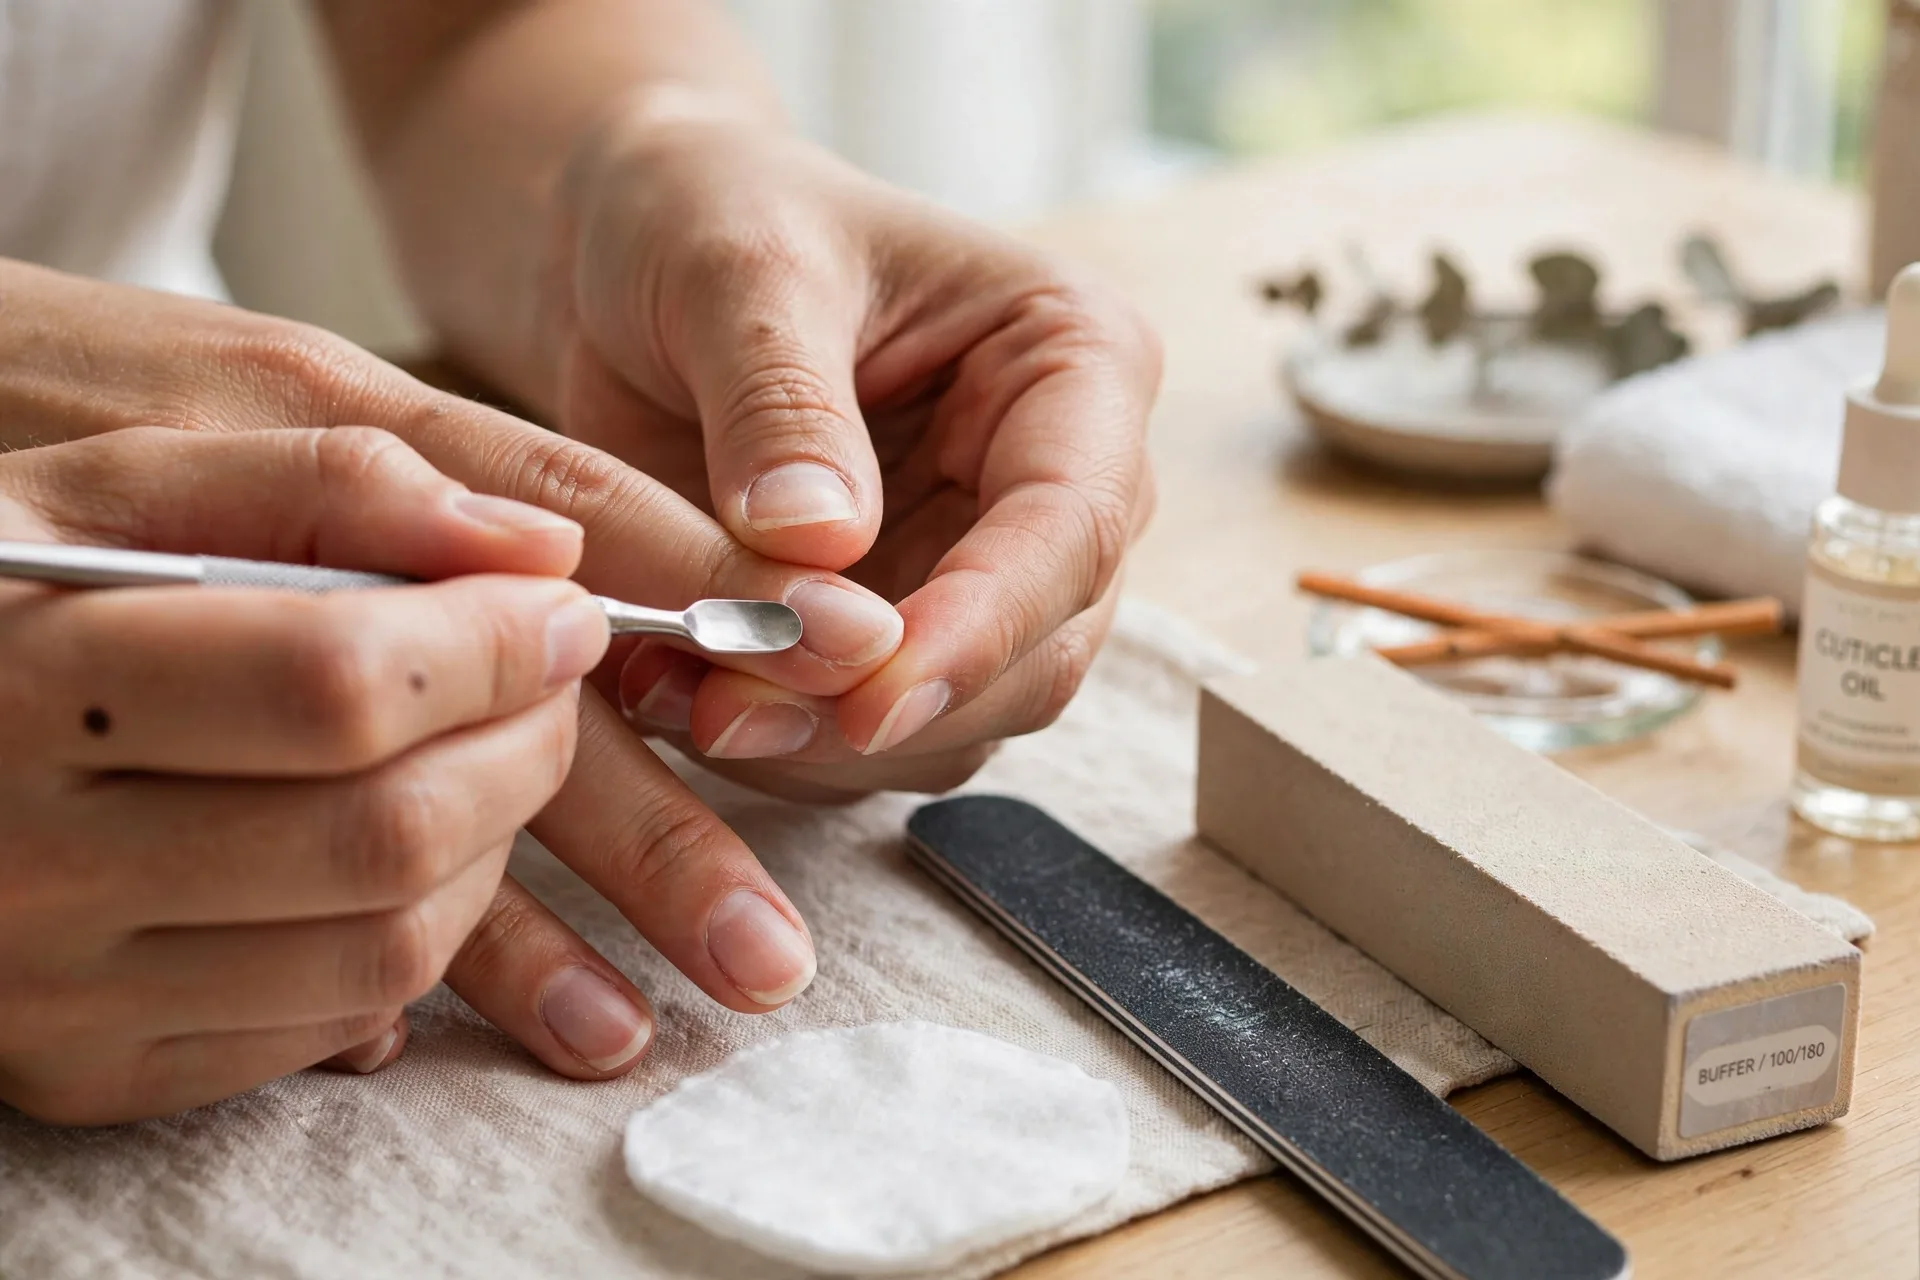
Basic manicure tools — a cuticle pusher, an orangewood stick, a 180-grit nail file, a buffer block, and nail clippers or tip cutters if you want to shorten the tips.
Finishing supplies — lint-free wipes, 70% or higher rubbing alcohol, cuticle oil, your favorite gel polish colors and a gel top coat.
For removal — 100% acetone, cotton balls, and aluminum foil strips. Not nail polish remover with a splash of acetone — actual pure acetone.
Step-by-Step: Applying Gel-X Nails at Home
Set aside 60 to 90 minutes for your first set. Put on a show, lay everything out on a table, and don’t rush the prep — prep is what makes them last.
Step 1: Prep your natural nails (don’t skip this)
Push back your cuticles gently with a cuticle pusher — never cut them unless you know what you’re doing. Lightly buff the shine off each nail with a buffer block. I mean lightly; you’re just removing the glossy layer, not thinning your nail. Then wipe each nail with rubbing alcohol on a lint-free wipe to remove dust and oils.
Apply a thin layer of nail dehydrator (pH bond) to each nail and let it dry — it takes about 30 seconds and the nail will look chalky. Follow with a thin layer of primer and let that dry too. Your nails are now perfectly thirsty and ready to grip the gel.
Step 2: Size your tips
Before any gel comes out, find the right tip for each finger. The tip should cover your nail from sidewall to sidewall with no gap and no overhang. If you’re between sizes, always go with the slightly smaller one — an oversized tip that hangs over your skin won’t seal and will lift within days.
Lay out all ten tips in order on the table so you’re not hunting for the right one with wet gel on your nails. This small step saves a lot of panic.
Step 3: Apply the extend gel and attach the tip
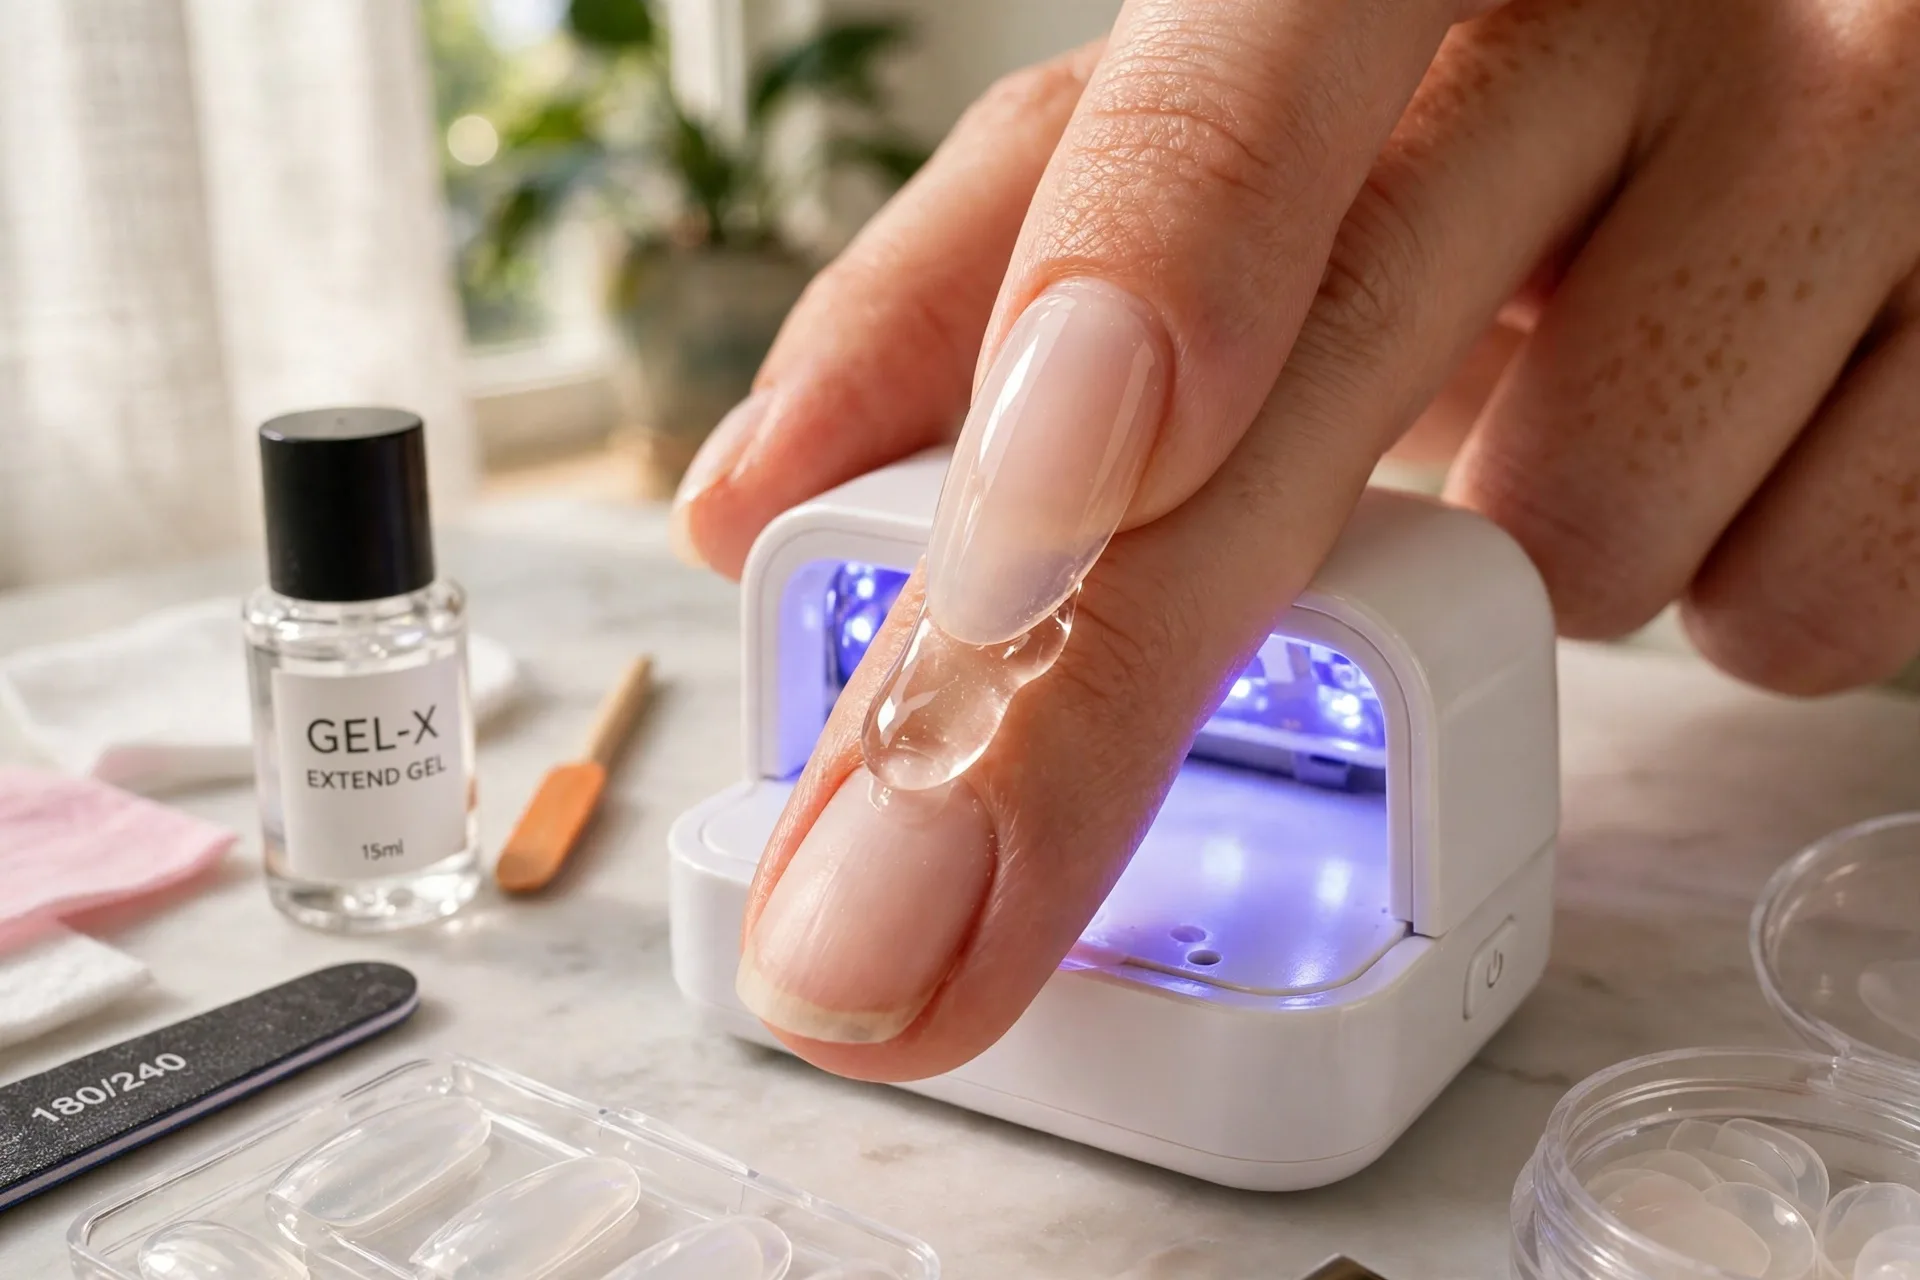
Brush a thin layer of extend gel onto your natural nail — just the nail, not the skin around it. Then put a small bead of extend gel inside the well of the Gel-X tip (the underside near the cuticle end). Less is more here; too much gel will squeeze out everywhere.
Hold the tip at a 45-degree angle to your nail, pressing the cuticle end down first, then slowly roll it flat toward the free edge. This rolling motion pushes air bubbles out. Hold it firmly in place.
Flash cure under your lamp for 10 to 15 seconds to lock the position, then once all ten are done, give each hand a full 60-second cure. If gel squeezed out around the cuticle, wipe it away with an orangewood stick before curing — cured gel on skin is a pain to remove and can irritate.
Step 4: Blend, shape, and smooth
After curing, gently file the seam where the tip meets your natural nail so the transition is smooth — a light touch with a 180-grit file is enough. If you want the tips shorter, trim them with tip cutters first, then file the free edge into your shape. Buff the whole surface lightly so your polish has something to grip.
Step 5: Add gel color and top coat
Wipe the nails clean with alcohol. Apply your gel polish in thin coats — two thin coats always beat one thick one — curing 60 seconds between each. Finish with a gel top coat and cure again. Thin coats cure properly; thick coats stay gummy underneath and peel.
Step 6: Finish with cuticle oil
Massage cuticle oil around every nail. This isn’t just for looks — it keeps the skin around your extensions healthy and makes the whole set look salon-finished. Done. Go admire your work.
Common Beginner Mistakes (I Made Most of These)
Skipping the dehydrator and primer. My first set lifted at the cuticles within four days because I thought buffing was enough. Prep products exist for a reason — use them every time.
Choosing tips that are too big. A tip that overhangs your sidewalls leaves a pocket where water and oil get in. Lifting starts there, every time. When in doubt, size down.
Using too much extend gel. My second set looked like I’d dipped my fingers in syrup — gel flooded my cuticles and cured into hard ridges. A thin layer on the nail plus a small bead in the tip is all you need.
Under-curing. If the gel feels tacky or soft after curing, it didn’t cure long enough — or the layer was too thick. Keep coats thin and give full cure times.
Filing your natural nail too aggressively. You only need to remove the shine. If your nails feel thin, sore, or bendy after prep, you went too far. Be gentle; adhesion comes from the products, not from roughing up your nail plate.
Getting gel on your skin and ignoring it. Clean up any squeeze-out before curing. Repeated skin contact with uncured gel can cause contact allergies, and once you develop one, it’s hard to undo. Keep it on the nail.
How to Remove Gel-X Nails Safely (Soak-Off)
Whatever you do, don’t peel them off. Peeling rips layers off your natural nail along with the tip, and that’s how people end up with thin, painful nails and then blame the product.
Start by filing off the top coat and most of the gel color with a coarse file — this breaks the seal so acetone can get in. Then soak a cotton ball in 100% acetone, place it on each nail, and wrap with a strip of aluminum foil to hold it in place.
Wait 15 to 20 minutes. Unwrap one finger and check — the gel should look soft, wrinkly, and lifting. Gently push it off with an orangewood stick. If it’s still stuck, re-wrap and give it another 10 minutes. Patience beats force every single time.
Once the tips are off, lightly buff away any residue, wash your hands, and apply cuticle oil generously. If your nails feel dry, that’s normal after acetone — oil them for a few days. I like to give my nails a week of rest with just oil and regular polish before the next set.
Final Thoughts
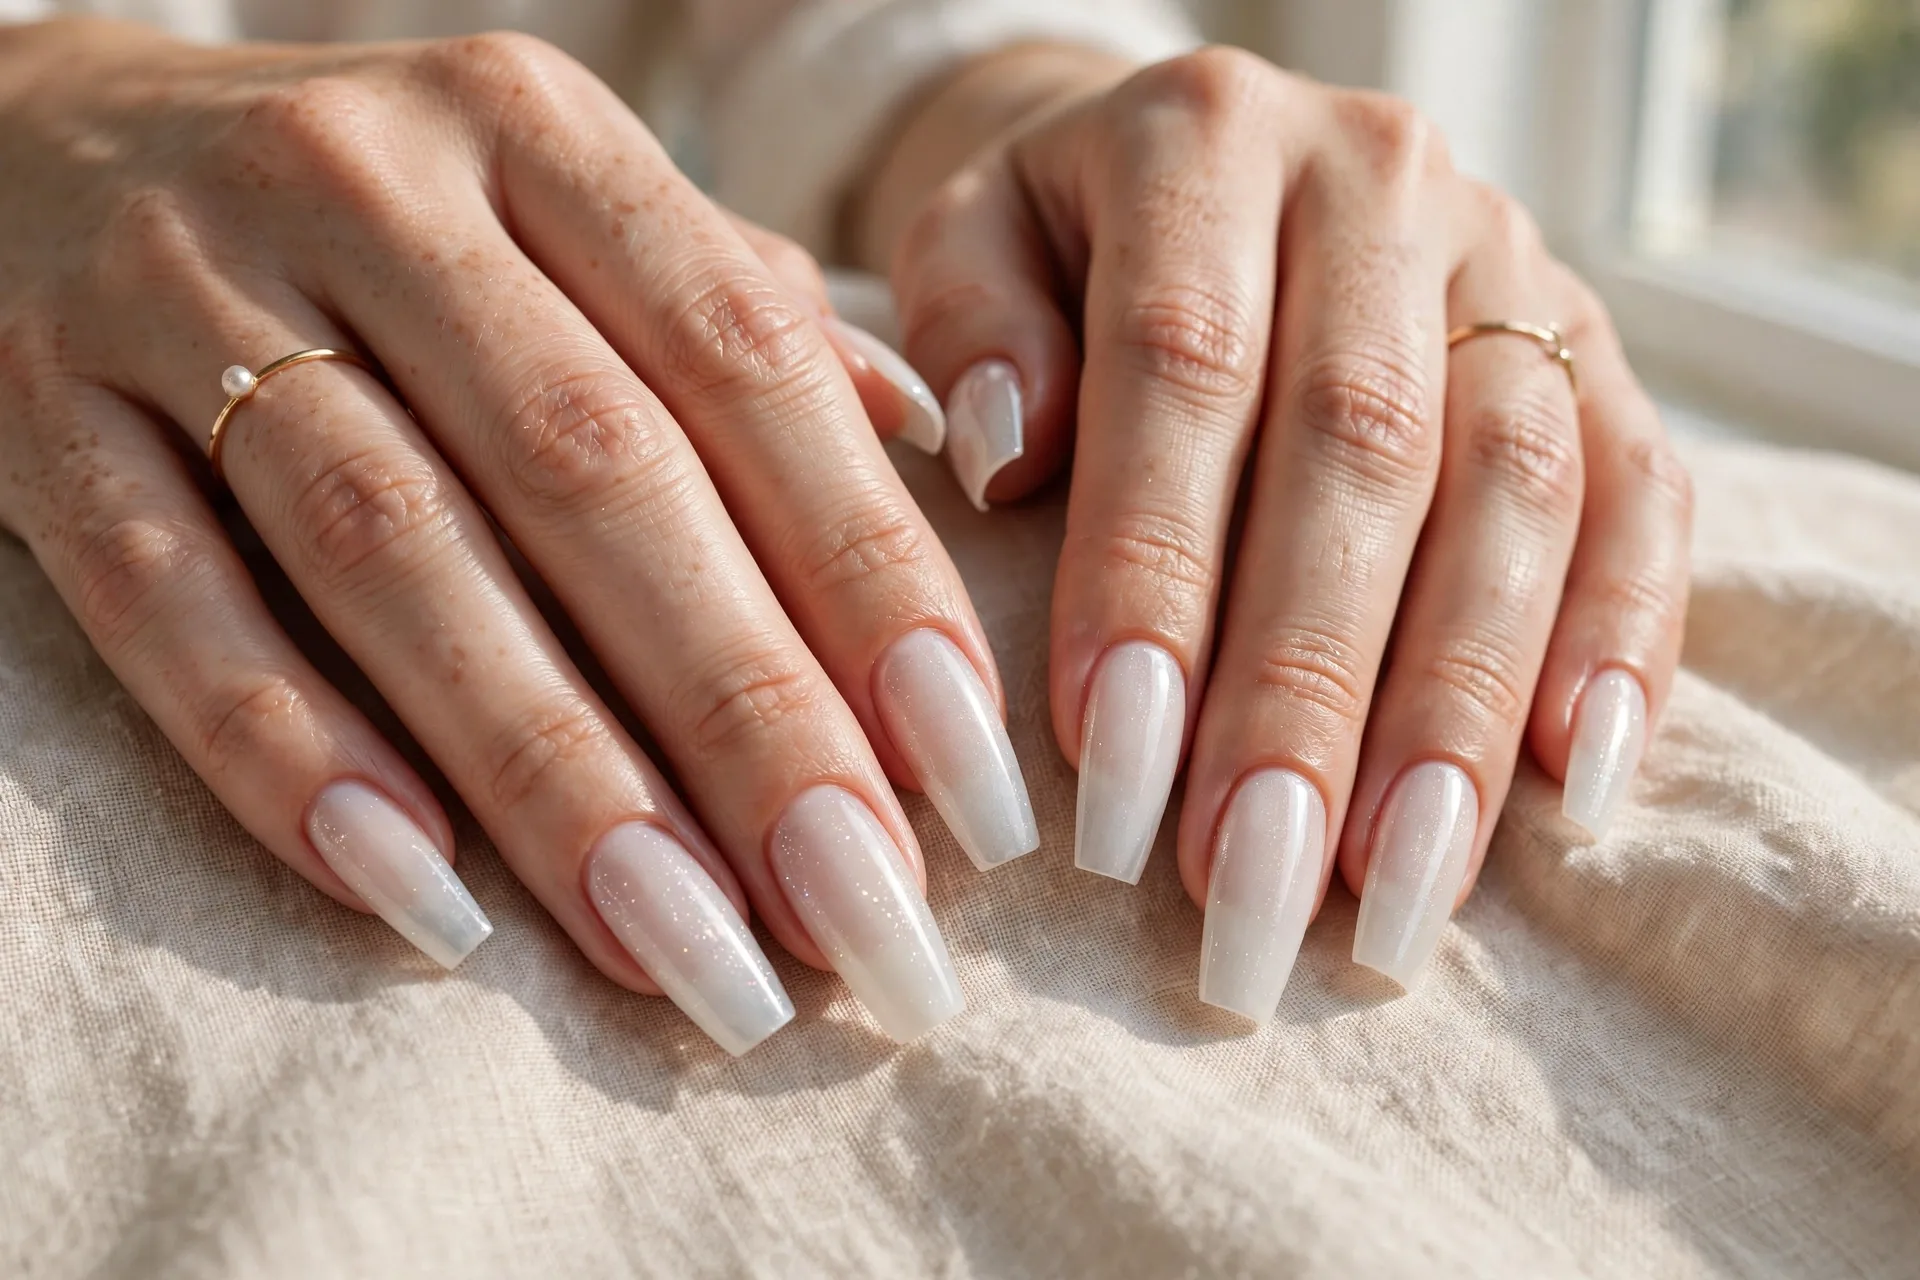
My third set of Gel-X nails lasted 19 days, survived dishwashing, typing, and one very aggressive jar of pickles. The whole thing cost me a fraction of a salon visit, and honestly, I enjoy the ritual now — it’s my quiet Sunday project with a podcast on.
Your first set probably won’t be perfect, and that’s fine. The learning curve is real but short. By set three or four, you’ll wonder why you ever paid salon prices. Start simple — a classic almond shape in a nude shade hides a lot of beginner imperfections — and work your way up to the fancy nail art once the basics feel easy.



Pingback: 13 Christmas Nail Art Ideas That Look Expensive (But Aren't)
Pingback: French Manicure at Home: Easy Steps for Beginners (That Actually Work)