
Why I Almost Gave Up on Halloween Nails (And What Changed My Mind)
Last October I sat in a nail salon scrolling Pinterest while the tech painted tiny skulls on someone else’s nails, and I did the math: $65 for a set I’d wear for maybe three weeks. I left with plain black polish and a quiet sense of defeat.
That night I tried it myself with a $4 bottle of orange polish and a toothpick. The ghost I painted looked like a melting marshmallow. My roommate laughed for a solid minute. But here’s the thing — that lumpy ghost got more compliments at work the next day than any salon set I’d ever worn. People don’t actually inspect your cuticles. They see the vibe: orange, black, a little spooky. That’s the whole secret.
Since then I’ve done my own Halloween nails four years running, from dead-simple to genuinely impressive, and I’ve learned exactly which designs are worth your time and which ones will have you scrubbing polish off in frustration at 11pm. These are my 13 favorite Halloween nail art ideas, ordered from easiest to hardest, with the honest truth about each one.
Start Here: The 5-Minute Prep That Makes Everything Look Better
Before any design, do this. I skipped it my first year and every design chipped within two days.
1. Push back cuticles and buff lightly
You don’t need a full manicure. Push cuticles back with an orangewood stick after a shower (they’re soft then), and give each nail one light pass with a buffer block. Polish grips a buffed nail way better than a shiny one.
2. Base coat is not optional
Dark Halloween colors stain. Black and blood red will leave your nails looking bruised for weeks without a base coat. Any cheap clear base coat works — this is the one step I never skip anymore.
3. Thin coats, always
The number one beginner mistake is thick coats. Two thin coats dry faster and chip less than one thick gloppy one. If your polish looks streaky after coat one, that’s normal — coat two fixes it.
The Tools That Actually Matter (It’s a Short List)
You don’t need a 40-piece kit. Here’s what I reach for every October:
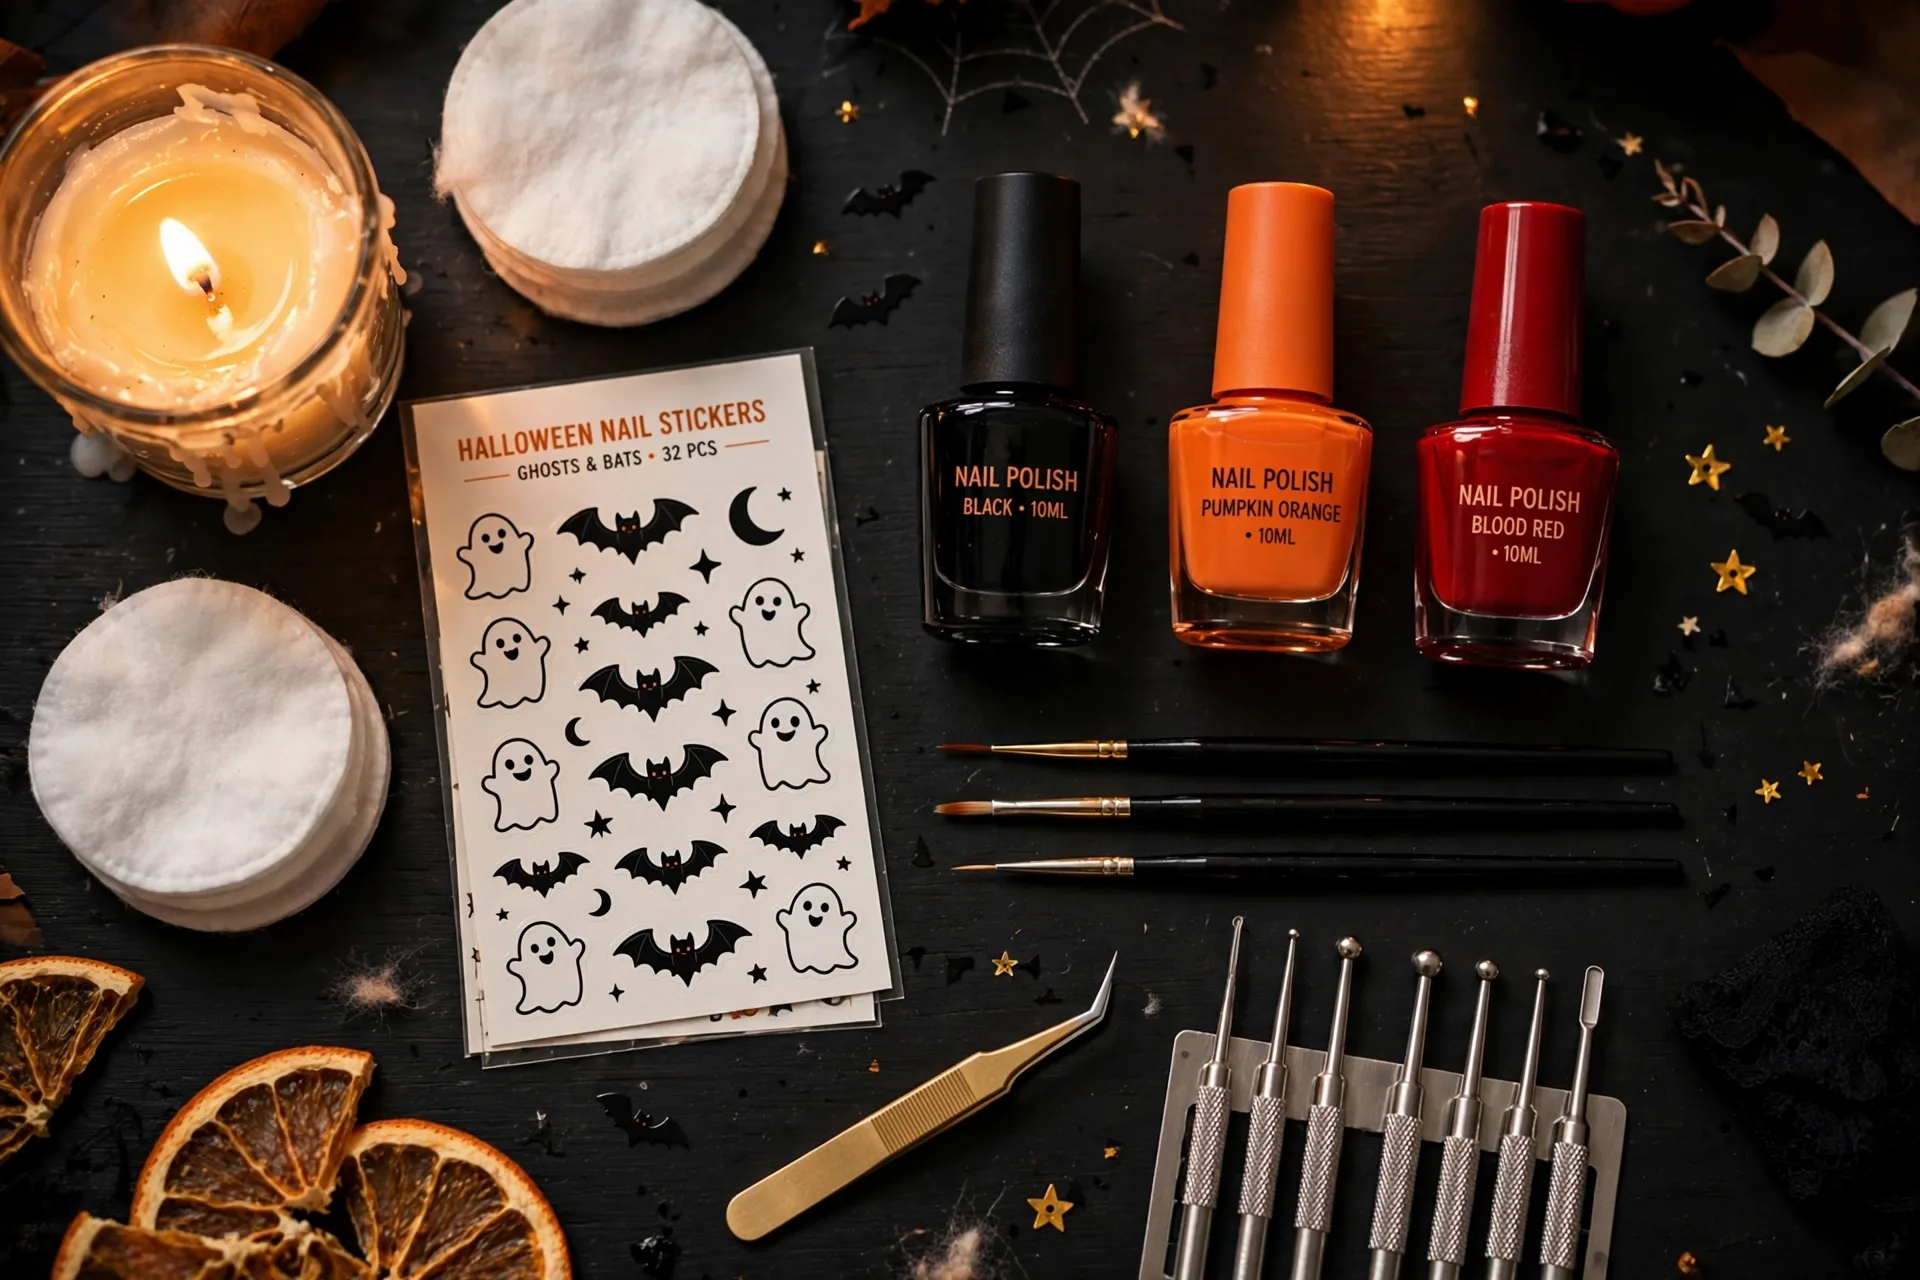
- A nail art liner brush or nail art pen — this is the single best $5 you’ll spend. Drawing a spiderweb with a regular brush is misery; with a liner brush it’s easy.
- Dotting tools — or the end of a bobby pin. For ghost eyes, pumpkin dots, spider bodies.
- Nail stickers — bats, ghosts, spiderwebs. Zero shame in stickers; they look crisp and take ten seconds.
- Matte top coat — instantly makes any Halloween design look spookier and more expensive. My favorite trick in this whole article.
13 Halloween Nail Art Ideas, Easiest First
1. The Single Ghost Accent
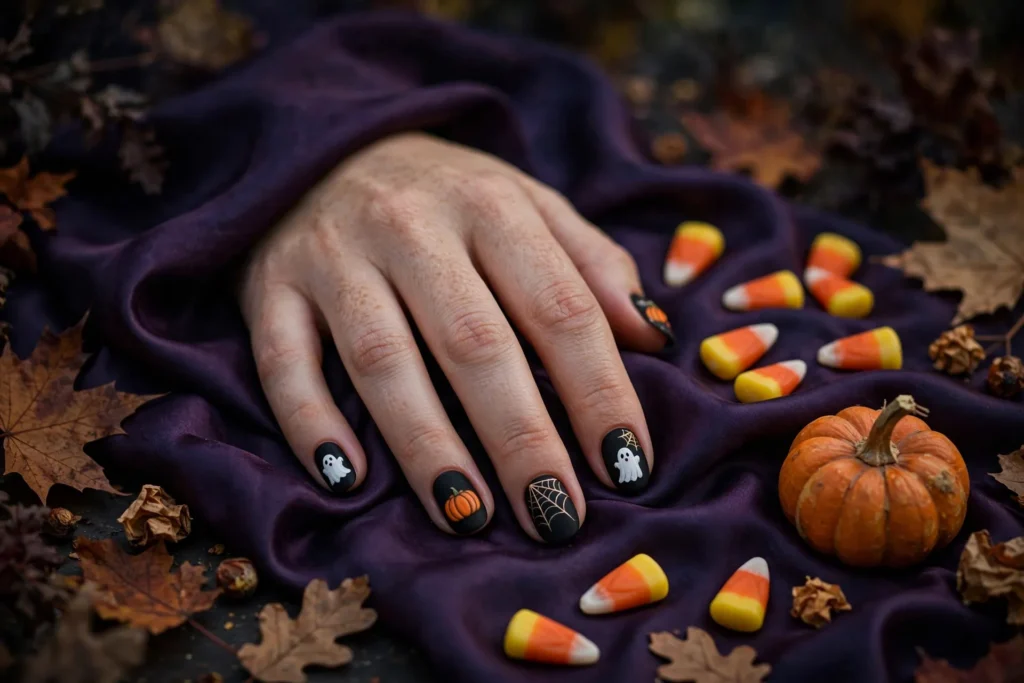
Paint all nails a deep color — black, plum, or navy — then paint one accent nail (ring finger works best) white and add two black dots for eyes and a small oval mouth. That’s it. It takes five minutes, it reads as “Halloween” from across the room, and it’s the design I recommend to every beginner.
2. Blood Drip Tips
Nude or pale pink base, then blood red “drips” from the cuticle using a dotting tool or the polish brush dragged downward in wavy lines. It looks dramatic and took me under ten minutes once I stopped overthinking the drip shapes. Uneven drips look more realistic anyway.
3. Black Cat Silhouette
Orange base, black cat silhouette on the accent nail. If freehanding a cat sounds terrifying, use a sticker — I did for two years before attempting it freehand, and honestly the sticker version looked better.
4. Spooky French Tips
Instead of white tips, do black tips on a nude base, then add a tiny orange pumpkin or white ghost on one nail. This one survives the office — it reads as a dark French manicure with a wink.
5. Spiderweb Corners
Dark base, then a white or silver spiderweb tucked into one corner of each nail using a liner brush. The trick: draw three lines radiating from the corner, then connect them with curved arcs. My first attempt looked like a cracked windshield. My third looked genuinely good. Practice on paper first — seriously.
6. Candy Corn Stripes
Horizontal stripes in white, orange, and yellow. Use striping tape or just paint carefully — the stripes don’t need to be perfect because candy corn itself is kind of lumpy. This one gets compliments from people who don’t even like Halloween.
7. Pumpkin Patch
Burnt orange base with a darker orange pumpkin shape on the accent nail — just a rounded shape with a brown stem line. Add a green leaf dot if you’re feeling fancy. Sage green pumpkins on a couple of nails is the 2026-trending version and looks surprisingly chic.
8. Ghost Faces All Over
Milky white or sheer base with tiny black ghost faces — dot eyes, oval mouth — scattered on every nail. Cute-spooky rather than scary. This is the most-saved style on Pinterest right now and I get why: it’s adorable and genuinely easy.
9. Witchy Moon Phases
Deep aubergine or black base with gold moon phases on the ring finger — a full circle, a crescent, done with a dotting tool and a liner. Add tiny gold stars on the pinky. This one looks expensive. Nobody believes it’s DIY until you tell them.
10. Bloody Handprint (Yes, Really)
Black base, then a small red handprint or fingerprint on one accent nail using your actual fingertip dipped in red polish. It sounds ridiculous. It looks incredible. Wipe your finger immediately after or you’ll have a red fingertip for days — learned that one the hard way.
11. Coquette Halloween Nails
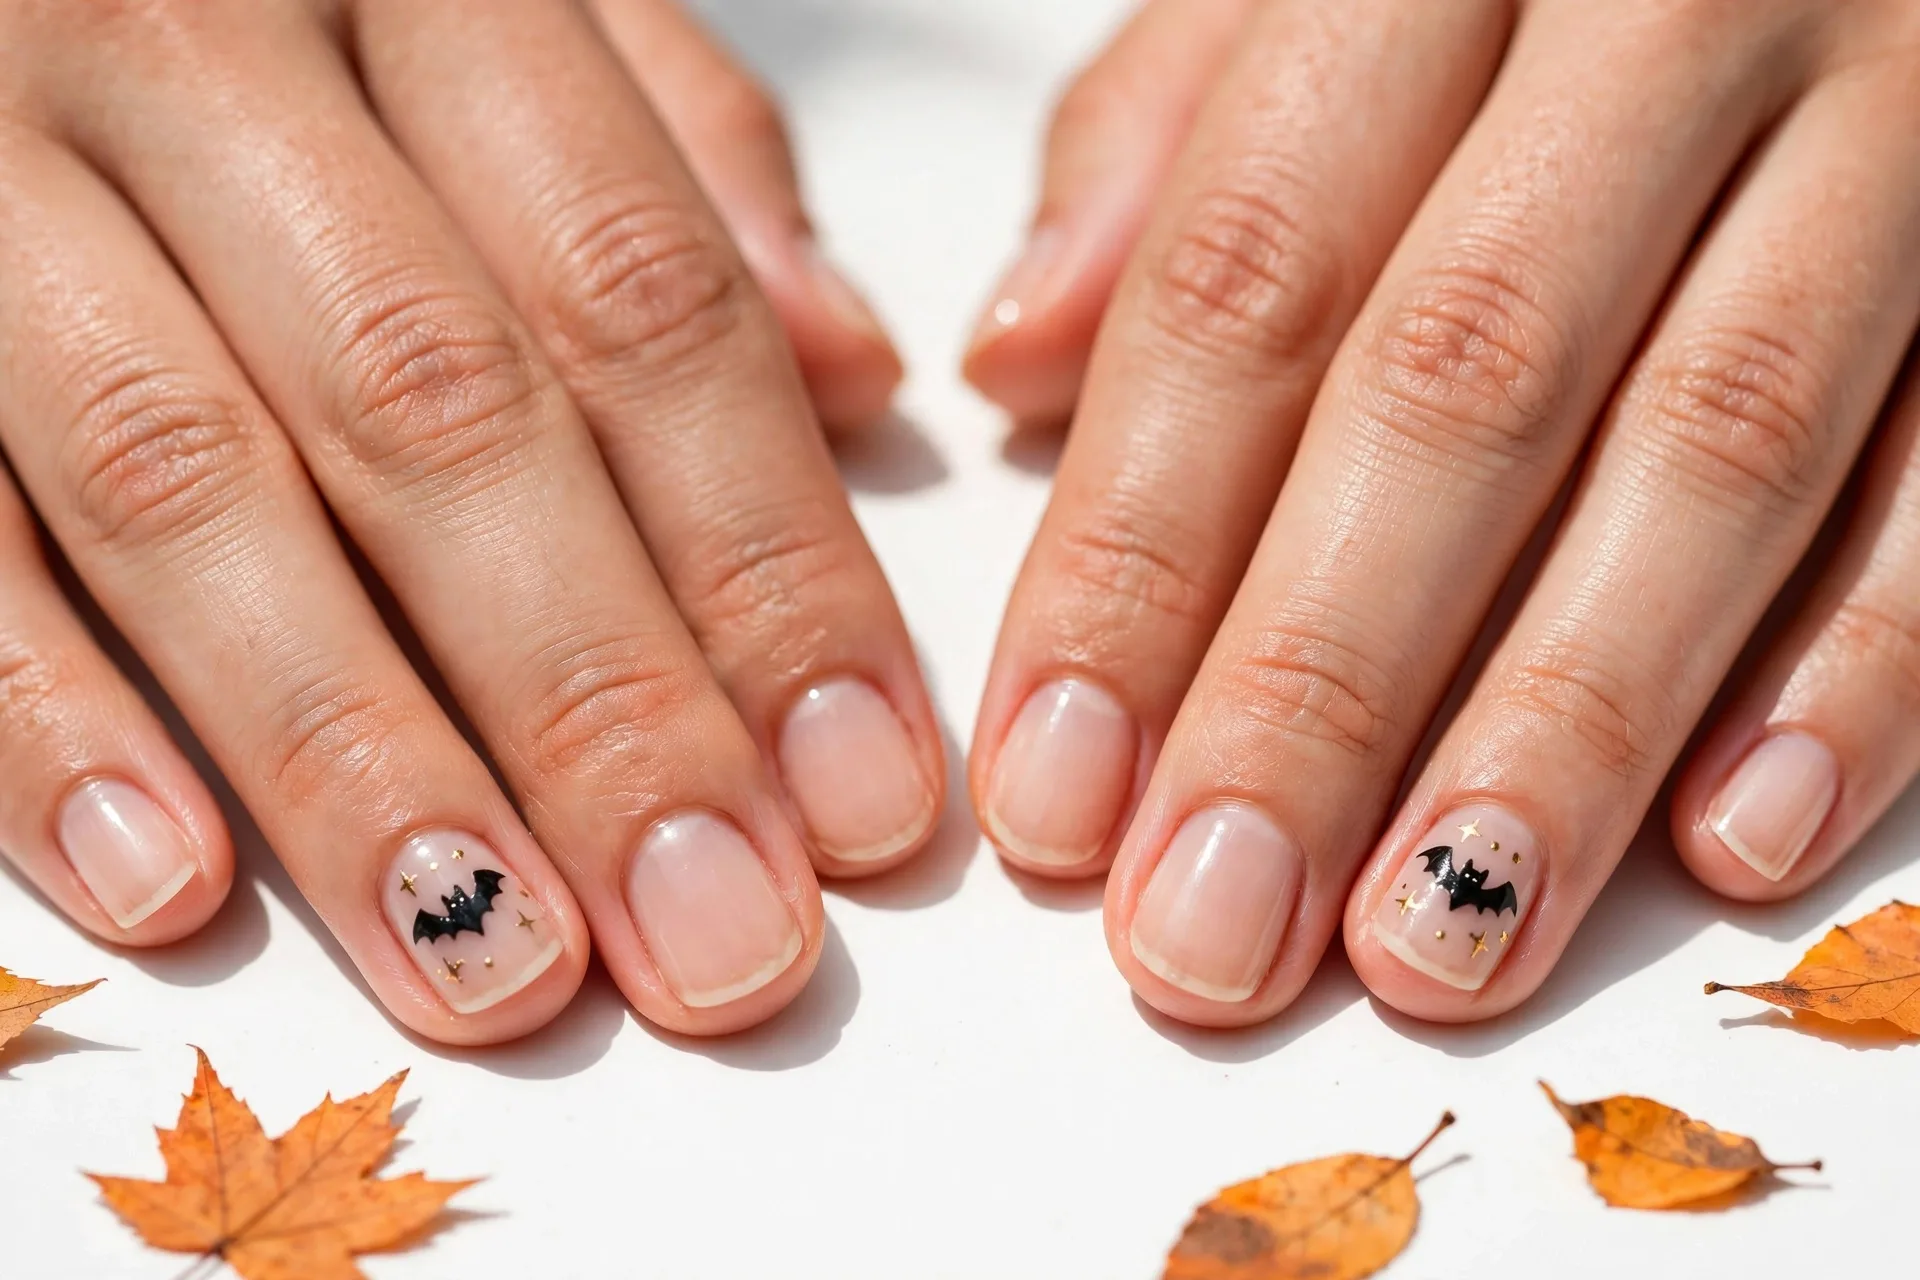
The most searched Halloween nail style of 2026: soft pink or blush base with one small dark detail — a tiny black bat, a small skull, a dark rose. The contrast between the sweet base and the dark detail is the whole aesthetic. Delicate, wearable, very now.
12. Neon Green Slime Drip
Matte black base with neon green drips from the tips — like toxic slime. Use a bright neon green polish and let the drips run slightly uneven. Under a matte top coat this looks straight out of a horror movie. My most complimented set ever, and it took maybe 25 minutes.
13. Full Gothic Set
Alternate matte black and blood red nails, one accent with a hand-painted skull or skeleton face, maybe a rhinestone or two. This is the advanced one — save it for a year when you’ve done a few of the easier designs first. When it works, though, it looks like a $80 salon set.
Mistakes I Made So You Don’t Have To
- Skipping the top coat. Nail art without top coat chips by day two and the edges of stickers lift. Seal everything.
- Doing all ten nails detailed. It looks busy and takes forever. Do 1-2 accent nails detailed and keep the rest simple — it actually looks more professional.
- Using old gloopy polish. If your black polish is thick and stringy, thin it with a drop of polish thinner or just buy a fresh bottle. Old polish is the hidden cause of most ugly DIY manicures.
- Painting in bad light. Tiny details need good light. I do mine by a window in the morning now instead of on the couch at night, and the difference is embarrassing.
How to Make Them Last (and Remove Them Without Ruining Your Nails)
Reapply top coat every 2-3 days — this alone doubles the wear time. Wear gloves for dishes. When Halloween’s over, don’t peel or scrape: buff the top coat off, soak cotton pads in acetone, wrap each nail in foil for 10-15 minutes, and the polish slides off. Peeling takes layers of your natural nail with it, which is why DIY manicures get blamed for “ruining” nails.
Quick Answers to Questions I Get Every October
How long before Halloween should I do my nails? Three to four days before. Fresh enough to look perfect on the night, and if a nail chips you have time to fix it.
Can I do these on short nails? Absolutely — most of these ideas (ghost accent, blood drip, spiderweb corner, coquette) were designed with short nails in mind. Deep colors and small-scale art actually look more deliberate on short nails than fussy detailed designs do.
Gel or regular polish? Regular polish is fine for Halloween — you’re wearing it two to three weeks max. Gel only if you already do gel; don’t learn a new system for a holiday manicure.
What if I mess up a nail? Remove that one nail with a cotton pad and redo it. Nobody redoes all ten. Perfectionism is the enemy of finished Halloween nails.
Final Thoughts
You don’t need salon skills or a big budget to have great Halloween nails — you need a base coat, thin coats, and the confidence to paint one lumpy ghost. Start with the single ghost accent or the blood drip tips, wear them to one party, and see how many people ask where you got them done. Then you can tell them the truth: your couch, a toothpick, and $4 of polish.



Pingback: Gel-X Nail Extensions at Home: A Beginner's Guide (What I Learned Doing My Own)