
The $30 Halloween That Beat the $200 One
Two Octobers ago I spent nearly $200 on Halloween decorations from a big-box store. Plastic skeletons, light-up pumpkins, a fog machine that broke by the second weekend. The next year, broke and slightly bitter, I made everything from paper, jars, and dollar-store supplies for under $30.
Guess which Halloween my neighbors actually complimented? The handmade one. Every single time someone knocked, they asked where I bought the glowing jar pumpkins. My face when I said “an old pasta sauce jar and tissue paper” was worth more than the fog machine ever was.
That’s the thing about Halloween crafts: handmade looks intentional. Store-bought looks… purchased. Here are 12 easy DIY Halloween crafts I’ve actually made, with honest difficulty ratings, real costs, and the mistakes I made so yours turn out better than mine did.
Before You Start: My Craft Table Rules
1. Pick one color palette
Black, orange, and cream. Or black, white, and gold. Or purple and green. Whatever — just pick three colors max. The year I used “all the Halloween colors” my living room looked like a candy store exploded. Restraint looks expensive.
2. LED candles only
Real candles inside paper crafts is how fires start. Battery tea lights cost almost nothing, they flicker convincingly, and you can leave them on all evening without worry. I buy them in 24-packs.
3. Hot glue is your best friend and worst enemy
It bonds everything in seconds. It also strings everywhere and burns fingers. Keep a bowl of cold water nearby for the inevitable finger dip. Low-temp glue guns exist and they’re worth it if you craft with kids.
12 Easy DIY Halloween Crafts
1. Glowing Mason Jar Pumpkin Lanterns (10 minutes, ~$2 each)
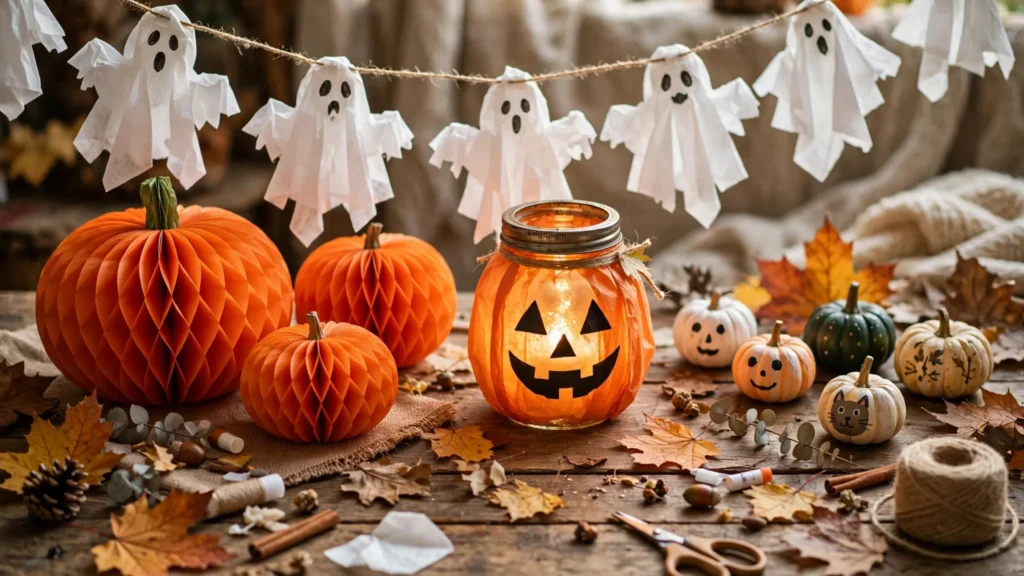
The craft that started it all for me. Take any glass jar — mason, pasta sauce, pickle, whatever. Tear orange tissue paper into pieces, brush the jar with Mod Podge or watered-down white glue, stick the tissue on. Draw a jack-o’-lantern face with a black marker. Drop in an LED tea light. Done. They glow like real pumpkins and cost almost nothing. My first batch used a jar that still faintly smelled of pickles; nobody noticed.
2. 3D Honeycomb Paper Pumpkins (30 minutes, ~$5)
Cut identical pumpkin shapes from orange cardstock (about 12-15 of them), glue them together along alternating fold lines, then fan the stack open into a 3D honeycomb pumpkin. Add a green paper stem and a black face. They look like boutique decorations. The gluing pattern is the only tricky part — glue line A on sheet 1, line B on sheet 2, alternating. Once it clicks, you can make a ghost and a bat the same way.
3. Tissue Paper Ghost Garland (20 minutes, ~$3)
Drape white tissue paper over foam balls or crumpled newspaper balls, tie off the “neck” with string, draw a face with a marker. String five or six along a piece of twine and hang it over a doorway. Add pink blush dots on the cheeks and they go from spooky to adorable — my niece’s favorite, and the one craft my whole family asks for every year.
4. Bloody Drip Candles (15 minutes, ~$4)
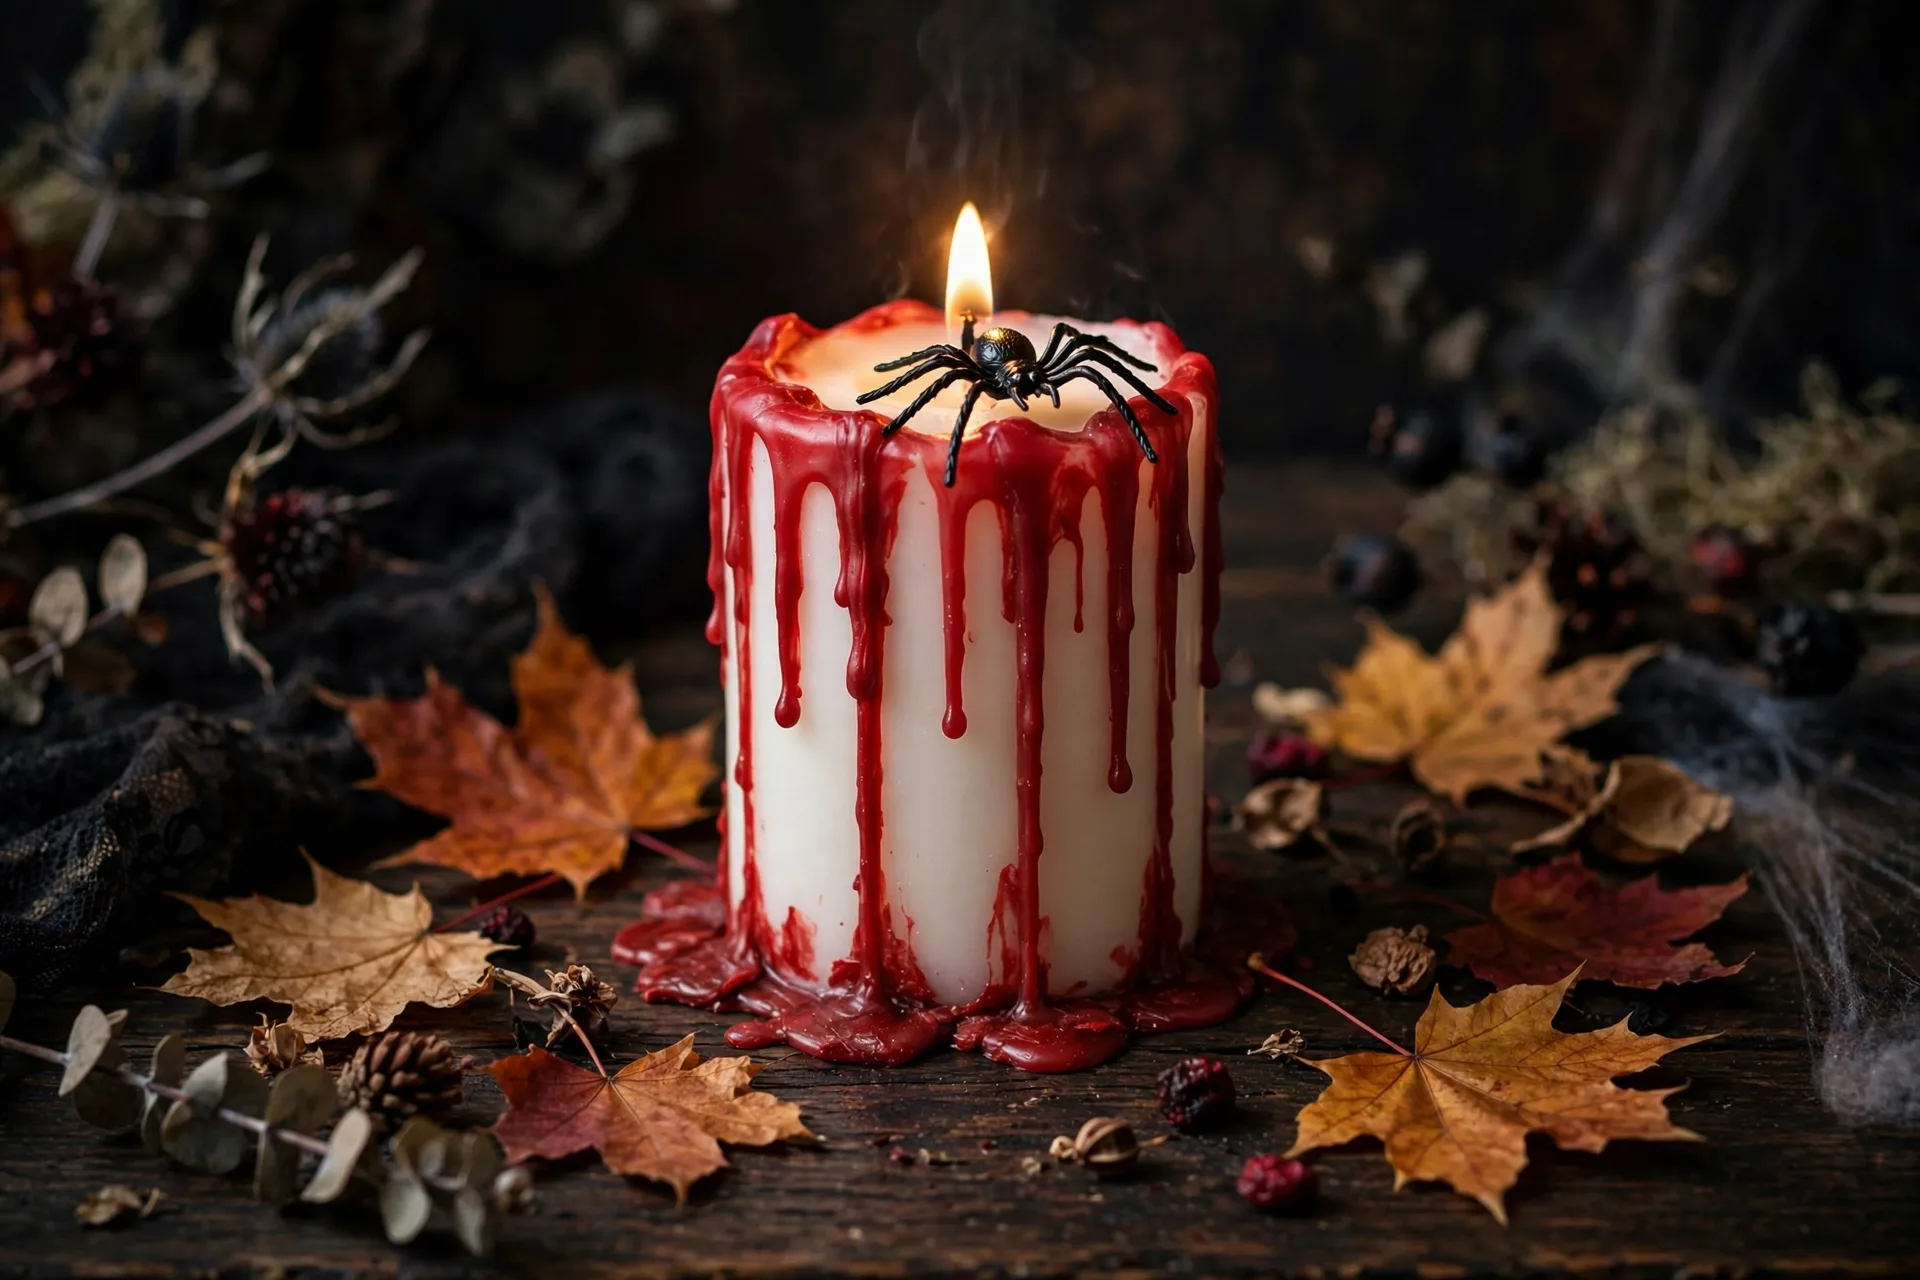
White pillar candles plus a red candle. Light the red candle and drip the wax down the sides of the white one. Add a small plastic spider from the dollar store. It looks genuinely creepy on a mantel, especially with the lights low. Never leave real candles burning unattended — I use LED pillars for the base and only the red dripping is real wax, blown out after photos.
5. Paper Bat Wall Swarm (25 minutes, ~$2)
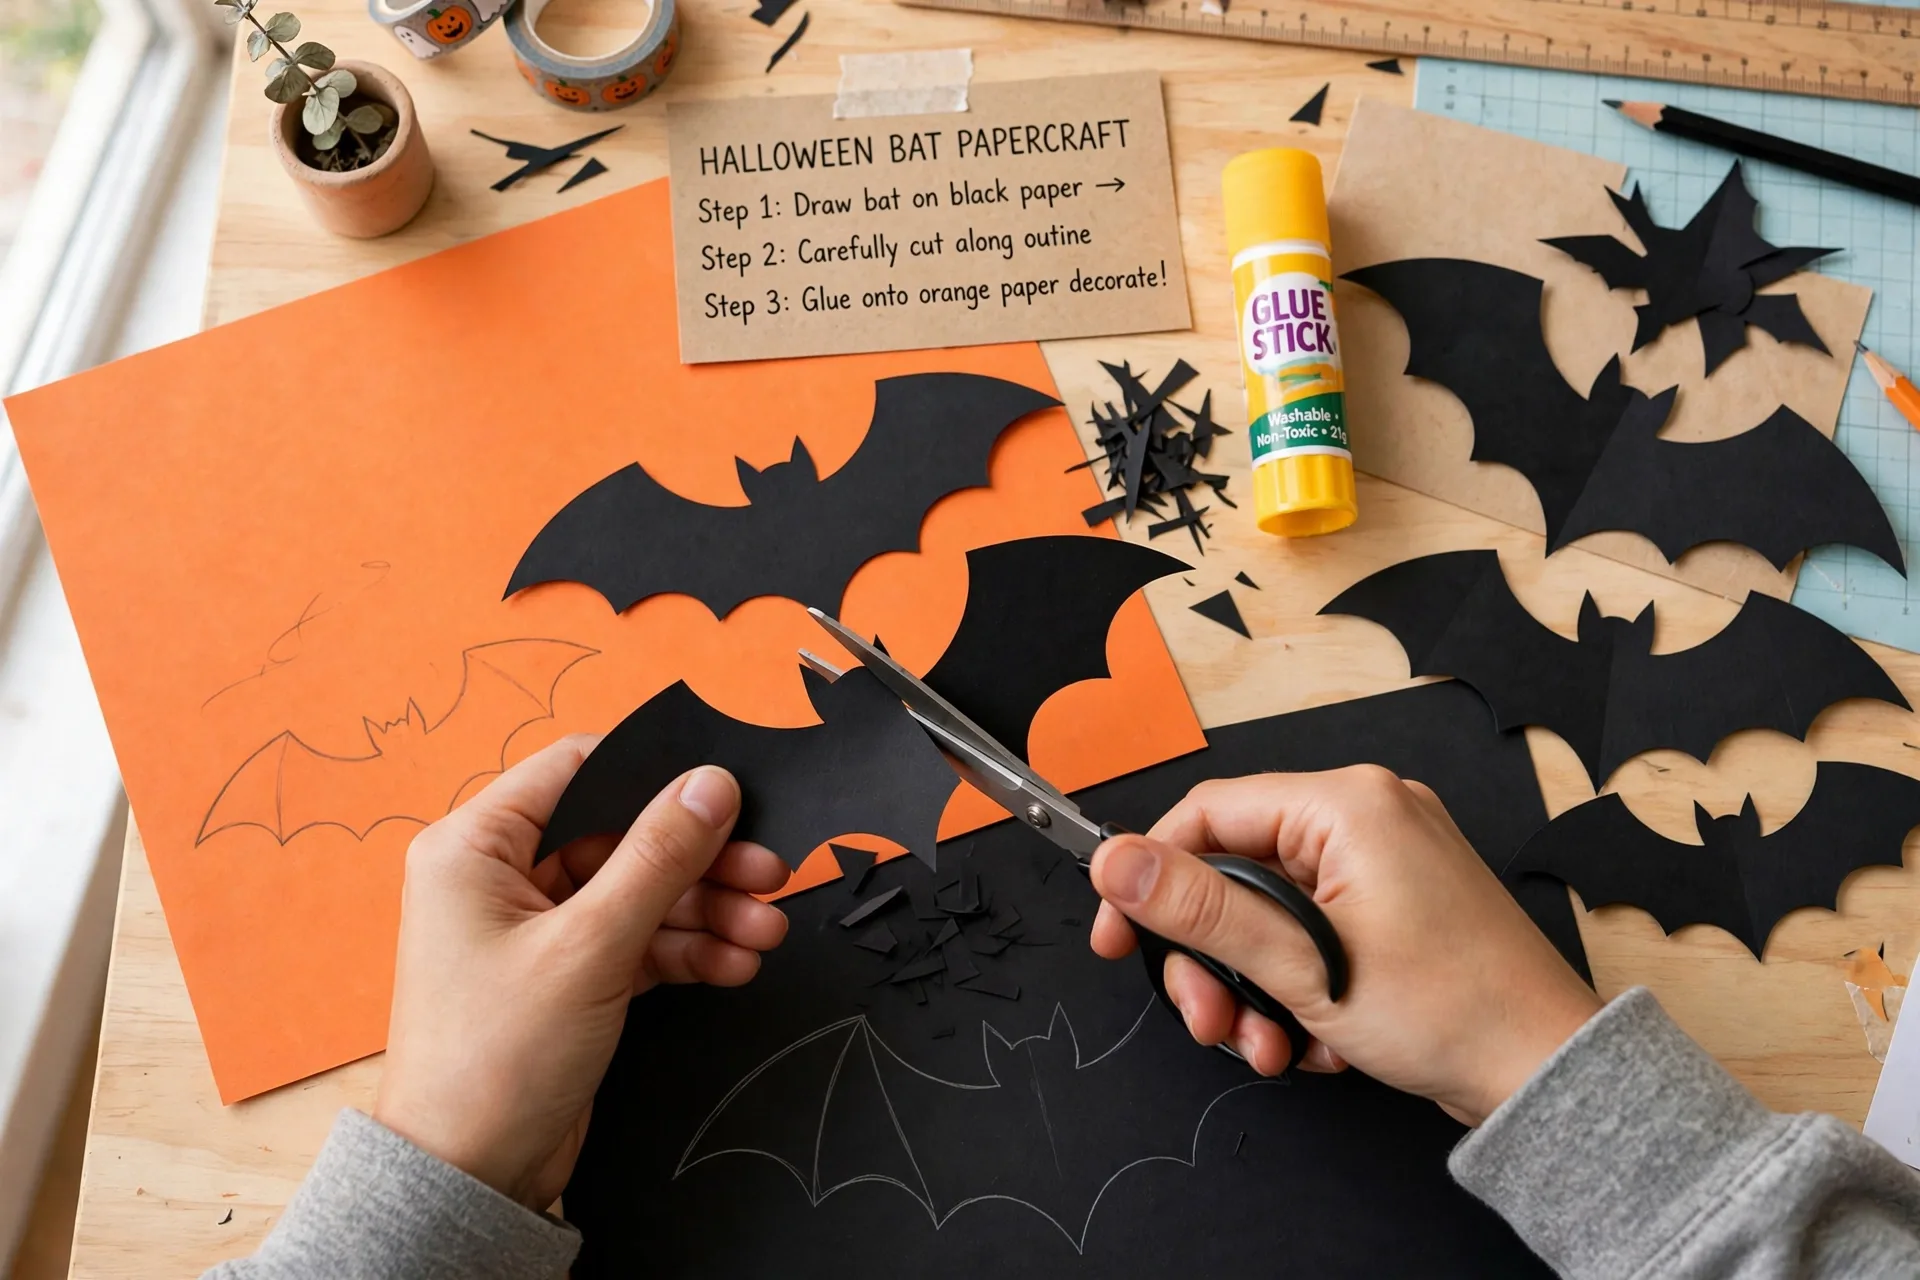
Cut bat silhouettes from black cardstock — fold the paper in half and cut once to get symmetrical wings. Fold the wings slightly and stick them to the wall with removable mounting putty so they look 3D, mid-flight. A swarm of 20-30 bats climbing a wall or across a mirror is the highest-impact-per-dollar decoration I know. Templates are free online; trace one and batch-cut.
6. Pumpkin Painting (No Carving) (1 hour, ~$8)
Real pumpkins, acrylic paint, no knives. This is the craft that converted me from carving forever: painted pumpkins last weeks instead of days, there’s no slimy guts, and kids can do the whole thing. White pumpkins with black faces look modern. Metallic gold pumpkins look expensive. My favorite: sage green pumpkins with simple black line faces — very 2026.
7. Mini Pumpkin Candle Holders (45 minutes, ~$6)
Hollow out mini pumpkins with a spoon, drop in an LED tea light. That’s the whole craft. Line them down the center of a dinner table or along porch steps. They dry out after about a week, so make them the week of Halloween, not the month of.
8. Cheesecloth Ghosts (30 minutes + drying, ~$5)
The classic for a reason. Drape cheesecloth soaked in liquid starch over a balloon on a bottle (the classic ghost form), let it dry overnight, pop the balloon, add eyes. They stand on their own and look genuinely eerie hanging from a porch ceiling with fishing line. My first one collapsed because I was impatient and didn’t let it dry fully — give it the full night.
9. Water Slide Decal Mug & Candle (20 minutes, ~$7)
This is the “expensive look for cheap” hack. Water slide decal paper (printable) lets you transfer vintage Halloween graphics onto a plain white mug or candle. Soak the printed decal 60 seconds, slide it on, smooth out the water. Suddenly a dollar-store mug looks like a boutique find. I made a set of four “witches brew” mugs as party favors and people refused to believe they were DIY.
10. Pipe Cleaner Mini Pumpkins (15 minutes, ~$2)
Orange and green pipe cleaners twisted into tiny pumpkin shapes. Twist an orange pipe cleaner into a coil ball, add a green stem. They take two minutes each once you get the rhythm. Scatter them in a bowl as table confetti, or tie them to gift bags. The definition of a small craft with outsized charm.
11. Haunted House Silhouette Jars (20 minutes, ~$3)
Same technique as the pumpkin lanterns, but with black tissue paper: cut a haunted house, bare tree, or witch-on-broom silhouette from black paper, stick it on a jar lined with orange or purple tissue, add an LED light. The silhouette glows against the colored light and looks like a tiny haunted diorama. These photograph beautifully — mine got the most Pinterest saves of anything I’ve ever made.
12. Vintage Paper Pumpkin Stack (2 hours, ~$10)
The most involved craft on this list and the one I’m proudest of. Stackable foam or plastic pumpkins from the dollar store, shaped with foil where you want ears or hats, then covered in torn paper towel strips dipped in Mod Podge for a papier-mâché texture. Paint in vintage white, black, and orange with folk-art style faces. They look like the expensive reproductions — mine sit on my porch every year and have survived three Halloweens.
Mistakes That Taught Me the Most
- Crafting the week of Halloween. Start early October. Rushing crafts the night before a party produces lopsided ghosts and glue-gun burns.
- Real candles in paper crafts. Just don’t. LED tea lights. Every time.
- Buying “craft kits” instead of supplies. Kits cost 3x the raw materials and make exactly one thing. A pack of cardstock, Mod Podge, and LED lights makes ten things.
- Skipping the seal. Outdoor paper crafts need a coat of clear sealer or one damp night ruins them. Learned this watching a bat swarm melt in the rain.
Where to Put It All
Group your crafts instead of scattering them. Three glowing jars together on a porch step beat one jar in three different rooms. A mantel with the bloody candles, ghost garland above, and bat swarm on the adjacent wall reads as “decorated for Halloween.” The same items spread across the house read as clutter. Clustering is the difference.
What to Make With Kids (Without Losing Your Mind)
Not all of these are kid-friendly — the bloody candles and the Mod Podge stack need adult hands. But the mason jar lanterns, tissue ghosts, paper bats, pipe cleaner pumpkins, and pumpkin painting are perfect for kids ages 4 and up. Set up one “kid station” with just those supplies, cover the table with a plastic cloth, and let them go. Their ghosts will be lopsided. Their pumpkins will have seven eyes. Those are the ones you’ll keep.
One rule that saved my sanity: prep everything before the kids sit down. Pre-cut the bat shapes, pre-tear the tissue paper, pre-fill the glue cups. Kids have about twenty minutes of craft patience; spend it on the fun part, not the setup.
Final Thoughts
The $200 store-bought Halloween is sitting in a box in my garage. The $30 handmade one lives in my camera roll and my neighbors’ memories. Start with the mason jar lanterns tonight — ten minutes, one jar — and see how it feels when something you made glows on your porch. That’s the whole hobby, right there.

Pingback: 12 Easy DIY Christmas Crafts Under $10 (I Made Them All)
Pingback: 15 DIY Halloween Decorations That Look Store-Bought (I Made Them All)
Pingback: 13 Halloween Crafts for Kids: Easy, Low-Mess Projects They'll Love
Pingback: 15 Dollar Store Halloween Crafts That Look Expensive (All Under $5 Each)
Pingback: 30 Hilarious DIY Fails That'll Make You Feel Like a Pro