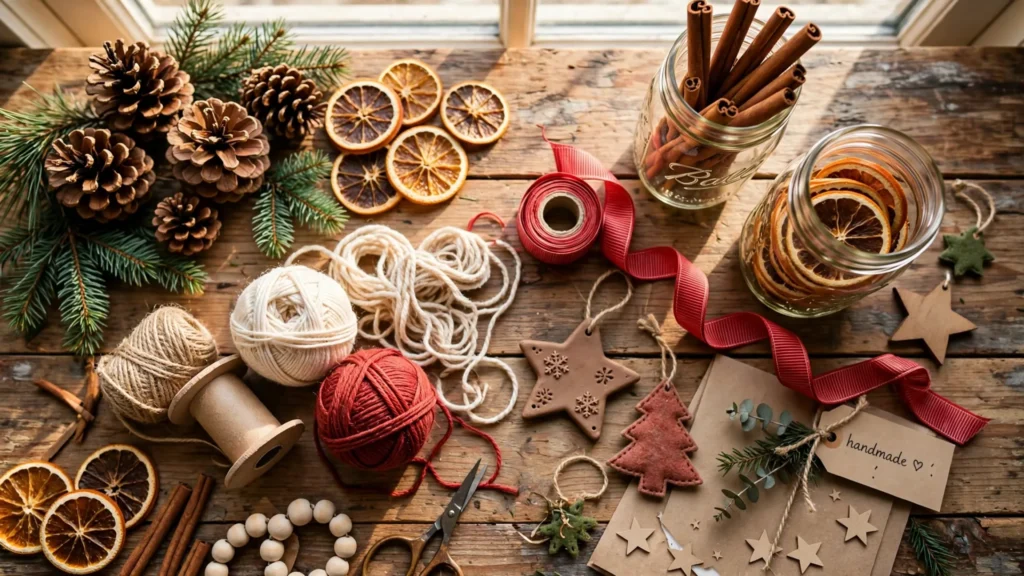

Every December, I tell myself I’m going to buy thoughtful, beautiful Christmas decorations. And every December, I look at the prices, laugh nervously, and head to the dollar store instead. Two years ago I decided to stop feeling bad about it and start getting good at it. Since then I’ve made dozens of Christmas crafts, and twelve of them earned permanent spots in my holiday bins — the ones I actually look forward to unpacking. I made every single craft on this list myself, most for under $10, and I’m going to tell you exactly what worked, what didn’t, and which ones are worth your Saturday afternoon.
1. Pinecone Christmas Trees
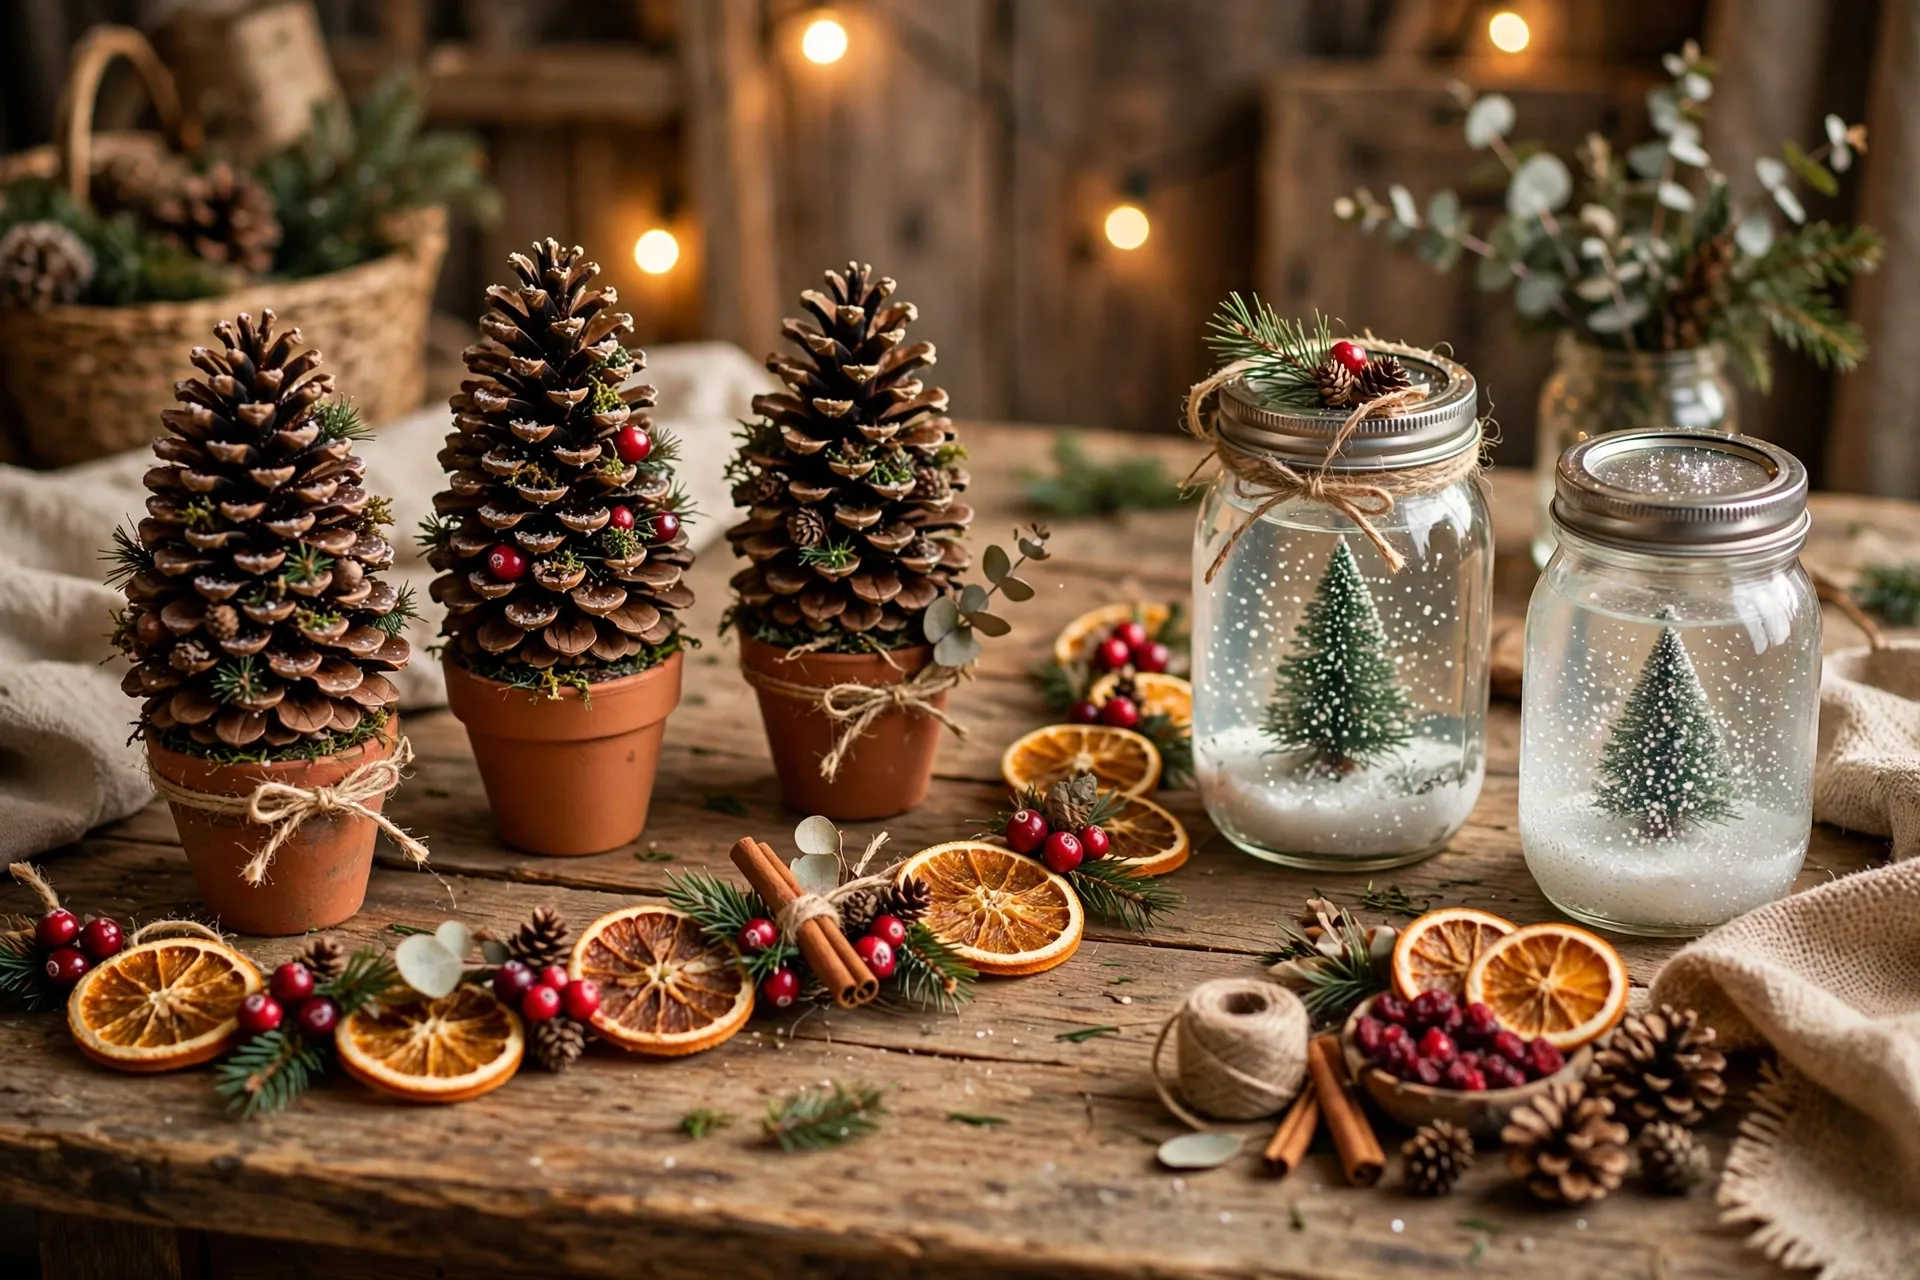
The gateway craft. Collect large pinecones (or buy a bag for $5), stand them upright in a small terracotta pot or a shot glass, and you’ve got a miniature Christmas tree. I paint mine with a light dusting of white craft paint on the tips for a “snowed” look, then add a tiny star sticker on top.
What I learned: bake collected pinecones at 200°F for 30 minutes first — they open up beautifully and it kills any tiny residents. Glue the pinecone into the pot with hot glue; balancing alone doesn’t survive a curious cat. A set of five in graduated sizes down a windowsill looks genuinely charming. Total cost: about $6 for paint and pots if you forage the pinecones. Time: 20 minutes plus drying.
2. Dried Orange Slice Garland
This is the craft that makes your whole house smell like Christmas while you make it. Slice oranges 1/4-inch thick, bake at 200°F for 2–3 hours (flipping halfway), then string them on twine with cranberries and cinnamon sticks. Hang on the tree, the mantel, or a window.
My first batch burned because I sliced too thin and walked away. Set a timer and check every 30 minutes after the first hour. Thicker slices (closer to 1/3 inch) are more forgiving. The oranges darken as they dry — that’s normal and actually prettier than bright orange. Three oranges make about a four-foot garland. Cost: $3 for the oranges. It lasts the whole season, and at the end you can compost it. Zero waste Christmas decor.
3. Mason Jar Snow Globes
Glue a tiny bottle-brush tree (or any small figurine) to the inside of a mason jar lid, fill the jar with water, a drop of dish soap, and a teaspoon of glitter, then screw the lid on tight and flip it. Instant snow globe. My niece made six of these last Christmas and gave them as teacher gifts.
The dish soap is the secret ingredient — it slows the glitter’s fall so the “snow” drifts instead of plummeting. Use distilled water if your tap water is hard; minerals make the water cloudy over time. Seal the lid with hot glue around the rim for kid-proofing. Wide-mouth jars work best (easier to arrange the scene). Cost: about $2 per globe using dollar-store jars and trees. These genuinely look store-bought when the water is clear.
4. Cinnamon Stick Candle Holders
Wrap a plain pillar candle with cinnamon sticks, tied with twine or ribbon. It looks like a high-end catalog piece, smells incredible when the candle warms the cinnamon, and takes literally five minutes.
Use a rubber band to hold the sticks in place first, then cover the rubber band with the twine — much easier than trying to tie loose sticks. Trim the sticks to roughly the candle’s height with garden shears (they snap cleanly). Safety note I take seriously: never leave these burning unattended, and keep the flame well above the cinnamon line — use tall pillar candles, not tea lights. Cost: $4 for a bundle of cinnamon sticks that makes three holders. These also make fantastic hostess gifts.
5. Paper Bag Star Lanterns
Fold and cut brown paper lunch bags into intricate star shapes, then unfold them into three-dimensional stars. Put a battery tea light inside and hang them in windows. They cast the most beautiful patterned shadows.
This is the fussiest craft on the list — the folding sequence matters, so watch a video tutorial once before starting (I messed up my first three). Use an X-Acto knife for the cuts, not scissors; clean cuts are what make the shadows crisp. Only use LED tea lights — real flames and paper bags are an obvious no. A string of five stars in a window looks magical. Cost: $2 for the bags. Time: about 15 minutes per star once you get the rhythm.
6. Salt Dough Ornaments
The classic for a reason: 2 cups flour, 1 cup salt, 1 cup water, knead, roll, cut with cookie cutters, bake at 250°F for 2 hours. I make these every year with my family, and our tree is now half salt-dough ornaments with twenty years of history.
Roll the dough 1/4-inch thick — thinner ornaments curl and break. Poke the hanging hole BEFORE baking (a straw works perfectly). Paint after they’re completely cool, and seal with clear acrylic spray or they’ll absorb moisture and go soft by January. My upgrade: press lace or leaves into the dough before baking for embossed texture, then dry-brush with gold paint. They look like artisan ceramics. Cost: essentially free from pantry ingredients. The only real expense is time, and it’s time well spent.
7. Wine Cork Reindeer
Three wine corks, some googly eyes, red pom-pom noses, and brown pipe cleaners for antlers — that’s a reindeer. Hot glue it all together in ten minutes. I started making these because I had a drawer full of corks and a December dinner party coming.
Cut one cork in half for the body segments (head + body + legs get complicated; simpler is cuter). The antlers are the make-or-break detail: twist two short pipe cleaner pieces into a Y shape and push them firmly into the top cork. Googly eyes slightly crossed look intentional and hilarious. These are great kid crafts — no sharp tools, instant gratification. Cost: free if you drink wine, about $3 for pom-poms and eyes if you don’t. Mine live on the mantel all December.
8. Yarn-Wrapped Christmas Trees
Cut tree-triangle shapes from cardboard, wrap them tightly in green yarn (or any color — I did a set in cream and gold that looked very chic), and stick them on wooden skewers in a pot of floral foam. Instant modern Christmas trees.
The wrapping is meditative once you start — it’s a perfect TV craft. Anchor the yarn end with tape on the back, wrap diagonally with slight overlap so no cardboard shows, and secure the end with hot glue. Vary the heights for a forest effect. My tip: use chunky yarn; thin yarn takes three times as long and shows cardboard through the gaps. Cost: $5 for yarn and cardboard. A set of five takes about an hour total, mostly while half-watching a holiday movie.

9. Pinecone Fire Starters (That Double as Decor)
Dip pinecones in melted soy wax (scented with cinnamon or pine essential oil), let them cool on parchment paper, and pile them in a basket by the fireplace. They’re gorgeous decor and they actually work — one lights a fire beautifully.
Melt the wax in a double boiler, never directly on heat. Dip twice for a good coating, letting them cool between dips. Add the essential oil off the heat so it doesn’t burn off. These make incredible gifts: a basket of twelve with a ribbon, and you’ve spent maybe $8 total. Safety: they’re fire starters, so store the basket away from the fireplace, not next to it. I learned that the arrangement matters — mixed sizes in the basket look abundant; uniform sizes look manufactured.
10. Handprint Santa Ornaments
Paint a child’s (or your own) hand white, press it onto a clear plastic ornament ball, and once dry, paint a Santa face on the palm print — the fingers become the beard, the thumb becomes the hat. Add the year with a paint pen. My sister has twelve years of these on her tree, and they’re her most precious ornaments.
Use acrylic craft paint, not washable kid paint — it adheres to the plastic and doesn’t flake. Do the handprint first and let it dry completely (an hour) before adding the face details, or you’ll smear the beard. Flat-sided ornaments (the “disc” shape) work better than round balls — more surface area for the print. Cost: $1 per ornament. This is the craft with the highest sentimental value per dollar in existence.
11. Book Page Christmas Trees
Fold the pages of an old paperback into tree shapes — every page folded in half diagonally, then the whole book fanned open and glued into a circle. Spray the edges gold. It looks like an expensive boutique decoration and costs nothing if you use a damaged book.
Please don’t destroy a good book — use one that’s already falling apart (thrift stores sell them for 50 cents). The folding takes about 45 minutes for a 200-page book; put on a podcast. A light coat of gold spray paint on just the page edges elevates it enormously. Stand it on a candlestick or small cake stand for height. I’ve made four of these as gifts and every recipient assumed I’d bought them. That’s the dream review for a DIY craft.
12. Pom-Pom Garland
Buy or make yarn pom-poms in Christmas colors, string them on twine, hang everywhere. I made a twelve-foot garland in red, white, and green while binge-watching a series, and it now lives on my mantel every December.
Making pom-poms with a fork (wrap yarn 40 times, tie the middle, cut the loops, fluff) is free and weirdly satisfying, but buying a bag of pre-made ones for $6 saves an hour. Either way, vary the sizes — mixed pom-poms look designer; uniform ones look like a clown nose production line. Space them about 3 inches apart on the twine. This garland is nearly indestructible, packs flat, and my cat has failed to destroy it for two years running, which is the highest durability endorsement I can offer.
What I’d Tell You Before You Start
Start with the pinecone trees or the cinnamon candle holders — both are nearly impossible to mess up and they build your confidence. Buy a hot glue gun if you don’t own one; half of this list runs on hot glue. Shop the dollar store first for jars, candles, ribbon, and googly eyes — the craft store markup on basics is wild. And give yourself permission to make ugly first attempts. My first paper star looked like a crumpled napkin. My tenth looked like a boutique window display. The only difference was practice, and practice is half the fun of December anyway.