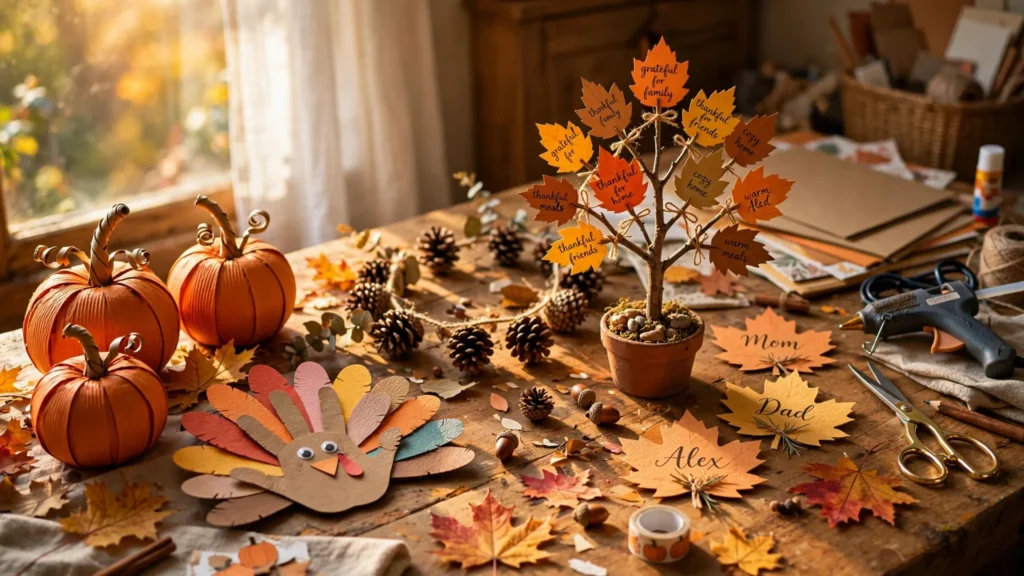

Every November I tell myself I’m not going to overdo Thanksgiving this year. And every November, I end up at the kitchen table with glue on my fingers, surrounded by paper leaves, wondering how a “quick afternoon craft” turned into four. This year I finally did it properly: I made twelve of them, timed myself, wrote down what everything cost, and noted every single thing that went wrong. Because crafts never go exactly like the pretty photos, and I figured you deserve the honest version.
Here’s the good news: none of these took more than an hour, most cost under five dollars, and nine of them are things you can make with kids without losing your mind. I made every single one on this list myself — glue gun burns and all.
Supplies I Actually Reuse Every Year
Before we get into the crafts, here’s the little box of supplies that lives in my closet and comes out every fall. Buying these once has paid for itself three Thanksgivings in a row:
- Hot glue gun + glue sticks (~$8 for the gun, ~$3 for a 20-pack of sticks at the dollar store). The sticks are the consumable part; a pack lasts me two full seasons.
- Construction paper multi-pack (~$4 for 100 sheets in fall colors). I go through orange, red, yellow, and brown fastest.
- Twine/jute roll (~$3). Used in at least four of the crafts below.
- Washable kid paint set (~$5). Non-negotiable if children are involved. I’ll explain why shortly.
- Googly eyes (~$1–2 for a big bag). They make everything funnier.
- A decent pair of scissors and a hole punch (~$6 total). The hole punch is the unsung hero of garlands and ornaments.
Everything else is stuff you probably have (scrap fabric, mason jars, sticks from the yard) or can grab for a dollar or two. Now — the crafts.
The 12 Crafts
1. Classic Handprint Turkey
Materials: Brown construction paper ($0), orange/red/yellow paper scraps ($0), googly eyes ($1 bag), glue stick ($1), black marker ($1). Total: ~$2.
Difficulty: Easy | Time: 15 minutes | Kid-friendly: Yes — the #1 kid pick
Trace your child’s hand on brown paper, cut it out, and the fingers become the turkey’s tail feathers. Glue colored paper feather shapes behind each finger, stick on googly eyes, and cut a tiny orange triangle for the beak and a red teardrop for the wattle. Write what they’re thankful for on each feather with a marker.
What went wrong when I made it: (1) My first attempt, I traced the hand on white paper by mistake and the turkey looked like a ghost — brown paper really matters here. (2) I used a hot glue gun for the googly eyes and the glue bled through the thin paper, making dark spots. Glue stick works fine and is safer for little hands. (3) The kid wiggled during tracing and I got a six-fingered turkey. I left it. It had character.
2. Paper Strip Pumpkins
Materials: Orange construction paper ($0), green paper scrap ($0), paper fastener/brad ($1 for a pack), hole punch. Total: ~$1.
Difficulty: Easy | Time: 20 minutes | Kid-friendly: Yes
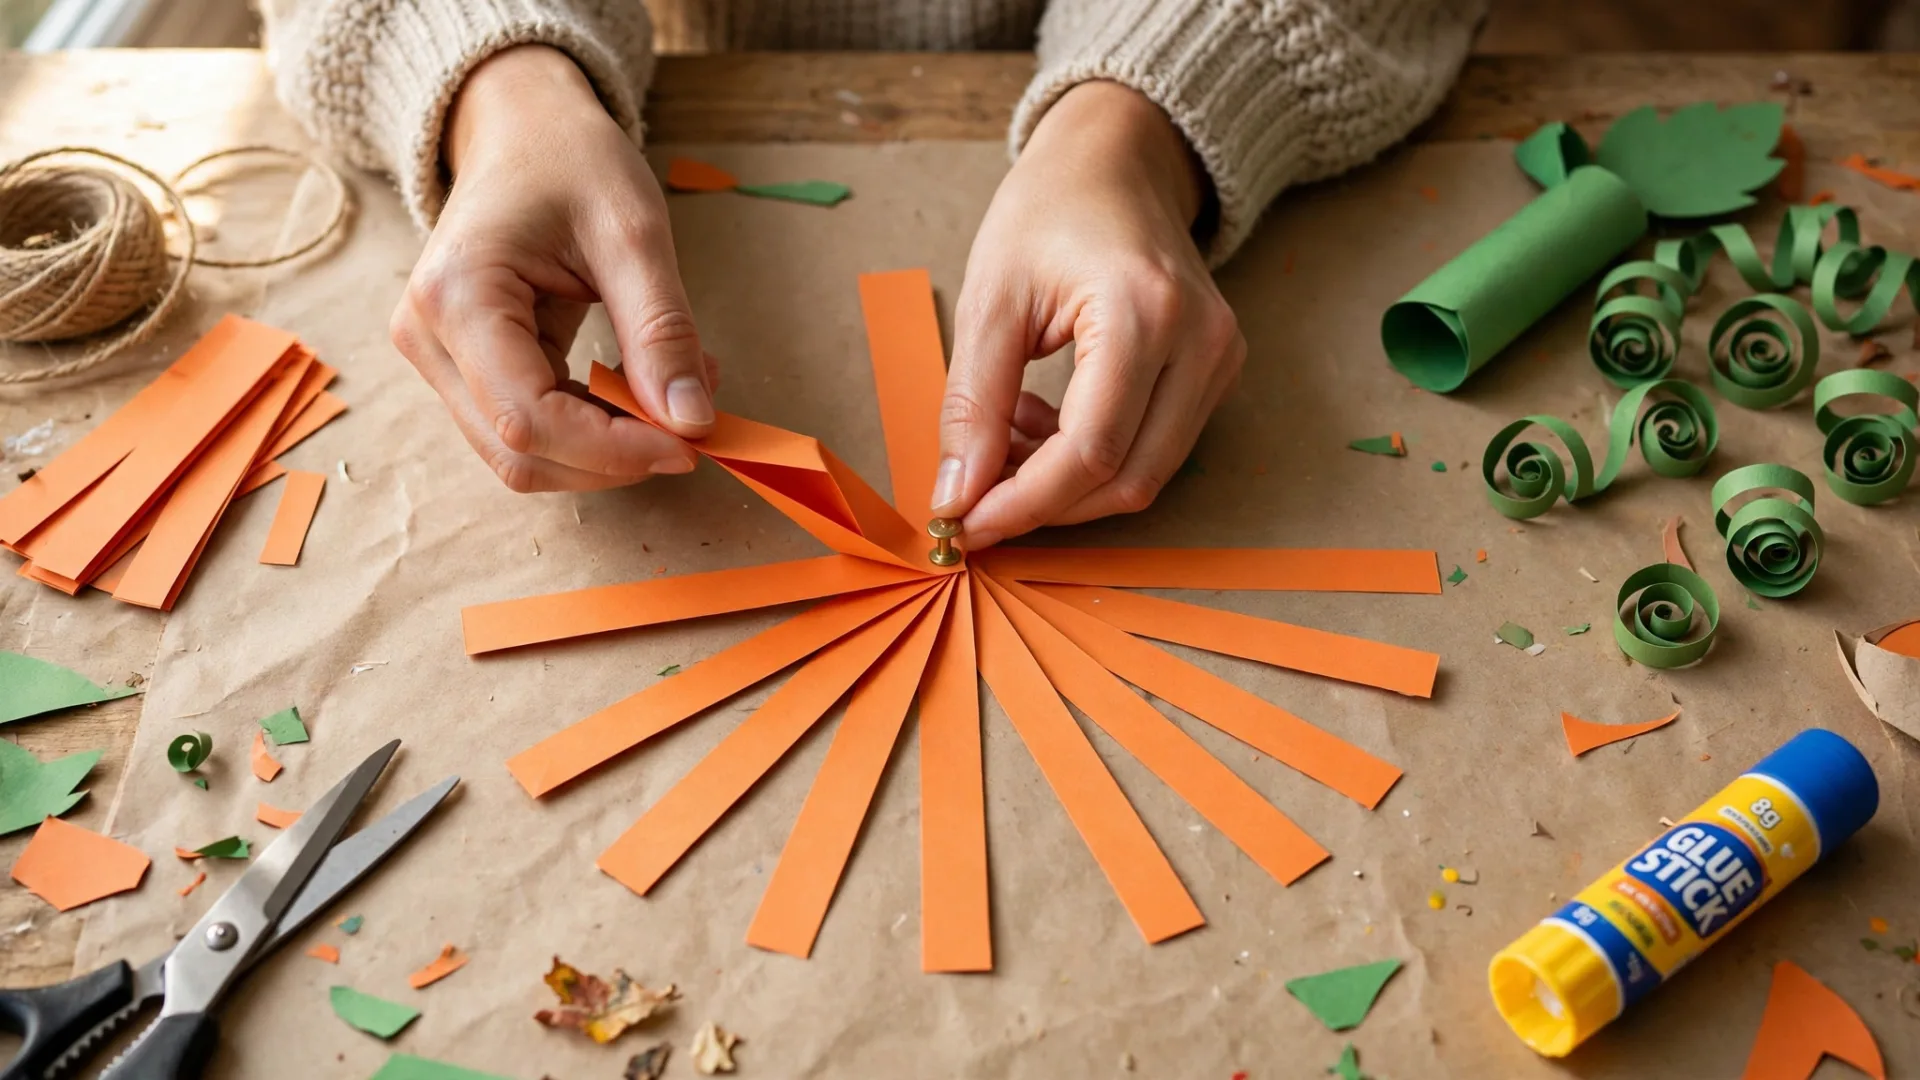
Cut 8–10 strips of orange paper, each about 1 inch wide and 8 inches long. Punch a hole in both ends of every strip, stack them, and push a brad through. Fan the strips out into a pumpkin shape, then push the second brad through the other end to hold it. Curl a green paper strip for the stem and vine, and poke it into the top.
What went wrong when I made it: (1) I made my first strips too narrow (half an inch) and the brad tore right through the holes — 1 inch wide is the minimum that holds. (2) I fanned the strips too aggressively and the pumpkin collapsed into a flat disk; you have to spread them gently and evenly. (3) My green paper stem kept popping out until I glued it instead of just poking it in.
3. Thankful Tree
Materials: Bare branches from the yard (free), mason jar or small pot ($0–2), dried corn kernels or rice to fill ($2), fall-colored paper ($0), twine ($0), hole punch. Total: ~$2–4.
Difficulty: Easy | Time: 30 minutes | Kid-friendly: Yes
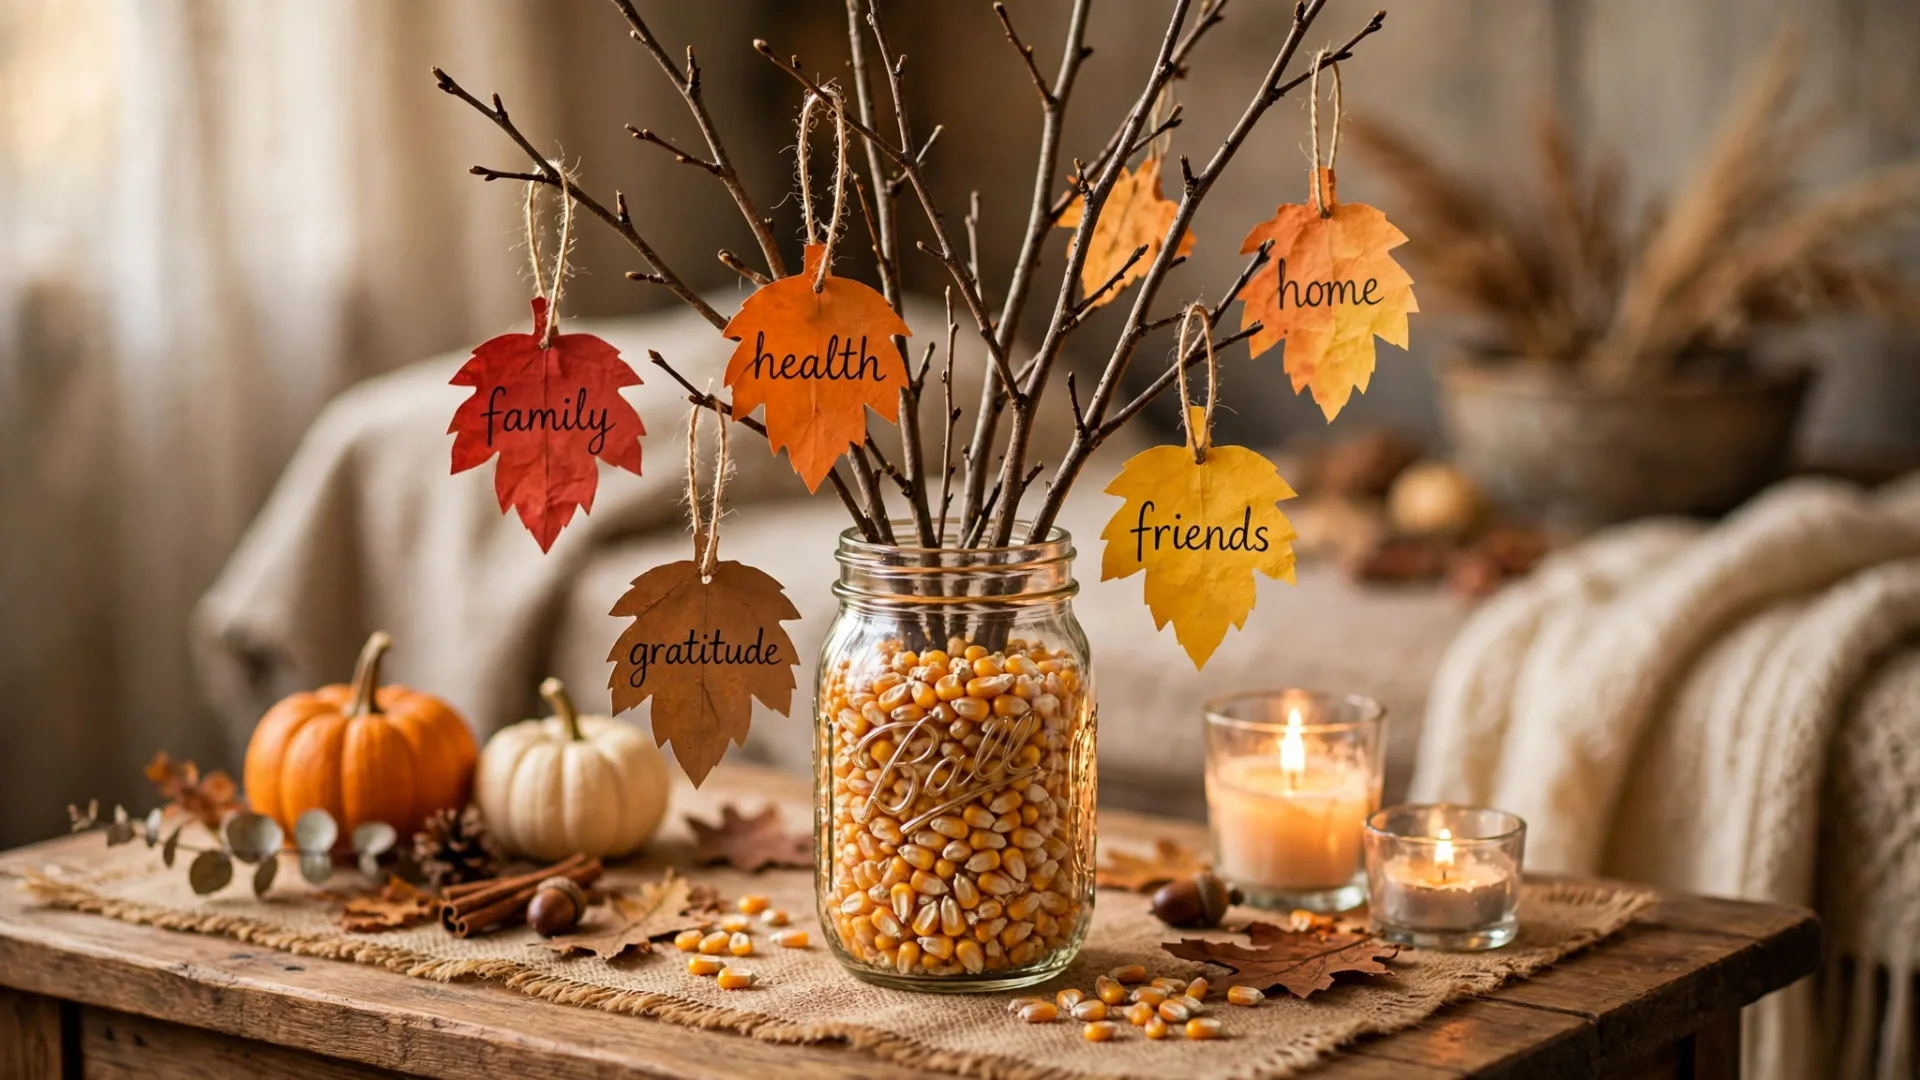
Fill a jar with corn kernels or rice and stick in a few bare branches. Cut paper leaves, punch a hole in each, and thread short pieces of twine through. Let everyone in the family write one thing they’re grateful for on a leaf and hang them. Add a new leaf every day through November — by Thanksgiving dinner, the tree is full.
What went wrong when I made it: (1) My branches were too tall and top-heavy; the jar tipped over twice. Fill the jar at least two-thirds full and keep branches under 18 inches. (2) I used regular string first and the knots kept slipping — twine grips much better. (3) The corn kernels I used for filler started smelling stale after two weeks in a warm room; rice or dried beans hold up longer.
4. Pinecone Turkeys
Materials: Pinecones (free from a park or ~$3 a bag at the craft store), colored paper or craft feathers ($2), googly eyes ($1), hot glue. Total: ~$3–5.
Difficulty: Easy | Time: 25 minutes | Kid-friendly: Yes
Pick a pinecone with a flat-ish bottom so it sits upright. Hot-glue paper or real craft feathers into the back for the tail fan, stick on two googly eyes, and glue a small orange paper triangle for the beak. Line up three or four on the mantel and they look genuinely adorable.
What went wrong when I made it: (1) I grabbed pinecones straight from the park without baking them, and a week later I found tiny bugs in my craft box — bake found pinecones at 200°F (about 95°C) for 30 minutes before using them. Seriously. (2) I burned my fingertip on the glue gun holding a feather in place; use tweezers or a clothespin to hold small pieces. (3) One pinecone refused to sit flat no matter what — I ended up gluing it to a small cardboard circle as a base, which actually looked tidier.
5. Fabric-Wrapped Toilet Paper Pumpkins
Materials: A roll of toilet paper ($0 — grab from the bathroom cabinet), an 18-inch square of fall fabric (~$2–3 from a fabric remnant bin), a cinnamon stick or small branch (free/$1), ribbon or twine ($0). Total: ~$2–4.
Difficulty: Easy | Time: 10 minutes each | Kid-friendly: Yes
Lay the fabric flat, set the toilet paper roll in the center, and tuck the fabric edges down into the cardboard tube, working your way around. Poke a cinnamon stick or short branch into the center for the stem, and tie a little ribbon around it. Unroll the toilet paper a few times first and re-wrap loosely for a rounder pumpkin.
What went wrong when I made it: (1) My first fabric square was too small (12 inches) and the tube peeked out the bottom — 18 inches is the magic number for a standard roll. (2) I used a stretchy fabric and it bunched up in ugly wrinkles; cotton or burlap-style fabric behaves much better. (3) The fabric kept springing out of the tube until I tucked it deeper — really push it down about two inches, not just a light fold.
6. Paper Leaf Gratitude Garland
Materials: Fall-colored construction paper ($0), twine ($0), hole punch, clothespins or mini clips (~$1). Total: ~$1.
Difficulty: Easy | Time: 30 minutes | Kid-friendly: Yes
Cut out a pile of leaf shapes (trace a real leaf if your freehand is shaky like mine). Punch a hole at the top of each leaf, then string them along a length of twine, spacing them a few inches apart. Write gratitude words — family, health, pie — on the leaves. Hang it across the mantel, a doorway, or the front of the Thanksgiving buffet table.
What went wrong when I made it: (1) I cut my first batch of leaves freehand and they looked like potatoes; tracing a real leaf fixed it instantly. (2) I spaced the leaves evenly and the garland looked stiff — clustering them in groups of two and three looks far more natural. (3) The twine stretched under the weight and the garland sagged in the middle overnight; tie it up a little tighter than looks right and it’ll settle into place.
7. Painted Leaf Mason Jar Candle Holders
Materials: Mason jars ($1 each at the dollar store), tissue paper or real fall leaves ($0–1), Mod Podge or watered-down white glue (~$3), tea light candles ($1 for a pack). Total: ~$4–5 for a set of two.
Difficulty: Medium | Time: 45 minutes (plus drying) | Kid-friendly: With supervision
Brush a thin layer of Mod Podge onto the outside of a clean mason jar, press on torn pieces of orange and red tissue paper (or real pressed leaves), overlapping them, then seal with another thin coat. Let dry completely, drop in a battery or real tea light, and they glow like little lanterns on the dinner table.
What went wrong when I made it: (1) I globbed the Mod Podge on too thick and it dried cloudy white instead of clear — thin coats are everything. (2) I used real leaves that weren’t fully pressed flat and the edges curled up as they dried, creating lumpy bubbles; tissue paper is honestly easier. (3) I lit a real tea light in one before it was fully dry and the heat warped the paper — wait the full 2 hours, and battery tea lights are the safer call anyway.
8. Pressed-Leaf Turkeys
Materials: Fall leaves collected outside (free), cardstock ($0), glue stick ($0), marker. Total: $0.
Difficulty: Easy | Time: 20 minutes (plus leaf pressing) | Kid-friendly: Yes — great nature walk activity
Press colorful fall leaves between heavy books for a day or two. Then arrange 5–7 leaves in a fan shape on cardstock, stems pointing inward, and glue them down. Draw or glue on a simple turkey body and face in the center. Every one comes out different, which is the whole charm.
What went wrong when I made it: (1) I skipped the pressing and glued fresh leaves down — they curled within hours and the turkey looked like it was wilting. Press them, even just overnight. (2) I used liquid school glue and the wet leaves bled color onto the cardstock; a glue stick gives a cleaner result. (3) My leaf arrangement kept sliding around while the glue set — assemble it on the table first, take a photo for reference, then glue one leaf at a time.
9. Cinnamon Stick Candle Bundles
Materials: Cinnamon sticks (~$3 for a bag at the dollar store), pillar or jar candles ($1–2), twine ($0), a sprig of greenery or dried orange slice ($0–1). Total: ~$4–5.
Difficulty: Easy | Time: 10 minutes | Kid-friendly: Yes
Stand cinnamon sticks upright around a pillar candle and tie them snugly with twine, or lay a small bundle of sticks across a jar candle and tie with a bow. Tuck in a sprig of rosemary or a dried orange slice. They look like something from a fancy catalog and make the whole room smell like fall.
What went wrong when I made it: (1) I tied the twine too loosely and the sticks slid down one by one like a collapsing fence — wrap it twice and knot it tight. (2) I placed one too close to a lit candle flame and a cinnamon stick started to scorch; keep the sticks at least an inch from any flame, or use flameless candles. (3) Cheap cinnamon sticks vary wildly in length, so my bundle looked jagged — sort them by length first and it takes two minutes.
10. Handprint Turkey Place Cards
Materials: Cardstock ($0), washable paint ($0), marker ($0). Total: $0.
Difficulty: Easy | Time: 20 minutes (plus drying) | Kid-friendly: Yes — the messiest and the most fun
Fold cardstock into tent cards. Paint your child’s palm brown and each finger a different fall color, then press onto the card. Once dry, add googly eyes or draw a face, and write each guest’s name under the turkey. Guests genuinely love these — mine have been photographed more than the actual dinner.
What went wrong when I made it: (1) I used regular acrylic paint the first year and spent twenty minutes scrubbing a small hand — washable kid paint only, I cannot stress this enough. (2) I painted the hand too thickly and the print came out as an unrecognizable blob; a thin, even coat gives the crisp handprint. (3) I wrote the names before the paint dried and the marker smeared — paint first, snack break, names second.
11. Give Thanks Chalkboard Sign
Materials: Small wood plaque or old picture frame (~$2–3 at the thrift store), chalkboard paint or a chalkboard sticker sheet (~$3), chalk markers ($2). Total: ~$5–7.
Difficulty: Medium | Time: 1 hour (mostly drying) | Kid-friendly: Decorating only
Paint the plaque with two coats of chalkboard paint (or stick on the chalkboard sheet) and let it cure. Write “Give Thanks” in your best handwriting with a chalk marker, add some doodled leaves and pumpkins around the border, and prop it by the front door or on the buffet. Wipe and rewrite it every year.
What went wrong when I made it: (1) I wrote on the chalkboard paint after only one hour and the marker bonded permanently — let it cure a full 24 hours first. (2) My freehand lettering looked like a ransom note; I lightly penciled guidelines first on the second attempt and it looked ten times better. (3) I used real chalk instead of chalk markers and it smudged every time someone walked past — chalk markers stay put until you wipe them with a damp cloth.
12. Thankful Table Runner
Materials: A roll of kraft paper (~$4), markers or crayons ($0), fall leaves for decoration ($0). Total: ~$4.
Difficulty: Easy | Time: 15 minutes to set up | Kid-friendly: Yes — the best dinner-table activity
Unroll kraft paper down the center of the Thanksgiving table as a runner. Scatter markers and crayons along it, and write “I am thankful for…” at intervals. Guests — especially the kids — doodle and write their answers all through dinner. By dessert, you have a keepsake. Roll it up and save it; I have three years’ worth in a tube in my closet.
What went wrong when I made it: (1) I used thin wrapping paper the first year and it tore under the first plate — kraft paper or a paper tablecloth roll is thick enough to survive dinner. (2) I put out permanent markers and someone’s thankful note bled through onto my tablecloth; washable markers or crayons only. (3) I didn’t tape the runner down and it bunched up under the dishes — a few loops of painter’s tape underneath keep it flat without damaging the table.
My Honest Take After Making All Twelve
If you’re short on time, make the thankful tree and the table runner — those two give you the most warmth per minute of effort, and guests actually interact with them instead of just glancing over. If you have kids and one free afternoon, the handprint turkey and the pinecone turkeys will keep them busy and happy, and you’ll end up with keepsakes you’ll genuinely keep.
The biggest lesson from all of this? The crafts that looked the simplest in photos were the ones that tripped me up most — usually because I rushed the drying time or grabbed the wrong glue. Slow down, let things dry, and keep the washable paint close. Happy Thanksgiving, and may your glue gun stay burn-free.



Pingback: 14 Easy DIY Fall Crafts: Cozy Pumpkin & Autumn Projects
Pingback: 14 DIY Thanksgiving Decorations That Make Your Home Feel Like Fall