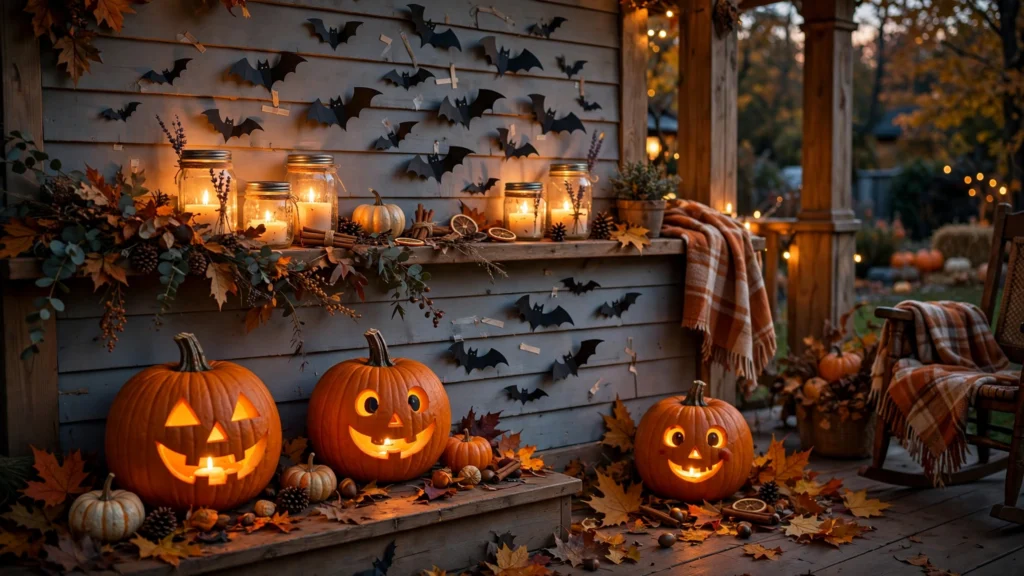

The Halloween My Porch Looked Like a Million Bucks (It Was $47)
Three years ago, I stood in a big-box Halloween store with a cart full of plastic tombstones and felt my wallet crying. I put everything back — except one bag of candy I refused to feel guilty about — and went home determined to decorate my whole house with whatever I could find at the dollar store and in my craft bin.
My neighbor across the street, who buys the fancy animatronic stuff every October, came over that Halloween night and asked where I’d “bought” my decorations. I told him the truth: most of them cost less than the candy I was handing out.
That’s the secret nobody tells you about Halloween decorating: handmade beats store-bought almost every time, because the store stuff all looks the same. Your decorations just need to look intentional — and honestly, half the battle is lighting. Dim the porch light, add some flicker, and suddenly a $3 craft project looks like it cost $30.
I’ve made all 15 of these projects myself, some of them multiple times. Below you’ll find real costs (not “use what you have lying around” costs — actual prices I paid), honest difficulty ratings, and a section at the end about the mistakes I made so you don’t have to repeat them.
Porch & Entryway Decorations
1. The Paper Bat Swarm (Cost: ~$4 | Difficulty: Easiest thing here)
This is the one that makes people stop walking and pull out their phones. You need black cardstock (dollar store, $1.25 for a pack), scissors, and a little sticky tack or removable mounting dots.
Fold a cardstock rectangle in half, draw half a bat with wing scallops, and cut it out — boom, you have a symmetrical bat. Make 20–30 in two or three sizes. Then scatter them across your porch wall, front door, or the inside of your windows, densest at one corner like they’re pouring out of it.
The trick I wish someone had told me: put the big bats near the edges and small ones in the center of the swarm. It creates depth and looks way more professional. When it rains, move them inside the windows — they’re paper, after all. I keep mine in a shoebox and reuse them every year, so the per-year cost is basically zero.
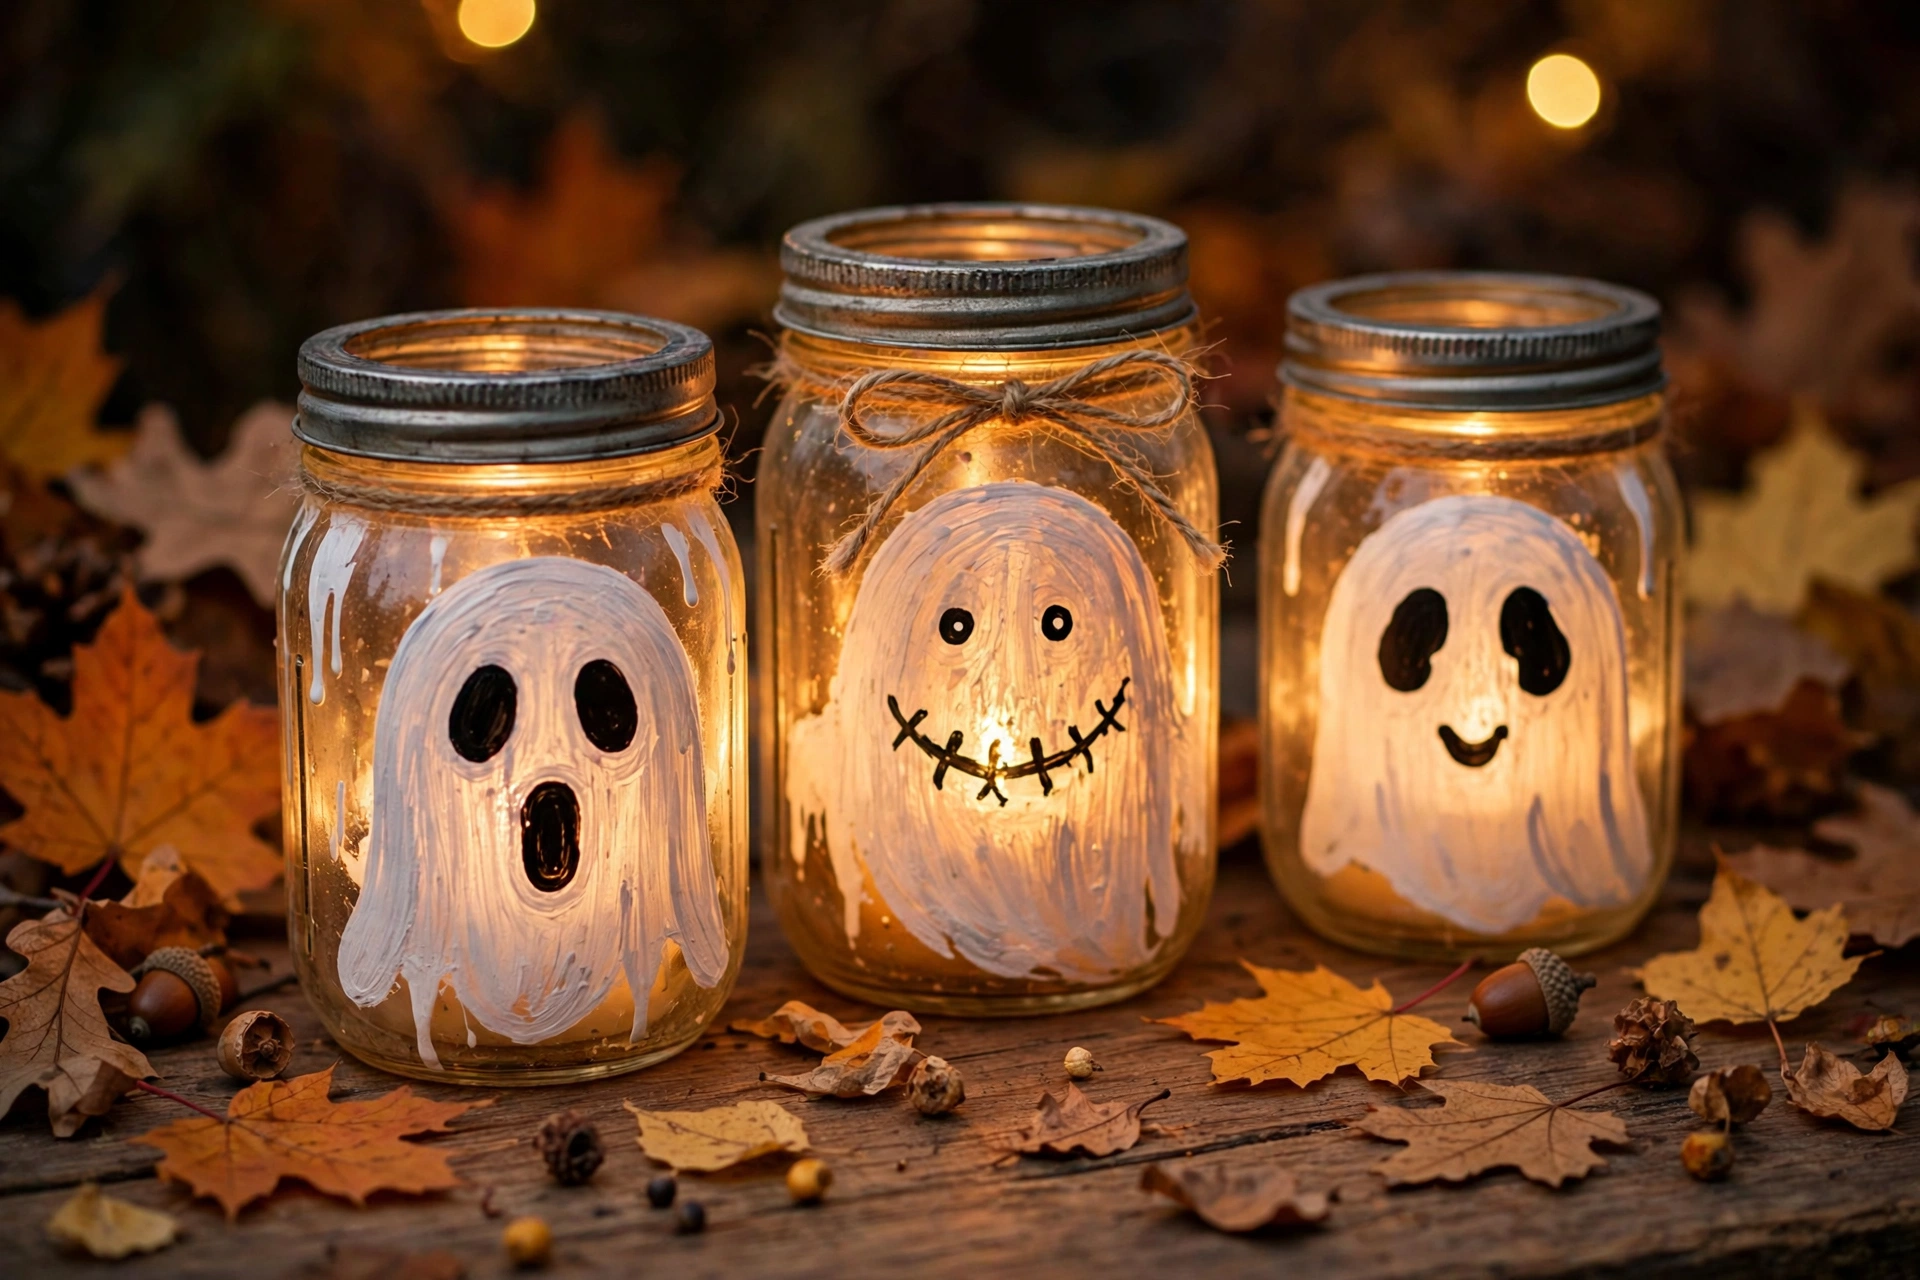
2. Glowing Mason Jar Lanterns (Cost: ~$10 for 5 | Difficulty: Easy)
Wide-mouth mason jars from the dollar store ($1.25 each), frosted-glass spray paint or white acrylic paint thinned with a little water, a black paint pen, and battery-operated tea lights (dollar store, 2-pack for $1.25). Real candles inside glass with paint on it? Don’t. Use the fake tea lights.
Brush a thin, even coat of thinned white paint on the outside of each jar and let it dry. Draw a goofy ghost face, a jack-o-lantern face, or creepy stitches on each one with the paint pen. Drop in a tea light. At night they glow like little spirits.
I line them along my walkway, a few on the porch steps, and one on the mailbox. The faces matter less than you’d think — a lopsided smile reads as more Halloween, not less. Kid-friendly and totally safe, so this is the project I make with my niece every year.
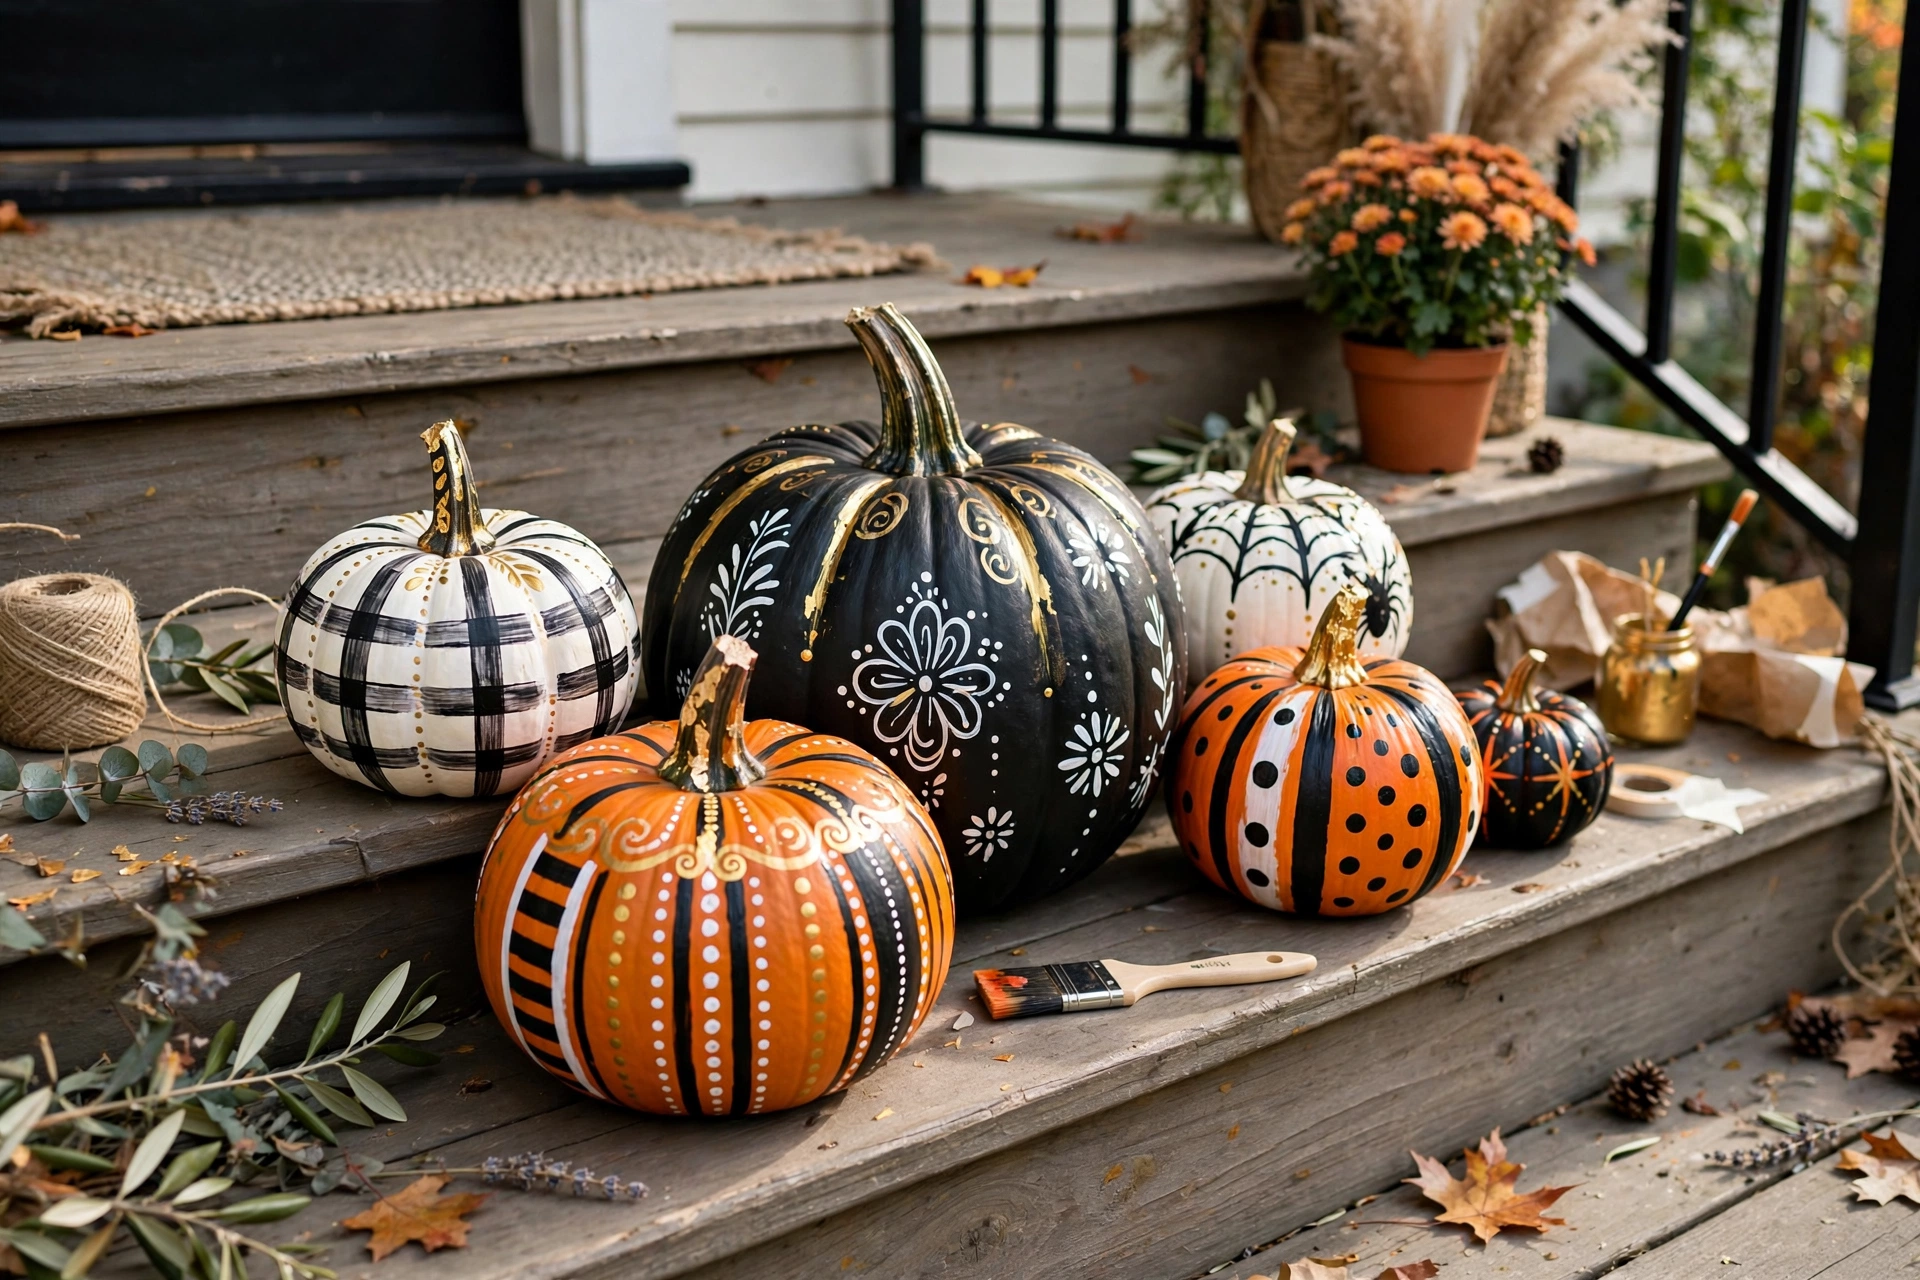
3. No-Carve Painted Pumpkins (Cost: $5–8 | Difficulty: Easy)
Here’s the honest truth: carving pumpkins is messy, the jack-o-lanterns rot in four days, and one year I sliced my thumb badly enough to need a bandage change. Now I paint. Craft pumpkins from the dollar store ($1.25–3 each) last forever, or paint real ones and they’ll still look great two weeks later.
Black, white, and orange acrylic paint is all you need. Paint pumpkins solid black with gold polka dots, white with black spiderwebs, or the classic orange with a painted-on face. A gold paint pen for accents makes even a lazy paint job look expensive.
Group three or five together on your steps at different heights — put the small ones on upside-down flower pots if you need risers. Cluster beats single pumpkin every single time. People photograph groupings.
4. The Mummy Door (Cost: $6–10 | Difficulty: Easy)
Wrap your front door in cheap white gauze or crepe paper streamers (dollar store, 2–3 rolls), leaving gaps like an unwrapped mummy, then stick on two giant googly eyes cut from white cardstock and black paper plates. Tape everything to the door frame, not the door itself, so nothing tears when you open and close it.
The eyes sell it. Make them comically large — at least the size of your fist. One year I made the eyes small and my door just looked like it was wrapped in bandages for some reason. Go big.
This takes about 20 minutes and delights every trick-or-treater. Just be warned: if it’s windy, crepe paper shreds. Use plastic tablecloth strips or gauze from the fabric section if your porch is exposed. Gauze costs a little more but survives the whole month.
5. Dollar-Store Pumpkin Topiary (Cost: $12–15 | Difficulty: Easy-Medium)
Three craft pumpkins in descending sizes, a dowel rod, a small planter pot, and some hot glue. Stack the pumpkins biggest-to-smallest on the dowel, fill the pot with sand or rocks so it doesn’t tip, and you have a topiary that looks like the $40 version at the craft store.
Paint all three pumpkins the same color (matte black is my favorite) for the fancy look, or go ombré from orange to cream. Add a bow at the top or a little crow on a stick if you want to get fancy.
My first attempt tipped over in a breeze and cracked. Now I fill the pot halfway with quick-set concrete from the hardware store — $4 extra, zero regrets, and the thing has survived three Halloweens.
Living Room & Mantel Styling
6. Spooky Apothecary Jars (Cost: Free–$8 | Difficulty: Easy)
You know those glass jars and vases sitting in your cabinets? Fill them with Halloween candy corn, plastic spiders, dried corn husks, or orange fairy lights. Label them with aged paper tags that say things like “Bat Wings” and “Witch Fingers.” Done. That’s the whole project.
The labels are what make it. Print them on tan cardstock in a creepy font, tear the edges, and dab them with a wet tea bag for an aged look. Fill the jars with cheap stuff — dried beans, popcorn kernels, candy — and layer it for texture.
I do a little cluster of three on my mantel every year, and guests always poke through them to see what’s inside. Use food you don’t mind kids grabbing; mine always vanish by November 1st anyway.
7. Cheesecloth Ghosts (Cost: ~$8 | Difficulty: Easy)
Cheesecloth ($4–5 for a big bag at the craft store), liquid fabric stiffener ($3), a balloon, and a plastic cup. Drape wet, stiffener-soaked cheesecloth over a balloon sitting on a cup, let it dry overnight, pop the balloon, and you have a floating ghost.
Draw eyes with a black marker or glue on felt ovals. Hang them from the ceiling with fishing line so they bob in the breeze — that little movement is what makes people do a double-take.
These look best in groups of three at different heights. Mine hang in the living room corner every October. The fabric stiffener smells weird while it dries, so do this in the garage or on the porch.
8. Bleeding Candles (Cost: ~$5 | Difficulty: Easy)
White pillar candles (dollar store, $1.25) plus a red taper or crayon for the “blood.” Light the red candle, let it drip red wax down the sides of the white candle, and you get a horror-movie candle that looks incredible on a mantel.
Do the dripping over a paper plate — wax on your mantel is not part of the aesthetic. Cluster three candles at different heights on a tray with some fake autumn leaves around them.
Never leave these burning unattended, obviously. I mostly use LED candles with the dripped wax on top — all the look, zero fire worry, and the wax stays put forever.
9. Haunted Portrait Gallery (Cost: ~$4 | Difficulty: Easy)
This is my favorite prank decoration. Print creepy portrait images (free from public-domain archives or free stock sites), put them in thrift-store frames or dollar-store frames, and hang a little gallery wall. Then add the secret: tiny red LED stickers or glowing dots over the eyes so the portraits watch people.
Black construction paper as a mat inside the frame instantly makes cheap frames look classier. Arrange five to seven frames in a tight cluster on the hallway wall.
Guests notice the glowing eyes about halfway through the evening and lose their minds every single time. Cost me under $5 total and about an hour of hanging.
10. Floating Witch Hats (Cost: ~$12 | Difficulty: Easy-Medium)
Cheap witch hats from the dollar store (3 for $3.75), fishing line, and LED string lights. Thread fishing line through the tip of each hat, hang them at staggered heights from the ceiling, and wrap the string lights around them.
The lights are what elevate this from “dollar store hats on strings” to “magical floating hats.” Put them in a dark hallway or over the dining table for maximum effect.
My hallway ceiling is 8 feet and this still works — hang the lowest hat at about 6 feet so nobody walks into it. Ask me how I know. (Someone walked into it. It was me.)
Walls, Windows & Everywhere Else
11. Trash-Bag Spider Webs (Cost: ~$5 | Difficulty: Medium)
Big black trash bags, scissors, and some patience. Lay a bag flat, fold it into a triangle like you’re making a paper snowflake, cut out wedge shapes, and unfold. You get a giant lacey spider web for basically nothing.
Stretch them across porch corners and staple or tape them in place. Add a dollar-store plastic spider or three, and hang one spider from a single thread so it dangles when the wind blows.
My first web looked like a crumpled trash bag because I cut too much. Start with small cuts — you can always cut more, you can’t cut less. This one takes practice, so make your first web for the least-visible corner.
12. Window Silhouettes (Cost: ~$4 | Difficulty: Easy)
Black poster board (dollar store), a printer for templates, and tape. Cut out classic Halloween silhouettes — a witch on a broom, a haunted house, a black cat on a fence — and tape them inside your front windows facing out.
Backlight them with your regular room lamps or string lights behind the curtains. From the street, they look like shadow puppets in a haunted house. This is the highest “wow per dollar” project on the whole list.
Simple shapes read better from the street than detailed ones. I made a detailed haunted-house cutout my first year and from the sidewalk it was just a black blob. Big witch silhouette? Perfect.
13. Creepy Table Runner (Cost: ~$6 | Difficulty: Easy)
Black or dark-purple fabric from the craft store’s remnant bin (usually $3–5 for a runner-length piece), fake plastic spiders, and LED fairy lights woven through. Scatter, don’t arrange — a messy scatter looks natural, a neat row looks staged.
This turned my boring dining table into a Halloween centerpiece in ten minutes. Add the bleeding candles from #8 in the middle and you’re done with the whole dining room.
If you sew a quick hem, great; if not, nobody’s inspecting the edges in candlelight. Pinking shears prevent fraying without any sewing at all.
14. Monster-Eye Door Wreath (Cost: ~$10 | Difficulty: Easy-Medium)
A grapevine wreath base ($4–5 at the craft store), black mesh ribbon, plastic eyeball ping-pong balls (party supply store, $1–2 a bag), and hot glue. Wrap the wreath in black mesh, glue eyes all over it at crazy angles, and hang it on the door.
The random eye angles are the whole joke — the more chaotic, the funnier and creepier. Add a little purple bow if you want it less scary and more cute.
Mine lives on the front door from October 1st to Halloween and has outlasted every other wreath I’ve made. Hot glue holds fine outside as long as the porch is covered.
15. Potion Bottles on the Mantel (Cost: ~$8 | Difficulty: Easy)
Save small glass bottles (sauce bottles, mini wine bottles, whatever), peel the labels, and fill them with colored water — food coloring in water, or water with a little paint swirled in. Cork them, tie twine around the necks, and add little tags: “Dragon’s Blood,” “Moon Water,” “Poison.”
Line five to seven of them along the mantel in front of the haunted portraits from #9. Put an LED tea light behind them and the colored water glows like something bubbling in a witch’s lab.
This costs almost nothing if you save bottles through September, which I now do like a little goblin hoarding treasure. The food-coloring water fades after a couple of weeks, so mix it fresh the week of Halloween.
Mistakes I Made (So You Don’t Have To)
Let me save you the learning curve I paid for in glue burns and soggy paper.
Mistake #1: Hanging paper decorations outside. My first paper bat swarm went on the outside of the front door. One October rainstorm later, I had a door covered in black papier-mâché mush. Paper crafts go INSIDE windows or on covered porches only. The bats in the windows still look great from the street — arguably better.
Mistake #2: Buying everything new. My first Halloween, I spent $60 at the craft store for supplies. My second year, I spent $12 because I raided my own bins first. Check what you already have before you shop — mason jars, candles, fabric scraps, and black paint live in most craft stashes already.
Mistake #3: Starting on October 30th. I once tried to do six of these projects the day before Halloween. I finished two and the house looked half-decorated, which is somehow worse than not decorating. Start the first weekend of October. Spread one or two projects per weekend and it feels fun instead of frantic.
Mistake #4: Skipping the lighting. I cannot stress this enough: a $4 decoration under the right lighting outshines a $40 decoration under a bright white porch bulb. Swap your porch bulb for a warm amber one (dollar store), add some flickering LEDs, and everything you made instantly looks twice as good.
Mistake #5: Making everything scary. My first year, everything was horror-movie intense and my five-year-old niece cried. Now I mix spooky-cute with spooky-creepy — smiling ghosts next to the bleeding candles. If kids visit, keep the cute stuff at their eye level and the creepy stuff up high.
Start With Just One This Weekend
You don’t need all 15. Honestly, the paper bats plus the mason jar lanterns — under $15 and two hours — will make your house the one people slow down to look at. Everything else is bonus.
Halloween decorating is one of those rare crafts where “done” beats “perfect” every time. Nobody at your door is going to notice that one bat is slightly crooked. They’re going to notice that your house looks fun, and that’s the whole point.
Happy haunting — and send me pictures of your porch. I genuinely love seeing them.



Pingback: 13 DIY Halloween Wreath Ideas That Look Way More Expensive Than They Are
Pingback: 21 Pumpkin Carving Ideas That Steal the Neighborhood (Easy to Advanced)