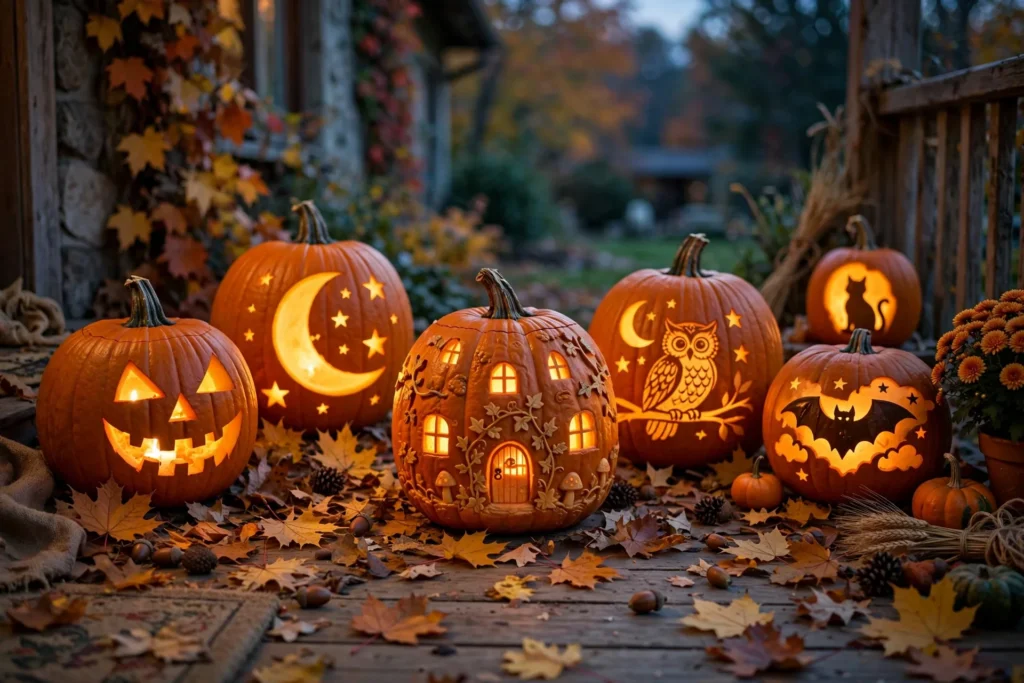

Here’s my annual confession: I used to carve the same triangle-eyes-and-jagged-mouth pumpkin every single year. It took ten minutes, it looked fine, and every house on the street had essentially the same one. Then two Halloweens ago, my neighbor carved a pumpkin into a tiny fairy house — glowing windows, a little door, moss on the roof — and kids were crossing the street to see it. I knew my triangle-eyes era was over.
Pumpkin carving searches are peaking right now (Halloween is 18 days away!), so I spent the last week collecting the best ideas — from dead-simple faces beginners can nail in 20 minutes to the advanced designs that win neighborhood bragging rights. Plus a whole section on no-carve decorating for anyone who’d rather not wield a knife around kids.
Here are 21 pumpkin carving and decorating ideas, organized from easiest to most impressive.
Quick Carving Tips Before You Start
Pick the right pumpkin: look for one with a flat bottom (so it sits steady), a sturdy stem (your handle), and unblemished skin. Give it a knock — a hollow sound means thin walls, which are easier to carve.
Tools matter more than talent: a proper pumpkin carving kit ($5-8) with a serrated saw beats a kitchen knife every time. The saws cut by going back and forth, so there’s almost no risk of the blade slipping. For detail work, a linoleum cutter or clay loop tool is a game changer.
The biggest beginner mistake: cutting the top off straight. Cut at an angle (wider on top, narrower inside) so the lid sits like a stopper instead of falling in. And scrape the inner wall where you’ll carve down to about 1 inch thick — light shines through so much better.
Easy Pumpkin Carving Ideas (20-30 Minutes)
1. The Classic Jack-o’-Lantern (But Better)
Triangle eyes, nose, jagged mouth — but here’s the upgrade: vary the sizes. One big eye, one small eye. A crooked smile. Suddenly it’s got personality instead of looking like a template.
2. Polka Dot Pumpkin
Use apple corers or different-sized drill bits to punch perfect circles all over. When lit, it throws the most beautiful dotted light pattern. Easiest impressive-looking carve there is.
3. Silly Faces
Googly eyes glued on (no carving needed for the eyes!), then carve just a big goofy mouth. Kids love designing these, and they take five minutes.
4. Crescent Moon and Stars
Carve a large crescent moon on one side and poke small star shapes around it with a drill or apple corer. Elegant, simple, gorgeous when lit. This is my go-to when I want something pretty without the fuss.
5. Word Pumpkins
Carve a single word — BOO, EEK, SPOOKY — in big block letters. Use a printed template taped on as a guide. One word, huge impact, especially in a row of pumpkins.
6. Cookie Cutter Shapes
Hammer a metal cookie cutter (ghosts, bats, stars) halfway into the pumpkin, then tap it through with a rubber mallet. Perfect shapes every time, zero drawing skill needed. This is the ultimate cheat code.
Intermediate Ideas (45-90 Minutes)
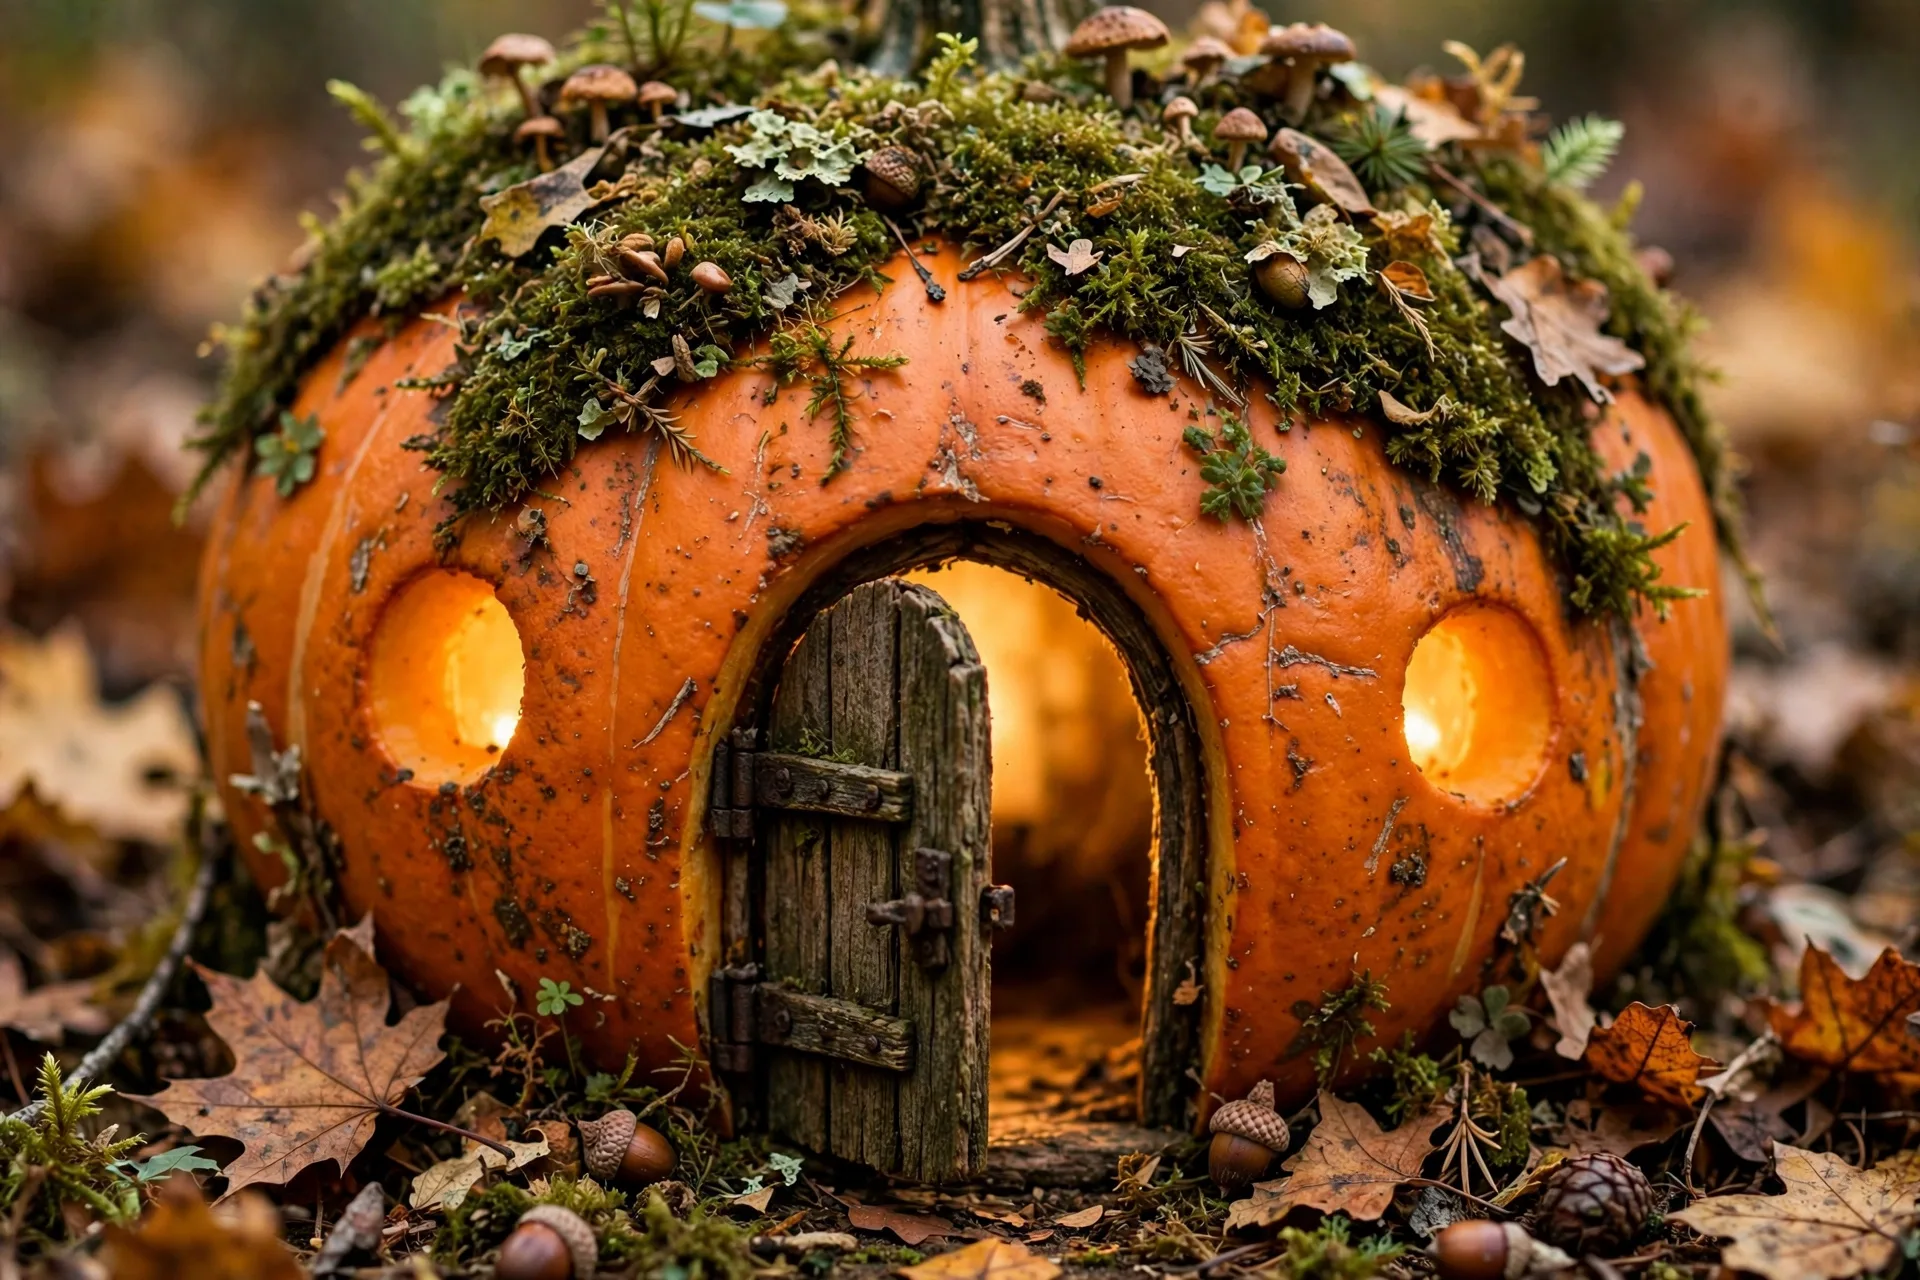
7. Fairy House Pumpkin
The showstopper. Carve a small arched door, a few round windows, and a chimney. Add a tiny mushroom or moss on top for the roof. Put a battery tea light inside and the windows glow. This is the one that makes neighbors stop their cars.
Pro tip: sketch the door and windows with a dry-erase marker first — it wipes off if you mess up, unlike permanent marker.
8. Constellation Jack-o’-Lantern
Poke the actual constellations — Big Dipper, Orion, Cassiopeia — using a printed star chart as reference. When lit in a dark yard, it’s genuinely magical. Astronomy nerds will lose their minds.
9. Scary Realistic Face
Instead of cartoon triangles, carve a face with depth: deep-set eyes (carve at an angle so the light catches the edges), a wrinkled brow (shallow surface cuts that don’t go all the way through), and an open screaming mouth. Shading pumpkins — where you shave the skin without cutting through — creates incredible dimension.
10. Pixelated / 8-Bit Face
Carve your design as chunky pixels — think Minecraft or retro video games. Draw a grid on the pumpkin, fill in squares. It’s geometric, modern, and weirdly satisfying. Great for teens.
11. Owl Pumpkin
Two big round eyes (use a large cookie cutter or jar lid as a template), a triangular beak, and feather texture made with shallow V-cuts. Owls read as “Halloween” instantly and look great in pairs.
12. Haunted House Scene
Carve a skyline silhouette — a crooked house, a bare tree, a flying bat or two — across the front of a large pumpkin. Backlight it and the silhouette does all the work. This looks far harder than it is; it’s basically one continuous outline.
13. Funny Faces Gallery
Carve a set of three small pumpkins with different expressions — one laughing, one surprised, one winking. Group them together on your porch. It’s charming, it’s funny, and each one only takes 20 minutes.
Advanced Ideas (For the Dedicated)
14. 3D Shaded Portrait
Using the shading technique (removing just the outer skin at varying depths), carve a portrait — a witch, a vampire, a screaming face. The varying skin thickness creates light and shadow like a photograph. This is competition-level, but the results are unreal.
15. Diorama Pumpkin
Cut a large window in the front and build a tiny scene inside — a graveyard with popsicle-stick tombstones, a haunted forest with twig trees. Light it from behind. It’s a pumpkin and a shadow box in one.
16. Stacked Totem Pumpkins
Carve three pumpkins of decreasing size with faces designed to stack — the mouth of the top one aligns with the eyes of the middle one, creating one giant continuous face. It looks incredible and it’s mostly just planning.
No-Carve Pumpkin Decorating (Zero Knives)
Let’s be honest: sometimes you don’t want to deal with pumpkin guts, or you’ve got toddlers around. No-carve decorating has gotten genuinely beautiful — these aren’t consolation prizes.
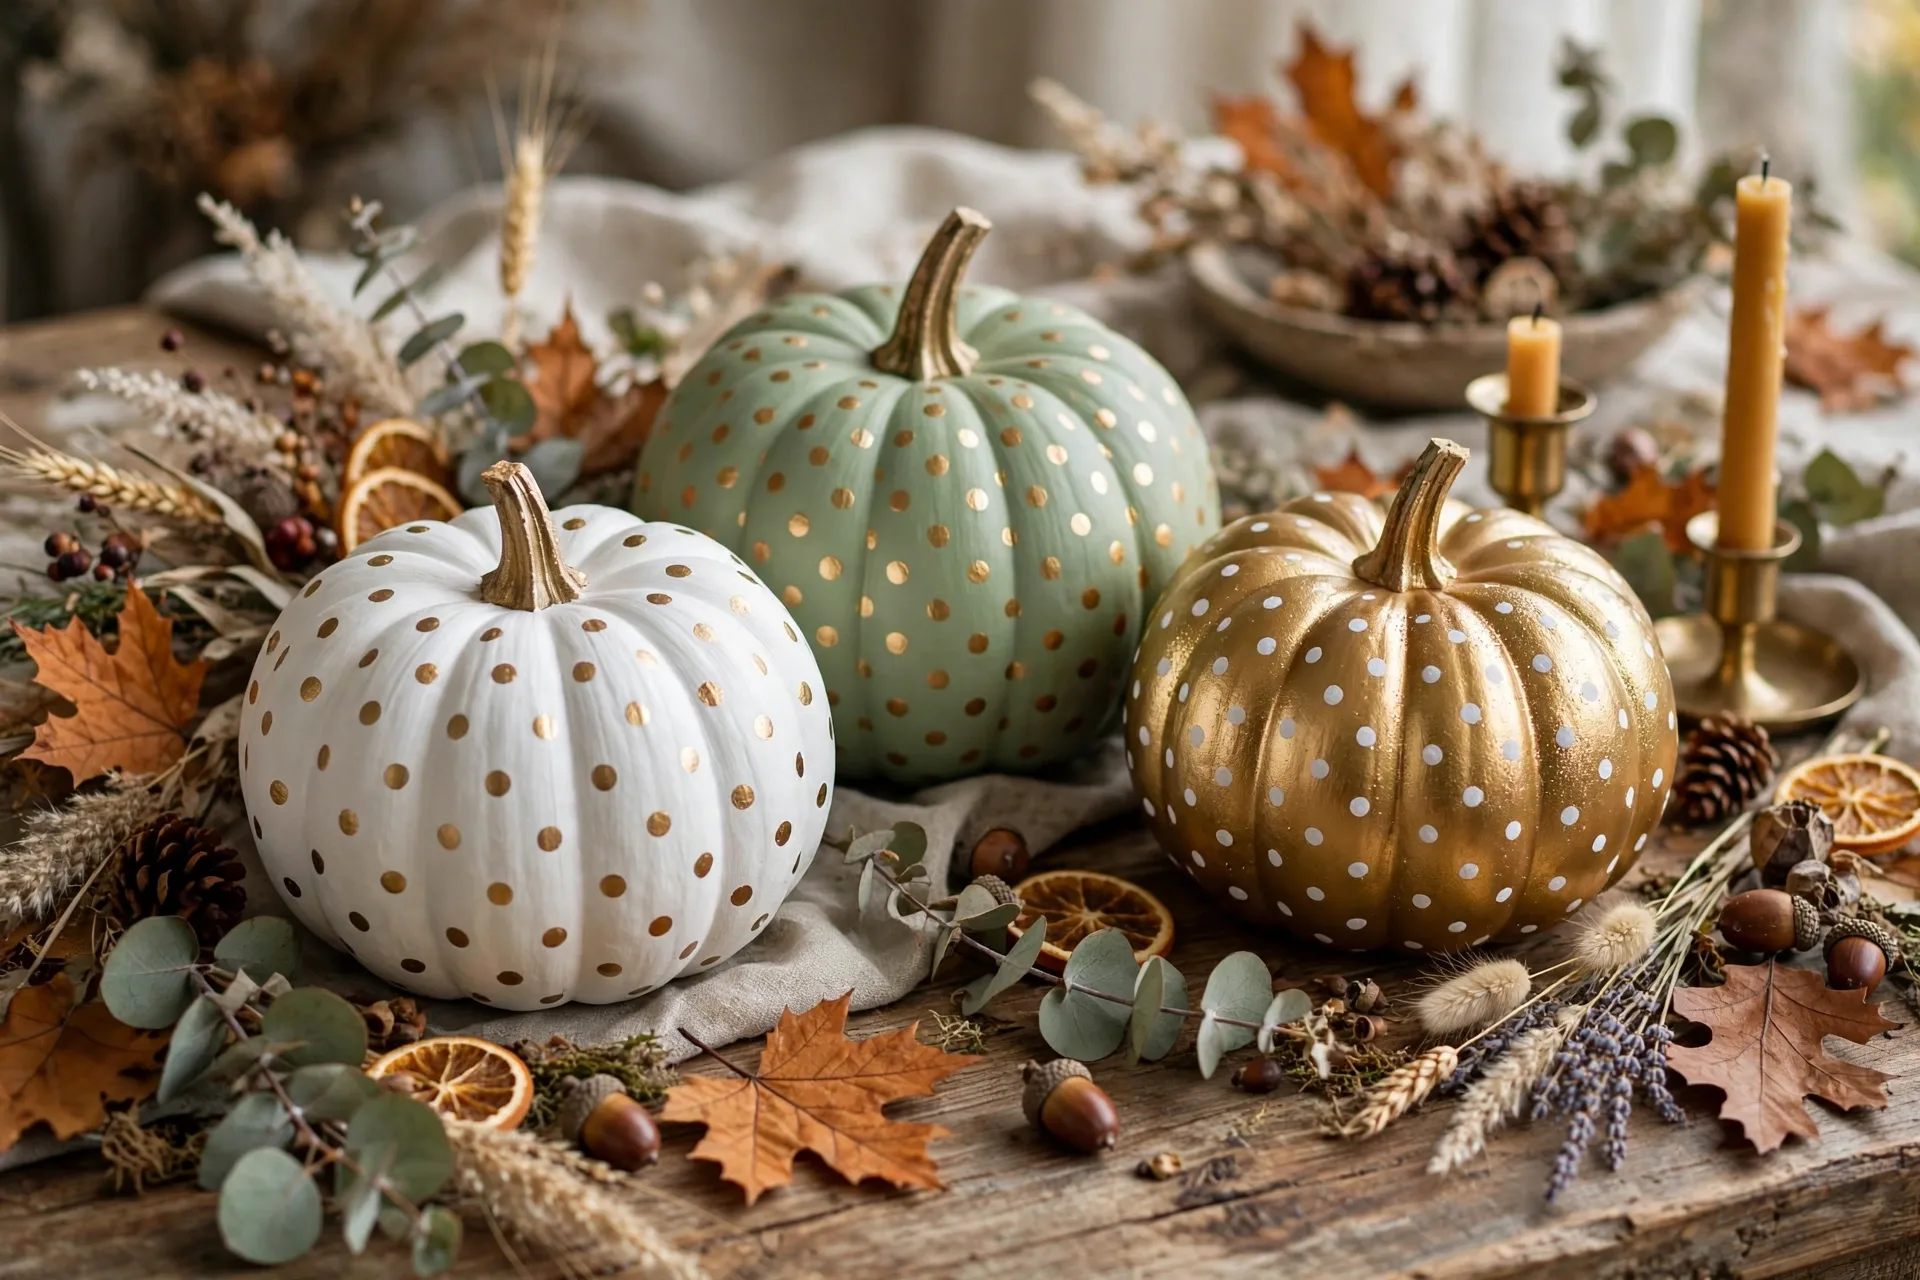
17. Painted Pumpkins
Chalk paint is the secret weapon — it sticks to pumpkin skin without primer and gives a gorgeous matte finish. Paint them solid colors (matte black, cream, sage green) for a modern look, or go full art project with patterns. Metallic gold polka dots on a white pumpkin? Stunning.
18. Decoupage Pumpkins
Tear up napkins with botanical or Halloween prints and Mod Podge them onto the pumpkin. It looks like hand-painted china from a distance. This is my mother-in-law’s signature move and people always think she bought them.
19. Push-In Decorations
Thumbtacks, upholstery pins, and small nails pushed into patterns — studded pumpkins (think punk-rock glam), monogrammed pumpkins with pin outlines, or thumbtack constellations. No carving, no mess, endlessly reusable.
20. Fabric-Wrapped Pumpkins
Wrap pumpkins in fabric — velvet, burlap, plaid flannel — gathered at the stem with twine. They look like little fabric pouches and they’re completely reusable year after year. The velvet ones in deep orange and forest green are my personal favorite fall decor, Halloween or not.
21. Melted Crayon Pumpkins
Glue crayons around the top of a white pumpkin and hit them with a hair dryer — the wax melts down in colorful drips. It’s messy, kids love it, and every one comes out different. Do it outside on newspaper unless you enjoy cleaning wax off your table.
How to Make Your Pumpkin Last
Carved pumpkins last 5-7 days; uncarved last weeks. To stretch a carving: rub petroleum jelly on all cut edges (it seals in moisture), keep it out of direct sun during the day, and bring it inside if frost is forecast. A bleach-water spritz (1 tsp per quart) inside slows mold. And use battery tea lights or LED candles — real candles cook the pumpkin from the inside and cut its life in half.
What to Do With All the Pumpkin Guts
Don’t throw away the insides! Separate the seeds, rinse them, toss with olive oil and salt, and roast at 300°F for 30-40 minutes — homemade roasted pumpkin seeds are incredible and cost nothing. The stringy pulp can go in the compost, and if you’re feeling ambitious, the flesh near the walls (scrape it a bit thicker when cleaning) makes a decent pumpkin puree for muffins. My kids now fight over who gets to roast the seeds. Carving day has become baking day too.
Carving With Kids: Age-by-Age Guide
Ages 2-4: no-carve only. Let them paint, stick on foam shapes, or press thumbtacks (with help) into patterns. They get the fun, you keep all your fingers.
Ages 5-7: they can draw the design with markers and scoop out the insides (most kids love the gross part). You handle all cutting. Cookie-cutter pumpkins are perfect here — they pick the shape, you do the hammering.
Ages 8-12: with a proper pumpkin saw (not a kitchen knife), many kids this age can carve simple designs themselves with supervision. The saws are designed to be safe — they cut on the pull stroke and the blades are small.
Teens: turn them loose with the intermediate and advanced ideas above. The pixelated faces and constellation designs are specifically teen-approved in my experience.
My plan this year: one fairy house pumpkin (the neighbor rivalry is real), a row of BOO letter pumpkins, and painted velvet-look ones for inside. Eighteen days to Halloween — plenty of time to pick your favorite and make the porch the one everyone slows down for.