
I bought a chocolate advent calendar last year. You know the kind — flimsy cardboard, waxy chocolate the size of a coin, and by December 10th the doors won’t stay shut. My daughter opened three days at once “by accident” and I couldn’t even be mad because the whole thing cost $4 and tasted like disappointment.
This year we’re doing it differently. A DIY advent calendar — one we make ourselves, fill with things we actually want, and keep using year after year. And here’s what surprised me: making one is easier than I expected, cheaper than the fancy store-bought versions, and honestly more fun than December itself.
Whether you want something for kids, something chic for your mantel, or something eco-friendly you can reuse forever, here are 17 DIY advent calendar ideas that you’ll actually want to display — not hide in a closet.
What Makes a Good DIY Advent Calendar?
After researching dozens of designs, the best ones share three things: 24 individual compartments (obviously), a display-worthy structure (it sits out all December, so it should look good), and fillings worth opening (more on that below).
The structure is where most people overthink it. You don’t need woodworking skills. Toilet paper rolls, paper bags, and muffin tins have launched a thousand beautiful advent calendars. Pick the base that matches your style and your patience level.
1. Toilet Paper Roll Advent Calendar
The classic for a reason. Save 24 toilet paper rolls (start collecting in October — ask friends, you’ll need them). Stand them upright in a shallow box or tray, fill each with a treat, cover the tops with tissue paper secured by a rubber band, and number them 1-24 with stickers or a marker.
Make it look expensive: wrap the outer box in kraft paper, use a consistent number style (I love simple black numerals on cream circles), and tie the whole thing with a wide satin ribbon. It looks like something from a boutique stationery shop.
Beginner mistake to avoid: overfilling the rolls. If the tissue paper bulges, the numbers look messy. Small treats only — think single chocolates, not handfuls.
2. Paper Bag Advent Calendar
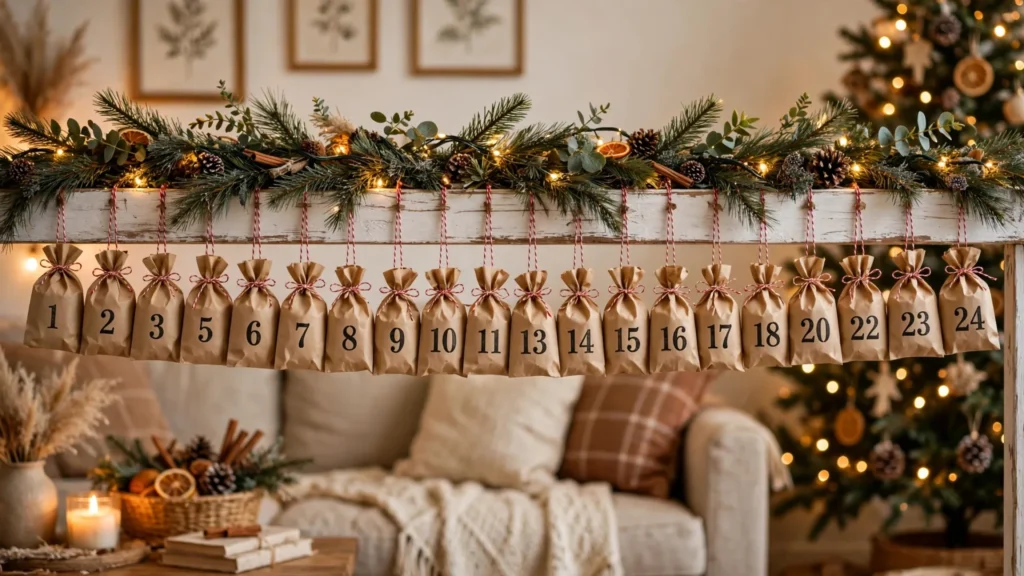
Twenty-four small paper bags (the lunch-bag size) clipped to a string with mini clothespins, hung along a branch, a mantel garland, or a simple wall-mounted dowel. Fill, fold the tops, clip, number.
Make it look expensive: stamp each bag with a single sprig design or number them with a gold paint pen. Hang the string with some drape — a taut straight line looks stiff, a gentle swag looks designed.
3. Muffin Tin Advent Calendar
A 24-cup mini muffin tin (or two 12-cup tins). Drop a treat in each cup, cover the whole tin with wrapping paper or fabric, and let people punch through day by day. Kids LOVE the punch-through reveal.
Make it look expensive: use a beautiful fabric instead of wrapping paper — a deep green velvet or a classic Christmas plaid — and secure it with a ribbon around the edge. It becomes a table centerpiece.
4. Matchbox Advent Calendar
Twenty-four empty matchboxes (buy them empty in bulk online, or save them up). Decorate the outsides with wrapping paper scraps, stack them into a Christmas tree shape on a board, or arrange them in a drawer unit. Each tiny drawer holds a tiny treasure.
5. Hanging Branch Advent Calendar
Find a nice bare branch (or buy a faux one), mount it horizontally, and hang 24 small muslin bags, mini stockings, or wrapped boxes from it at varying lengths with twine. It’s rustic, beautiful, and takes about an hour.
Make it look expensive: spray the branch matte white or gold first, and use bags all in the same fabric. Consistency is what makes it look intentional rather than thrown together.
6. Felt Pocket Advent Calendar
Sew (or fabric-glue) 24 small felt pockets onto a large felt backing in a tree or grid shape. This is the reusable champion — felt lasts for years, and the pockets fit everything from candy to small toys to handwritten notes.
Beginner mistake to avoid: making the pockets too shallow. Things fall out. Pockets should be at least 3 inches deep.
7. Shoe Organizer Advent Calendar
A clear over-the-door shoe organizer has exactly 24 pockets. Fill them, and you’ve got an advent calendar in ten minutes. Decorate the pockets with number stickers.
Make it look expensive: honestly, this one’s about function over form — but you can make it cuter by backing each pocket with festive paper cut to size. It’s the fastest option on this list by far.
8. Mini Stocking Garland
Twenty-four mini stockings (sew them from felt or buy them in bulk — they’re cheap) hung on a garland. Each holds a small gift. This one doubles as Christmas decor.
9. Envelope Wall Advent Calendar
Twenty-four envelopes pinned to a board or taped to a wall in the shape of a Christmas tree. Each envelope holds a slip of paper — and here’s the twist: instead of treats, fill them with activities. “Bake cookies.” “Drive around looking at lights.” “Watch a Christmas movie with popcorn.” Families tell me this is the version their kids remember forever.

10. Wooden Drawer Advent Calendar
Those little wooden drawer units from craft stores (usually marketed for beads or hardware) make stunning advent calendars. Paint it, number the drawers, fill them. This is the heirloom option — it’ll last decades.
Make it look expensive: paint it a deep, moody color — forest green, navy, or charcoal — with gold numbers. It looks like furniture, not a craft project.
11. Mason Jar Advent Calendar
Okay, not 24 full mason jars (that’s a lot of jars). Instead: fill 24 small jars or one large jar with 24 numbered envelopes, each containing a treat or activity. Or do the “reverse” version: 24 mini jars each holding one small item, arranged on a tiered stand.
12. Origami Box Advent Calendar
Fold 24 small origami boxes (there are 2-minute tutorials) from Christmas-patterned paper. Arrange them in a tree shape on a tray. Each box holds a chocolate or a note. The boxes themselves are the decoration.
13. Photo Advent Calendar
Print 24 favorite family photos from the past year, clip them to a string with the numbers, and put a small treat envelope behind each photo. By Christmas Eve you’ve got a garland of memories. This one makes grandparents cry (in a good way).
14. Test Tube Advent Calendar
Twenty-four plastic test tubes in a wooden stand, each filled with candy, sprinkles, or tiny rolled-up notes. It’s modern, a little science-lab chic, and kids think it’s the coolest thing ever.
15. Reusable Fabric Bag Set
Buy or sew 24 small drawstring bags in Christmas fabric. Fill them once, and reuse the same bags every year — just refill. This is the eco-friendly winner: zero waste after the first December.
The sustainability angle: pair reusable bags with consumable fillings (chocolate, tea bags, bath bombs) or experience notes, and your advent calendar generates literally no trash. Several eco-lifestyle blogs flagged this as the 2026 trend, and I get it — it feels good.
16. Christmas Village Advent Calendar
Arrange 24 small houses (paper, wood, or ceramic) into a village scene. Each house is numbered and holds a treat inside. This is the showstopper — it becomes the centerpiece of your mantel or dining table all month.
17. Book Advent Calendar
Wrap 24 Christmas or winter books (picture books for kids, short stories or poetry for adults), number them, stack them under the tree or on a shelf. Open one each night and read it together. No candy, no plastic, just stories. My friend does this and says December bedtime has never been easier.
What to Put Inside (Beyond Chocolate)
The fillings make or break it. Beyond the obvious candy, here are ideas that have been hits: mini LEGO sets or figures, hair clips and stickers, tea bags in festive flavors, bath bombs, small art supplies, jokes or riddles on slips of paper, “coupons” for experiences (choose dinner, movie night, no-chores day), and tiny ornaments to hang on the tree day by day — by Christmas Eve, the tree is decorated.
My rule: mix it up. Three days of candy, then a small toy, then an activity note, then candy again. The variety is what keeps the excitement going all 24 days. If every day is the same chocolate, day 15 feels like a chore.
When to Start Making It
Mid-October (right now!) is perfect. You’ll need a week or two to gather materials — especially if you’re saving toilet paper rolls or waiting for an online order of matchboxes. Build it in early to mid-November, fill it the last week of November, and you’re ready for December 1st with zero stress.
That’s the real gift of a DIY advent calendar: December starts calm instead of chaotic. And every morning, someone in your house gets a little moment of delight. That’s worth more than any $4 chocolate calendar.