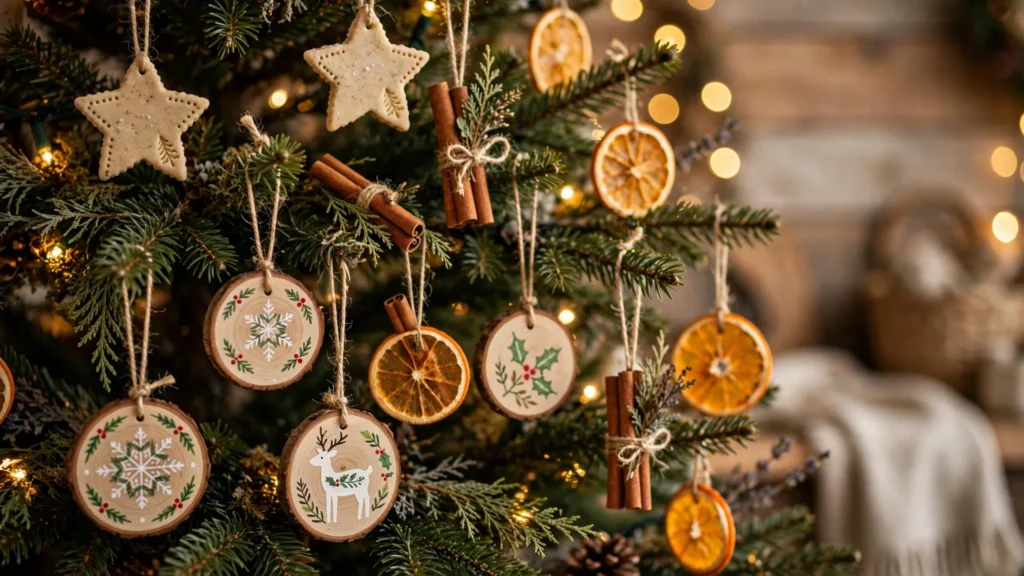

Every December I tell myself I’m done buying ornaments. Every December I lie. Last year I walked into a home decor store “just to look” and walked out $68 poorer, holding a bag of mass-produced baubles that looked exactly like everyone else’s tree. That’s when I decided: this year, my tree gets handmade ornaments or nothing.
Turns out, handmade Christmas ornaments are one of those crafts where the homemade version genuinely looks better than the store version — if you pick the right projects. A dried orange slice with a cinnamon stick tied on with twine? That looks like a $12 boutique ornament. A salt dough star you stamped yourself? Nobody can tell it cost you eleven cents.
What You’ll Need (The Basic Kit)
Before we dive in, here’s the good news: most of these 15 ornaments share the same handful of supplies. If you buy this basic kit once, you’re set for nearly everything below.
The essentials: natural jute twine, a hot glue gun with extra sticks, Mod Podge (matte), acrylic paints in white/gold/dark green, small paintbrushes, scissors, and ribbon in velvet or burlap. Total cost if you’re starting from zero: about $15-20 at a craft store — and you’ll have leftovers for next year.
Nice to have: a straw (for poking hanging holes in dough ornaments), cookie cutters in Christmas shapes, and fine sandpaper. I also keep a cheap baking tray dedicated to crafts — once you bake pinecones or dry orange slices on it, you won’t want it near food again.
My biggest lesson: buy the twine and glue gun first, ornaments second. I once tried to hot-glue cinnamon sticks with craft glue and spent forty minutes holding them while nothing dried. Hot glue is non-negotiable for about half of these projects.
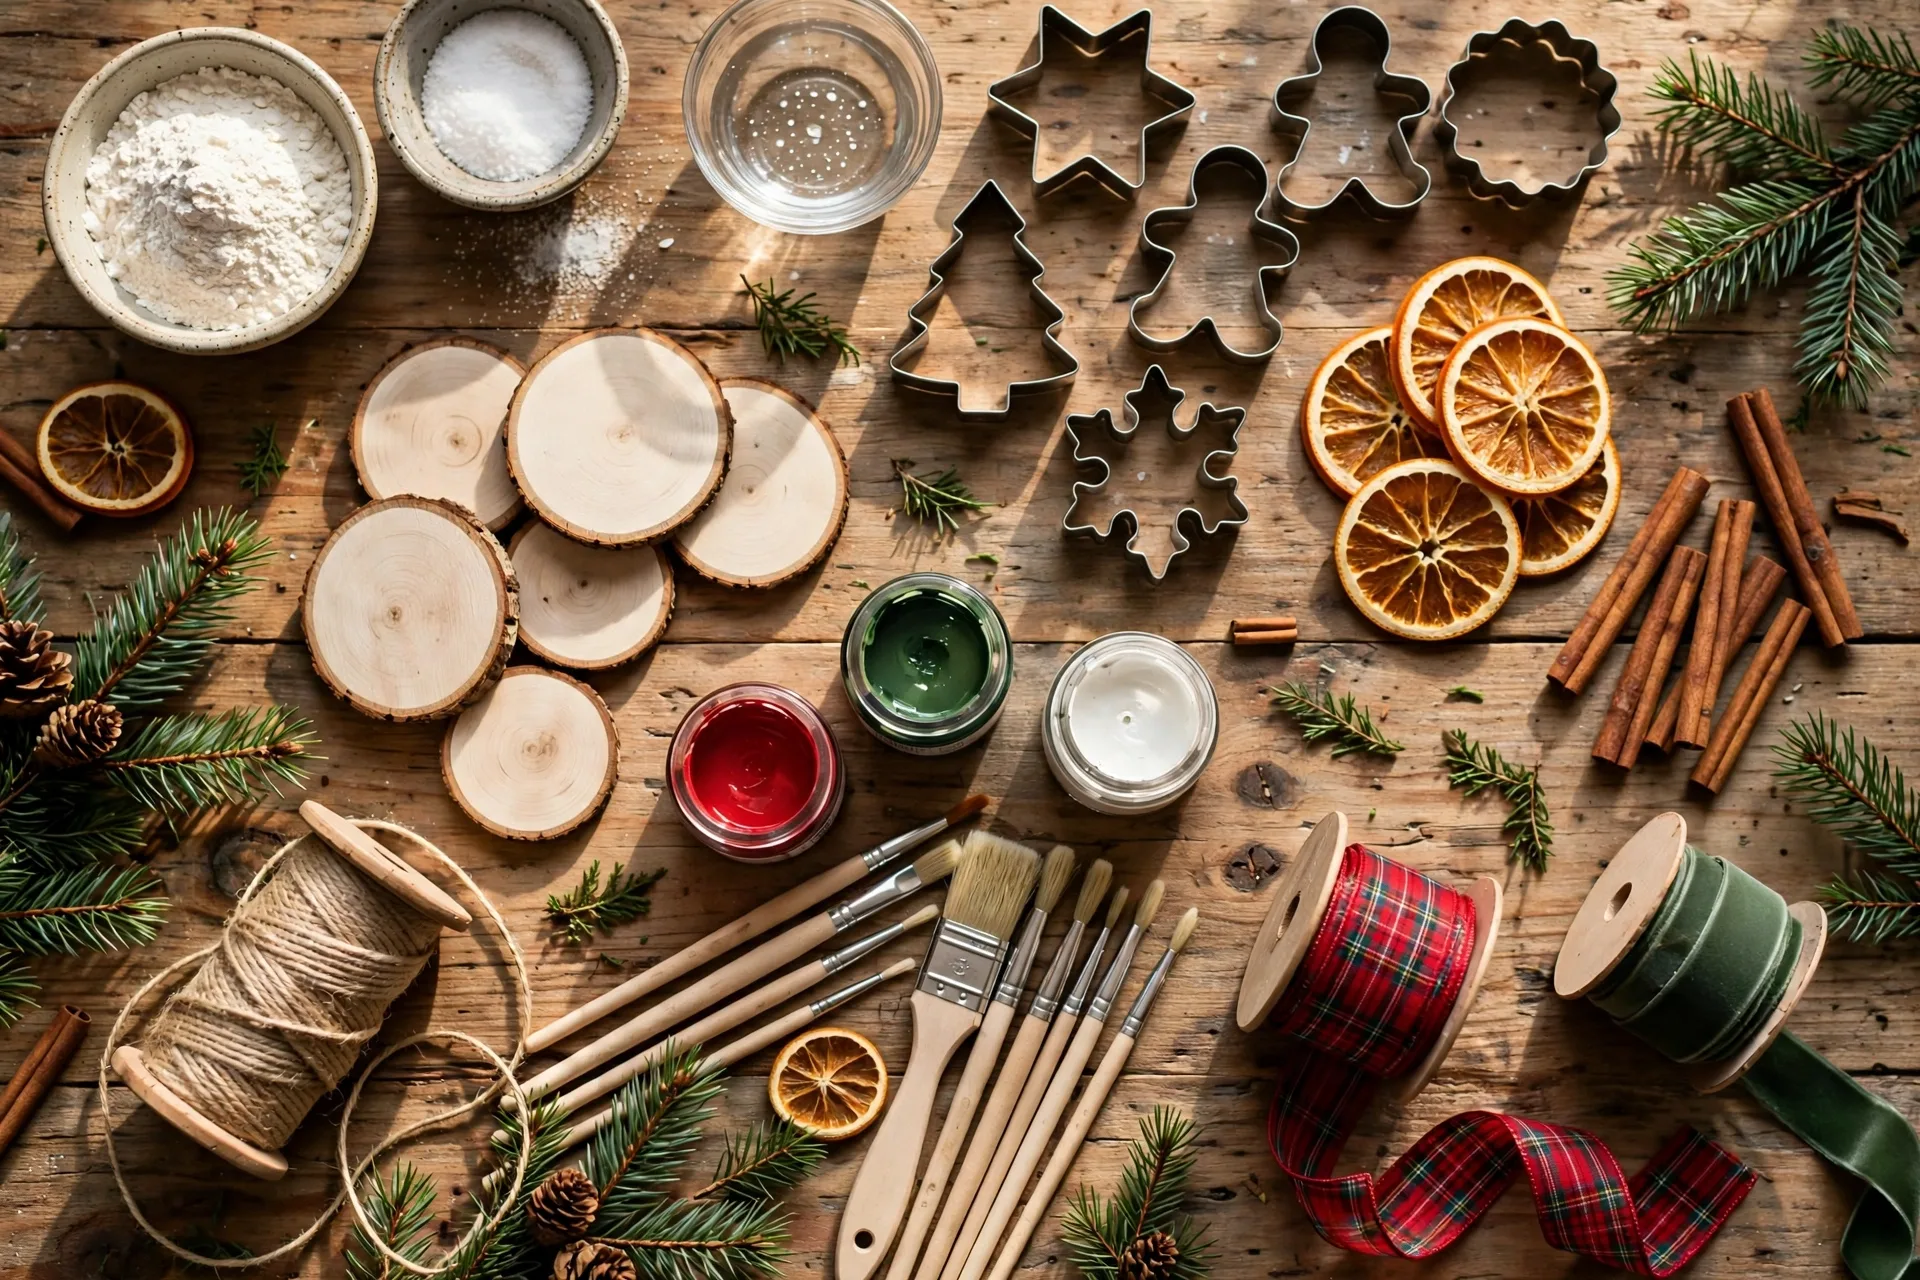
I’ve spent the last three weeks testing ornament crafts — the good, the Pinterest-fail, and the “why did I glue my fingers together” — and narrowed it down to 15 handmade Christmas ornament ideas that actually look expensive. Most cost under $2 each. All of them are beginner-friendly.
1. Dried Orange Slice Ornaments
The undisputed queen of handmade ornaments. Slice oranges about 1/4 inch thick, pat them dry, and bake at 200°F for 2-3 hours, flipping halfway. They come out translucent amber — stunning against green branches and warm white lights.
Make it look expensive: thread them with natural jute twine (not ribbon), and tie on a small cinnamon stick or a sprig of dried eucalyptus. Hang them near lights so they glow.
Beginner mistake to avoid: slicing too thick. Anything over 1/3 inch takes forever to dry and can mold. Thin and patient wins.
2. Salt Dough Stars and Trees
The classic for a reason: 2 cups flour, 1 cup salt, 1 cup water. Roll, cut with cookie cutters, poke a hanging hole with a straw before baking, then bake at 250°F for 2 hours. Paint white, gold, or leave natural for farmhouse style.
Make it look expensive: after painting, brush the raised edges with metallic gold acrylic and seal with matte Mod Podge. The gold-edge trick is what separates “kid craft” from “boutique.”
3. Wood Slice Ornaments
Buy a bag of pre-cut wood slices (about $8 for 30 at craft stores — or free if you know someone with a saw and a fallen branch). Sand lightly, then either wood-burn a simple design, stamp with ink, or paint a minimalist Christmas tree or snowflake.
Make it look expensive: less is more. One small stamped pine sprig in dark green ink on the raw wood beats a busy painted scene every time.
4. Cinnamon Stick Bundles
Tie 3-4 cinnamon sticks together with twine, add a tiny pine sprig and a red berry or two, and you have an ornament that smells like Christmas. Takes literally two minutes each.
Make it look expensive: use a dab of hot glue under the twine knot so nothing shifts, and trim the twine ends at an angle (the “dovetail cut” florists use).
5. Decoupage Baubles
Buy the cheapest plain baubles you can find (dollar store, after-Christmas clearance). Tear vintage-style napkins or tissue paper into small pieces and Mod Podge them onto the bauble. Botanical prints and old-fashioned Christmas illustrations look incredible.
Beginner mistake to avoid: using pieces that are too big — they wrinkle around the curve. Small pieces, about the size of a postage stamp, lay flat.
6. Felt Gingerbread Men
Cut gingerbread shapes from brown felt (use a cookie cutter as a template), blanket-stitch two layers together, stuff lightly with polyfill, and decorate with white puffy paint for icing. Add a loop of ribbon at the top before you finish stitching.
Make it look expensive: use wool-blend felt, not the thin craft felt — it holds its shape and the color is richer. Embroider tiny French knots for buttons instead of gluing beads.
7. Painted Clay Ornaments (Air-Dry)
Roll air-dry clay to 1/4 inch, cut shapes, let dry 24-48 hours, then paint. Terracotta clay left unpainted with white painted details is very on-trend right now.
Make it look expensive: press lace or a leaf into the clay before it dries for texture, then dry-brush white paint over the raised pattern. Instant artisan look.
8. Pinecone Ornaments
Collect pinecones (free!), bake at 200°F for 30 minutes to kill any bugs and open them up. Tie twine around the top, dab the tips with white paint for a snowy effect, or go full glam with gold spray paint.
Beginner mistake to avoid: skipping the bake. Unbaked pinecones can harbor tiny insects and will slowly close up indoors from the warmth.
9. Embroidery Hoop Mini Wreaths
Tiny 3-inch embroidery hoops + faux greenery sprigs + a small bow = the cutest mini wreath ornaments. Hot glue the greenery around the inside of the hoop, tie the bow at the top, hang by the hoop’s screw.
10. Dried Flower Baubles
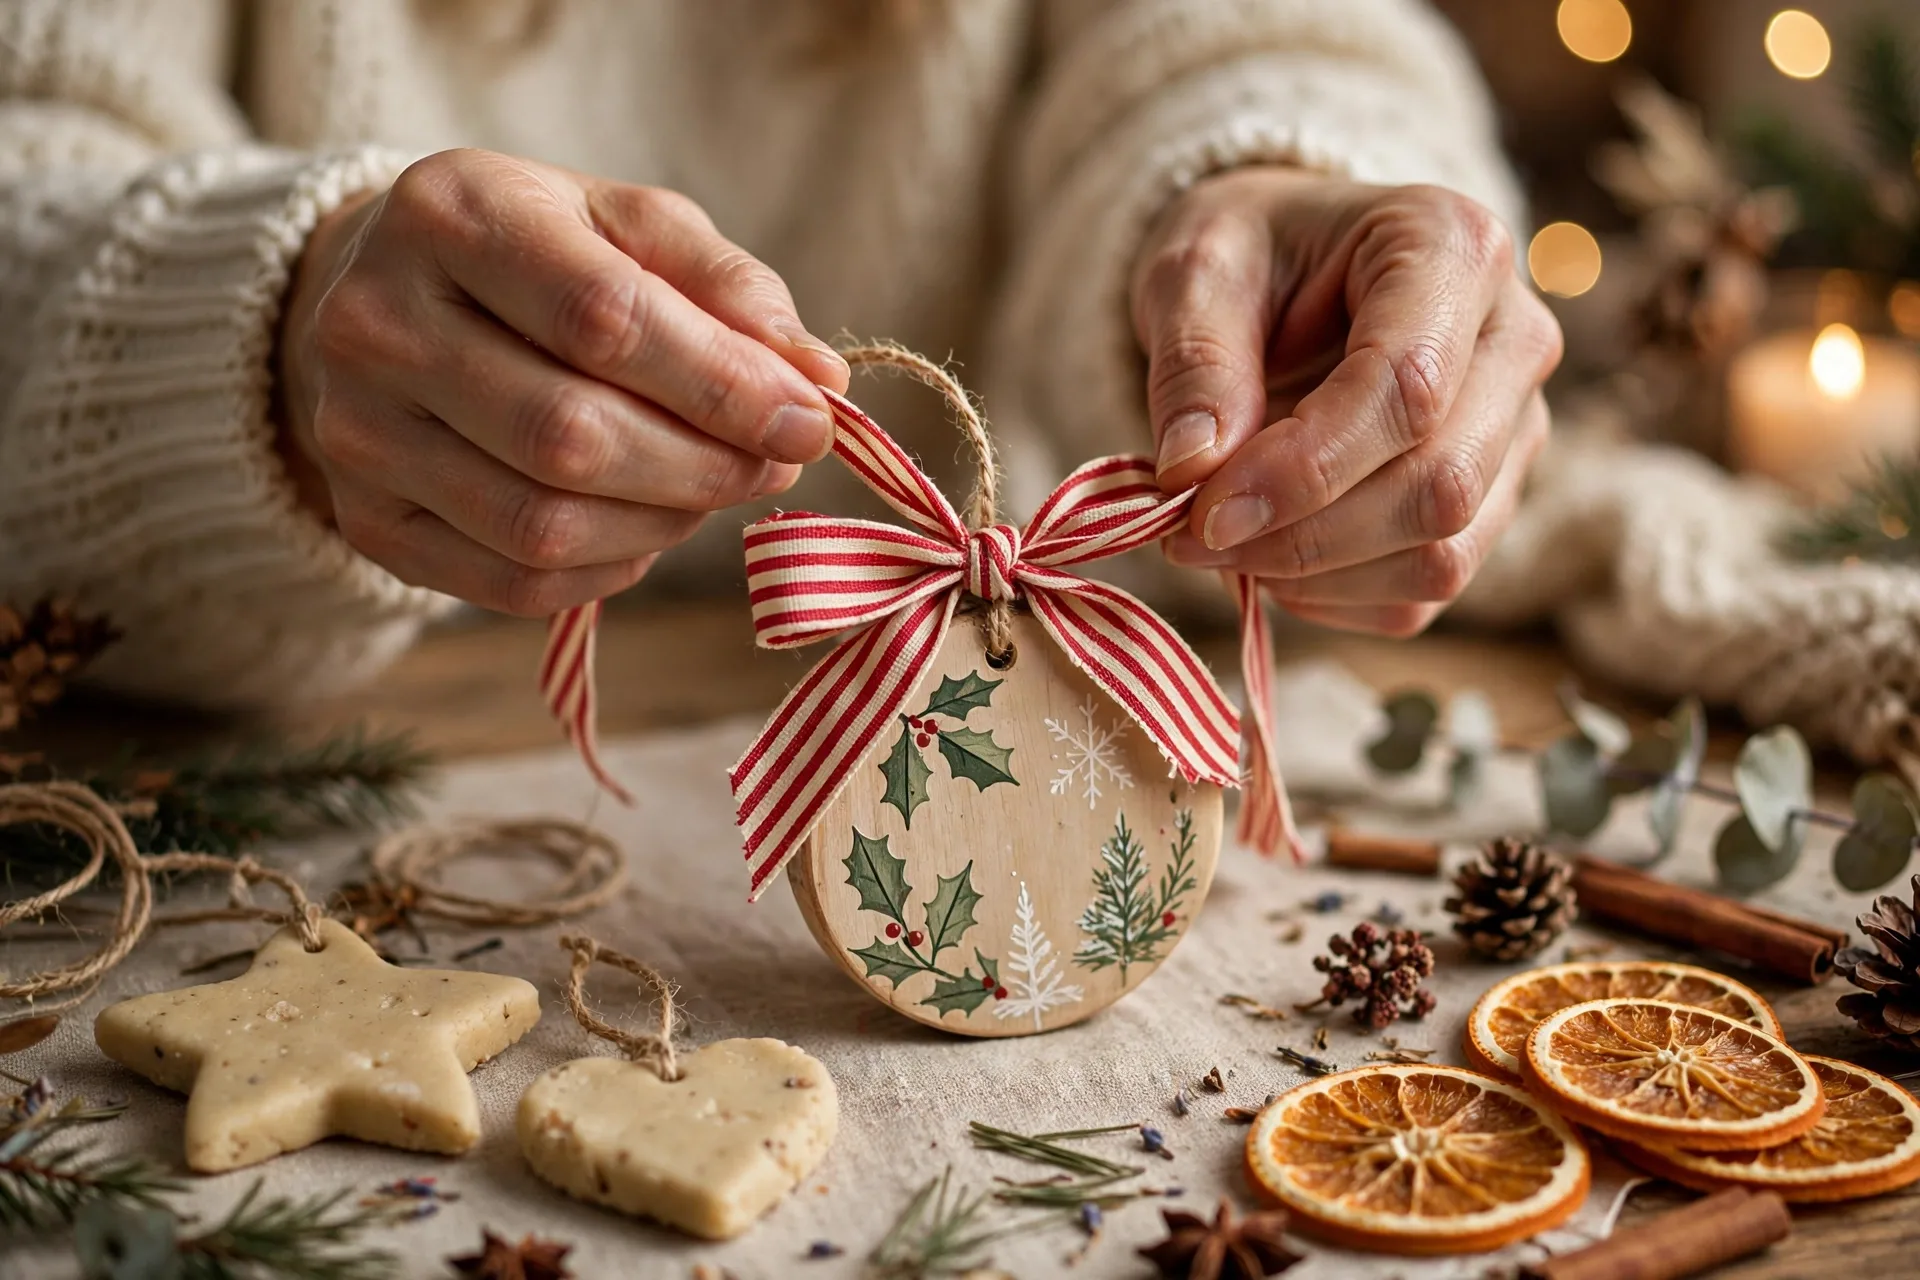
Clear plastic or glass baubles (craft store, about $1 each), filled with dried lavender, baby’s breath, or tiny dried roses. They look like little terrariums on your tree.
Make it look expensive: add a velvet ribbon instead of the standard cap hanger. Deep green or burgundy velvet against dried flowers is gorgeous.
11. Cinnamon Applesauce Ornaments
Mix 1 cup cinnamon with 3/4 cup applesauce into a dough, roll, cut, and air dry (no baking needed). They smell amazing for years and the deep brown color is beautiful.
Beginner mistake to avoid: rolling too thin — they become brittle. Keep them at least 1/4 inch thick.
12. Paper Star Ornaments
Those 3D Moravian-style stars look complicated but they’re just folded paper strips. Use old book pages, sheet music, or kraft paper. There are great 5-minute tutorials — once you learn the fold, you can make one during a TV episode.
13. Painted Walnut Shells
Crack walnuts carefully to keep halves intact, paint the shells (tiny winter scenes, or just metallic gold), glue the halves back around a loop of string with a bit of cotton inside. Delicate, old-world, beautiful.
14. Twine-Wrapped Baubles
Wrap cheap foam or plastic baubles tightly with jute twine, securing with hot glue as you go. The texture is wonderful and they suit farmhouse, rustic, and Scandinavian trees perfectly.
Make it look expensive: keep the wrapping tight and even — gaps are what make them look crafty instead of classy. A thin line of hot glue every few wraps keeps everything snug.
15. Photo Transfer Ornaments
Print family photos on regular paper (laser prints work best), Mod Podge them onto wood slices, let dry, then dampen and rub the paper away — the image stays transferred into the wood. These become the ornaments everyone asks about.
Beginner mistake to avoid: using inkjet prints — the ink bleeds when wet. Laser prints or photocopies only.
How to Hang Them Like a Designer
Here’s what I learned after hanging all fifteen: ornament hooks from the store are fine, but twine, velvet ribbon, and thin gold wire look ten times better. Vary your hanging lengths — ornaments all at the same depth look flat. And step back every few ornaments to check the balance; handmade ornaments have more visual weight than glass baubles, so spread them out.
Which Ones Are Kid-Friendly?
If you’re crafting with kids, stick to the no-heat, no-sharp-tools projects: salt dough (they can cut and paint), felt gingerbread men (with pre-cut pieces and fabric glue instead of needles), paper stars, and twine-wrapped baubles. Save the hot glue gun, wood burning, and photo transfer rubbing for the adults — or at least for older teens.
My niece (age 7) made six salt dough stars last weekend and they genuinely look good on my tree. The secret was letting her go wild with the gold paint on the edges — kids are better at the “imperfect artisan” look than adults trying too hard.
How Long Do Handmade Ornaments Last?
Honestly? Years, if you store them right. Salt dough and air-dry clay ornaments are the most fragile — wrap each in tissue and store flat. Dried orange slices will darken over time but still look beautiful for 2-3 seasons. Cinnamon and pinecone ornaments basically last forever. I have salt dough ornaments from four years ago that still hang every December.
The one thing to avoid: storing anything in a damp basement or hot attic. Moisture is the enemy of salt dough (it softens) and dried botanicals (they mold). A closet shelf in a spare room is perfect.
My tree this year? Fifteen handmade ornaments, total cost under $20, and three neighbors have already asked where I “bought” them. That’s the whole point.



Pingback: DIY Christmas Gifts: 20 Homemade Gift Ideas (Under $10)
Pingback: DIY Christmas Stockings: 14 Handmade Ideas (No-Sew!)