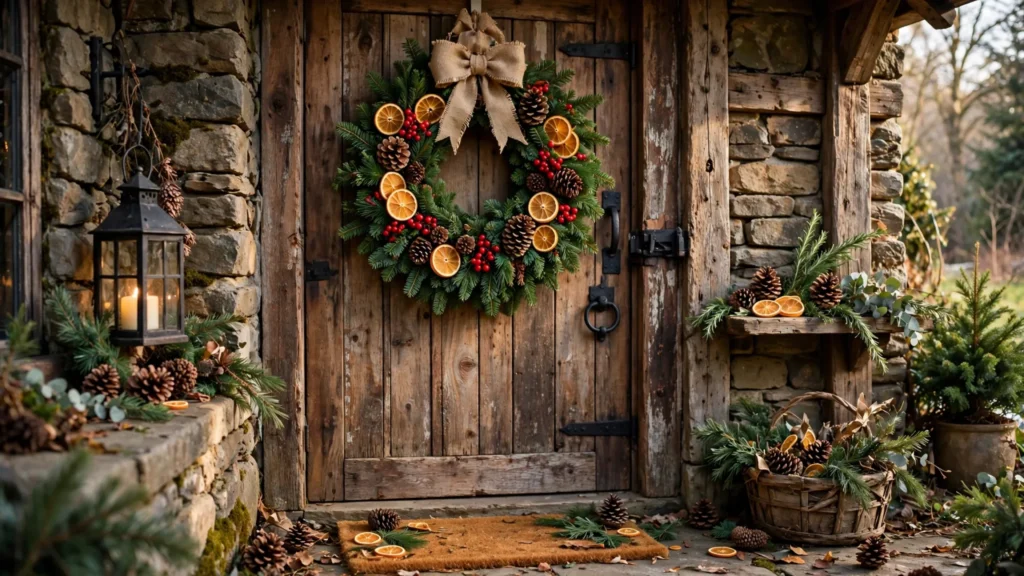

Last December, I stood in a craft store staring at a Christmas wreath with a $79 price tag. It was pretty, sure — but under the pine boughs and ribbon I could see the truth: it was a grapevine ring, a few sprigs of fake greenery, and a bow. Maybe fifteen dollars in supplies. I put it back on the shelf, drove to the dollar store, and made a wreath that night that looked just as good.
That wreath hung on my front door for five weeks and got more compliments than anything else I decorated all season. A neighbor literally knocked to ask which boutique I bought it from. When I told her I made it for under twenty bucks, her jaw dropped.
Here’s the thing nobody tells you: a DIY Christmas wreath is one of the easiest holiday crafts you can make. There is no sewing, no baking, no special skill. You wrap, you wire, you tuck — and an hour later you have something that looks like it came from a magazine shoot. Whether you want a classic evergreen wreath, a farmhouse-style dried orange wreath, or a pinecone wreath made from things you found in your own yard, this guide has you covered.
I’m sharing 13 DIY Christmas wreath ideas that all cost under $20, plus the simple base method that works for every single one of them. Let’s make your front door the prettiest one on the street.
Why Make Your Own Christmas Wreath?
Honestly? The price difference is the first reason. Store-bought wreaths start around $40 and climb past $100 for the realistic-looking ones. A DIY Christmas wreath made from a grapevine base, some greenery, and dollar-store finds runs $10 to $20. You could make five wreaths for the price of one from the big-box store.
But the real reason is simpler: yours will look better. Mass-produced wreaths all look the same — perfectly symmetrical, plasticky, boring. A handmade wreath has character. Maybe your bow is a little lopsided, maybe you tucked in extra berries on one side because you felt like it. That imperfection is exactly what makes it look like it came from a cozy holiday home instead of a warehouse shelf.
And you can customize everything. Want a wreath that matches your weird vintage ornament collection? Done. Want one in cream and gold because red clashes with your door? Easy. Want a wreath made entirely of things you already own? Totally possible — idea number 12 on this list cost me literally zero dollars.
What You’ll Need for a DIY Christmas Wreath
Before we get to the fun ideas, let’s gather supplies. You don’t need everything on this list — most wreaths need a base, greenery, and something to attach everything with. The rest is decoration.
Wreath Bases (Pick One)
Grapevine wreath: My top pick for beginners. It looks good even before you decorate it, it’s sturdy, and the twists give you natural places to tuck stems. An 18-inch grapevine wreath costs about $5 to $8 at craft stores, and it’s often cheaper with a coupon.
Foam wreath form: The smooth green or white foam rings are great for dense, full wreaths because you can pin stems right into the foam. Wrap it in ribbon or fabric first so no foam peeks through. About $4 to $6.
Wire wreath frame: The cheapest option — those plain metal rings run $1 to $3. They need more greenery to cover them, but they’re perfect for the classic layered evergreen look. You can also use a wire coat hanger bent into a circle if you want to spend nothing at all.
Greenery and Filler
You can go fresh, faux, or a mix. Fresh evergreen clippings from your yard are free and smell amazing — pine, cedar, spruce, and fir all work beautifully. If you don’t have access to fresh greenery, ask at a Christmas tree lot in late November; they throw away mountains of trimmings and most will let you take a bag for free.
Faux greenery from the dollar store works fine too, especially for indoor wreaths. Buy the sprigs, not the garlands — sprigs are easier to tuck and look more natural. You’ll need roughly 15 to 25 sprigs for a full 18-inch wreath, depending on how lush you want it.
Tools and Decorations
Floral wire (24 gauge) is the single most useful thing here. A spool costs a couple of dollars and holds everything in place. You’ll also want wire cutters or sturdy scissors, a hot glue gun for attaching pinecones and heavier items, and ribbon for the bow.
For decorations, raid your existing ornament box first. Then check the dollar store for mini ornaments, berry picks, pinecones, and ribbon. Dried orange slices — which look absolutely gorgeous on wreaths — cost pennies to make yourself: slice oranges thin, bake at 200°F for about 3 hours, flipping once.

The Basic Method: How to Build Any Christmas Wreath
Every wreath idea below uses this same foundation. Learn it once and you can make all 13.
Step 1: Plan Your Layout
Lay your wreath base on the table and arrange your decorations around it before attaching anything. This is the step most beginners skip, and it’s the reason wreaths end up lopsided. Decide where your bow will go (top, bottom, or side), then place your biggest items — pinecones, large ornaments, orange slices — in a loose triangle around the wreath. Balance matters more than symmetry.
Step 2: Attach the Greenery
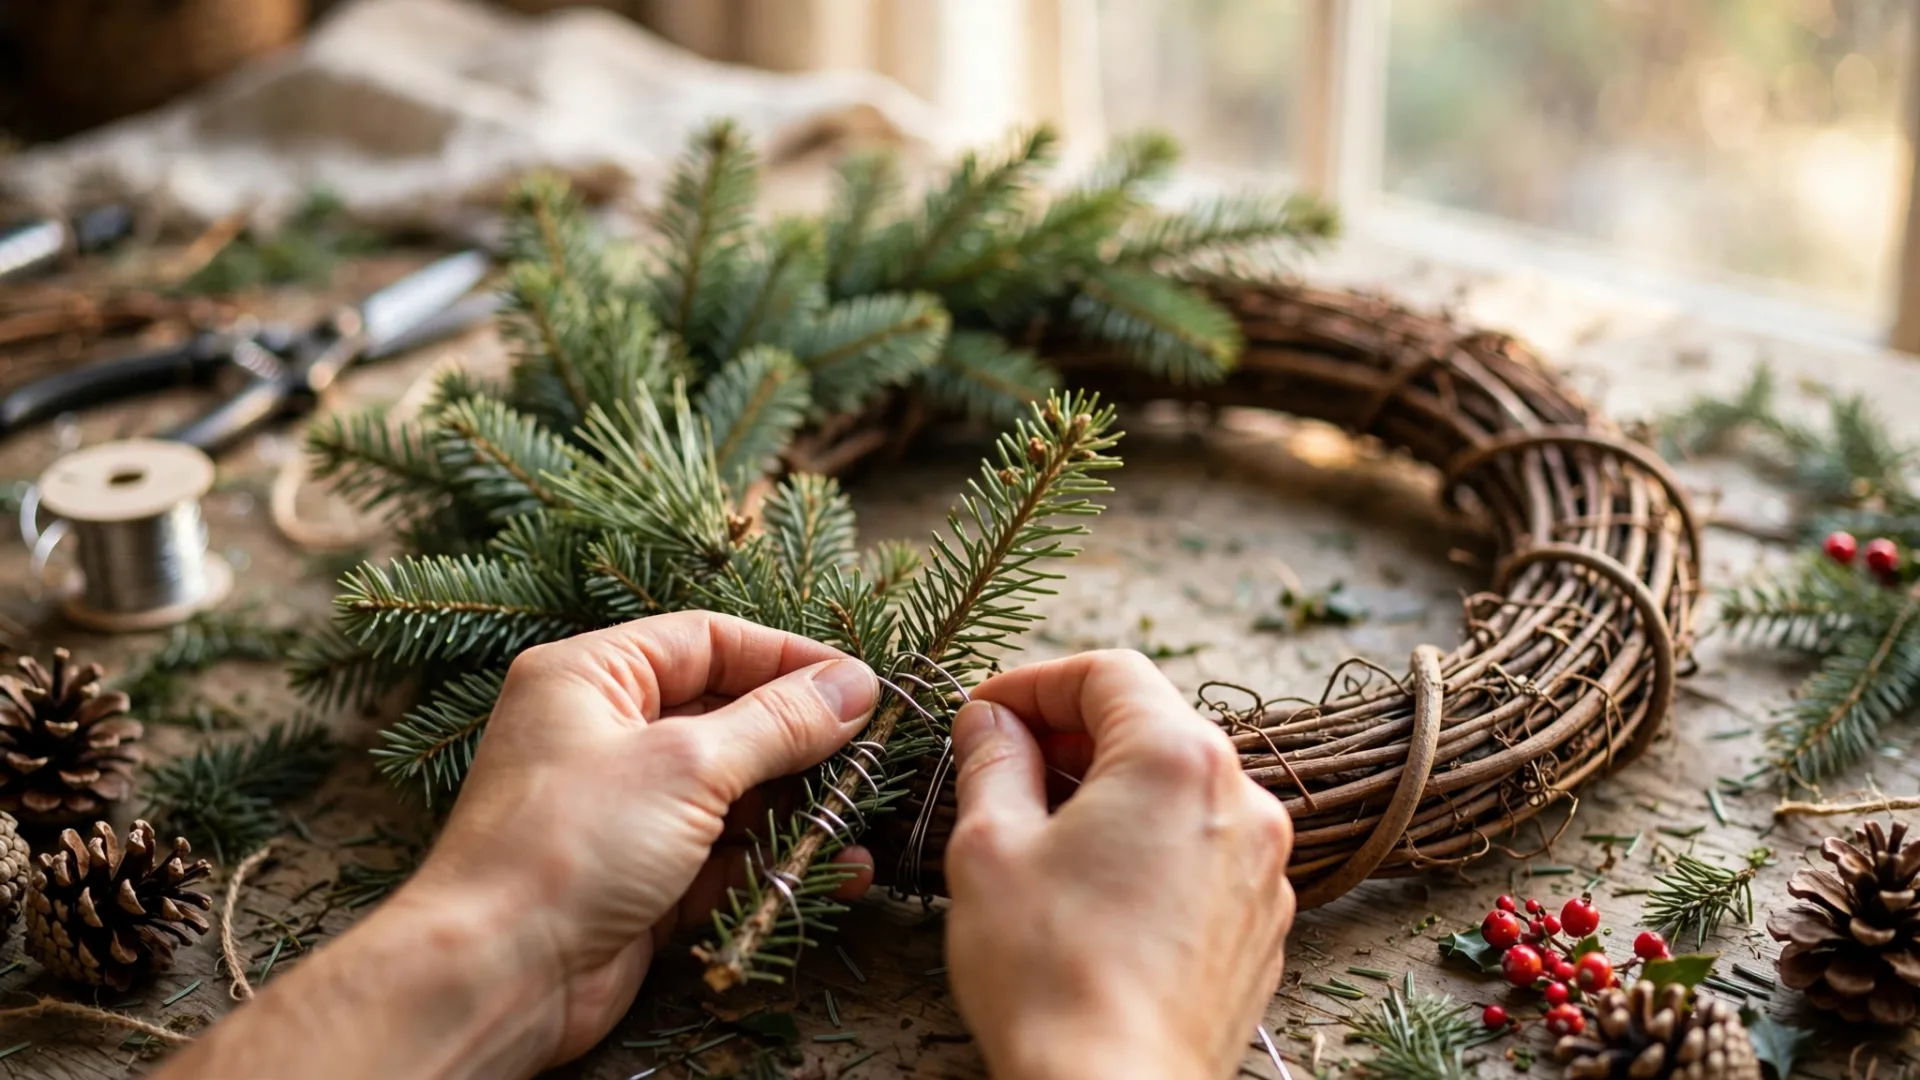
Start with your greenery base layer. If you’re using a grapevine or wire base, wire small bundles of 3 to 5 sprigs together with floral wire, then wire each bundle to the base, working in the same direction around the circle. Overlap each bundle so the stems are hidden under the next bundle’s foliage. This takes about 20 minutes and is oddly relaxing — put on some holiday music.
If you’re using a foam base, wrap it first with green ribbon or burlap, then insert stems directly into the foam at an angle, working around the ring. Push them in firmly; the foam grips them well.
Step 3: Add Your Decorations
Once the greenery is full, add decorations from largest to smallest. Attach pinecones and heavy items with wire or hot glue — wire is better for anything that might shift. Tuck berry picks and smaller items into the greenery so they look like they grew there. Step back every few minutes and look at the whole wreath from a distance; that’s when you’ll spot bare spots and overcrowded areas.
Step 4: Tie the Bow and Hang It
Tie your bow separately with wired ribbon (wired ribbon holds its shape so much better than regular ribbon), then wire it to the wreath at your planned spot. Fluff the loops by pulling them apart gently. Hang your wreath with an over-the-door wreath hanger, a sturdy nail, or a command hook rated for the weight. If your wreath is heavy with pinecones, use two hooks or a nail — a wreath crashing down at 2 AM is a sound you never forget.
13 DIY Christmas Wreath Ideas Under $20
Now for the fun part. Every one of these wreath ideas uses the base method above — the difference is in the materials and the styling. Pick the one that makes you happiest.
1. Classic Evergreen and Red Berry Wreath
This is the wreath that looks expensive every single time. Build a full greenery base on a grapevine ring using fresh pine and cedar, then wire in clusters of red berry picks — three berries per cluster, five or six clusters spread evenly. Finish with a big red velvet bow at the top. The color contrast between the deep green, bright red berries, and rich bow does all the work. Cost: about $12 if you use yard clippings and dollar-store berries.
2. Dried Orange and Cinnamon Wreath
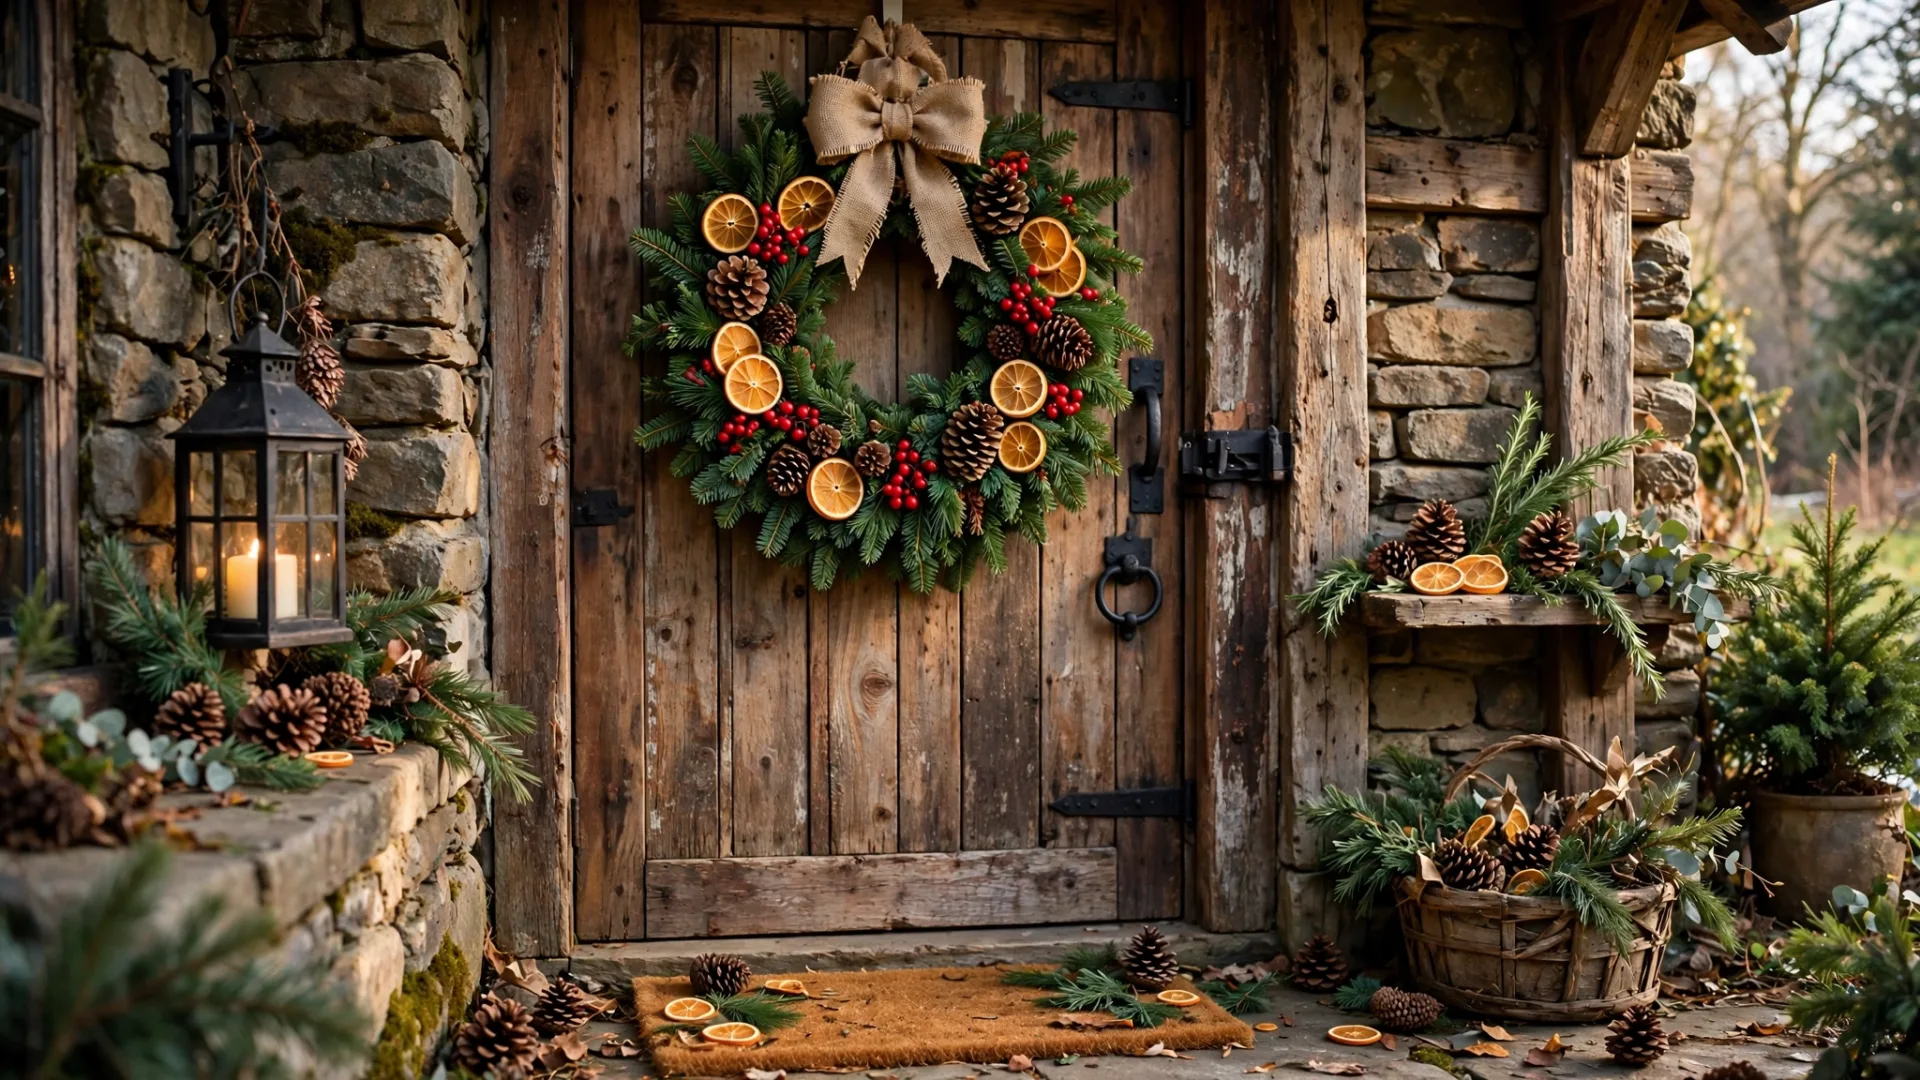
The one that makes your porch smell like Christmas. Make dried orange slices in the oven (thin slices, 200°F, about 3 hours), then wire or hot-glue them onto a greenery-covered base along with cinnamon sticks bundled in threes and a few star anise. Add a burlap bow. It looks like something from a Scandinavian holiday market, and the total cost is roughly $8.
3. Farmhouse Plaid Bow Wreath
If your style is farmhouse or rustic, this is your wreath. Cover a grapevine base with a mix of faux pine sprigs and cotton stems (dollar stores carry both). Instead of a small bow, make one oversized plaid bow — red and black buffalo check ribbon — and let the tails hang long down the front. Add a few pinecones for texture. The big bow is the whole show here, so make it generous: loops at least 6 inches wide.
4. All-Pinecone Wreath
Go outside, pick up pinecones. That’s the whole supply run. Hot-glue pinecones — all sizes mixed together — onto a foam wreath form until no foam shows. Tuck in small sprigs of greenery and a few red berries to break up the brown. This wreath costs almost nothing and has the most satisfying texture of any on this list. Pro tip: bake your gathered pinecones at 200°F for an hour first to kill any hitchhiking insects.
5. Frosted Snowy Wreath
For a winter-wonderland look without snow, buy a can of flocking spray (about $8) and lightly mist a faux greenery wreath. Add white and silver ball ornaments in two sizes, a few pinecones, and a silvery-gray bow. Keep your spray light — you want a dusting of snow, not a blizzard. Hang it on a dark-colored door for maximum contrast.
6. Eucalyptus and White Berry Wreath
This one feels fresh and modern. Use a simple wire or thin grapevine base and attach bundles of eucalyptus (fresh or faux — fresh smells incredible) all the way around. Add white or pale pink berry picks and a cream satin ribbon. No red, no plaid, no rustic browns — just soft greens and whites. It photographs beautifully and works with any door color.
7. Rustic Burlap and Pine Wreath
Wrap a foam base completely in wide burlap ribbon, weaving it in and out for a gathered look. Add sprigs of pine, three or four large pinecones, and a burlap bow with long tails. That’s it — four materials. The monochrome natural palette is what makes it elegant. This is also a great wreath to leave up through January because it reads as winter, not just Christmas.
8. Mini Ornament Ball Wreath
The most joyful wreath on this list. Thread dozens of small shatterproof ornaments — mixed colors or one color scheme — onto a wire frame, packing them tightly. Fill any gaps with hot glue. Use ornaments in different finishes (matte, shiny, glitter) for depth. A bag of mini ornaments at the dollar store plus a wire frame puts this at about $10, and it looks like a candy explosion on your door.
9. Cookie Cutter Wreath
This is the cutest idea for a kitchen door or a home with kids. Attach metal Christmas cookie cutters — stars, trees, gingerbread men — to a greenery wreath with ribbon loops tied through the cutter handles. The cutters become little hanging ornaments. Hit the thrift store or dollar store for a mixed set. It doubles as a conversation starter, and you can use the cookie cutters for actual baking afterward.
10. Woodland Berry and Twig Wreath
Leave half of your grapevine base bare — that’s the point. On the decorated half, layer pine sprigs, clusters of dark red berries, small pinecones, and a couple of bare birch twigs poking upward for height. Tie a simple twine bow. This asymmetric, half-decorated style looks effortlessly chic and uses half the supplies of a full wreath. It cost me about $7.
11. Golden Glam Wreath
For everyone whose Christmas leans glamorous rather than rustic. Spray a plain faux wreath or greenery base with gold spray paint (light coats), then add gold ornaments, gold berry picks, and a champagne-colored bow. Mix in a few white flowers — faux poinsettia clips from the dollar store work perfectly. One can of gold spray paint covers the whole project, keeping it around $15.
12. The Free Wreath: Yard Clippings Only
My favorite challenge: make a wreath spending zero dollars. Trim evergreen branches from your yard (or a neighbor’s, with permission), gather pinecones and interesting twigs, and make a bow from a strip of fabric — an old flannel shirt or a tea towel works. Wire it all onto a grapevine base you already have, or a coat hanger bent into a circle. Is it the fanciest wreath on this list? No. But it’s free, it’s real, and there’s something deeply satisfying about that.
13. Candy Cane Stripe Wreath
Wrap a foam wreath form with alternating stripes of red and white wide ribbon — pin the ribbon in place on the back of the form. Add a few sprigs of greenery at the top, a cluster of small ornaments, and a red bow. The ribbon-stripe base peeks through the decorations and gives you that candy cane effect. It’s cheerful, kid-approved, and uses maybe $9 in supplies.
Common Mistakes to Avoid
After making dozens of wreaths, I’ve learned what goes wrong — so you don’t have to.
Skipping the layout step. I mentioned this before because it’s the number one beginner mistake. Attach nothing until you’ve arranged everything on the base first. Fifteen minutes of planning saves an hour of unwiring.
Using too little greenery. A skimpy wreath looks sad. You need more sprigs than you think — keep adding until the base is invisible from every angle. If you’re buying faux sprigs, buy double what seems reasonable. You can always return extras.
Glueing everything. Hot glue is great for pinecones and heavy items, but don’t glue your greenery — wire it instead. Glued stems shift and fall off; wired stems stay put for years. Save the glue gun for the decorations.
Forgetting the back. If your wreath hangs on a glass door, people see the back too. Tuck wire ends in flat, trim excess stems, and keep the back tidy. It takes two extra minutes.
Hanging it too high. The center of your wreath should sit roughly at eye level — about 60 inches from the ground. Too high and it looks lost; too low and it gets knocked by the door swinging. Measure before you hang.
How to Hang and Store Your DIY Christmas Wreath
For hanging, an over-the-door wreath hanger is the easiest option and needs no hardware — just make sure it fits your door thickness. For a more invisible look, use a large removable adhesive hook on the inside of the door with a ribbon looped over the top of the door to the wreath on the outside. If your wreath is heavy (pinecone wreaths get weighty), use a real nail or two hooks for safety.
Keep a fresh-greenery wreath looking good by misting it with water every few days and keeping it out of direct sun. It should last 4 to 6 weeks outside in cool weather. Faux wreaths last for years — just fluff the branches each season.
For storage, hang each wreath on a hanger inside a garment bag or a dedicated wreath storage bag. Never stack wreaths on top of each other — the decorations get crushed. Store them in a cool, dry place, and your wreath will come out next December looking as good as the day you made it.
There’s a special kind of pride in opening your front door all season and seeing something you made with your own hands. Pick one idea from this list, gather your supplies this weekend, and give yourself an hour. I promise — the neighbor compliments are worth it.