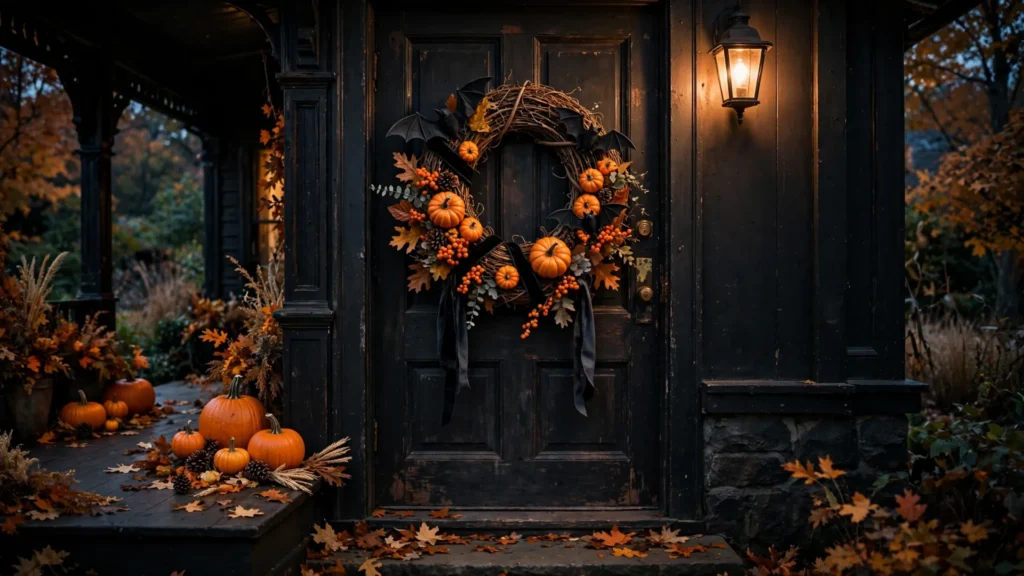

Why Your Front Door Deserves Better Than a Dollar-Store Skeleton
Let me tell you about my first Halloween wreath. It was a foam pumpkin wrapped in orange tulle, and I paid nine dollars for it at a big-box store. It looked fine in the aisle lighting. On my door, though, it looked like a basketball that had seen better days. My neighbor Karen (we have all been there with a neighbor Karen) hung one she made herself — dried branches, black roses, a little wooden “BOO” sign — and it cost her maybe twelve dollars in supplies. I stared at it every time I took out the trash.
That was the year I learned the truth: a DIY Halloween wreath doesn’t just save money. It wins. Store-bought wreaths cost $25 to $60 and look identical to the ones on forty other doors. A homemade one, even a simple one, looks like you made it — because you did, and the little imperfections are exactly what make it charming.
This year, make the door wreath everyone slows down to look at. I’ve gathered 13 DIY Halloween wreath ideas that genuinely look expensive — spooky, glamorous, farmhouse-cozy, and kid-friendly options, all of them. Most cost under $20 in supplies. Let’s get crafting.
What You’ll Need (The Master Supply List)
Every wreath below starts from one of these bases. Pick the one that fits your style, then add the decorations.
- Grapevine wreath base (18 inch): $8–$12 at craft stores. Rustic, forgiving, hides mistakes beautifully.
- Foam wreath form (14 inch): $4–$6. Best for mesh or fabric-wrapped designs.
- Wire wreath frame (18 inch): $3–$5. The skeleton for deco-mesh and floral-heavy designs.
- Hot glue gun + extra glue sticks: you probably own one; sticks are $3 a bag. Non-negotiable for wreath making.
- Floral wire or paddle wire (22 gauge): $4. Holds heavier items that glue alone can’t handle.
- Wire cutters/flush cutters: $6. Regular scissors will be ruined by floral wire.
- Black spray paint (matte): $5. Turns any cheap item spooky instantly.
- Ribbon (wired ribbon, 2.5 inch wide): $5–$8 per roll. Wired ribbon holds its loops — plain ribbon goes limp by Tuesday.
Optional but wonderful: battery fairy lights ($6), a glue gun heat guard if kids are helping, and a cheap shower cap or wreath storage bag ($8) for January.
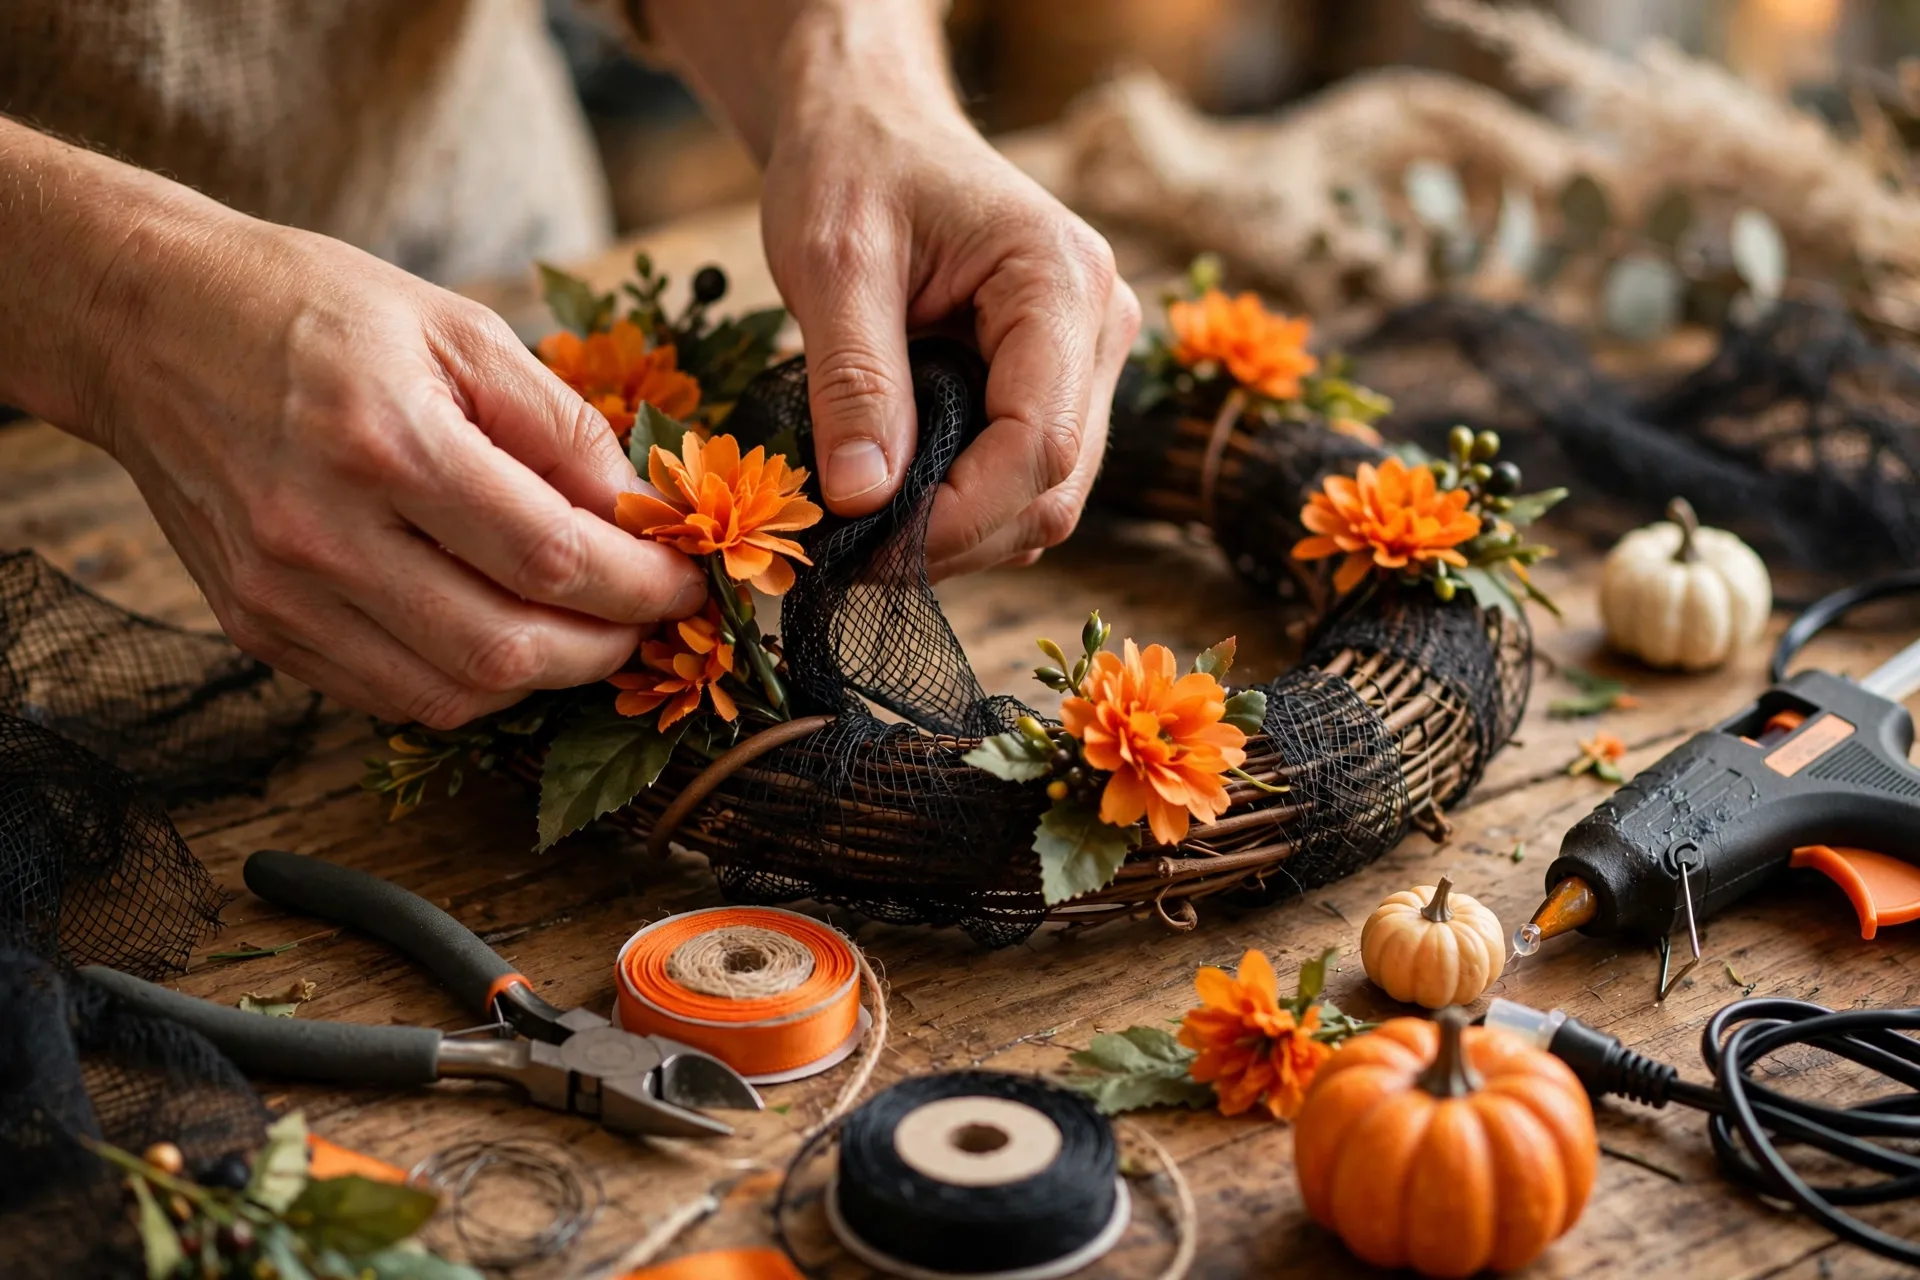
1. The Classic Black Floral Grapevine Wreath
Difficulty: easy | Time: 45 minutes | Cost: ~$18
This is the one that made me feel like I knew what I was doing, and it’s still my favorite five years later. The grapevine base does all the structural work — you just tuck things into it.
Materials
- 18-inch grapevine wreath
- 2 bunches of black artificial roses or dahlias ($5 each)
- 1 bunch of dark purple or burgundy filler flowers
- A few sprigs of artificial eucalyptus or black leaves
- 1 small wooden “BOO” or “Happy Halloween” sign ($3)
- Black wired ribbon for a bow
How to make it
Work in thirds. Snip your stems to about 4 inches, then push the largest black blooms into the grapevine at the 10 o’clock, 2 o’clock, and 6 o’clock positions. Don’t glue yet — just wedge them in and step back. Grapevine grips stems surprisingly well, so you can audition the placement.
Once the big flowers look balanced, fill the gaps with the purple filler and greenery, working in small clusters of three. Add the wooden sign slightly off-center (centered signs look like a store display; off-center looks designed). Glue the sign’s back, press it into the vines, and wire it through two points for insurance.
Finish with a loose bow at the top. The trick to a good bow: make the loops slightly uneven. Symmetry reads as mass-produced; a little asymmetry reads as artisan.
2. Deco Mesh “Spider Web” Wreath
Difficulty: easy | Time: 1 hour | Cost: ~$15
Deco mesh wreaths look puffy and expensive, but the technique is genuinely simple: you bunch the mesh and tie it around the frame. An 18-inch wire frame plus one roll of black deco mesh ($8) makes a wreath that looks like it came from a boutique.
How to make it
Cut the mesh into 10-inch strips. Take a strip, scrunch the middle like you’re making a bow tie, and twist-tie it to the inner ring of the wire frame. Repeat around the inner ring, then do the same on the outer ring, alternating. Push the puffs toward each other so the frame disappears.
Now the fun part: stretch a few strands of spider-web decoration ($2) across the front and tuck in a big plastic spider or two. Add orange ribbon tails at the bottom — cut the ends in a dovetail (a little V) so they look professional. Hang it, step back, and try not to look too smug.
3. Glam Black-and-Gold Wreath
Difficulty: medium | Time: 1 hour | Cost: ~$22
For the house that does Halloween with a champagne glass in hand. This one photographs beautifully, which matters because your friends will ask for a picture.
Materials
- 14-inch foam wreath form
- Gold deco mesh or gold burlap ribbon (enough to wrap the form twice)
- Black glitter pumpkins, small ($6 for a pack of 4)
- Gold and black ornaments or baubles
- Black feathers ($3 a pack)
- A gold “Spooky” or “Eek” sign
How to make it
Wrap the foam form tightly with the gold mesh, overlapping each pass by half and pinning or gluing the end. This is your luxe base. Cluster the black glitter pumpkins at the bottom third, varying the sizes. Tuck gold baubles into the gaps, then slide black feathers behind the clusters at angles — feathers add movement and drama.
The glam rule: odd numbers and asymmetry. Three pumpkins, five feathers, one sign placed at 4 o’clock. If it looks “balanced,” unbalance it slightly.
4. Farmhouse Burlap Wreath with Plaid Ribbon
Difficulty: easy | Time: 50 minutes | Cost: ~$14
Burlap wreaths are the cozy-sweater version of Halloween. They also survive wind better than almost anything else on this list.
How to make it
Wrap a foam form in natural burlap ribbon ($5), overlapping generously. Then tie on a big bow made from orange-and-black buffalo plaid wired ribbon — plaid is the entire personality of this wreath, so don’t skimp on the bow size. Tuck in a few mini fabric pumpkins (or real mini pumpkins if the wreath hangs in a covered spot) and a sprig of dried wheat.
Hang this one on a covered porch or inside on a wall. Burlap and rain are not friends — see the weatherproofing section below if your door is exposed.
5. Kid-Friendly Paper Plate Ghost Wreath
Difficulty: kid-easy | Time: 30 minutes | Cost: ~$5
This is the one to make with the kids on a rainy October afternoon. Zero hot glue required if you use a glue stick and tape — little hands stay safe.
Materials
- 1 large paper plate
- White tissue paper or cotton balls
- Black construction paper
- Glue stick, scissors, ribbon for hanging
How to make it
Cut the center out of the paper plate so you have a ring. Kids scrunch tissue paper into balls (or pull apart cotton balls) and glue them all over the ring until it’s fluffy and white. Cut two big oval eyes and a round “O” mouth from black construction paper and glue them on. Tie a ribbon loop at the top.
It will not win a design award, and that is entirely the point. Tape your child’s name and the year on the back. Future you will cry happy tears.
6. Spooky Eyeball Wreath
Difficulty: easy | Time: 40 minutes | Cost: ~$12
Ping-pong balls, a black marker, and a grapevine wreath. That’s the whole recipe, and it is delightfully creepy.
How to make it
Draw pupils, veins, and bloodshot lines on 15–20 ping-pong balls with red and black markers — make each one different; uniformity kills the effect. Hot-glue them onto a grapevine wreath, clustering some and leaving gaps in others. Add a few black crows or a small skeleton hand from the dollar store. Spray the whole thing lightly with matte clear sealer so the marker doesn’t run if it gets damp.
7. Witch Hat Wreath
Difficulty: medium | Time: 1 hour | Cost: ~$16
A witch hat shape made from a wire frame (or a bent coat hanger, honestly) wrapped in black mesh, with the brim as the wreath circle. It’s a showstopper and easier than it looks.
How to make it
Form the hat cone from black poster board or stiff felt, and make the brim a ring of the same material about 14 inches across. Wrap both in black fabric or mesh, gluing as you go. Decorate the brim ring like a wreath — purple and orange flowers, a striped ribbon band around the cone, a buckle cut from gold cardstock. The cone leans back against the door, which actually helps it hang flat.
8. Glow-in-the-Dark Skeleton Wreath
Difficulty: easy | Time: 45 minutes | Cost: ~$17
The daytime version looks like a chic black wreath. At night, it glows. Kids lose their minds over this one.
How to make it
Spray-paint a grapevine wreath matte black and let it dry fully. Glue on small plastic skeletons ($5 a bag) that you’ve painted with glow-in-the-dark paint ($6 a bottle — one bottle does several wreaths). Add black roses between the skeletons for contrast. “Charge” the paint under a bright light for an hour before dusk, and hang it where porch light or street light hits it.
Real talk: cheap glow paint fades after an hour or two. For all-night glow, spend the extra $3 on the phosphorescent kind, not the fluorescent kind — check the label.
9. Candy Corn Wreath
Difficulty: easy | Time: 1 hour | Cost: ~$13
Wrap a foam form in rows of candy corn–colored felt or fabric strips (white, orange, yellow), and people will recognize it from the street. It’s nostalgic, cheerful, and uses zero scary imagery — perfect if your house is on the trick-or-treat route for toddlers.
How to make it
Cut felt into 2-inch-wide strips. Starting at the inner edge, glue strips in concentric color bands: white on the inside third, orange in the middle, yellow on the outside — just like the candy. Overlap each strip slightly. Add a burlap bow and a small wooden sign that says “Trick or Treat.”
10. Haunted House Silhouette Wreath
Difficulty: medium | Time: 1.5 hours | Cost: ~$20
A black wreath with a haunted-house silhouette in the center reads as genuinely artistic. This is the one guests ask about.
How to make it
Make a full, lush black wreath first — black mesh on a wire frame, or black-painted grapevine packed with black florals. Then cut a haunted house silhouette from black foam board (free templates are everywhere online; trace and cut with a craft knife). Mount the silhouette on thin dowels or wire so it sits inside the wreath opening, slightly recessed. Back it with a piece of orange tissue paper and a battery tea light behind it, and the windows glow. Replace the tea light battery yearly.
11. Dried Floral “Witchy Apothecary” Wreath
Difficulty: medium | Time: 1 hour | Cost: ~$19
Dried lavender, wheat, dark red amaranth, and black-dyed bunny tails on grapevine. It smells amazing, looks like a prop from a cozy witch movie, and doubles as fall decor through Thanksgiving.
How to make it
Bundle dried stems into small posies of 3–5 stems, wrap each with floral wire, and wire the bundles onto the grapevine, all pointing the same direction (this gives the professional crescent look). Work around two-thirds of the wreath and leave the bottom third bare for a modern asymmetric style. Mist with hairspray to reduce shedding. Hang it indoors or under deep cover — dried flowers and rain do not mix.
12. Mini Pumpkin Cluster Wreath
Difficulty: easy | Time: 50 minutes | Cost: ~$21
Cover a foam form entirely in mini pumpkins — real ones for a covered porch, faux for anywhere. It looks abundant and expensive because, well, there are forty pumpkins on it.
How to make it
Hot-glue mini pumpkins ($8–$10 for a bag of faux minis) onto a foam form, starting with the largest and filling gaps with smaller ones. Tuck preserved moss ($4 a bag) into any visible gaps — the moss is the secret that makes it look professional instead of “pumpkins glued to a donut.” Add a velvet ribbon hanger in deep plum or forest green.
13. The “Everything Drawer” Mixed-Media Wreath
Difficulty: easy | Time: 1 hour | Cost: ~$10
My personal favorite method: raid your craft leftovers. Last year’s ribbon scraps, half a bag of plastic spiders, leftover fall leaves, that one black feather boa from a costume. Glue it all onto a grapevine base in layers — biggest items first, filler second, tiny details last. Mixed-media wreaths have a collected, curated look that money can’t quite buy, because no store sells “the exact contents of your craft drawer.”
How to Hang Your Wreath (Without Ruining Your Door)
A gorgeous wreath means nothing if it falls at 2 a.m. or scratches your paint. Here’s what actually works:
- Wreath hangers (over-the-door hooks): $8–$12, the classic choice. Put a felt pad or a bit of moleskin where the metal touches the door to prevent scratches. Check the door clearance — thick hangers stop some doors from closing.
- Command outdoor hooks: my top pick for renters and painted doors. The outdoor strips hold up to 7 lbs through rain. Clean the door with rubbing alcohol first, wait an hour after sticking before hanging the wreath, and remove by pulling the tab straight down.
- Suction cup hooks: only for glass storm doors, and only the heavy-duty lever type. Cheap suction cups fail exactly when the wind picks up.
- Ribbon over the door: loop a long wired ribbon over the top of the door and staple or pin the wreath to it. Zero hardware, and the ribbon becomes part of the look. Works best for lighter wreaths under 3 lbs.
- Magnetic wreath hangers: for metal doors — two strong magnets, one inside, one outside. Surprisingly sturdy and completely damage-free.
Door protection tip: whatever you use, stick a small square of felt to the back of the wreath where it touches the door. Wreaths swing in the wind, and a season of swinging will scuff paint.
Weatherproofing: Keep It Pretty Through October Rain
October weather is unpredictable — one week it’s 70 and sunny, the next there’s a sideways rainstorm. A few minutes of prevention saves your work:
- Seal it: a light coat of matte clear acrylic sealer ($6 a can) over the finished wreath protects paint, marker, and paper elements. Two light coats beat one heavy coat.
- Choose your materials for the location: exposed door? Stick to plastic, mesh, sealed wood, and faux florals. Paper, dried flowers, burlap, and real pumpkins belong under a covered porch or indoors.
- Anchor against wind: on windy exposures, add a second attachment point — a small Command hook at the bottom of the door with a bit of fishing line to the wreath’s lower edge stops the swinging that destroys wreaths.
- Bring it in for storms: if serious weather is forecast, take thirty seconds to bring the wreath inside. No sealer survives a full storm.
7 Mistakes That Ruin a Good Halloween Wreath
Learn from my trash-can years:
- 1. Gluing before auditioning. Place everything, step back ten feet, then glue. Hot glue is forever; regret is also forever.
- 2. Using non-wired ribbon. Plain ribbon goes limp within days outdoors. Wired ribbon holds its shape all season.
- 3. Centering every element. Off-center signs and asymmetric clusters look designed; dead-center looks like a product photo.
- 4. Skipping the filler. Big flowers with visible base between them look sparse. Filler — moss, leaves, small blooms — is what makes a wreath look full and expensive.
- 5. Hanging too high or too low. Eye level is the rule: the center of the wreath should sit around 57 inches from the ground, gallery-wall height. Too high and it looks lost; too low and the door handle fights it.
- 6. Forgetting the back. Wreaths on glass doors are visible from inside. Finish the back with felt or ribbon so your family isn’t staring at hot-glue blobs all month.
- 7. Making it in September and storing it wrong. Which brings us to…
Storing Your Wreath for Next Year
A well-made wreath lasts for years if you store it right. The enemy is crushing, not time.
- Hang it on a hook inside a wreath storage bag ($8) or a clean trash bag with the air gently pressed out — never stack anything on top of it.
- Store flat only if the wreath is flat by design (mesh wreaths compress fine; pumpkin-cluster wreaths do not).
- Keep it in a climate-controlled spot, not the attic. Heat melts hot glue — I learned this the expensive way when a July heatwave turned a wreath into modern art.
- Toss a dryer sheet in the bag to keep it smelling fresh and deter pests.
- Photograph each wreath before storing, with a note of what needs fixing. Next October, you’ll thank present you.
The Bottom Line
Here’s what I wish someone had told me before I bought that sad foam pumpkin: the wreath on your door sets the tone for your whole Halloween. It’s the first thing trick-or-treaters see and the last thing your neighbors judge — lovingly — as they walk past.
You don’t need talent, and you definitely don’t need $60. You need a grapevine base, a glue gun, and an hour on a Sunday afternoon. Pick one idea from this list — just one — and make it this weekend. By the time the first trick-or-treaters show up, your door will be the one they remember.
And when Karen from next door asks where you bought it? Smile and say, “I made it.” That’s the best part.



Pingback: 13 DIY Christmas Wreath Ideas Under $20 (Look Expensive!)
Pingback: DIY Halloween Costumes: 15 Last-Minute Ideas (No Sewing!)