
The October My Kitchen Table Looked Like a Haunted House
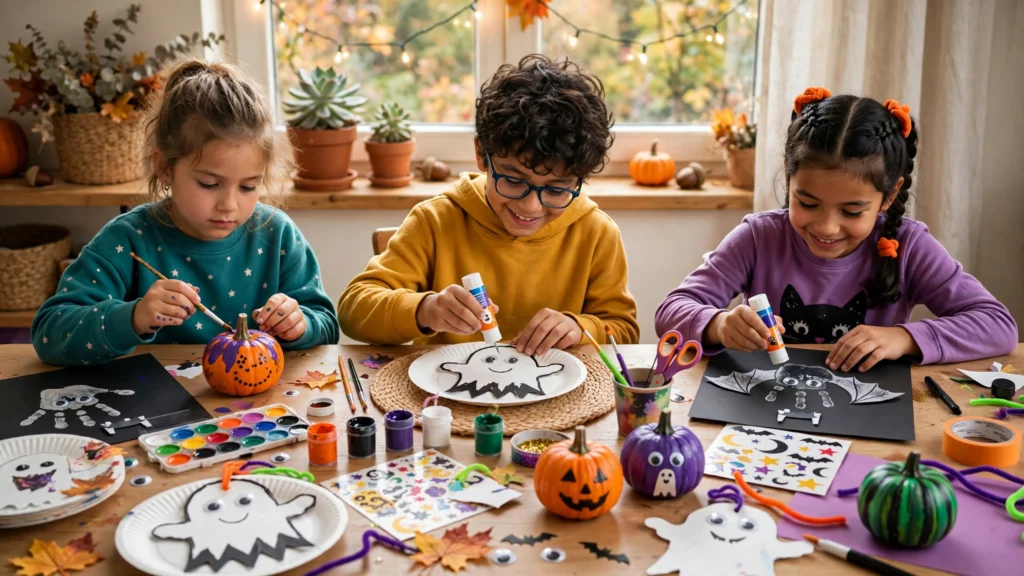
Last October, my dining table disappeared under a slow-moving landslide of black paint, orange paper scraps, and something that looked suspiciously like a ghost made of cotton balls. It did not happen all at once. It happened the way craft messes always happen: one innocent paper plate ghost on a Tuesday, then a handprint bat on Thursday, and by the following Monday my table was basically a Halloween crime scene.
And honestly? It was the best month we have had as a family in years.
My kids are at that perfect craft age now, where they are old enough to actually make things and young enough to think my wobbly paper-plate ghosts are masterpieces. Over the past few Octobers, we have made just about every easy Halloween craft the internet has to offer, and I have learned which ones are genuinely fun, which ones end in tears (usually mine), and which ones produce something you actually want to hang up.
This list is the real one. Thirteen Halloween crafts for kids, tested on my own children, rated by age, mess level, and cost, with the mistakes I made included for free. Let’s get spooky.
Before You Open the Craft Box: Ground Rules
Every craft on this list uses supplies you probably already own or can grab for a few dollars. I have included a cost estimate with each one, and the most expensive craft here costs less than a fancy coffee. That said, there are a few ground rules that will save your sanity:
- Washable everything. Washable paint, washable markers, washable glue sticks. The word “washable” is the difference between a fun afternoon and a permanently tie-dyed kitchen table.
- Cover the table. An old shower curtain or a plastic tablecloth works perfectly. Newspaper works too, but it slides around and the paint bleeds through onto the table anyway. Ask me how I know.
- Feed the children first. Hungry kids and crafts are a terrible combination. A snack before you start will buy you at least forty extra minutes of good behavior. This is parenting science and I will not be taking questions.
- Adults own the glue gun and the knives. There is no kid age at which a hot glue gun is a good idea. I learned this the painful way, which I will tell you about in the mistakes section below. Low-temp glue guns are still hot. Keep them for yourself.
How to Read This List
Each craft below is labeled with three things so you can pick at a glance. Best age tells you who will actually enjoy it: toddlers (ages 2 to 3, needs heavy adult help), preschool (ages 4 to 5, can do most steps with you nearby), or big kids (ages 6 and up, mostly independent). Mess level runs from nearly zero to bring-a-towel. And cost is the honest price for making it once, usually with supplies you will reuse for the next nine crafts too.
1. Paper Plate Ghosts
Best age: toddlers and up | Mess: low | Cost: about $1
The classic first Halloween craft, and for good reason. It is nearly impossible to mess up, which makes it perfect for little kids who want to make something that looks like what the big kids are making.
You need: white paper plates, a black marker, white crepe paper or toilet paper strips, a stapler or glue stick, and string for hanging.
How to make it: Take a white paper plate and draw a ghost face on it: two oval eyes and a wavy oval mouth. Let your child do the drawing, even if the eyes end up on opposite sides of the plate. That is character. Then cut or tear the crepe paper into strips about a foot long and staple or glue them around the bottom half of the plate. Poke a hole at the top, thread a string through, and hang your ghost from the ceiling where it can sway in the draft and look properly spooky.
What went wrong for me: The first year, I used streamers from the dollar store that were tissue-thin, and they tore off the moment the kids touched the ghosts. Regular crepe paper or even torn strips of a white paper towel hold up much better.
2. Handprint Bats
Best age: preschool and up | Mess: medium | Cost: about $2
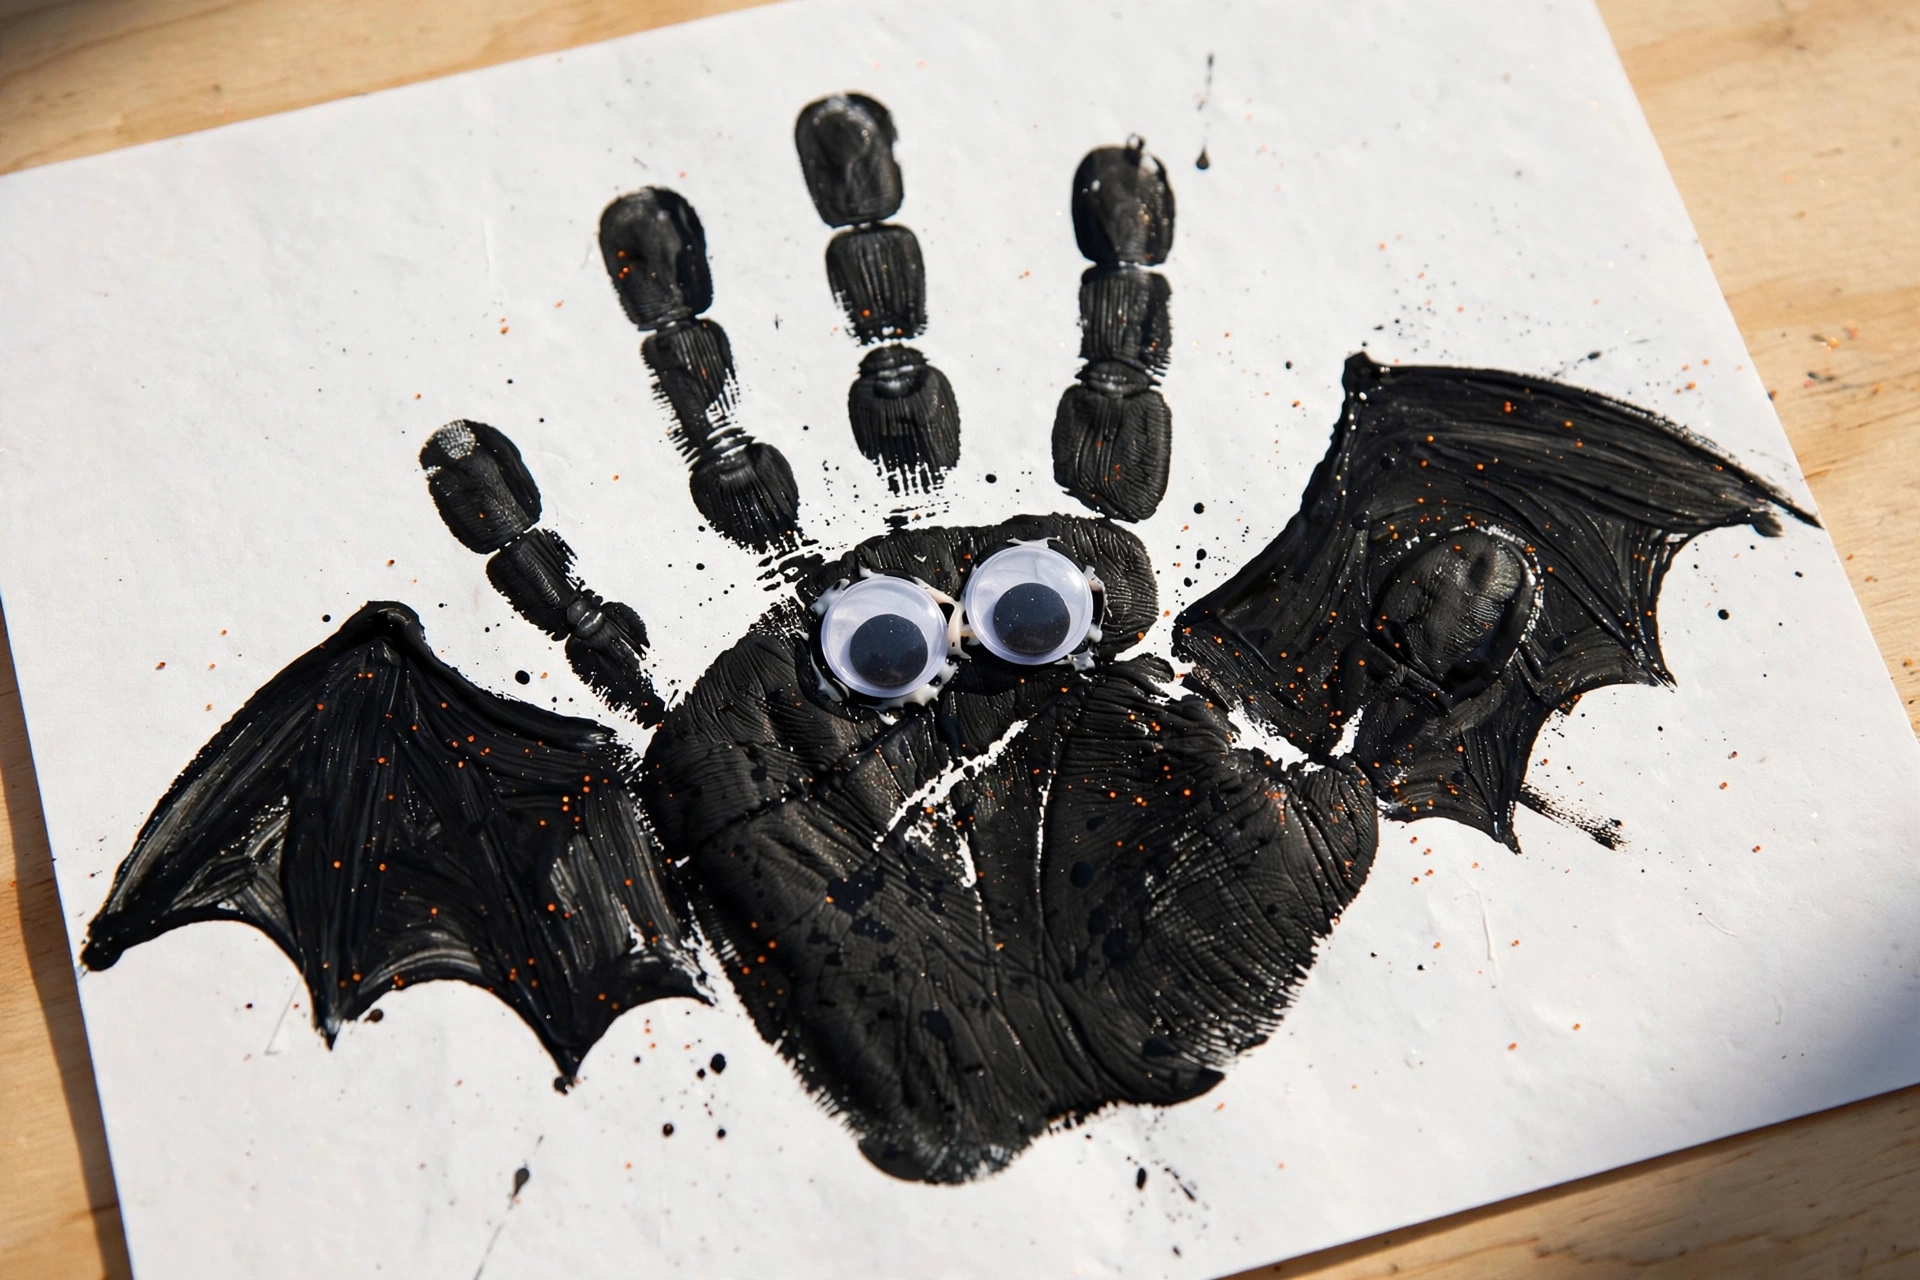
There is something kids love about turning their own hand into an animal. Paint the palm black, press it onto paper fingers-down, and suddenly you have a bat: the palm is the body, the fingers are the wings, and the thumb is a little ear.
You need: black washable paint, white or orange cardstock (not regular printer paper, more on that below), googly eyes, glue, and a white crayon or marker for fangs.
How to make it: Brush or sponge a thin layer of black paint onto your child’s palm and fingers. Press the hand firmly onto the cardstock with fingers spread and pointing down. Lift straight up. While the paint is still slightly damp, press on two googly eyes and draw two tiny white fangs below them. Let it dry flat, and you have a bat that looks like it flew straight out of a Halloween card.
Mess control: Do this one on a tray, and keep a bowl of warm soapy water nearby. Black paint on small hands washes off easily while it is wet and becomes a multi-day tattoo once it dries. I speak from experience. Also, use cardstock: regular printer paper wrinkles and bleeds under wet paint, and the bat comes out looking like a sad inkblot.
3. Cotton-Ball Ghosts
Best age: toddlers and up | Mess: low to medium | Cost: about $1
This is the ultimate sensory craft for little ones. It is basically a sanctioned excuse to squish cotton balls, and the finished ghost is so fluffy and cute that even the toddlers who “helped” by eating the glue will end up with something adorable.
You need: white or black construction paper, cotton balls, white school glue, and black paper or a marker for the face.
How to make it: Draw a simple ghost shape on the paper: a rounded top with a wavy bottom. An adult can draw it, or an older kid can draw their own. Spread glue inside the shape (a glue stick gives a cleaner result, but school glue holds the cotton better). Then let the kids press cotton balls all over it, squishing and pulling them to cover every bit. Cut two black oval eyes and a mouth from paper, or just draw the face with a marker right on the cotton. Hang it up and watch it get touched constantly, because nobody can resist a cotton-ball ghost.
Tip: A little glue goes a long way. The first time we made these, my daughter used half a bottle of school glue and the ghosts took two days to dry. A thin layer is plenty.
4. No-Carve Decorated Pumpkins
Best age: all ages | Mess: medium | Cost: about $1 to $3 per pumpkin
Real talk: carving pumpkins with small children is stressful. Knives, slippery pumpkin guts, a five-year-old who wants to “help” with the saw. Two years ago I switched our family to no-carve decorating and I have never looked back. The pumpkins last longer, nobody gets cut, and the kids have way more creative control.
You need: small pumpkins or mini pumpkins (grocery stores sell them for under a dollar each in October), acrylic paint or acrylic paint pens, googly eyes, and glue dots or a low-temp glue gun (adults only).
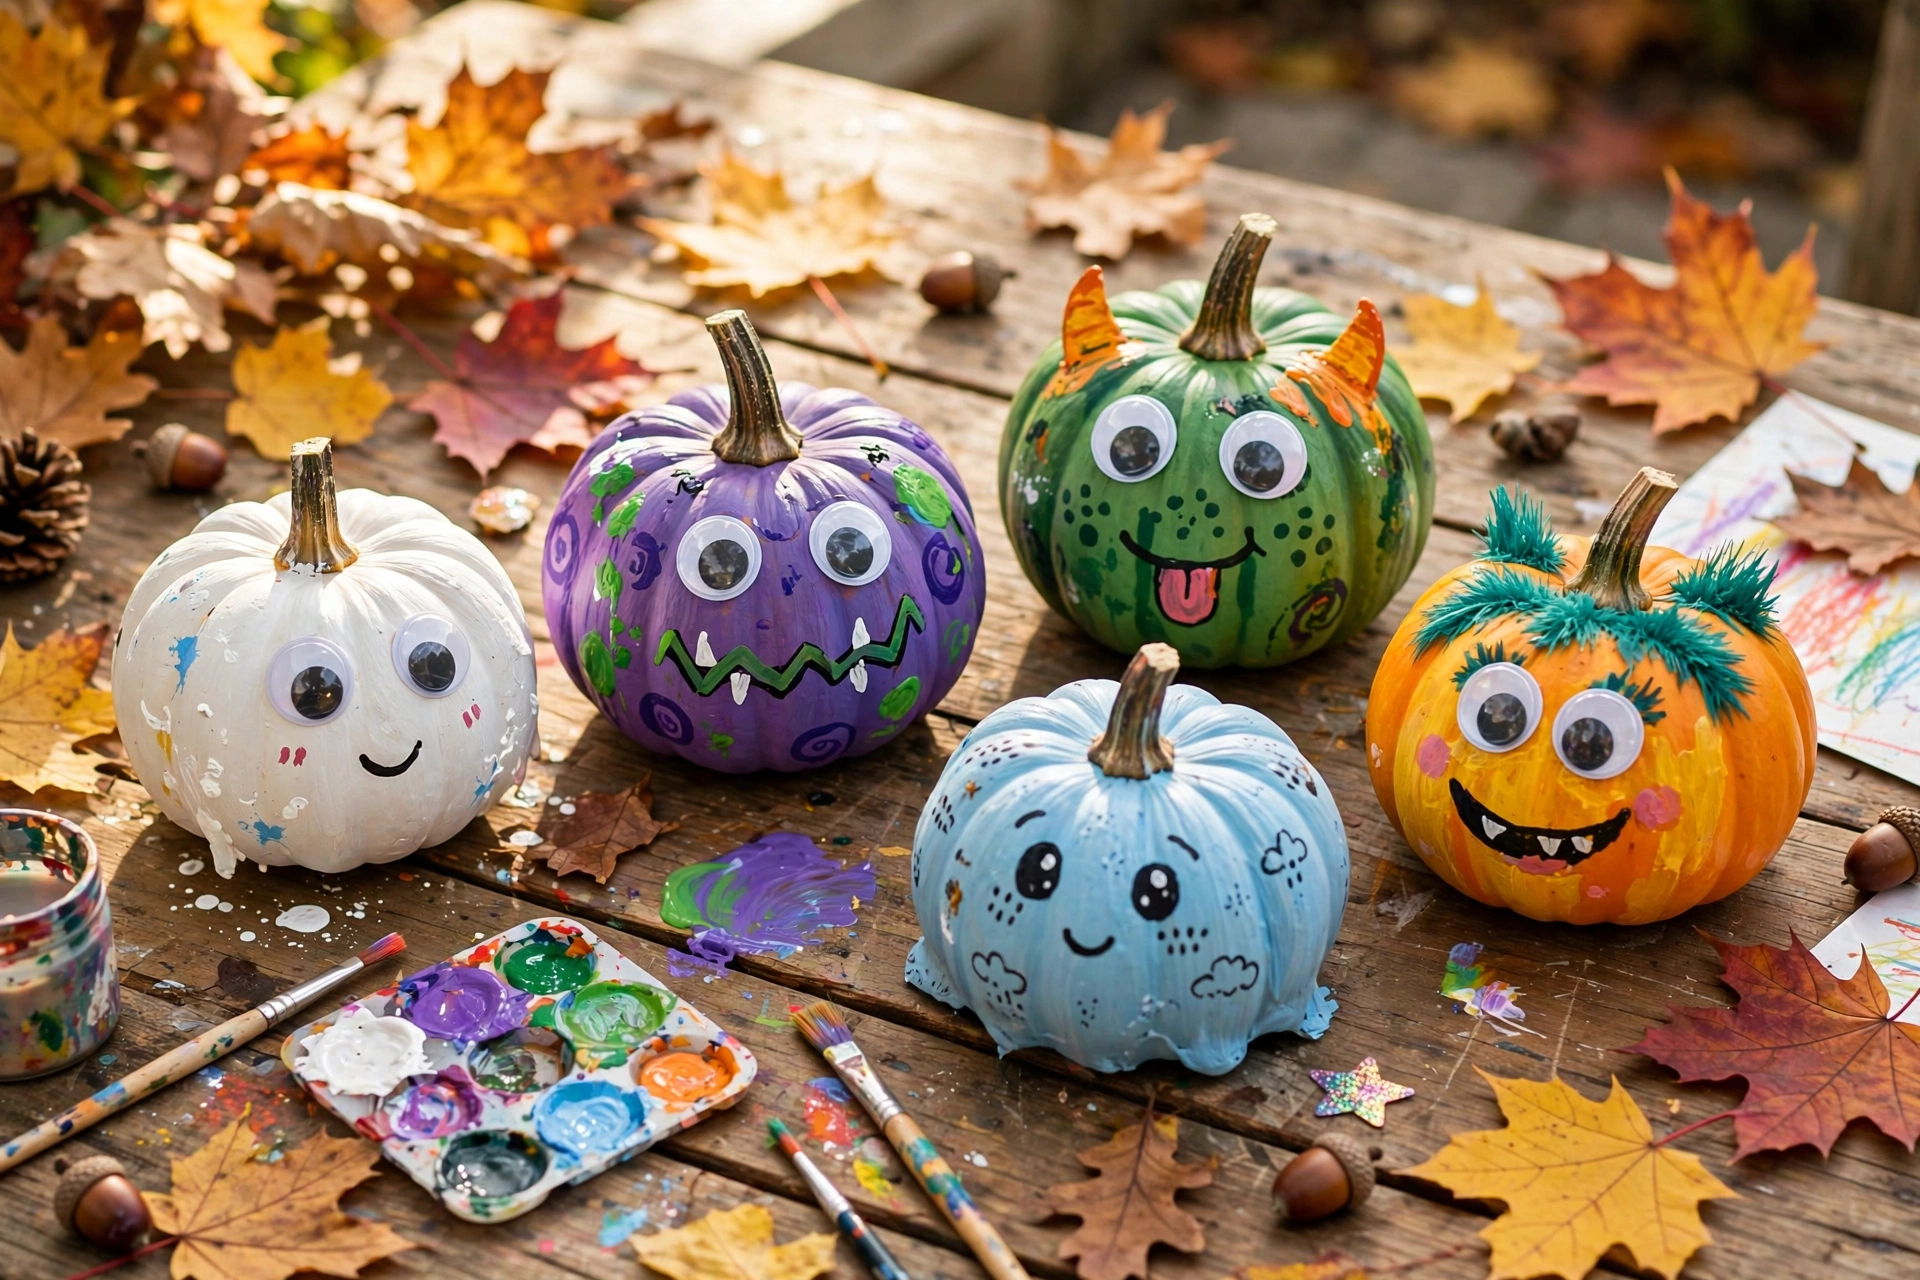
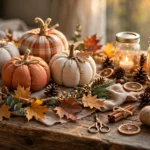
How to make it: Wash the pumpkins and let them dry. Then go wild. Friendly ghosts are the easiest: paint the whole pumpkin white, add black oval eyes and a mouth. Monsters are fun too: paint it green or purple, stick on googly eyes, draw stitches with a black paint pen. My son’s favorite is the mummy pumpkin, which is just a white pumpkin with gauze strips wrapped around it. There are no rules. A pumpkin with one giant googly eye is a perfectly valid artistic statement.
What went wrong for me: Regular washable markers smear right off pumpkin skin. You need acrylic paint pens or actual acrylic paint for it to stick. And give the paint a full hour to dry before handling, or you will get little painted fingerprints on everything in the house. Guess how I learned that one.
5. Toilet-Roll Mummies
Best age: preschool and up | Mess: low | Cost: free
The supplies for this craft are literally garbage, and the kids love that. Save your empty toilet paper rolls for a week, raid the medicine cabinet for gauze or tear up an old white t-shirt, and you are in business.
You need: empty toilet paper rolls, white crepe paper strips, gauze, or torn fabric strips, a glue stick, and googly eyes.
How to make it: Wrap the strips around the toilet roll at a slight angle, overlapping as you go, leaving a few gaps of cardboard showing for that authentically ancient look. Dab a bit of glue at the end of each strip to hold it. Leave a small gap near the top and stick on two googly eyes peeking out from between the wraps. My kids like to draw a little mouth under the eyes too, which makes the mummy look more confused than scary. Confused mummies are welcome at our house.
Safety note: This is the craft where I made my biggest mistake. The first time, I used my hot glue gun to attach the eyes because it was faster, and my son grabbed the nozzle. He was fine, but it scared us both. Glue sticks or school glue work perfectly for googly eyes. The glue gun stays in the adult-only zone, no exceptions.
6. Popsicle-Stick Spiders
Best age: preschool and up | Mess: medium | Cost: about $1
These are chunky, silly, and a little bit creepy in the best way. Kids love them because a popsicle-stick spider is sturdy enough to actually play with, and the googly eyes make every single one look like it has a personality.
You need: 4 popsicle sticks per spider, black paint or a thick black marker, school glue, googly eyes (the bigger the better), and black pipe cleaners.
How to make it: Glue the four popsicle sticks into a star shape, all crossing at the center like an asterisk. This is the spider’s body. Paint it black, or color it with a marker if you want to skip the drying time. Once dry, glue a big googly eye or a cluster of small ones in the center. Cut the pipe cleaners into short pieces, bend them into zigzag legs, and poke or glue eight of them around the body. Let the whole thing dry completely before the spider goes on patrol around the house.
Tip: Let the paint dry fully before adding the eyes. I rushed it once and the googly eyes slid slowly down the wet paint like little eyeball landslides. Give it twenty minutes. Go have a snack. Your patience will be rewarded with spiders whose eyes stay put.
7. Footprint Ghosts
Best age: toddlers | Mess: medium-high | Cost: about $1
If handprint bats are for preschoolers, footprint ghosts are for the tiny ones. There is nothing funnier than a ghost made from a baby foot, and grandparents absolutely melt over these. Make two: one for the wall and one for grandma.
You need: white washable paint, white or black cardstock, a black marker, a washable mat or old towel, and a bowl of warm soapy water.
How to make it: Paint the bottom of your child’s foot with white washable paint. Press the foot onto the paper with the toes pointing up. Lift straight up and wash the foot immediately. Once the paint dries, draw a ghost face on the heel end: two oval eyes and a surprised little mouth. The toes become the wavy bottom of the ghost. Write the child’s name and the year at the bottom, because future you will want to remember how small those feet were.
Mess control: This is the highest-mess craft on the list for one simple reason: children with painted feet walk. Keep the soapy water within arm’s reach, do the craft barefoot on a washable mat, and do not let go of the painted foot until it is pressed on the paper and then straight into the water. The year I forgot the mat, I spent a week finding white footprints in unexpected places. It was funny in retrospect. It was not funny at the time.
8. Ghost Lollipops
Best age: preschool and up | Mess: nearly zero | Cost: about $0.50 each
When you need a craft that takes five minutes and creates zero mess, ghost lollipops are the answer. They are perfect for classroom treats, party favors, or that afternoon when the kids are bouncing off the walls and you need something fast.
You need: round lollipops, white tissues or napkins, thin ribbon or string, and a black marker.
How to make it: Lay a white tissue flat and place the lollipop face-down in the center. Gather the tissue up around the stick like a little ghost cape and tie it snugly with ribbon to form the neck. Draw a ghost face on the front: two oval eyes and an oval mouth. That is the entire craft. My daughter once made twelve of these in twenty minutes while watching a cartoon, and they looked like a proper little ghost army.
Tip: Double up the tissues if they are thin, or the lollipop wrapper shows through and ruins the ghost effect. Two layers looks opaque and much cuter.
9. Paper Bag Monster Candy Bags
Best age: preschool and up | Mess: low | Cost: about $0.10 per bag
Every kid needs something to carry their Halloween candy, and a plain bag is boring. Monster bags take ten minutes to decorate, cost almost nothing, and the kids get genuinely excited filling them on Halloween night.
You need: brown paper lunch bags, construction paper in fun colors, a glue stick, markers, and optional googly eyes.
How to make it: Fold the top of the bag down once to make a cuff. Then decorate the front as a monster face: big paper eyes, a jagged-toothed mouth, maybe some paper horns on the cuff. One eye bigger than the other is encouraged. Draw some scribbly hair. Write the child’s name on the back so the monsters do not get mixed up at school. Fill with candy on Halloween and watch a very proud kid march out the door.
Tip: Let the kids design their monsters completely themselves. Mine made one with seven eyes and no mouth, and it was the hit of the classroom. Resist the urge to “fix” the monsters. The weird ones are the best ones.
10. Coffee-Filter Bats
Best age: big kids (6+) | Mess: low | Cost: pennies
These are the most delicate-looking craft on the list, and they are made from coffee filters, which still makes me laugh. Folded and twisted just right, a plain white filter becomes a bat with soft, layered wings. Hang a few from the ceiling and they look like they are actually flying.
You need: white or black coffee filters, black pipe cleaners, googly eyes, glue, and a black marker.
How to make it: Take two coffee filters and fold each one accordion-style into a narrow strip, then fold the strip in half. These are the wings. Take a black pipe cleaner and wrap it around the center of each folded filter to cinch it, leaving the two ends of the pipe cleaner sticking up like antennae. Fan out the filter folds to make full wings. Glue two googly eyes onto the pipe cleaner body, or draw a face with a marker. Twist the antennae ends into little curls. Hang the bat from a string tied to the pipe cleaner.
Tip: The accordion folding takes some patience, which is why I recommend this for kids six and up. Younger kids can still help by fanning out the wings and adding the eyes, which are the fun parts anyway.
11. Egg-Carton Spiders
Best age: preschool and up | Mess: medium | Cost: about $1
Right up there with toilet-roll mummies in the “crafts made from trash” category, egg-carton spiders turn one cardboard cup into a round little spider body that kids can hold, race, and line up in armies on the windowsill.
You need: a cardboard egg carton (adult cuts out the individual cups), black paint, black pipe cleaners, googly eyes, and glue.
How to make it: An adult cuts the egg carton into individual cups and trims the edges smooth. Kids paint each cup black and let it dry. Then poke four pipe cleaner pieces through each side of the cup for eight legs, bending them into zigzag shapes. Glue googly eyes onto the front. My kids like to give each spider a different number of eyes, which is biologically questionable and artistically delightful.
What went wrong for me: The first time, I let the kids poke the legs through the cups themselves and the cardboard tore. Now I pre-poke the holes with a skewer while they are painting. Ten seconds of prep saves a lot of frustration.
12. Milk-Jug Ghost Lanterns
Best age: big kids (7+) with adult help | Mess: nearly zero | Cost: free
This is the craft that gets the most compliments from neighbors. A row of glowing ghost faces on the porch on Halloween night looks genuinely magical, and they are made from empty milk jugs that were headed for the recycling bin.
You need: empty gallon milk jugs, washed and dried, a thick black permanent marker, and battery-operated LED tea lights (never real candles).
How to make it: Draw a ghost face on each jug with the black marker: big oval eyes and a wavy mouth. That is genuinely the whole craft for the kids. If you want the jugs to glow brighter, an adult can cut a small opening in the back of each jug, but most jugs are translucent enough that a bright LED tea light inside shows through fine. Drop a tea light into each jug, line them up along the porch or the walkway, and switch them on at dusk. Instant haunted house.
Safety note: Battery tea lights only, always. Real candles inside plastic jugs are a fire hazard, full stop. And if an adult needs to cut a jug, the kids watch from a safe distance while the box cutter is out. The drawing part is the fun part anyway.
13. Haunted-House Window Silhouettes
Best age: big kids (8+) | Mess: low | Cost: about $2
This is the grand finale, the craft that turns your whole house into a decoration. Black paper silhouettes taped to the windows look incredible from the street at night, especially with the lights on inside. My oldest planned ours like a military operation last year, and our house was the spookiest on the block.
You need: black construction paper or black poster board, scissors, clear tape, and a pencil for sketching.
How to make it: Sketch simple Halloween shapes on the black paper: a haunted house with a crooked chimney, bats, a cat silhouette, a witch on a broomstick, bare tree branches. Keep the shapes chunky and simple, because fine details disappear from the street. Cut them out and tape them to the inside of your windows, facing out. At night, turn on the room lights and step outside to admire your work. It genuinely looks like a professional decoration, and the kids get to take full credit.
Safety note: Scissors for cutting paper are fine, but keep this craft away from real candles and jack-o-lanterns with real flames. Paper decorations and open flames do not mix. Battery lights and LED candles give you the glow without the worry.
The Mistakes I Made So You Don’t Have To
I promised you my mistakes, and here they are in all their glory. Learn from my pain.
- The hot glue incident. Covered above, but worth repeating: glue guns are adult tools. My son grabbing the nozzle of a hot glue gun during the mummy craft was the scariest moment of that Halloween season, and it had nothing to do with ghosts. Glue sticks for the kids, always.
- Printer paper for wet paint. The handprint bats looked like wrinkled disasters the first year because I used regular printer paper. Cardstock costs a little more and makes every painted craft look ten times better.
- The glitter year. One October I let the toddlers use glitter. I found glitter in my coffee, in the laundry, and in places I cannot explain, for roughly six months. Glitter is now a big-kids-only material in our house, used outdoors, with a vacuum standing by.
- Crafting while hungry. Starting a craft at six in the evening with kids who have not had a snack is like trying to build furniture during an earthquake. Snack first. Always snack first.
- The footprint hallway. One unguarded moment, one painted toddler foot, and a trail of white footprints down our hallway that I still find funny and my spouse still does not. Mat down, water ready, foot secured. Every time.
- Markers on pumpkins. Washable markers bead up and smear on pumpkin skin. Acrylic paint pens are the move for no-carve pumpkins. It took me two smeared pumpkins to accept this.
The good news is that every one of these mistakes is survivable, and most of them are funny within a week. The bad news is that you will make your own new ones, because that is what crafting with kids is. Embrace it.
Go Make Something Spooky
Here is my honest advice: do not try to do all thirteen. Pick two or three that fit your kids’ ages and your tolerance for mess, and do those well. A single afternoon with paper plate ghosts and cotton-ball ghosts will make a toddler’s whole week. A big kid with a stack of black paper and a window to decorate will remember it for years.
And when the table is covered in paint and your kitchen smells like pumpkin and glue, and there is a lopsided ghost hanging from your ceiling fan, take a picture. The crafts will fall apart by November. The pictures, and the afternoon you spent making them, stick around a lot longer.
Happy Halloween, and may your paint always be washable.

Pingback: Easy Paper Crafts: 18 Simple DIY Ideas for Beginners