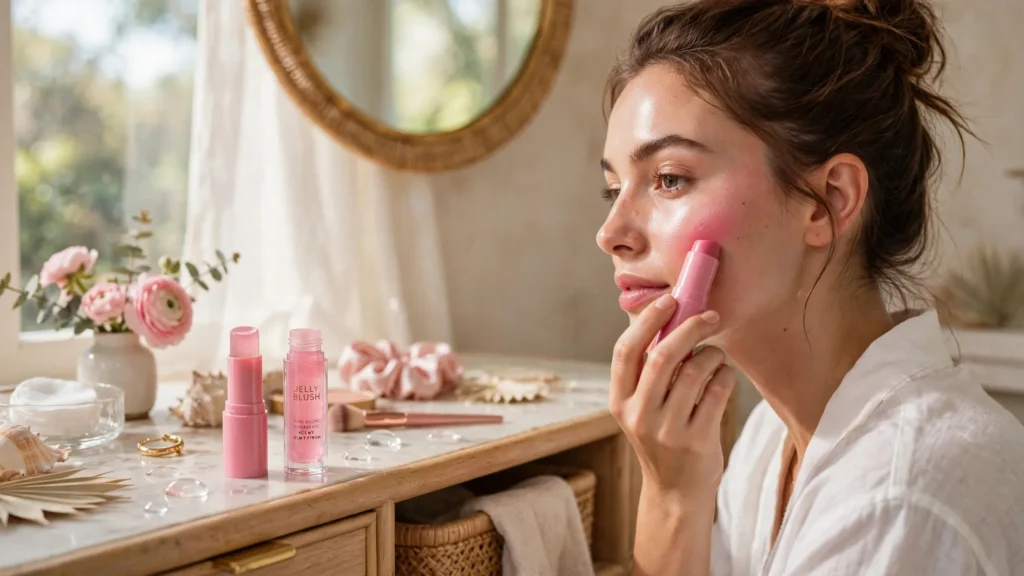

Let me be honest with you: the first time I tried a jelly blush, I messed it up so badly I looked like I’d run face-first into a cherry slushie. I’d seen all those viral videos of girls dabbing that bouncy pink gel stick on their cheeks and glowing like glazed donuts, so I ordered one, drew two big stripes across my cheeks like war paint, and blended with the enthusiasm of someone frosting a cake. Spoiler: it did not look like the videos.
What nobody tells you about jelly blush — and especially the viral Milk Makeup Cooling Water Jelly Tint that started this whole craze — is that placement is everything. This formula isn’t like your powder blush. It sets fast, it’s buildable but potent, and where you put it changes your whole face. Once I figured out the right placement for my face shape, though? Total game changer. Now it’s the one product I reach for even on no-makeup days.
So if you’ve got a jelly blush sitting in your drawer (or you’re thinking of buying one), this is the tutorial I wish I’d had. We’re covering what jelly blush actually is, the exact placement for oval, round, square, heart, and long faces, and the mistakes that turned my cheeks into a cautionary tale.
What Even Is Jelly Blush?
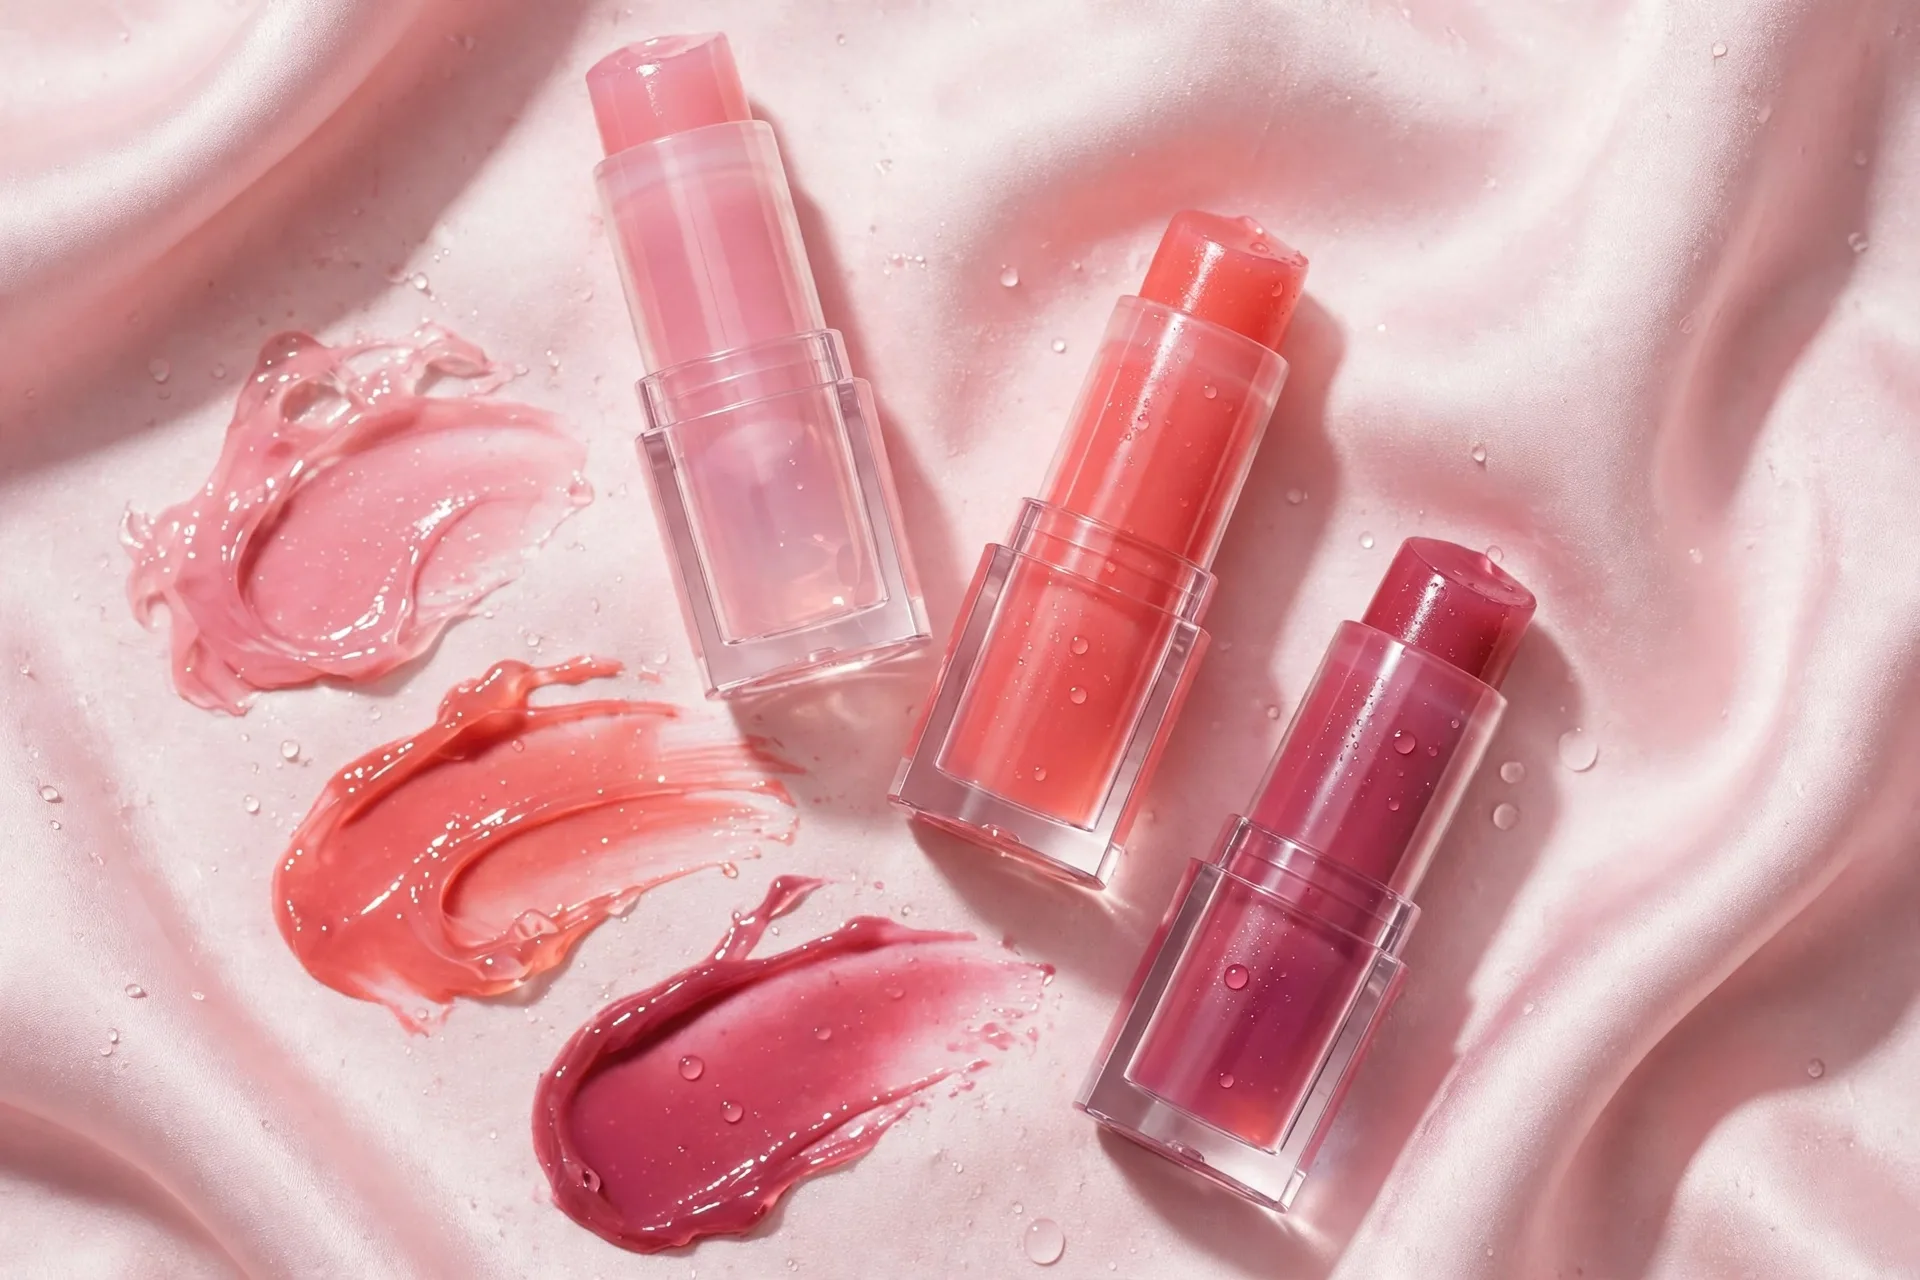
If you’re new to this, jelly blush is exactly what it sounds like: blush with the texture of jelly. It comes in a twist-up stick (the Milk Makeup Cooling Water Jelly Tint is the famous one, about $24, with shades like Burst, Spritz, Chill, Splash, Fresh, and Fizz) and feels cool and bouncy when it touches your skin. Drugstore brands have jumped on the trend too, so you’ll find versions at basically every price point now.
The formula is water-based, which gives it that fresh cooling sensation — genuinely lovely on warm days. It melts into skin instead of sitting on top of it, so the finish looks like a flush coming from within rather than makeup painted on. It’s sheer at first and buildable, meaning you can go from “just ran upstairs” to full glam with a few extra layers. And most jelly tints double as lip color, which makes them perfect for tossing in your bag.
But here’s the catch: because it’s a gel, it grabs and sets on your skin faster than a cream blush. You don’t have the luxury of moving it around for five minutes. That speed is exactly why placement matters so much. Put it in the right spot and it looks like skincare with a tint. Put it in the wrong spot and you get patchy, unmovable streaks. Ask me how I know.
The Basics: How to Apply Jelly Blush (Before You Worry About Face Shapes)
Before we get to the face-shape stuff, let’s lock in the universal technique. These rules apply no matter what your face looks like.
1. Start With Hydrated, Set Skin
Jelly blush grips dry patches like nobody’s business. I apply mine over moisturizer and a light base (tinted moisturizer, skin tint, or foundation — whatever you’re wearing). Let your base settle for a minute first. Applying jelly blush directly onto bare dry skin is a patchiness waiting to happen.
2. Less Is More — Seriously
This is the mistake I made. You need way less than you think. One light swipe on each cheek is plenty to start. You can always add a second layer, but trying to remove excess jelly blush is miserable because it stains a little. Start sheer, build slowly.
3. Use Your Fingers, Then a Sponge
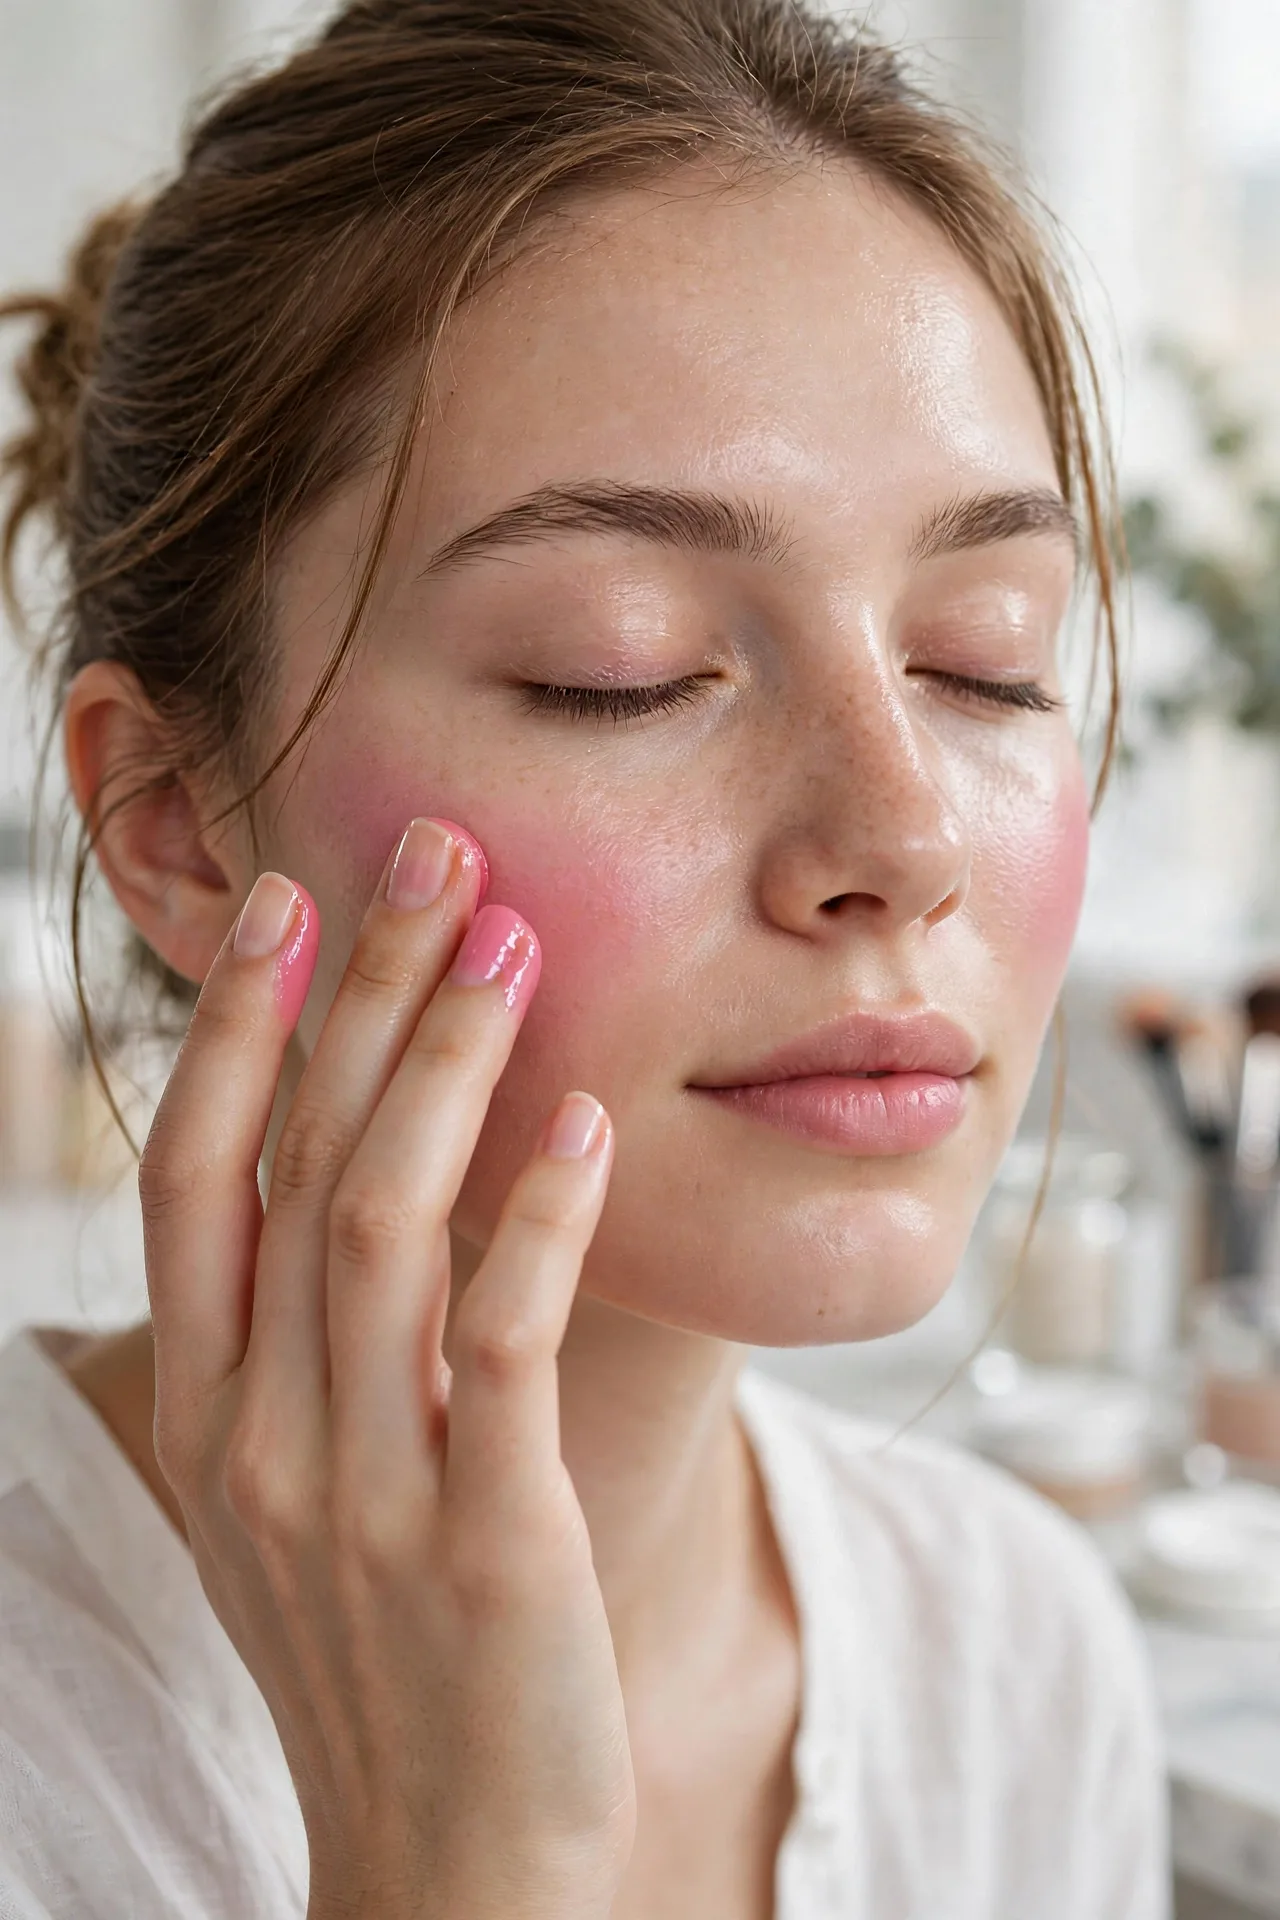
Your fingertips are the best tool for jelly blush. The warmth of your skin helps the gel melt and blend. Dab (don’t drag) the product with your ring finger or middle finger, then tap-tap-tap to blend the edges. If you want an extra-seamless finish, press over it once with a damp beauty sponge. Brushes work too, but honestly, fingers give you the most control with this texture.
4. Blend Fast
Because jelly formulas set quickly, blend each cheek right after you apply it — don’t swipe both cheeks and then blend. Work one side at a time. Your first 20 seconds are your blending window. After that, the product has decided where it lives.
5. Layer for Intensity, Not One Heavy Swipe
Want more color? Add a second thin layer after the first has set (give it about 30 seconds). Thin layers give you that watercolor, dimensional flush. One heavy swipe gives you clown cheeks. I learned this the hard way, twice.
Jelly Blush Placement for Every Face Shape
Okay, the main event. Blush placement is basically face-shaping with color: the same product can make a face look slimmer, softer, shorter, or more lifted depending on where it lands. Here’s the map for each face shape. If you’re not sure which shape you are, look in the mirror and check what’s widest — your forehead, your cheekbones, or your jaw — and how long your face is relative to its width.
Oval Face: Apples Up and Out
Oval faces are the lucky ones — most blush placements look good, so your goal is just to accentuate those cheekbones without dragging the face down. Smile and find the apples of your cheeks. Place the jelly blush right on the apples, then blend up and out toward your temples in soft upward strokes.
The key word is upward. Keep the blending motion lifting, never downward past the apples. You want to highlight the cheekbone area and create that lifted, bright look. A sun-kissed variation works beautifully on oval faces too: sweep a tiny bit of product across the bridge of your nose for that just-back-from-vacation vibe.
Round Face: Higher and Angled for Definition
If your face is round like mine, the goal is definition — you want to add some structure and visual length. Skip the apples of the cheeks entirely (blush on the apples makes a round face look rounder — I tested this extensively, unfortunately).
Instead, place the jelly blush higher, along the top of your cheekbones, and blend it upward and outward toward your temples in an angled line. Think of it like a soft contour of color. This upward angle creates the illusion of lift and slims the cheek area. Keep the product away from the center of your face and never blend toward your nose — that pulls everything inward and emphasizes roundness.
One more tip for round faces: matte or satin jelly shades work better than super-shimmery ones, since shine on the fullest part of the face draws attention there. Most jelly blushes have a dewy finish anyway, so just go easy near the widest part of the cheek.
Square Face: Soften With the Apples
Square faces have strong, beautiful angles — the goal with blush is to add softness and a little roundness to balance those sharp lines. This is one of the few face shapes where the apples of the cheeks are exactly where you want to be.
Dab the jelly blush onto the apples of your cheeks (closer toward the nose than the ears), then blend softly outward toward the hairline with round, circular motions. The circular blending is what does the softening work — it diffuses the color so there are no hard lines. Keep the color concentrated on the apples rather than sweeping it up high; high placement on a square face can emphasize the forehead width. A touch of blush on the temples can also help soften the frame, but keep it subtle.
Heart Face: The C-Shape Balance
Heart-shaped faces have a wider forehead, high cheekbones, and a narrower, sometimes pointy chin. The mission: soften the forehead width and keep attention from sliding all the way down to the chin.
The classic technique here is the C-shape. Starting at the top of the temple, sweep the jelly blush down along the cheekbone in a C curve, finishing around the outer apple of the cheek. Then blend it softly. This placement balances the wider forehead against the narrower chin by adding color and width through the middle of the face. Avoid putting blush too low or too close to the mouth — that drags attention downward, which is the opposite of what you want. If your forehead feels wide, a whisper of blush on the temples helps tie everything together.
Long Face: Horizontal Is Your Friend
For long faces, the goal is width — you want to visually shorten the face, so everything about your blush placement should be horizontal. Apply the jelly blush to the apples of your cheeks and blend straight out toward your ears in horizontal strokes. No upward angles, no diagonal sweeps — those add length, which a long face doesn’t need.
Think of it as creating a wide band of color across the center of the face. The sun-kissed bridge technique (a little across the nose) also works nicely here because it adds horizontal interest. Whatever you do, don’t blend downward past the apples — that elongates everything.
Diamond Face: High and Focused
Diamond faces have narrow foreheads and chins with wide, prominent cheekbones. Your blush should celebrate the cheekbones without making them look even wider. Place the jelly blush on the topmost part of the cheekbones and blend toward the temples, keeping the color tight and controlled — don’t let it spread onto the fullest part of the cheeks.
A soft, diffused application is better than a concentrated pop of color here, since bold blush right on wide cheekbones can look heavy. Light layers, well blended, are the move.
Common Jelly Blush Mistakes to Avoid
I’ve made every single one of these, so learn from my pain:
- Applying too much at once. Jelly blush looks sheer in the stick and on first dab, so there’s a temptation to keep adding. Then it sets and you realize you’ve gone full Victorian doll. One light layer, assess, then build.
- Blending too slowly. With jelly formulas, you have a short working window. Apply one cheek, blend it immediately, then do the other side. Chatting on the phone between application and blending is how streaks happen.
- Putting blush under the cheekbones. Blush goes on or above the cheekbones — never in the hollows beneath them. That area is for contour. Blush in the hollows makes your face look tired and muddy.
- Skipping the mirror check in natural light. Bathroom lighting lies. I once walked around all day with blush that looked fine indoors and clownish in daylight. Do a quick daylight check before you leave.
- Using a dirty sponge. A sponge with old foundation or powder residue on it will lift and muddy your jelly blush. Use a clean damp sponge or just your fingers.
- Applying over unset powder. Jelly blush over powder goes patchy because the gel can’t grip evenly. If you wear powder, either apply blush before powdering, or keep powder away from the cheek area where blush goes.
Making Your Jelly Blush Last All Day
One fair criticism of jelly blush is that it can fade faster than powder, especially on oily skin. Here’s what actually works: after applying and blending your jelly blush, let it set for about a minute, then press a tiny amount of translucent powder just over the blush area with a fluffy brush. Don’t sweep — press. This locks the color without killing the dewy finish.
Alternatively, layer a matching powder blush very lightly over the jelly blush. The powder grips the slightly tacky gel base and the combo lasts for hours while looking more dimensional than either product alone. And a setting spray as your final step never hurts.
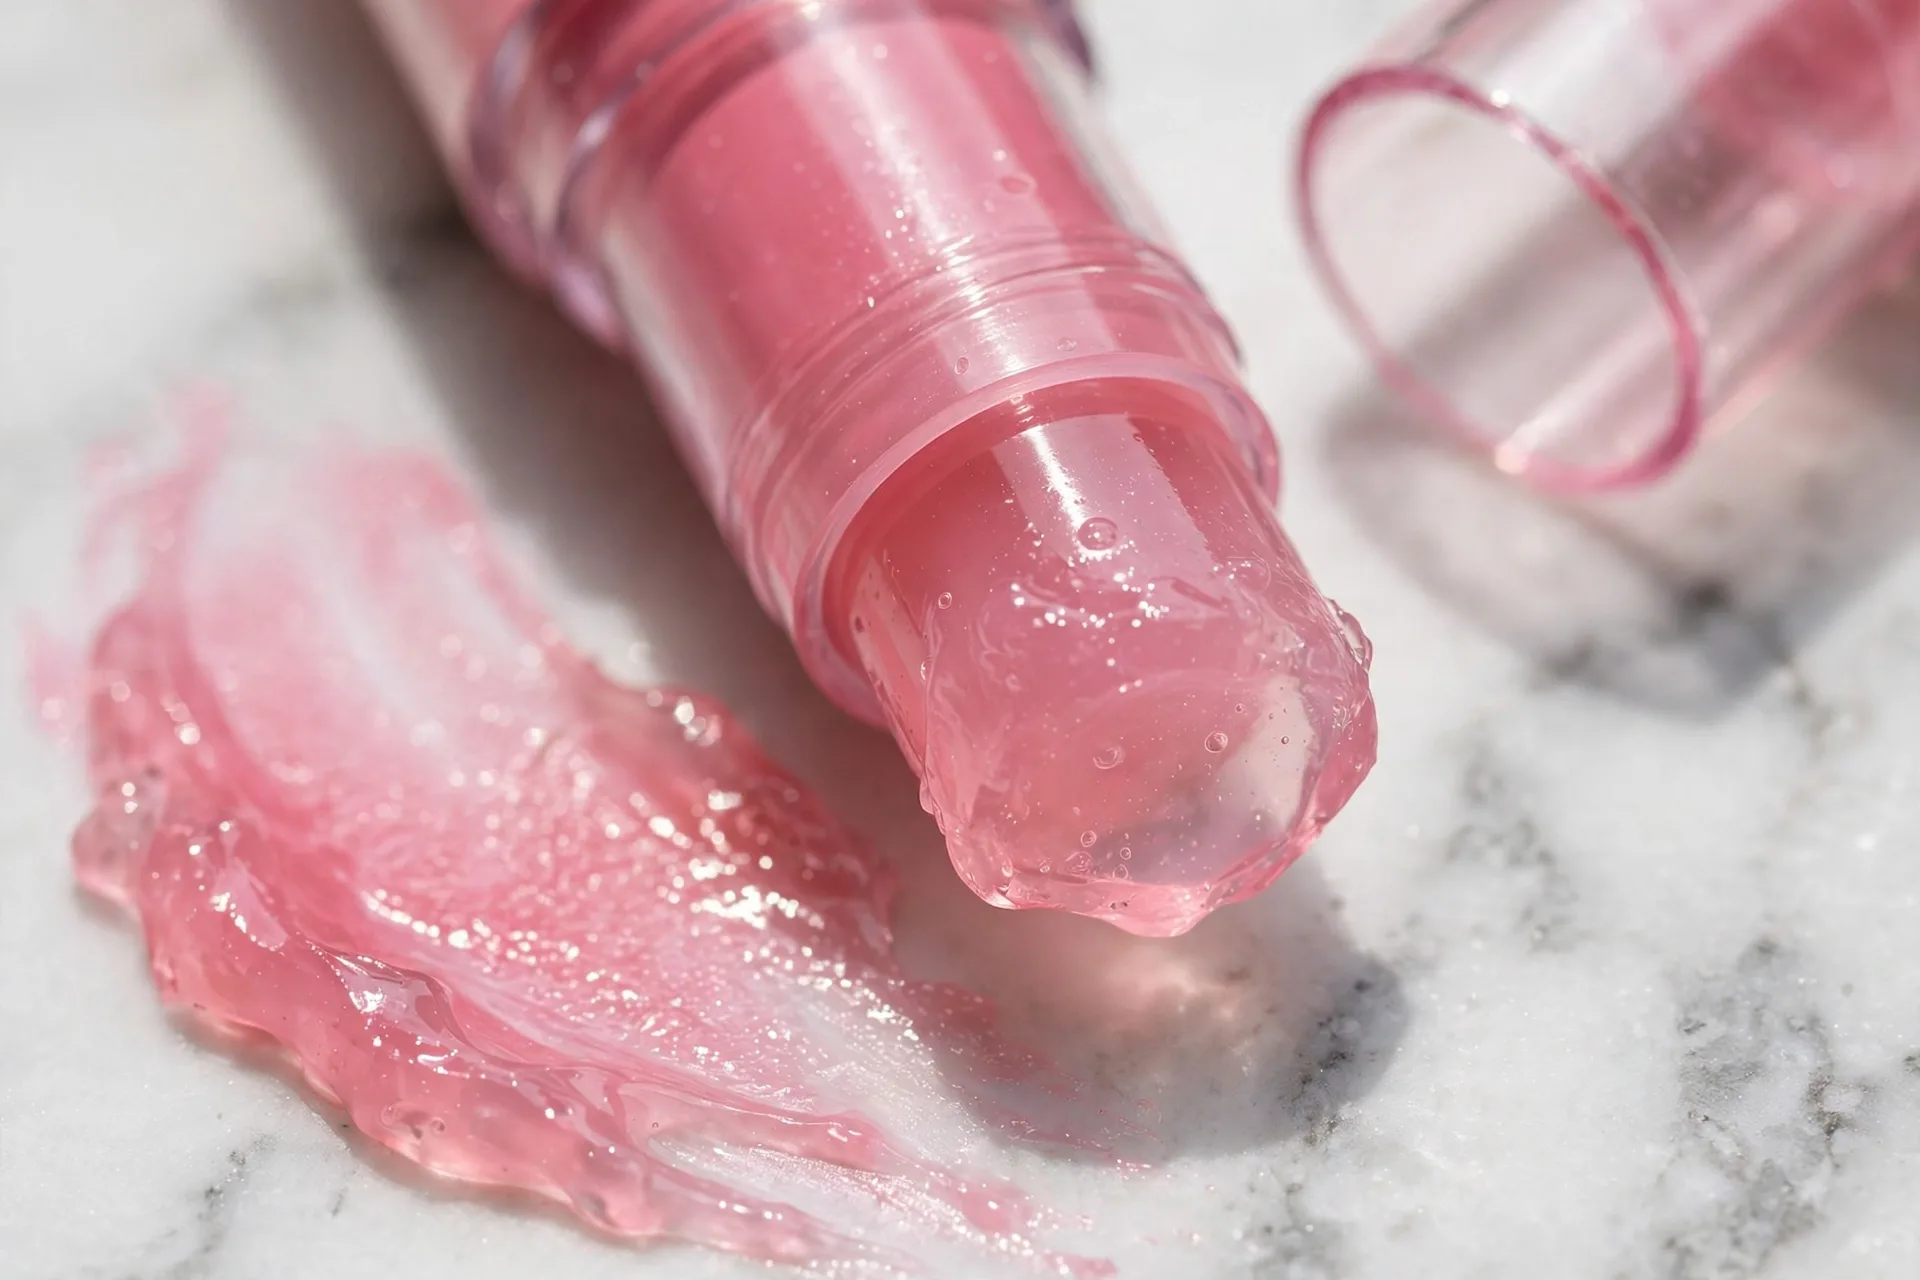
Storage tip: jelly blushes can melt in heat because of the gel formula. Don’t leave yours in a hot car or a sunny makeup bag. A melty jelly stick is a sad jelly stick.
Picking Your Shade
Quick shade guide since placement only gets you so far if the color is wrong: fair skin looks fresh in soft pinks (like Milk’s Fresh or Fizz); medium skin glows in poppy pinks and corals (Burst, Spritz); deep skin is stunning in berries and reds (Chill, Splash). These are starting points, not rules — jelly formulas are sheer enough that most shades are forgiving. When in doubt, go one shade lighter than you think; you can always build up.
Final Thoughts
Jelly blush went from a product I genuinely feared to the one I’d save in a fire, and the whole difference was placement. Figure out your face shape, put the color where it flatters you, blend fast, and start sheer. That’s really the whole tutorial.
The best part? Once you’ve got the placement down, this becomes a thirty-second step that makes you look like you slept eight hours and drank your water. My slushie-cheek era is officially over, and honestly, yours can be too.