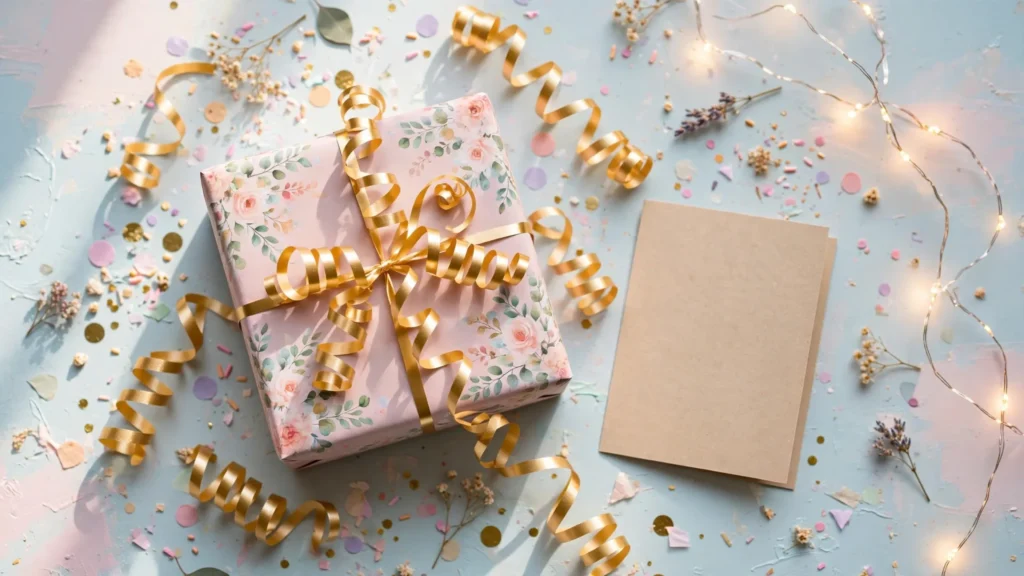

I learned about birthday boxes the embarrassing way. My best friend’s birthday dinner was in six hours, the gift I’d ordered was stuck in shipping limbo, and the card section at the grocery store had been picked clean by people more organized than me. I stood in my kitchen staring at a shoebox, some tissue paper from a pair of boots, and a half-used roll of wrapping paper, and thought: this is either going to be the most thoughtful gift I’ve ever given or the saddest.
It ended up being the first one. She cried a little, laughed a lot, and — here’s the part that stuck with me — she kept the empty box on her dresser for months. Not the gift. The box. That was the day I stopped thinking of a birthday box as a container and started thinking of it as the gift itself.
Since then I’ve made birthday boxes for my sister, my nephew, my partner, and one very lucky coworker. I’ve gotten good at it, which mostly means I’ve made every mistake possible and can now tell you how to skip them. Here’s everything I know.
What a Birthday Box Actually Is (and Why People Love Them)
A birthday box is exactly what it sounds like: a decorated box filled with small, themed gifts. But that description undersells it. A regular gift says “I bought you something.” A birthday box says “I spent an evening thinking about you.” That difference lands harder than anything with a barcode on it.
The other reason they work: unboxing is half the fun. There’s a little ceremony to lifting a lid and finding things tucked into tissue paper. My nephew once told me opening his birthday box was “like a treasure chest but real.” Kids are honest reviewers. That review stands.
And before you worry — you don’t need to be crafty. I once watched a tutorial where someone used a heat gun and resin. Ignore that energy. My first box used scissors, Scotch double-sided tape, and paper I already owned. If you can wrap a sandwich, you can make a birthday box.
The Supply List That Makes Every Box Look Expensive
You don’t need a craft room. You need about ten things, and half of them are probably in a drawer right now:
- A sturdy box — a shoebox, a shipping box, or a gift box from Michaels or the Dollar Tree all work
- Tissue paper or crinkle-cut paper filler (the shredded kind hides a multitude of sins)
- Cardstock in two or three coordinating colors
- Double-sided tape — this is my hill to die on; liquid glue wrinkles thin paper and ruins lids
- Ribbon or twine
- Scissors (Fiskars are worth the few extra dollars if yours are dull)
- A hole punch, if you want to make your own gift tags
- Stickers — the cheap sheet kind are perfect
- A good pen for handwritten notes (gel pens bleed less on cardstock)
- The actual gifts, obviously, which we’ll get to
The real secret to a box that looks store-bought? A limited color palette. Pick two or three colors and repeat them everywhere — the lid, the tissue, the ribbon, the tags. My first box was every color of the rainbow and looked like a piñata exploded. My second box was blush pink, kraft brown, and gold, and someone asked me which shop I bought it from. Same skills. Different discipline.
Birthday Box Ideas by Who You’re Making It For
Forget browsing endless lists. Start with the person, then pick the box that fits them. These are the ones I’ve actually made, with honest notes on each.
The Candy Box (for kids and teens)
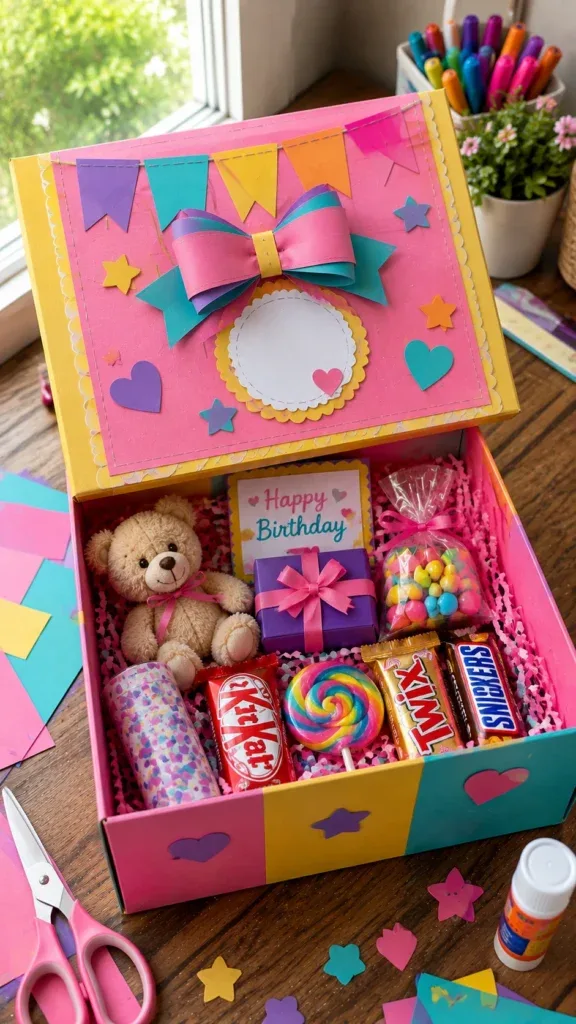
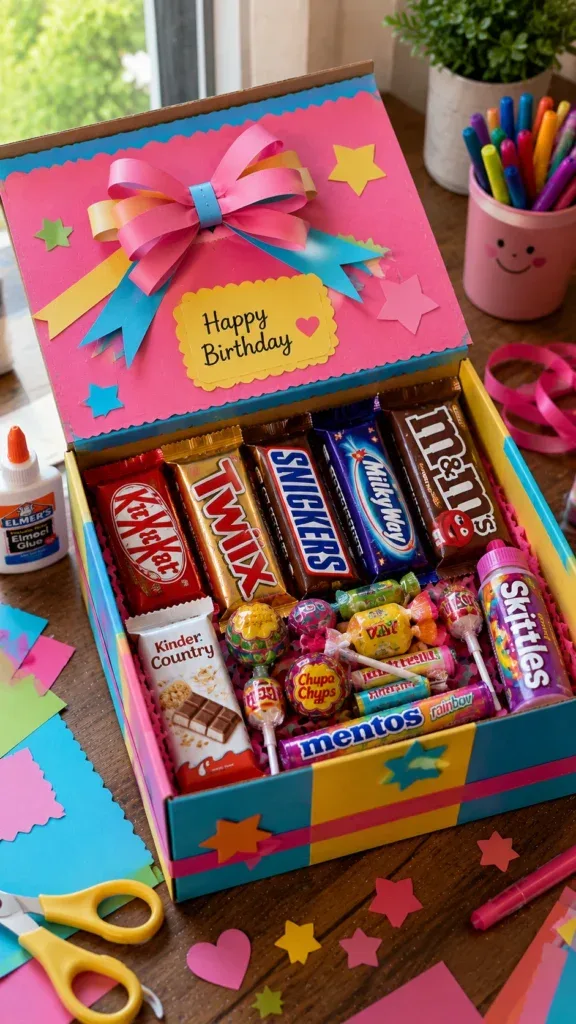
This is the easiest win in the entire birthday-box universe. Buy an assortment of candy — mix sizes so the box looks full without needing a huge container — wrap a few pieces individually in clear bags with a little ribbon, and nestle everything into tissue paper. That’s genuinely it.
The trick I learned: pick candy in a color scheme instead of just grabbing the brightest packages. My nephew’s box was all red and blue — Twizzlers, blue raspberry gummies, red M&Ms, a couple of chocolate bars. It looked deliberate and expensive. A previous attempt with random neon everything looked like a gas station shelf. Color coordination is free; use it.
The Breakfast Box (for the slow-morning person)
My sister is impossible to buy for but very easy to feed, so I made her a breakfast birthday box: a nice mug, two fancy tea sachets, a small jar of honey, some individually wrapped biscotti, and a wooden honey dipper I’d grabbed for two dollars. Total cost was under twenty-five bucks. She used the mug every single morning for a year.
Two practical rules here. First, keep everything individually sealed — open food in a gift box is a no. Second, wrap fragile items separately. I learned this when a ceramic mug met an unprotected box corner in the back seat of my car. Bubble wrap exists for a reason. Empty space around a mug is where breakage happens.
The Self-Care Box (for the friend who never stops)
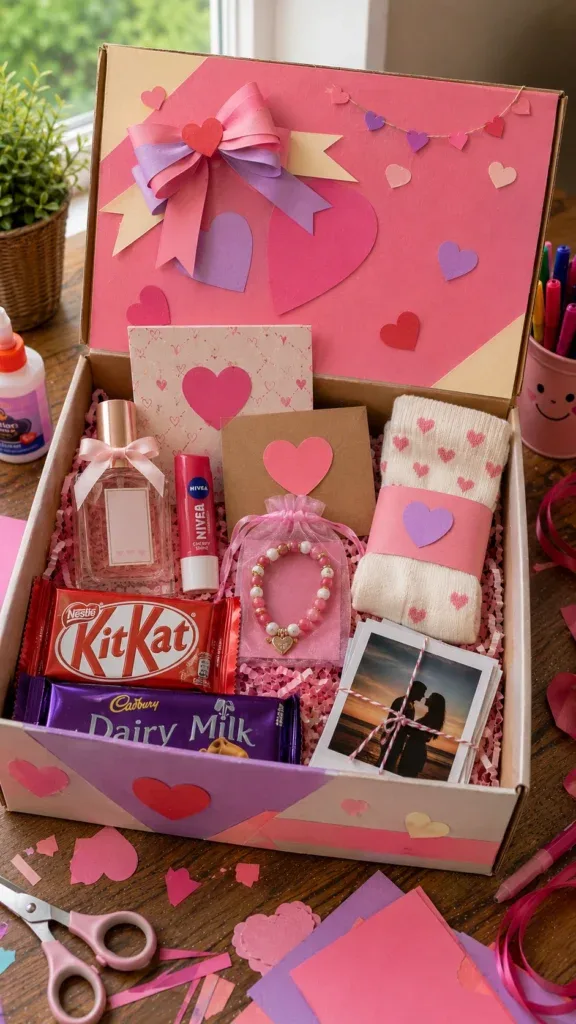
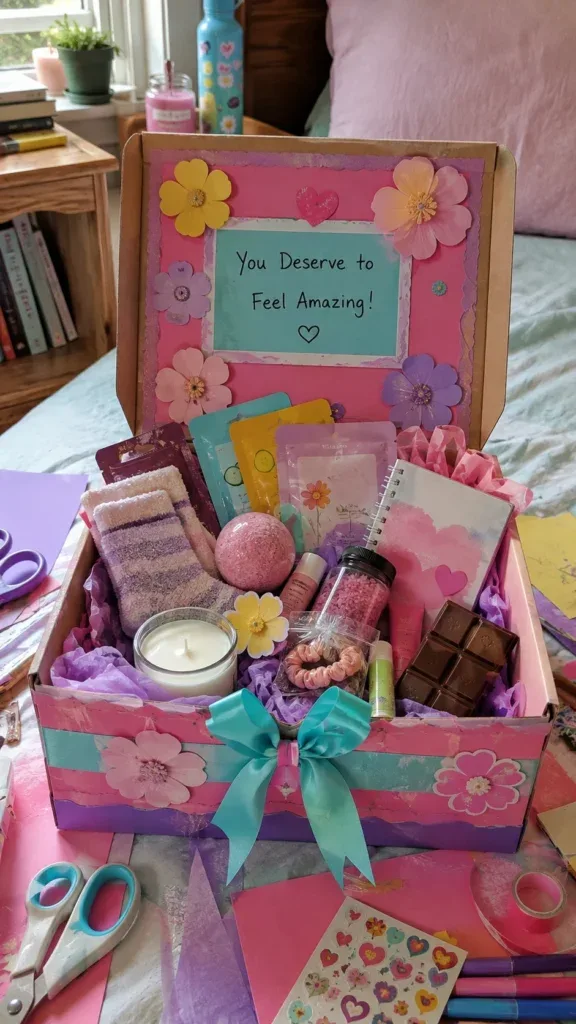
We all have that friend who is running on fumes and would never buy themselves anything nice. This box is for them: a candle, bath salts or a bath bomb, cozy socks, a face mask, a packet of nice tea, maybe a paperback. Nothing fancy. The curation is the gift.
My big lesson with this one: check the size of your box before you buy the products. I once bought a beautiful tall candle and then discovered my box was two inches too shallow. Measure first, shop second. Also, keep the packaging colors similar — mismatched drugstore packaging makes the whole thing look random, but the same products in cream, sage, and kraft look like a boutique set.
The Photo Memory Box (for family and close friends)
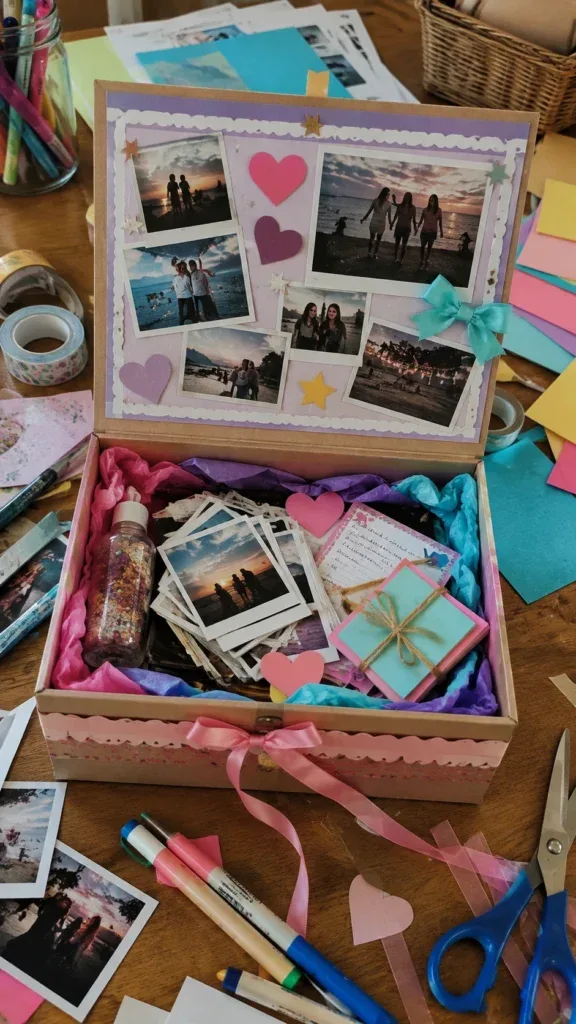
This one gets people. Print photos in a consistent size — I use my phone and a drugstore photo kiosk, or honestly the free prints deal from the drugstore app — and decorate the lid with a simple collage or grid. Inside, tuck the photos between small gifts and keepsakes with short handwritten captions.
My honest advice: leave blank space. My first attempt crammed forty photos onto the lid and it looked like a crime-scene evidence board. Ten photos with breathing room around them looks intentional and classy. And use photo corners or removable adhesive if you can, so the pictures can come off the box and go into a frame later.
The Notes Box (for anyone you actually love)
If you want maximum emotional impact per dollar, this is it. Fill a box with small gifts, and between every item, tuck a handwritten note. Not one big card — a dozen tiny messages they discover as they unpack. “Remember the road trip where we got lost and found that diner?” beats any Hallmark card ever written.
Write the notes BEFORE you assemble the box. I cannot stress this enough. I once assembled a whole box, sat down with the cards, and my brain went completely blank. Write them first, while you’re in the feeling. Keep each one short and specific — one memory, one compliment, one inside joke. Generic praise (“you’re the best!”) falls flat; specifics land.
The Explosion Box (for the wow factor)
An explosion box is the show-off of the birthday box world: you lift the lid and the sides unfold outward, revealing layers of photos, messages, and tiny gifts. It takes more measuring than a regular box, but the gasp it produces is worth it.
I’ll be real with you: my first explosion box was a disaster. I didn’t score the folds, the cardstock cracked, and the sides leaned like a condemned building. The fix is simple — score every fold line with a ruler and a butter knife before you fold, use lightweight cardstock, and keep decorations away from the fold lines. Do that and it works beautifully. Watch one YouTube tutorial for the grid layout and you’ll be fine.
The Mini Treat Box (for coworkers, neighbors, small budgets)
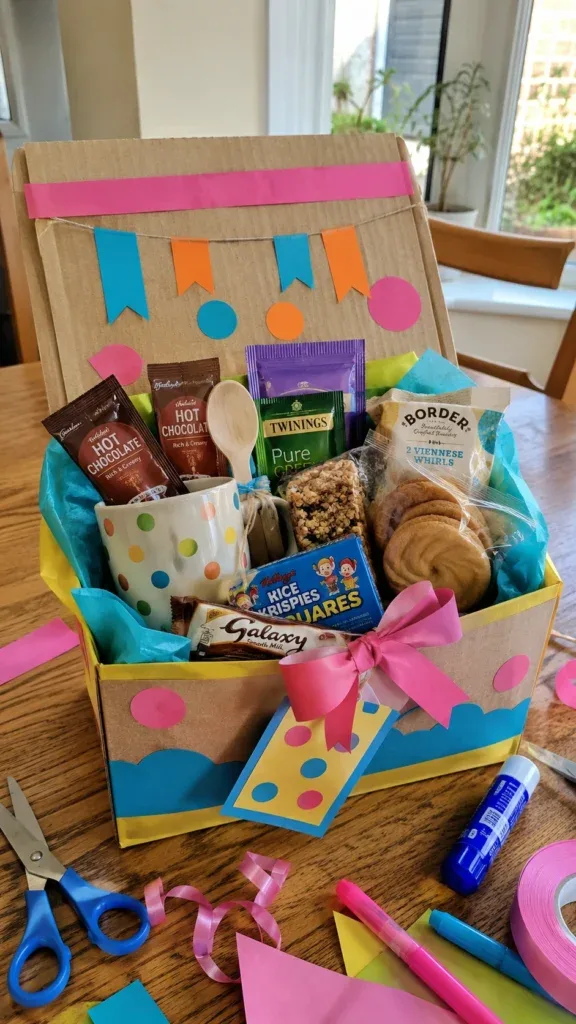
Not every birthday box needs to be a production. A small box with three to six well-chosen treats — nice chocolate, a lip balm, a fun pen, a gift card — is perfect for coworkers or neighbors. The trick with small boxes is contrast: pick items with different shapes and textures so the arrangement doesn’t look flat, and build up the base with tissue paper so everything sits near the top.
I make these for my coworkers every year and the total is usually under ten dollars. People genuinely look forward to them. Small, thoughtful, and consistent beats big and random every time.
How to Assemble a Box That Doesn’t Look Homemade (in a Bad Way)
Here’s my actual process, refined over a dozen boxes:
- Cover the lid first. Wrap it in cardstock or wrapping paper, securing the edges neatly underneath with double-sided tape. Match the lid decoration to one detail inside the box — that single choice makes the whole thing look intentional.
- Add your focal decoration. A paper bow, a layered paper design, a handmade gift tag — pick ONE hero element. I once put a bow, stickers, a photo collage, and a tag on one lid and it looked like a craft store threw up. One focal point.
- Line the inside. Tissue paper or crinkle filler, mounded up so items sit high. Nothing looks sadder than gifts rattling around in an empty box bottom.
- Place the tallest items at the back. Mugs, bottles, tall boxes go in the rear; medium items in the middle; small flat things in front. It creates a little display when the lid comes off.
- Tuck in notes, tags, and filler. Fill every gap. Movement inside a box is the enemy — things shift, break, and look messy. Crinkle paper is your packing peanut.
- Test-close it. Close the lid two or three times during decorating, not just at the end. Thick embellishments can stop a lid from closing, and discovering that after everything is glued is heartbreaking.
Mistakes I Learned the Hard Way
Consider this the section I wish someone had written for me:
- Using liquid glue on thin paper. It wrinkles. Every time. Double-sided tape gives cleaner edges and you can reposition things.
- Skipping the measuring. Cutting decorative paper “by eye” for a lid leaves uneven corners you cannot hide. Thirty seconds with a ruler saves the whole project.
- Writing notes last. Covered above, but it bears repeating: write first, assemble second.
- Overfilling the lid decoration. If the lid won’t close, nothing else matters. Test as you go.
- Buying the gifts before choosing the box. The box size dictates what fits. I know this because I have owned a candle that lived on my shelf for four months waiting for a box tall enough.
- Forgetting a card or tag. An unsigned box feels unfinished. Even a two-line tag — “Made for you, happy birthday” — closes the loop.
What to Put Inside (When Your Mind Goes Blank)
The most common question I get is “but what goes IN it?” Here’s my running list, mix and match by person: candy and chocolate, tea or coffee sachets, a candle, cozy socks, lip balm, a mini notebook, fun pens, a gift card, photos, handwritten notes, bath bombs, a small plant (succulents travel well), earrings or a simple bracelet, a paperback, hot chocolate packets, a face mask, stickers, a keychain, their favorite snack from childhood.
The formula that never fails: one thing to eat, one thing to use, one thing to keep, and one note. Four items, thoughtfully chosen, beat twenty random ones.
Final Thoughts
The shoebox birthday box from my kitchen-table panic session is still my favorite thing I’ve ever given, and it cost me basically nothing. That’s the whole point of birthday boxes: they trade money for attention. Anyone can click “buy now.” Not everyone will sit down for an evening and build something around one specific person — their colors, their snacks, their memories.
So pick the idea that fits the next birthday on your calendar, grab a box, and start. It doesn’t have to be perfect. My first one wasn’t, and she kept it on her dresser for months anyway. Yours will land just fine.
If you make one, I’d genuinely love to hear how it went — what worked, what flopped, what you’d do differently. The best ideas I’ve ever stolen came from friends telling me about their versions.


Pingback: 15 Christmas Party Ideas: Decorations, Games, and Themes That Actually Work
Pingback: Thoughtful Christmas Gift Ideas for Everyone on Your List
Pingback: 35 Painfully Relatable Mom Memes That Prove You're Not Alone
Pingback: 13 Creative Baby Shower Gift Ideas She'll Actually Love (2026)