

The first time I tried overnight heatless curls, I woke up looking like a poodle that had been plugged into a wall socket. My hair was somehow frizzy at the roots, flat at the crown, and tangled into one giant dreadlock behind my left ear. I had wrapped my hair around two kitchen socks (clean ones, thankfully), slept terribly because the lumps pressed into my skull all night, and undid everything with enormous hope. What I got was… not the bouncy, soft waves from the TikTok tutorial.
Here’s the thing nobody tells beginners: the method isn’t broken. Your prep is. After about a month of trial and error — and I mean actual, honest trial and error, with photos I’d never show anyone — I figured out what actually works. Now I do overnight heatless curls three or four nights a week, my curling iron has been collecting dust for months, and my hair is in the best shape it’s been in years. If you’re a beginner, this guide is everything I wish someone had told me on night one.
What Are Overnight Heatless Curls, Really?
The concept is simple: you set your hair into a curled shape while it’s slightly damp, go to sleep, and wake up with curls — no hot tools involved. Heat damage is the single biggest reason most hair looks dull and broken over time. A curling iron runs at 350–450°F, and using one daily is essentially slow-cooking your ends. Overnight heatless methods give your hair a break while you literally sleep through the styling.
There are a bunch of methods, and they all follow the same principle: damp hair holds a shape as it dries. Your job is just to give it a good shape to hold. That’s it. The magic isn’t in some complicated technique — it’s in the details: how damp your hair is, how tight you wrap, and how you sleep on it.
Before You Start: The Prep That Makes or Breaks Your Curls
Honestly, prep is about 70% of the result. Get this part right and almost any method works. Get it wrong and even the best technique will fall flat (literally).
Start With 80–90% Dry Hair
This was my biggest mistake on attempt one: I went to bed with soaking wet hair. The socks absorbed all the water overnight, my hair never fully dried, and the “curls” collapsed by breakfast. On the flip side, bone-dry hair doesn’t hold a set well either. The sweet spot is hair that’s about 80–90% dry — damp to the touch but not dripping. I usually wash my hair in the evening, let it air dry for an hour or two while I wind down, then set it right before bed.
Brush It Out Thoroughly
Tangles are the enemy. Any knot you wrap will become a knot times ten by morning. Use a wide-tooth comb or a detangling brush (the Tangle Teezer is my ride-or-die) and make sure every strand is smooth before you start wrapping. This takes two minutes and saves you a morning of regret.
Use a Little Product — Not a Lot
You don’t need a shelf of products, but one or two light hold products make a huge difference in how long your curls last. My go-to combo:
- A pea-sized amount of lightweight mousse (I like Not Your Mother’s Curl Talk Mousse — it’s affordable and doesn’t get crunchy) worked through mid-lengths to ends.
- A tiny drop of hair oil on the very ends to fight frizz. Moroccanoil Treatment is the classic, but even a drugstore argan oil works.
What to avoid: heavy creams, butters, and anything silicone-loaded. They weigh the hair down and your curls will drop within an hour of waking up.
5 Beginner-Friendly Overnight Heatless Curl Methods
I’ve tried them all so you don’t have to. Here are the five methods ranked from easiest to slightly-more-involved, with honest notes on who each one suits best.
1. The Robe-Belt Method (Easiest Overall)
This is the viral one, and honestly? It’s viral for a reason. Grab the tie from a bathrobe — or any long, soft fabric strip about the width of two fingers. Drape it over the top of your head like a headband with both ends hanging down on either side. Then, starting from the front on one side, take a 1–2 inch section of hair and wrap it around the tie, adding more hair as you go (like a French braid wrapping motion). Secure each end with a small scrunchie. Repeat on the other side. Then just… go to sleep.
Why beginners love it: It’s one continuous piece of fabric, so there’s nothing lumpy pressing into your head. Side sleepers, this one’s for you — it’s the most comfortable method I own.
Best for: Medium to long hair. If your hair is above chin length, there’s not enough length to wrap — try method 4 instead.
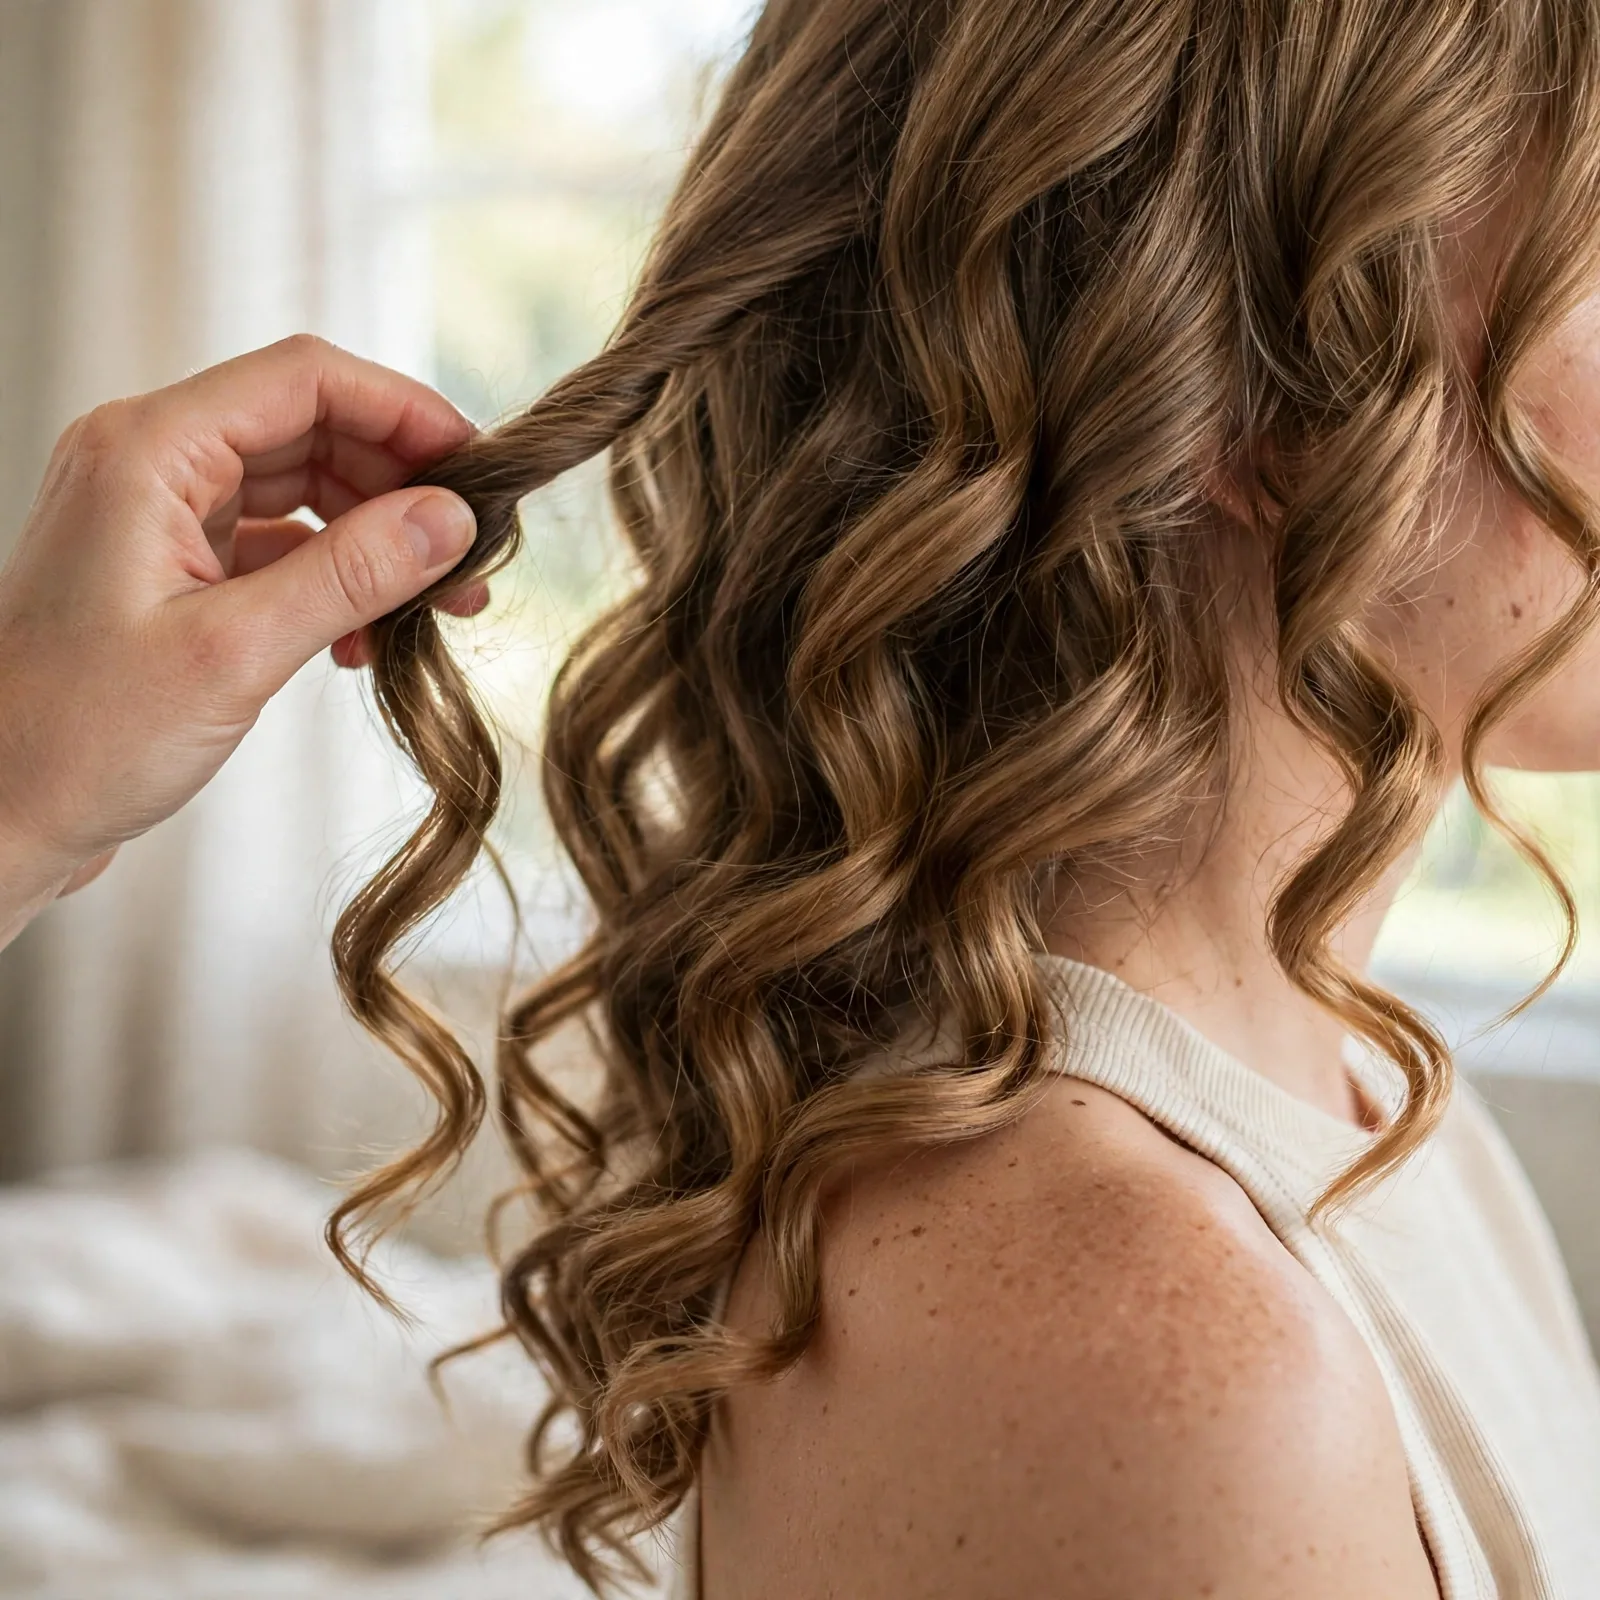
The result: Soft, loose, beachy waves. Not tight ringlets — think “I woke up like this” energy.

2. Sock Curls (The Classic DIY)
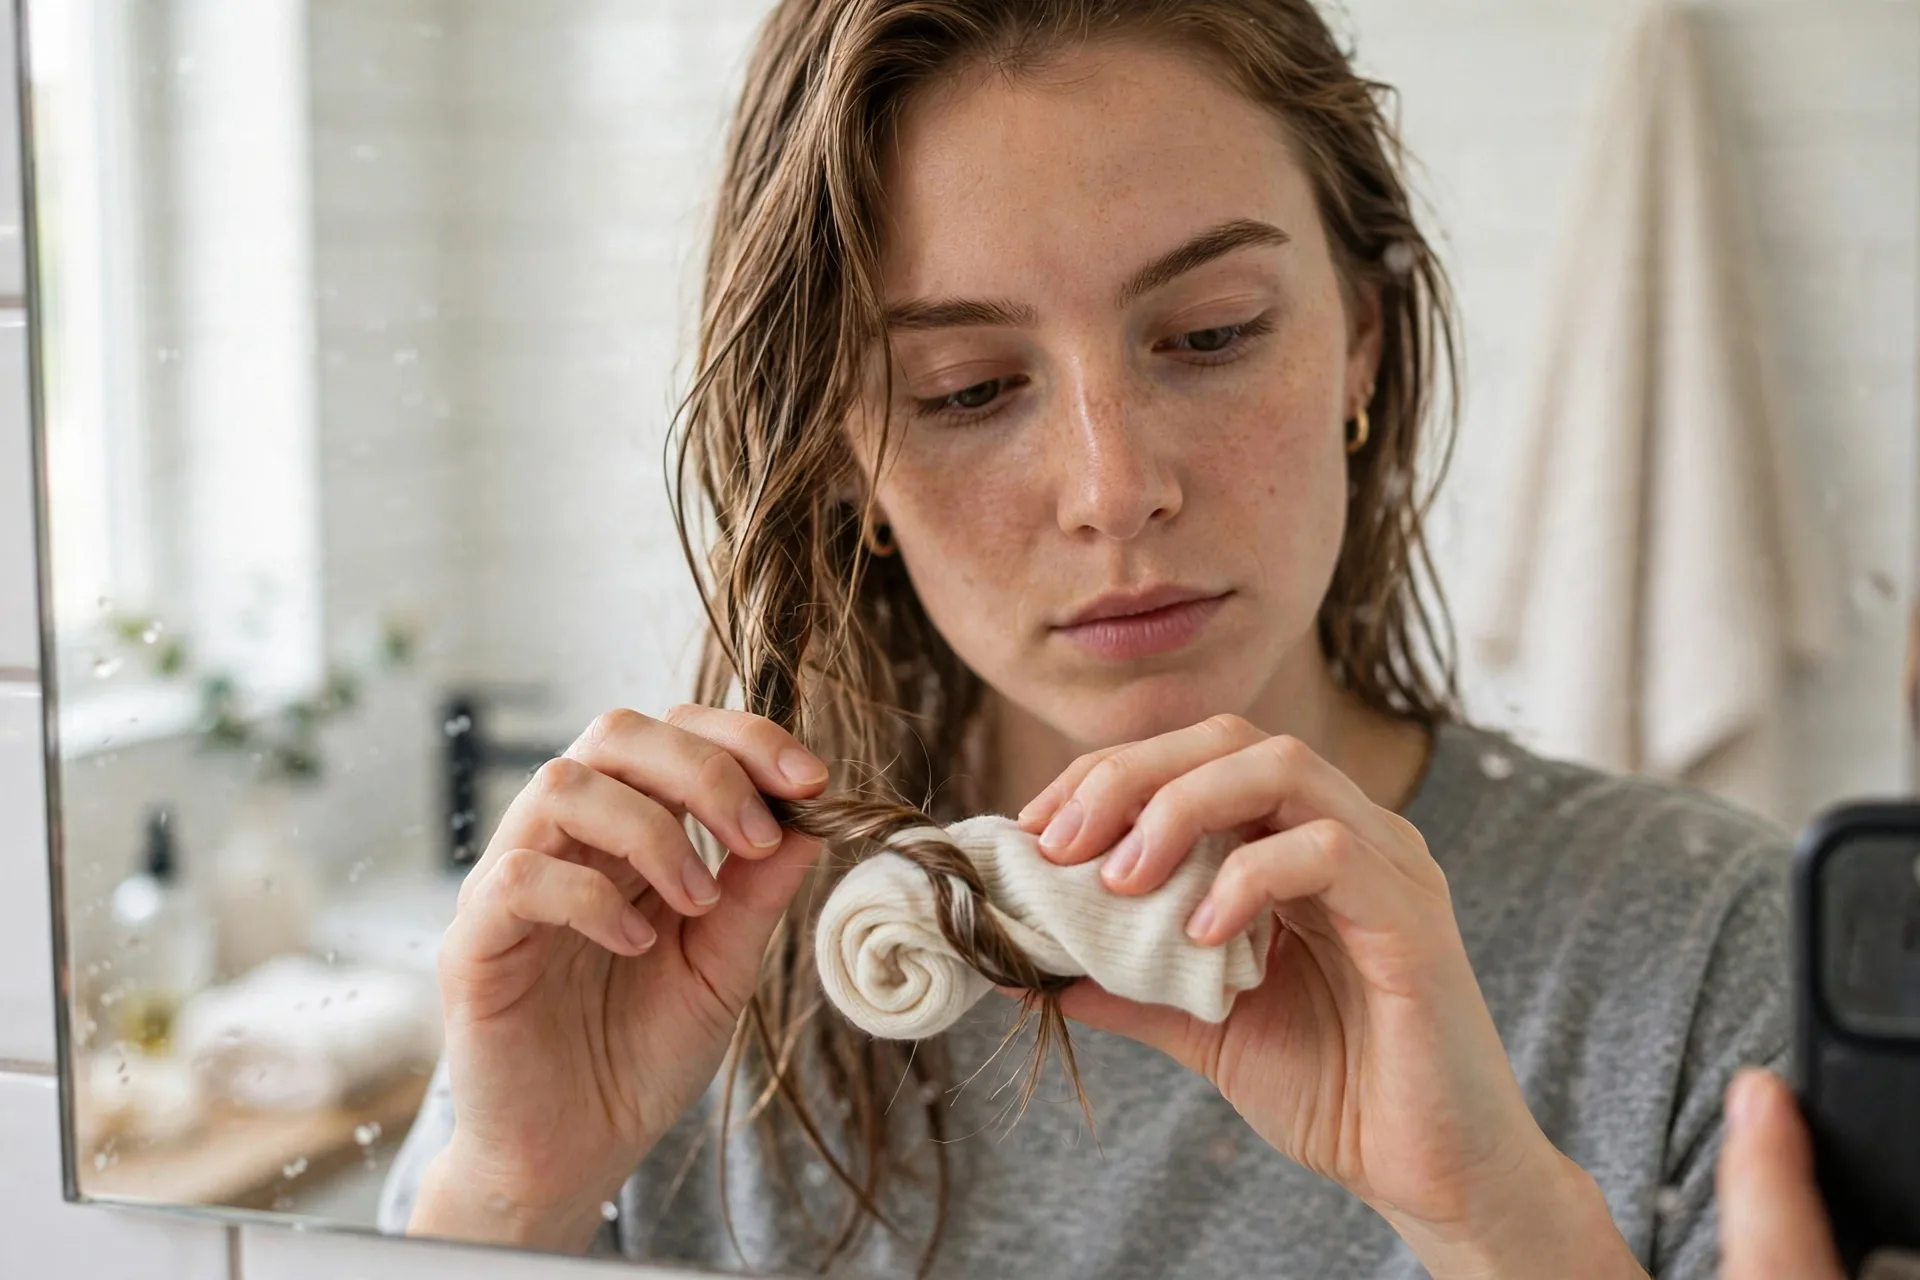
The OG heatless method. Take 2–4 clean socks (longer socks work better), and roll each one into a tight donut shape. Section your slightly damp hair into 2–4 parts depending on how thick it is. Take one section, place the end of your hair on the sock donut, and roll it upward toward your scalp, wrapping the hair around the sock as you go. Tie the sock ends in a knot to hold it in place.
My honest take: Sock curls give you the most defined, bouncy curls of any DIY method. The trade-off is comfort — sleeping on sock donuts is noticeably lumpier than the robe-belt method. I only use this one when I’m sleeping on my back. Also, use thin socks. Thick athletic socks create bulky lumps that are miserable to sleep on, and I learned that the hard way.
Best for: Thick or long hair that needs more structure to hold a curl. Fine hair can skip this one — the curls tend to look too tight and springy.
3. The Heatless Curl Headband (The Lazy Girl Favorite)
This is the product version of the robe-belt method: a long, soft foam or silk rod (brands like Kitsch and Heatless Hair sell them) that you place over your head like a headband, wrap your hair around, and secure with scrunchies. If you find the robe tie too floppy or slippery, the dedicated rod is easier to work with — it has a little more grip.
Why I recommend it for true beginners: It stays put. The robe belt can slide around if your hair is silky, but the foam rod has enough texture to hold. It takes me under five minutes now.
Best for: Anyone who tried the robe tie and found it kept slipping out. Also great for fine, slippery hair.
4. Braid Waves (The Zero-Effort Method)
Dead simple: braid your slightly damp hair before bed. One or two loose braids give you soft, loose waves. Four to six smaller braids give you tighter, more textured waves with extra volume. In the morning, undo the braids and gently separate with your fingers.
The catch: Braid waves are waves, not curls. If you’re dreaming of defined ringlets, this isn’t your method. But for a lived-in, beachy texture with literally zero tools and zero discomfort while sleeping, nothing beats it. This is also the only method that works well on short hair — a few small braids will give a cute, tousled look.
Pro tip: Braid on damp hair, not wet hair, or the inside of the braid won’t dry overnight and you’ll wake up with a damp, flat mess. I know this because I’ve done it. Twice.
5. Foam Rollers (The Vintage Comeback)
Yes, your grandmother’s foam rollers — but hear me out. Modern soft foam rollers are comfortable, cheap (a pack of 20 costs less than a fancy coffee), and they give you the most uniform, defined curls of any heatless method. Section damp hair, roll each section up toward the scalp on a roller, and clip or snap it in place.
Honest downsides: It’s the fiddliest method — rolling 15+ sections takes 10–15 minutes. And if you’re a restless sleeper, some rollers will migrate overnight. I wear a loose satin bonnet over them to keep everything in place, which solves the problem.
Best for: Special occasions when you want polished, even curls — think weddings, photos, date night.
Adjusting for Your Hair Type
Not all hair takes a heatless set the same way. Here’s how to tweak things based on what you’re working with:
Fine or Thin Hair
Your hair will take a curl easily but lose it fast. Use slightly smaller sections (tighter curls last longer), a light mousse is non-negotiable, and in the morning, flip your head upside down and shake at the roots for volume. Avoid heavy oils — they’ll drag your curls straight down by lunch.
Thick or Coarse Hair
Your hair needs more encouragement. Make sure it’s a touch damper than you think (75–80% dry instead of 90%), wrap sections snugly, and don’t be shy with product — a curl cream plus mousse combo works well. You may also need to leave things in longer; if overnight isn’t enough, try setting your hair an hour before bed to give it a head start.
Curly or Wavy Hair (Type 2–3)
You’re enhancing texture, not creating it. Keep sections loose and large — tight wrapping will fight your natural pattern and create frizz. A little leave-in conditioner before wrapping keeps things defined instead of puffy. The robe-belt method is perfect for this hair type.
Short Hair (Above the Shoulders)
Most wrap methods need length to work. Stick with small braids, pin curls (twist small sections into flat coils and pin them to your scalp), or short foam rollers. Manage your expectations: you’ll get texture and wave, not long flowing curls.
The Morning Routine: Unwrapping Without Ruining Everything
You did the hard part — you slept in the contraption. Now don’t undo all that work in 30 seconds.
- Unwrap slowly. Don’t yank. Gently unwind each section in the reverse direction you wrapped it.
- Fingers, not brushes. Run your fingers through to separate the curls. A brush will turn defined curls into a triangle of frizz. (I have made this mistake. It was not cute.)
- Flip and shake. Flip your head upside down, gently shake at the roots, then flip back. Instant volume.
- Finish lightly. A spritz of flexible-hold hairspray (TRESemmé Compressed Micro Mist is my pick — light, no crunch) or a drop of serum on the ends. Less is more here.
7 Beginner Mistakes That Kill Your Heatless Curls
Consider this the troubleshooting section. If your curls aren’t working, one of these is almost certainly the culprit:
- Going to bed with soaking wet hair. It won’t dry overnight, and damp curls fall flat. Aim for 80–90% dry.
- Skipping product entirely. A little mousse or setting foam is the difference between curls that last until lunch and curls that last until noon the next day.
- Wrapping sections too big. Big sections = loose, weak curls that drop fast. Smaller sections = defined curls with staying power.
- Brushing curls out in the morning. Finger-comb only. Put the paddle brush down.
- Sleeping on a cotton pillowcase. Cotton creates friction and frizz. A satin or silk pillowcase (or bonnet) keeps curls smooth — it’s a genuine game-changer, not just influencer hype.
- Touching your hair all day. Every touch breaks the curl pattern a little. Set it in the morning and leave it alone.
- Giving up after one try. Your first attempt will probably be mediocre. Your fifth will be great. There’s a learning curve, and it’s short — promise.
How to Make Your Curls Last All Day (and Into Day Two)
Want second-day hair? In the evening, loosely twist your hair into a high, loose bun (a “pineapple”) on top of your head and secure it with a satin scrunchie. In the morning, take it down, shake, and go. A spritz of dry shampoo at the roots (Batiste is the classic for a reason) refreshes things on day two. Realistically, heatless curls look their best on day one and still totally wearable on day two — by day three, it’s a ponytail day, and that’s fine.
My Honest Final Thoughts
Overnight heatless curls didn’t just save my hair from heat damage — they gave me back my mornings. I went from spending 25 minutes with a curling iron (and burning my neck at least once a week) to spending five minutes before bed and two minutes in the morning. My ends are healthier, my hair actually grows past a certain point now, and I genuinely look forward to the little unwrap moment each morning — it’s like opening a present from last-night me.
Start with the robe-belt method. It’s the easiest, the most comfortable, and the most forgiving for beginners. Get your dampness level right, use a little mousse, sleep on a satin pillowcase, and be patient with yourself for the first few tries. Your hair will thank you — and honestly, so will your snooze button.