
I still remember the manicure that broke me. I’d spent an entire Sunday afternoon painting my nails this perfect, milky nude shade — three thin coats, top coat, the whole deal — and by Tuesday morning the polish was peeling off in little sheets like old wallpaper. Not chipping at the tips the normal way. Peeling, straight off the nail, like it had never bonded at all.
My first instinct was to blame the polish. Cheap brand, wrong formula, whatever. So I bought a fancier one. Same thing happened. Then I blamed the top coat. Then the base coat. Then, briefly, my own nails — maybe I just had “bad nail genetics” and salon results weren’t in the cards for me.
It took a nail tech friend finally asking me one very simple question to end the whole saga: “Okay, but what did you do before you put the polish on?”
And I just… blinked at her. Before? I wiped my hands on a towel, pushed my cuticles back with my thumb nail, and started painting. That was my whole prep routine.
She laughed, and honestly, fair. Because prepping nails for polish is one of those things that separates a manicure that lasts two days from one that lasts two weeks — and most of us were never actually taught how to do it. Salons make it look like a quick wipe and a file, but there’s a real routine behind it, and once you know the steps, your polish genuinely behaves differently.
Here’s the exact step-by-step salon routine for prepping nails for polish, the way I’ve done it ever since that humbling conversation — and my manicures have never peeled again.

Why Nail Prep Matters More Than the Polish Itself
Think of your nail plate like a wall you’re about to paint. If you slap paint onto a dusty, greasy, uneven wall, it’s going to peel — no matter how expensive the paint is. Nails work the same way. Your nail plate has natural oils, dead skin clinging to it, ridges, and residue from hand cream or old polish. Every one of those things sits between the polish and your nail, quietly sabotaging the bond.
Proper nail prep does three things: it removes anything that interferes with adhesion, it creates a smooth, even surface for the polish to grip, and it keeps your cuticles healthy so the whole thing grows out looking clean. Skip it and you’re basically painting on a greased-up surface. Do it right and even drugstore polish can last ten days.
What You’ll Need Before You Start
You don’t need a professional kit. Here’s the full lineup, and I mean it — gather everything first so you’re not getting up with wet-ish cuticle oil on your fingers to hunt for the nail file.
- Nail polish remover — acetone-based if you’re removing gel or stubborn glitter; non-acetone is gentler for regular polish.
- Cotton pads or cotton balls — pads give you more control around the edges.
- Nail clipper (optional, only if you need to take length off first)
- A nail file — a fine-grit glass or crystal file is my forever favorite; they’re gentler than the rough emery boards and they don’t wear out.
- Cuticle pusher — I use a wooden orangewood stick; metal pushers work but they’re easier to be too aggressive with.
- Cuticle oil or cuticle softener — something like CND SolarOil or even just a drop of jojoba oil.
- A buffer block — the kind with multiple sides (coarse to smooth).
- A small nail brush or an old soft toothbrush for dust.
- Rubbing alcohol (70%) or nail dehydrator — this is the step most people skip, and honestly it’s the one that made the biggest difference for me.
- A lint-free wipe — cotton balls can leave fibers behind; a lint-free pad or even a coffee filter works.
That’s it. Nothing fancy. I used to think I needed some special “nail dehydrator” product with a salon brand name, and then a nail tech told me she uses plain rubbing alcohol in her kit. Sold.

The Exact Step-by-Step Nail Prep Routine
Step 1: Remove Old Polish Completely
This sounds obvious, but “completely” is doing a lot of work in that sentence. Leftover polish — especially around the cuticle line and under the free edge — is one of the biggest reasons new polish lifts early.
Soak a cotton pad in remover and press it onto the nail for ten to fifteen seconds before you start wiping. Let the remover do the dissolving instead of scrubbing; scrubbing just drags polish around and stains your skin. For glitter polish, press and hold longer — glitter doesn’t negotiate.
Once the color’s off, grab a fresh pad with a little more remover and go around the edges one more time, including under the tip. I do this little trick where I run the edge of the cotton pad along the cuticle line to catch the invisible residue. If you skip this, you’ll see a weird yellow-ish line where old polish met skin, and your new base coat will sit on top of it instead of your nail.
My mistake here, back in the day: I’d remove the color I could see and call it done. The residue I couldn’t see was doing silent damage for years.
Step 2: Shape and File Your Nails
Here’s where technique actually matters. Always file in ONE direction — from the outer corner toward the center — instead of sawing back and forth. Sawing creates tiny tears in the nail edge that turn into splits later. It also frays the keratin layers, which makes the tip weak and gives polish a rough edge to peel away from.
Shape is personal, but pick one and commit. Almond and oval are the most forgiving — they’re less likely to catch on things and chip. Square looks sharp but the corners are polish-chip magnets, so if you love square, keep the corners very slightly rounded (a “squoval” shape) to get the best of both.
File from the sides first, then shape the tip. Check your work by looking straight down at the nail from above and flipping your hand over to view the shape from the front — lopsided nails are invisible from your own POV until you do this, and then you can’t unsee them.
One more thing: file before you soften your cuticles or soak your hands. Nails are more flexible and fragile when wet, and filing a wet nail is basically begging it to peel and split.
Step 3: Soften and Push Back Your Cuticles
Your cuticles are the thin line of skin sealing the base of your nail — they keep bacteria out, so the goal is to tidy them, not destroy them.
Apply a drop of cuticle oil or cuticle softener around each nail and massage it in. Wait a minute or two to let it work. Then take your orangewood stick and, with gentle pressure, push the cuticle back toward the nail fold. Small, light strokes. You should see a thin film of dead skin lifting off the nail plate near the cuticle line — that’s the invisible cuticle, and it’s exactly the stuff that stops polish from adhering at the base.
Gently scrape that film off with the flat edge of the stick. Be gentle here; if you’re seeing red or it hurts, stop immediately.
Now, about cutting cuticles: I’ve gone back and forth on this for years. Here’s where I landed — don’t cut them unless there’s an actual hangnail or a ragged bit of dead skin. Cutting living cuticle opens a door for infection and, honestly, it just grows back rougher. Pushing back and cleaning is enough for polish to sit beautifully.
Step 4: Buff the Nail Surface
This is the step that scared me the most when I was learning, because every internet tutorial made it sound like I’d sand my nails down to nothing. You won’t, as long as you’re gentle.
Use the finest side of your buffer block — never the coarse side on the nail plate — and make light, short strokes in one direction across the nail. The goal is to smooth out ridges and take away the shine, not to thin the nail. Three to four passes per nail is plenty. You want the surface to look matte and even, like frosted glass, not shiny.
That matte surface is what the base coat grips onto. Shiny, smooth nails are slippery; polish slides right off them. This is genuinely one of the biggest adhesion secrets in the whole routine.
My big lesson here: I used to buff hard because I thought more was better. My nails got thin and bendy, and polish lasted even less time. Gentle is the whole point. If your nails already feel thin, skip the buffer entirely on this pass and just do the dehydrating step — don’t make a weak nail weaker.
Step 5: Clean Off All the Dust and Oils
After filing and buffing, your nails are covered in fine dust — and probably some leftover cuticle oil too. Both are bond-killers.
Brush each nail with your nail brush to knock the dust off, then take a lint-free wipe dampened with rubbing alcohol and swipe every nail thoroughly, including the edges and under the free edge. This does two jobs at once: it picks up the dust and it strips away the natural oils sitting on the nail plate.
From this point on, don’t touch your nails with your fingers. I know it sounds extreme, but your fingertips are oily, and touching a freshly prepped nail undoes the last five minutes of work. If you need to scratch your nose, use the back of your hand. (I’ve internalized this so hard I now catch myself doing it at salons.)
Step 6: Dehydrate the Nail Plate
This is the step I skipped for years and the step that fixed my peeling problem almost single-handedly.
After the alcohol wipe, give your nails a minute to fully air-dry. Some people apply a dedicated nail dehydrator product here — they’re essentially the same idea, sometimes with a little extra oil-stripping power. Plain rubbing alcohol honestly does the job for regular polish wearers. The point is a bone-dry, oil-free nail plate with zero moisture in it.
Why does this matter so much? Polish is basically plastic that cures onto your nail. Oil and moisture underneath it create a barrier, so the polish sits on the barrier instead of bonding to the nail. Heat and daily life expand that barrier, and eventually the polish lifts off in sheets — exactly what was happening to me.
One caveat: if your nails are very dry and brittle, don’t go overboard with dehydrating — once is enough, and follow it immediately with base coat so the nail isn’t left exposed and vulnerable for long.
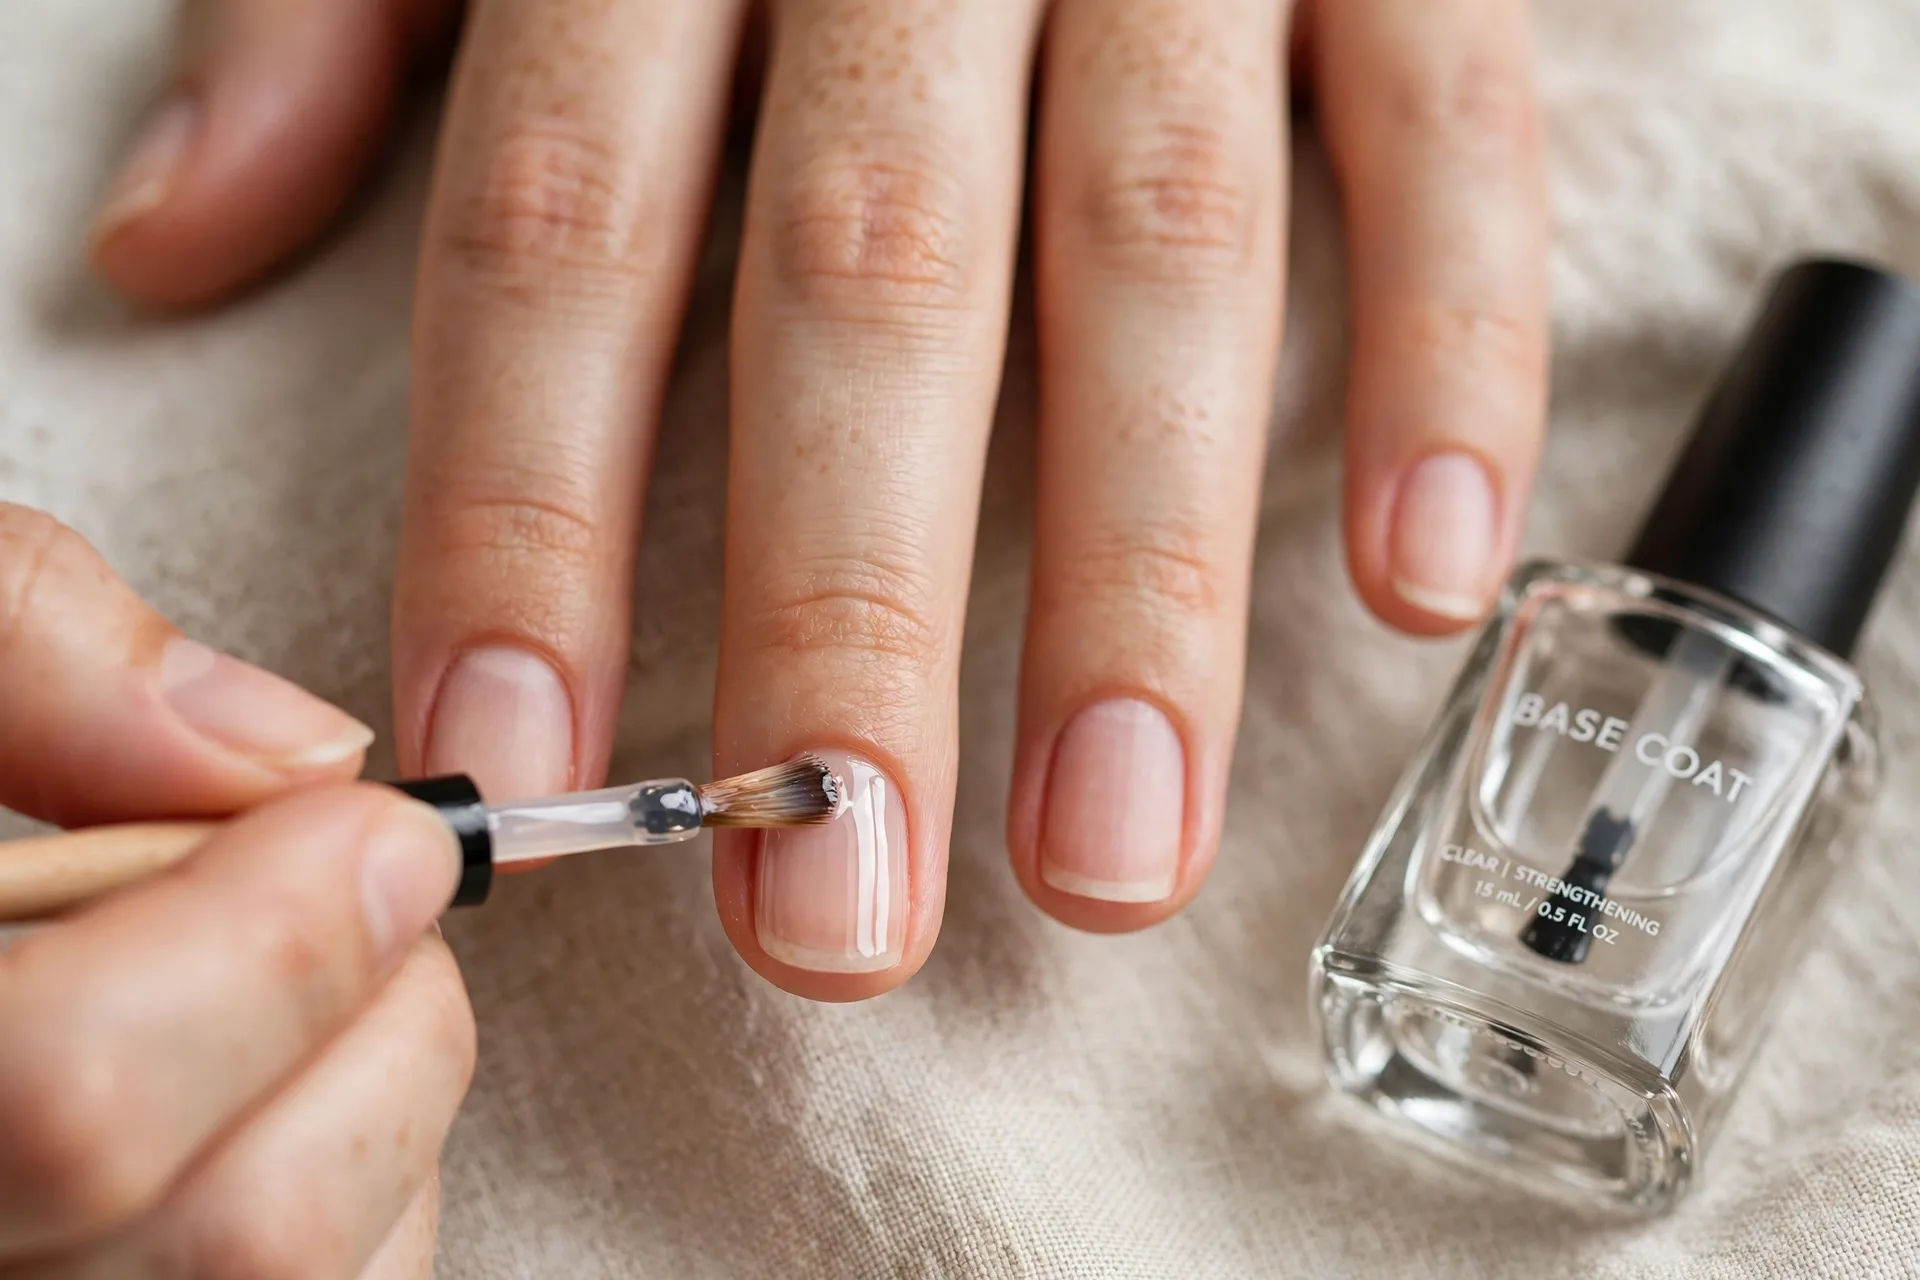
Step 7: Apply a Thin Base Coat
Base coat isn’t optional, and it’s not just “clear polish.” A real base coat has ingredients that grip the nail plate on one side and grip the color polish on the other — it’s literally a bonding layer. It also prevents darker polishes from staining your nails yellow, which anyone who’s worn deep red without base coat has learned the painful way.
Apply it thin. One thin, even layer. A thick base coat stays soft underneath and gives the color something squishy to sit on, which actually causes peeling. I learned this the embarrassing way — I thought “more base coat = more protection” and ended up with polish that dented if I looked at it wrong.
Let the base coat get properly tacky before your first color coat. Not bone dry, not wet — tacky. It should take about two to three minutes. This is also when you do a final check: are the cuticles neat? Is there dust? No? Then you’re ready to paint.
Common Mistakes to Avoid When Prepping Nails
Let me save you the years of trial and error I put in, because I made every single one of these:
Soaking your nails in water before filing. Wet nails are swollen, flexible nails. You file them into shape while they’re puffed up, they dry and shrink back, and suddenly the shape is off and the edges are weak. Do your cuticle softening with oil, not a long water soak — and file on dry nails.
Sawing back and forth with the file. I mentioned this above, but it bears repeating because almost everyone does it. The back-and-forth motion frays the free edge microscopically. One direction, always.
Cutting your cuticles aggressively. Besides the infection risk, cut cuticles grow back as rough, uneven skin that makes your next manicure look messy before you even start. Push back, clean off the dead film, leave the living tissue alone.
Skipping the buff or buffing too hard. There’s a sweet spot: enough to remove shine and smooth ridges, not enough to thin the nail. Light pressure, a few passes, finest grit only.
Touching your nails after prep. The oils from your fingertips transfer instantly. Every time you poke a prepped nail “just to check,” you’re undoing your own work. Hands off until the polish is on.
Painting over lotion or hand cream. If you’ve just moisturized your hands, there’s a film of cream on your nails even if they feel dry. Do your hand cream after your manicure, not before. This one got me more times than I care to admit — I’d do a whole nice routine and then realize I’d put lotion on ten minutes earlier.
Using an old, thick base coat. Base coat that’s gone gloopy applies unevenly and never quite cures right. If your base coat has been open for more than a year or it’s getting stringy, replace it. Same goes for nail polish thinner — a few drops can revive slightly thick polish, but a fully expired bottle is a lost cause.
How Long Should Nail Prep Take?
Honestly? Once you’ve done it a few times, the whole routine takes about fifteen to twenty minutes — not counting drying time for the actual polish. The first time you do it deliberately, give yourself thirty. Put on a podcast, don’t rush the cuticle step, and treat it like the little self-care ritual it is.
Is it more work than just slapping polish on? Obviously. But here’s the math that convinced me: twenty minutes of prep turns a two-day manicure into a ten-to-fourteen-day manicure. That’s not more work, that’s massively less work over the month.
Final Thoughts
The funny thing about that peeling-manicure era of my life is that I was spending more money and more time on my nails than I do now — repainting every few days, buying new polish hoping the formula was the problem. The actual fix was free. It was just a routine nobody had shown me.
Start with the steps that feel easiest — the alcohol wipe and the one-direction filing — and add the rest as they become habit. You don’t have to be perfect at this on day one. I wasn’t. But I promise you: the first time you make it to day ten with your polish still intact, you’ll never go back to the old way.
Your nails were never the problem. The prep was.


Pingback: How to Make a Nude Manicure Last Chip-Free for Over a Week - Beautifully Curated Life