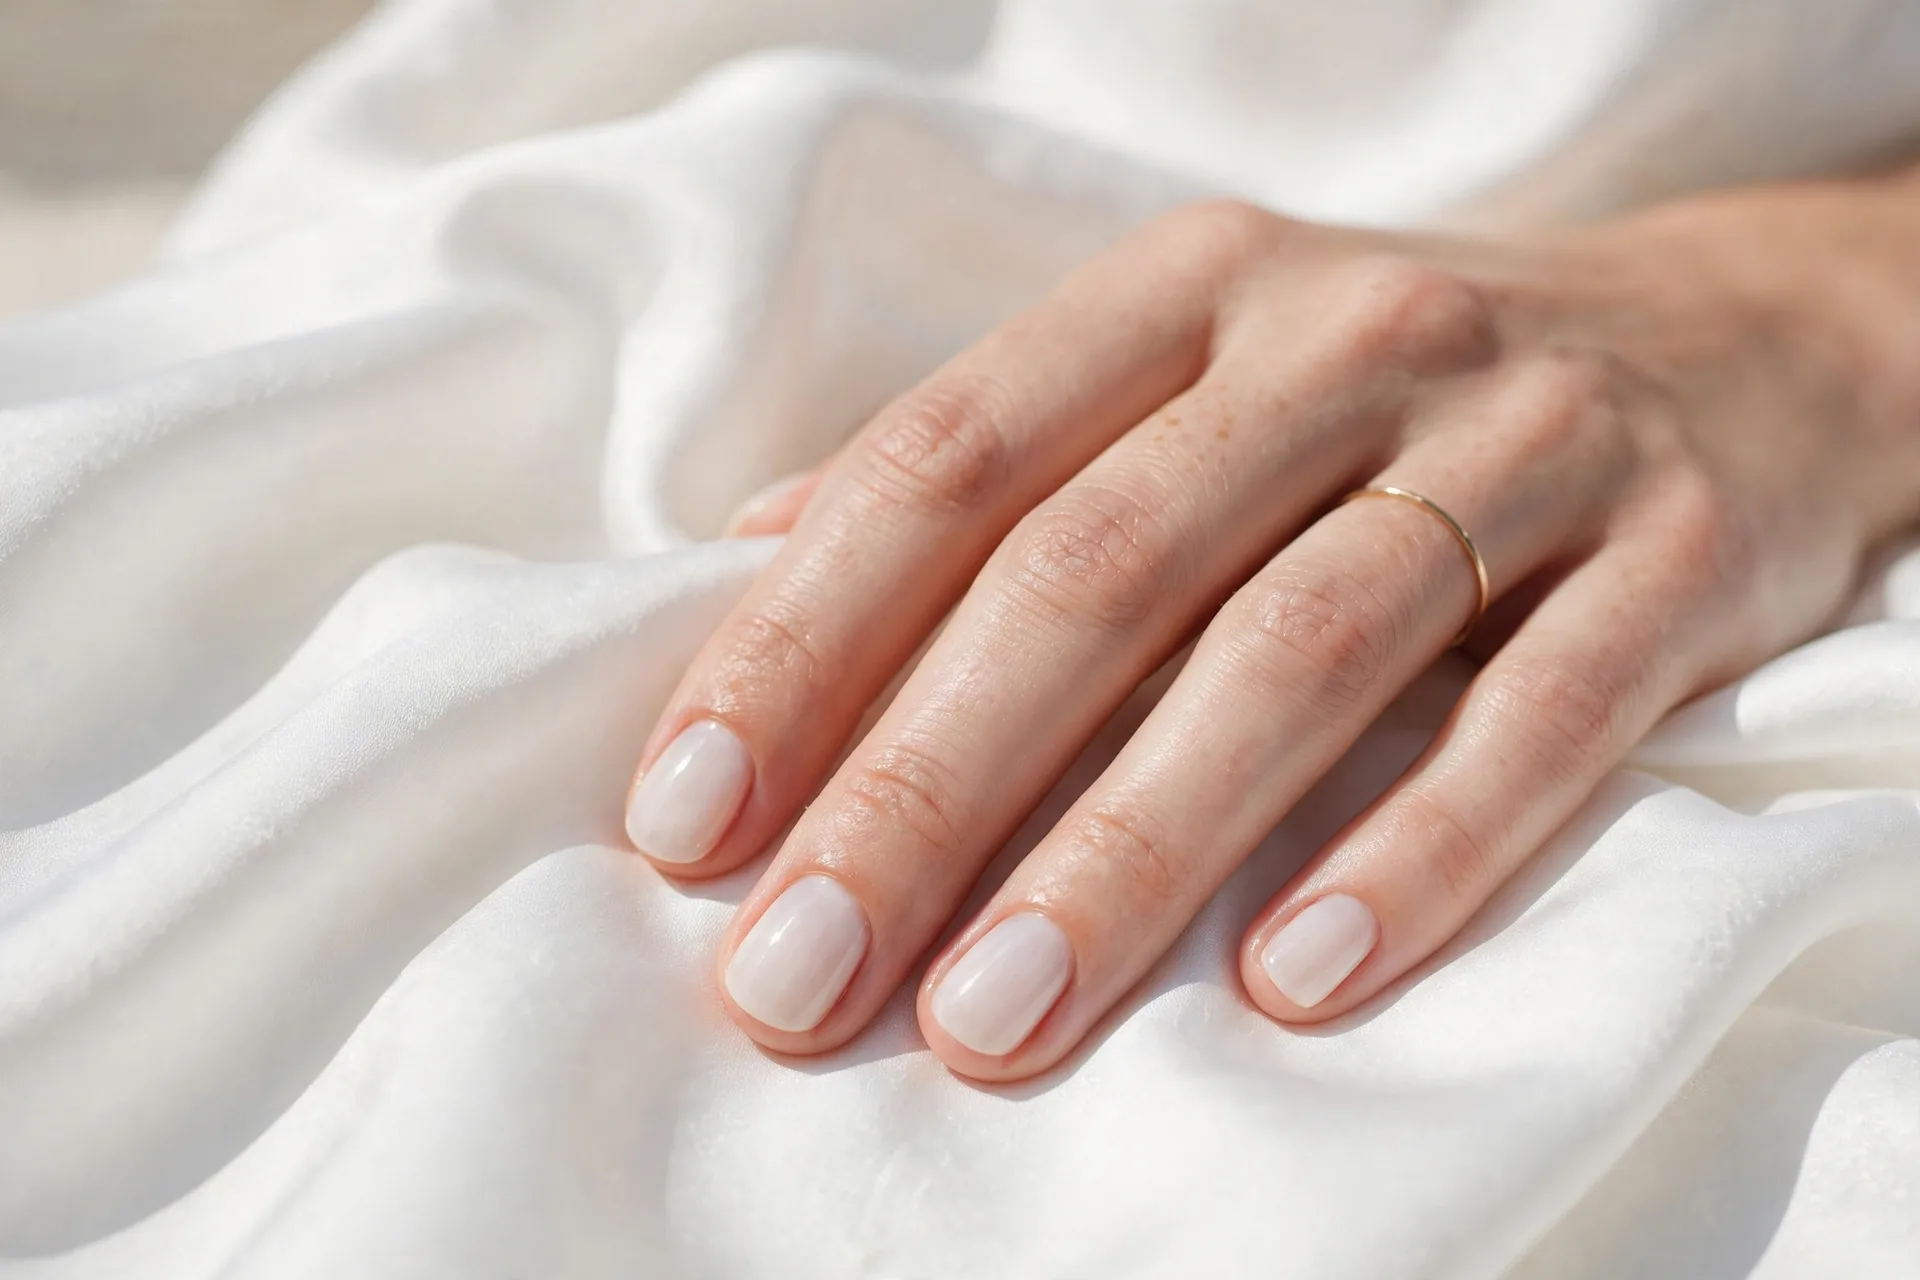
There is a special kind of heartbreak reserved for the nude manicure. You spend forty minutes getting it perfect — that smooth, sheer, your-nails-but-better finish — and by day four there is a chip on your index finger the size of a crumb, and the whole thing looks tired. Dark polish hides a multitude of sins. Nude polish hides nothing.
I wore nude polish almost exclusively for two years, and for most of that time I was redoing my nails every five days. Then a nail tech friend watched me do my routine and pointed out three things I was doing wrong — and my next nude manicure lasted eleven days. Eleven. With typing, cooking, and zero gloves (I know, I know).
The secret to a chip-free nude manicure that lasts 10+ days is not some magic product. It is a system: proper prep, the right layering order, and two minutes of maintenance most people skip. Here is the whole system, step by step.
Why Nude Manicures Chip Faster Than Dark Ones
First, it helps to understand the enemy. Nude and sheer polishes chip faster for three real reasons, and none of them are your fault.
Sheer formulas are thinner. Most nude polishes are designed to be translucent, which means less pigment and less film thickness per coat. A thinner film is simply more fragile than the thick, opaque coat of a dark cream polish.
Every flaw shows. A tiny chip in black polish is a speck. A tiny chip in nude polish is a bright white crater against your skin. Nude manicures do not necessarily chip more — you just notice every single one, so they feel shorter-lived.
Nudes yellow. Sheer nudes are prone to yellowing from UV exposure, cooking spices, and even some hand soaps. A yellowed nude looks old even when it is technically intact, which is why many people give up on day six.
The good news: every one of these problems has a fix, and the fixes stack. Do all of them and a nude manicure genuinely lasts as long as any other color.

Secret 1: Prep Like Your Manicure Depends on It (It Does)
About 70% of manicure longevity is decided before the first drop of color touches your nail. Polish sticks to a clean, dry, slightly roughened nail plate — and slides off an oily, smooth one.
Push your cuticles back gently with an orangewood stick — never cut them — so no skin is sitting where polish needs to bond. Lightly buff the shine off each nail with a fine buffer block; you are not thinning the nail, just removing the glossy top layer so the polish has texture to grip. Then wipe every nail with a lint-free pad dampened with 91% isopropyl alcohol or pure acetone. Let them air-dry for thirty seconds. Your nails should look matte and chalky — that means the oils are gone.
One more prep rule that matters enormously for nudes: do your nails on completely dry hands. After a shower or long dishwashing session, nails absorb water and swell; as they dry and shrink back, the polish film cracks and lifts. Wait at least an hour after soaking your hands before you start.
Secret 2: Never Skip Base Coat — and Use the Right One
Base coat is the double-sided tape of your manicure. For nude polish specifically, use a ridge-filling or sticky base coat rather than a plain clear one. Ridge-filling bases smooth out tiny imperfections so sheer polish applies evenly instead of pooling in ridges, and “sticky” formulas are literally tackier, which grips sheer polish better.
Apply one thin layer, cap the free edge (run the brush along the very tip of the nail), and let it dry completely — a full two minutes, not the thirty seconds most people give it. A tacky base coat under dry color is a recipe for peeling.
Secret 3: Thin Coats, Always — Three Beats Two
This is the single biggest change most people need to make. Thick coats of sheer polish look streaky, dry unevenly, and chip in sheets. Thin coats dry hard and flex with your nail instead of cracking.
Wipe most of the polish off the brush on the inside of the bottle neck before each nail. You want the brush almost dry. Apply three whisper-thin coats instead of two normal ones, waiting two full minutes between coats. Yes, it takes longer. Yes, it is the difference between five days and ten.
Keep a tiny gap — about a millimeter — between the polish and your cuticles and sidewalls. Polish that dries on skin instead of nail always lifts, and on a nude manicure that lifting edge is the first thing you will see.
Secret 4: Cap the Free Edge Every Single Time
Capping the free edge means running the brush horizontally along the very tip of your nail so the end is sealed in polish. Do it with the base coat, every color coat, and the top coat. It takes five seconds per nail and it is the single most effective anti-chip habit in existence.
Most chips start at the tip, where your nail takes the most impact. An uncapped tip is an open invitation: water, soap, and friction get under the polish film and start peeling it back. A sealed tip forces wear to happen on top of the polish instead of underneath it.
Secret 5: Top Coat Is Not Optional — and Refresh It
A good top coat does three jobs on a nude manicure: it adds the thick protective layer the sheer color lacks, it keeps the finish glossy (dull top coat makes nudes look old fast), and a UV-protective formula slows yellowing.
Apply top coat the same day, sealing the free edge. Then — and this is the secret most people miss — reapply a thin layer of top coat every two to three days. It takes ninety seconds and it resets the wear clock. Keep a bottle of quick-dry top coat in your bag. This one habit alone added three days to my manicures.
Secret 6: Cuticle Oil Daily (Yes, Really)
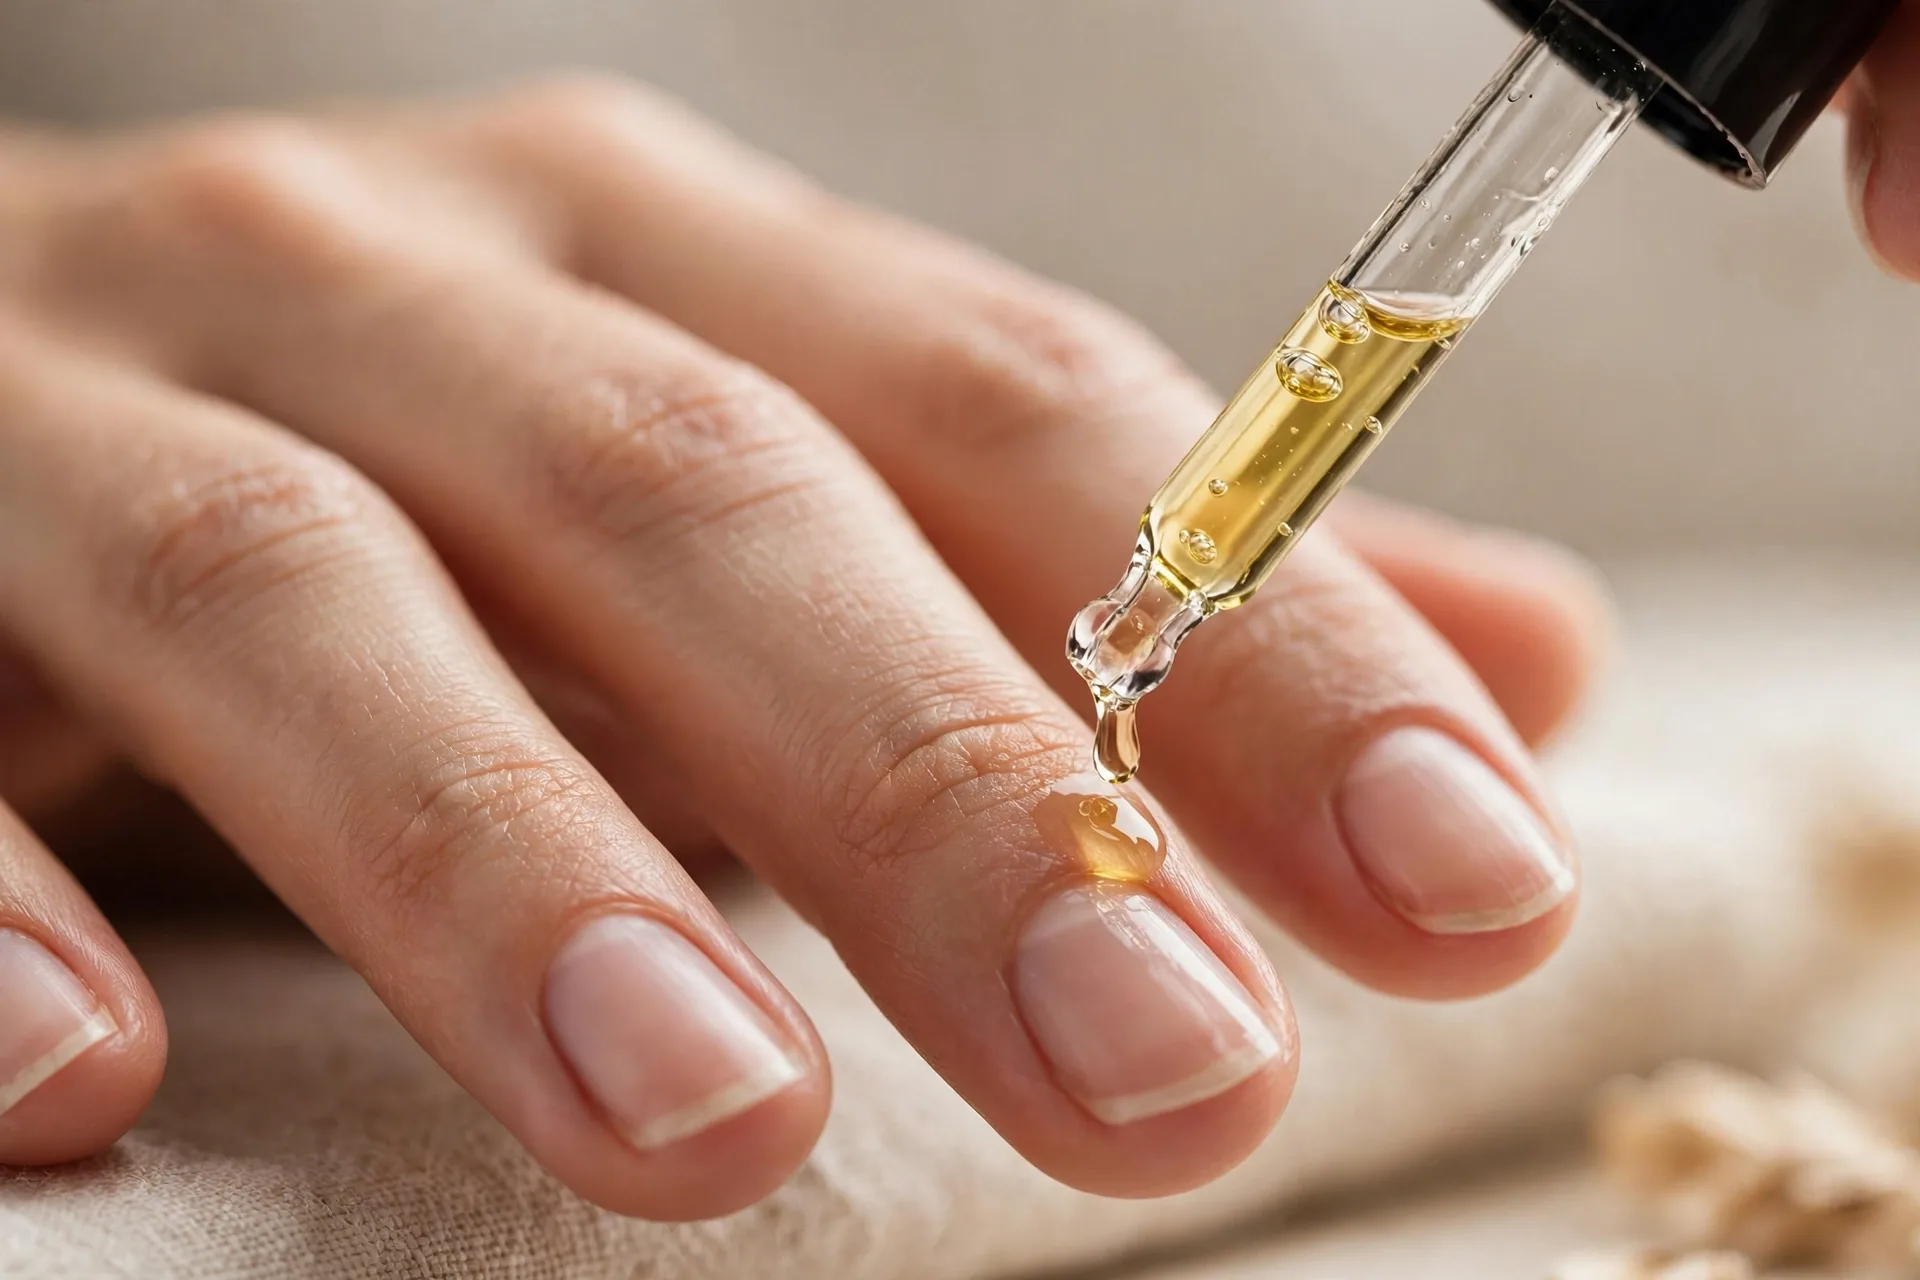
It sounds backwards — oil near fresh polish? — but cuticle oil is a longevity tool, not just a luxury. Dry cuticles shrink and pull away from the nail, and that pulling starts lifting the polish at the base. A drop of cuticle oil massaged around each nail every night keeps the skin supple so it never tugs at your manicure.
Wait until your polish is fully cured (a few hours after application, or the next morning) before the first oiling. After that, nightly is perfect. Jojoba-based oils absorb fastest and will not leave you greasy.
Secret 7: Protect Your Hands Like You Mean It
Water is the enemy of every manicure, and nude shows the damage first. Hot water and detergent swell the nail and soften the polish film; repeated cycles of swelling and drying cause the micro-cracks that become chips.
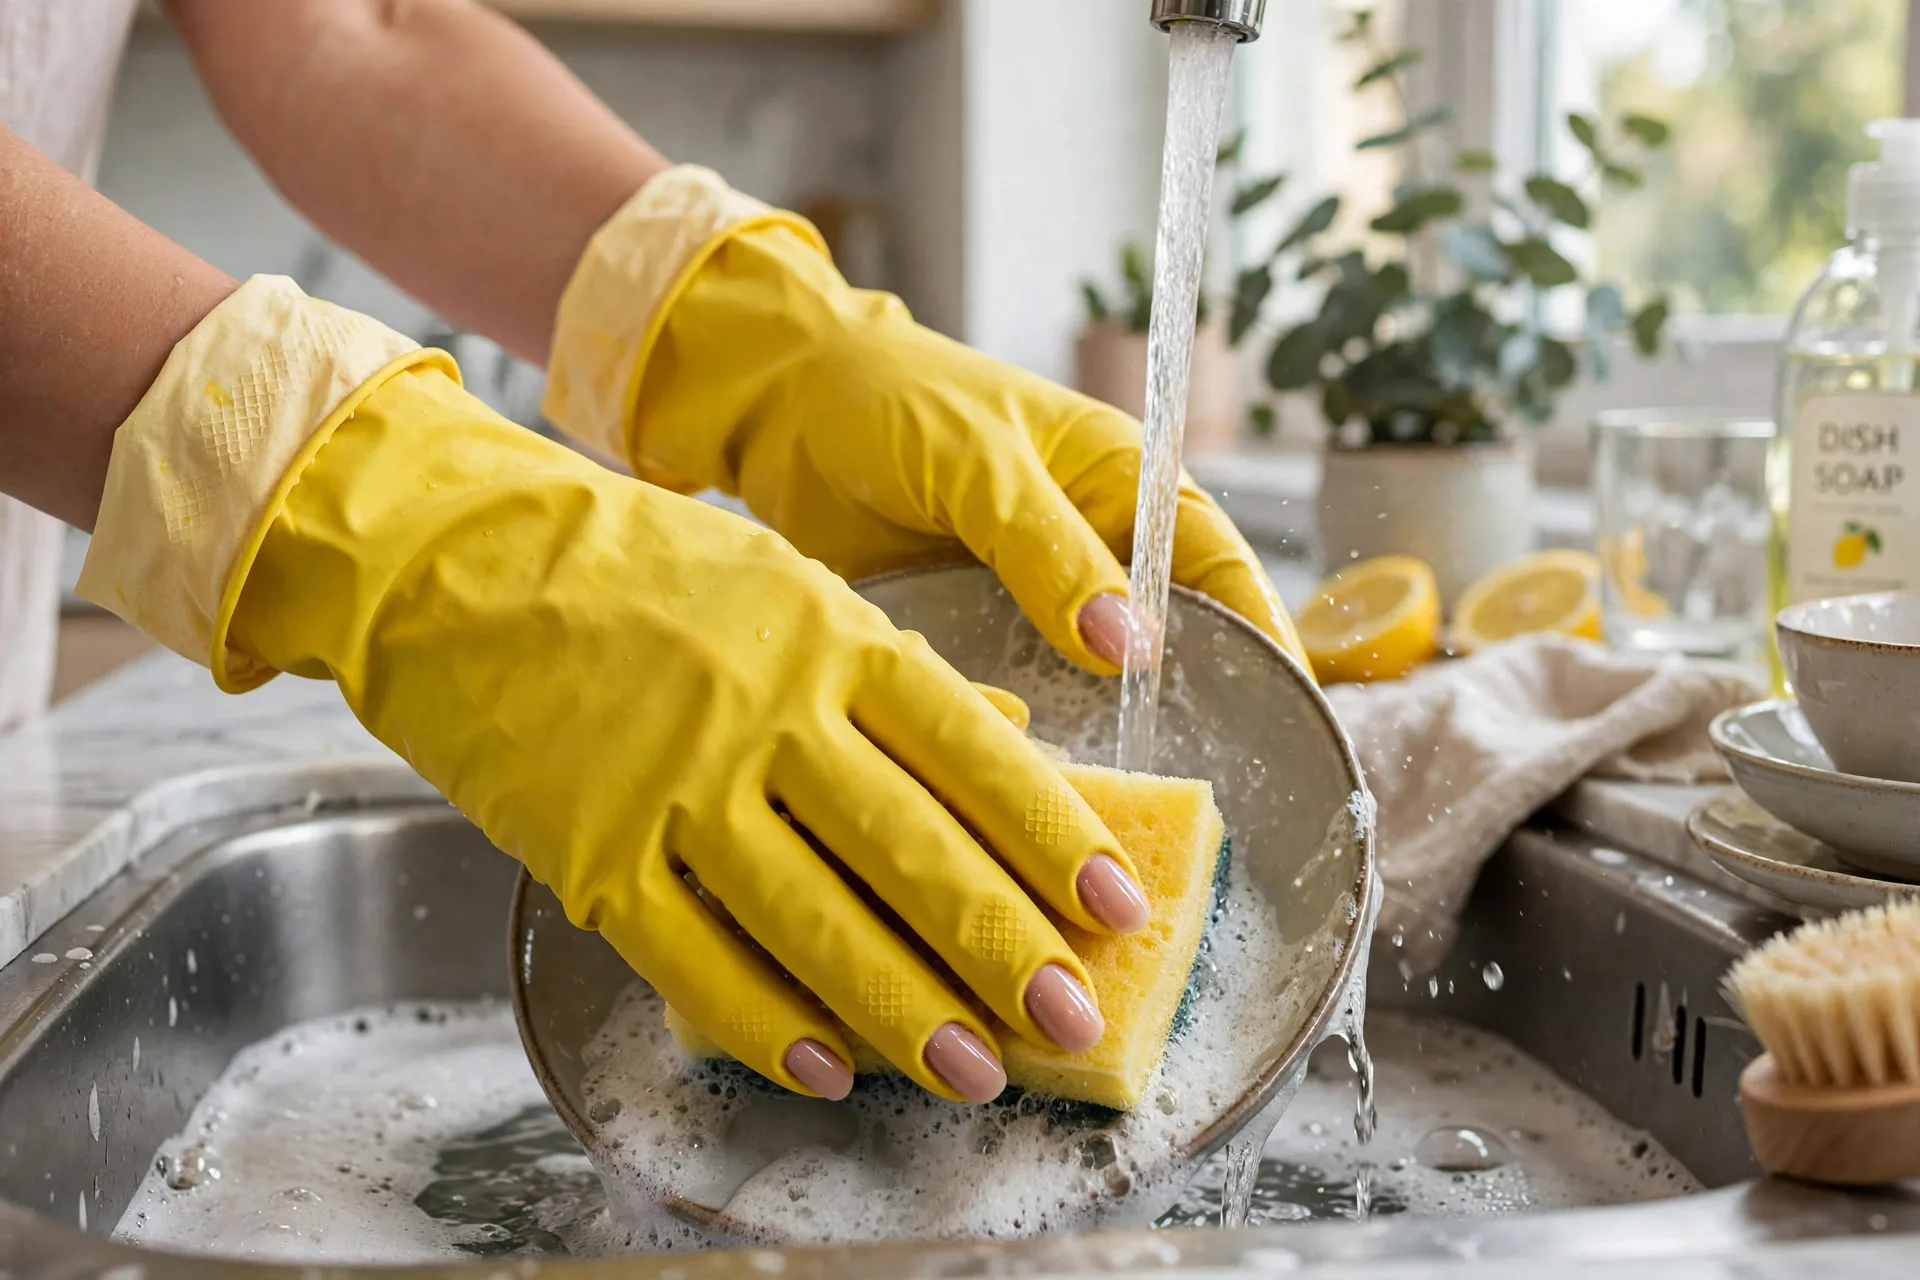
Wear gloves for dishes and cleaning — every time, no exceptions. If your job involves a lot of hand-washing, keep nails short; shorter nails take less leverage damage and the polish lasts noticeably longer. And try not to use your nails as tools: no opening cans, scraping stickers, or prying things. Your fingertips can do all of that.
Stopping the Yellow: Keeping Nudes Bright
Yellowing is the other nude-manicure killer, and it has its own fixes. A top coat with UV protection is the first line of defense — sunlight yellows sheer polish surprisingly fast. If you cook with turmeric or curry, wear gloves; those spices stain sheer polish permanently within minutes.
Some hand soaps and sanitizers also yellow polish — if yours does, switch brands rather than fighting it. And when you remove the manicure, if your bare nails look yellow underneath, that is usually staining from the polish itself; a gentle buff and a few days of breathing room fixes it. A stain-blocking base coat on your next round prevents it from coming back.
Mistakes That Cut Your Manicure’s Life in Half
- Painting on damp nails. After water exposure, wait until nails are fully dry and back to normal size.
- Skipping the base coat. Color directly on the nail plate stains, peels faster, and yellows sooner.
- Thick, gloopy coats. If your polish has gone thick and stringy in the bottle, thin it with a few drops of polish thinner (not remover) or replace it.
- Flooding the cuticles. Polish on skin lifts within days. Clean up slips with an orangewood stick before the polish dries.
- No top-coat refresh. The initial top coat wears thin by day four. Reapply or watch the chips roll in.
- Shaking the bottle. Shaking creates air bubbles that weaken the polish film. Roll the bottle between your palms instead.
The 2-Minute Chip Repair
Even with perfect technique, life happens. When you spot a small chip, do not redo the whole nail: dab a tiny amount of polish just on the chipped spot with the corner of the brush, let it dry one minute, then seal the entire nail with top coat. On a nude shade the repair is nearly invisible, and it buys you three more days.
For a tip-wear spot (the most common), just run polish along the tip like you are capping the edge again, then top coat. Five seconds, good as new.
Final Thoughts
A nude manicure that lasts used to feel like a myth to me — something that only happened in salon chairs with professional products. It turns out the salon advantage was never the products. It was the process: the careful prep, the thin coats, the sealed edges, the top coat they never mentioned.
Now you have the whole process. The first time you try it, it will feel fussy and slow. The third time, it will be automatic — and you will be the person whose nude nails still look fresh on day ten while everyone else is chipped by day five. That feeling is worth the extra ten minutes.