
Picture this: You’ve just spent forty-five minutes meticulously painting your nails. You waited for them to dry, picked the perfect shade of moody mauve or classic red, and they look flawless.
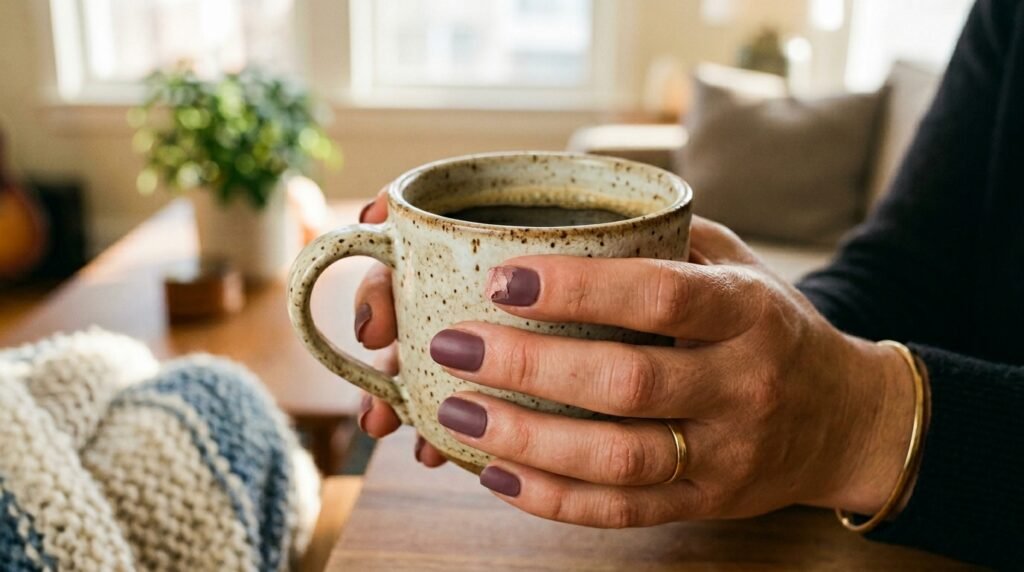
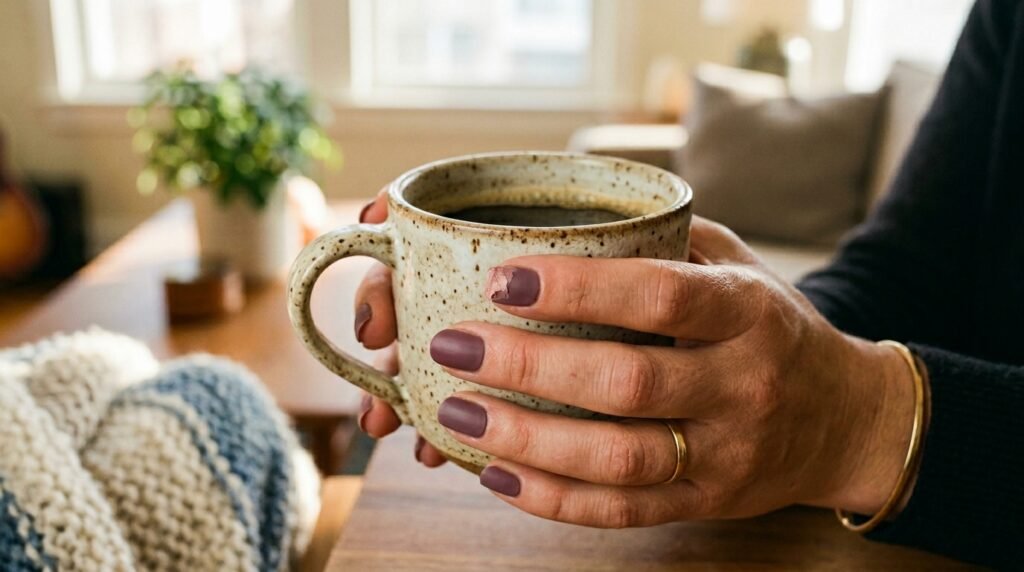
Then, you do something entirely ordinary—like reaching into your pocket for your keys or washing a single coffee mug—and bam. A massive chip right on your index finger.
It is a minor tragedy, but a deeply frustrating one.
For years, I assumed that long-lasting manicures were a luxury reserved exclusively for people who spent hundreds of dollars at salons every month, or those who simply never used their hands. I tried every “miracle” long-wear polish on the drugstore shelves, only to watch my hard work flake away by day three.
But after endless trial and error, a lot of ruined cuticles, and some solid advice from a veteran nail technician friend, I finally cracked the code. You don’t need a miracle product. You just need a strategy.
Here is exactly how to make your manicure last for a week or more without looking like it has been through a blender.
1. The Pre-Game: Prep Work is 80% of the Battle
If you take away only one thing from this guide, let it be this: Polish will not stick to a dirty, oily surface.
Most of us think manicure preparation just means removing old polish and jumping straight into the color. That is the quickest path to a day-two chip. Your natural nails produce invisible oils, and if you leave those oils on the nail bed, your base coat is essentially trying to stick to butter.
Dehydrate the Nail Bed
Before you even touch a bottle of color, wipe down your naked nails with pure acetone or 90% rubbing alcohol. Use a lint-free wipe or a coffee filter instead of a cotton ball, because cotton balls leave behind tiny invisible fuzzies that create bumps under your polish.
Once you wipe them down, your nails should look slightly chalky and dry. That is exactly what you want. Avoid touching your hair, face, or skin after this step, or you’ll transfer those oils right back onto the nail.
Dealing with Cuticles (The Right Way)
When polish gets painted over your cuticles or the skin surrounding your nail, it creates an absolute disaster zone. As your skin moves and sheds over the next few days, it will lift up, pulling the polish away from the nail with it.
- Use a gentle cuticle remover gel (something like Sally Hansen Instant Cuticle Remover works wonders).
- Let it sit for thirty seconds.
- Take an orange stick or a metal cuticle pusher and gently guide the dead skin back.
- Wash your hands thoroughly afterward to remove the acid from the cuticle remover, then hit them with the alcohol wipe again.
Stop Sawing Your Nails
When you shape your nails, never saw the file back and forth like a lumberjack. This splits the microscopic layers of your nail plate, creating tiny frays at the tips. When water gets into those micro-frays later, your polish will pop right off. Always file in one direction—from the outer edge toward the center.
2. The Application Phase: Layering Like a Professional
Now that your canvas is perfectly clean and prepped, it’s time to paint. The biggest mistake here is rushing. Speed is the ultimate enemy of a durable manicure.
[Clean Nail Bed] ➔ [1 Thin Base Coat] ➔ [2 Paper-Thin Color Coats] ➔ [1 Protective Top Coat]
The Base Coat is Non-Negotiable
Skip the “all-in-one” polish options that claim to be a base coat, color, and top coat simultaneously. They don’t do any of those jobs particularly well. You need a dedicated base coat designed to grip the nail plate.
Sticky or rubberized base coats (like Orly Bonder or Essie Here to Stay) act like double-sided tape. They give the colored polish something flexible to latch onto.
Think Paper-Thin Layers
When you watch a professional paint nails, look at how little polish is actually on their brush. We often try to get full opacity on the first coat by glopping a giant drop onto the nail.
Thick coats of polish trap moisture beneath the surface. It might feel dry to the touch after twenty minutes, but underneath, it remains gummy for hours. One accidental bump, and the whole layer shifts or smudges.
Apply your color in two, sometimes three, paper-thin coats. If the first coat looks streaky and terrible, don’t panic. That is completely normal. The second coat will smooth everything out.
The Secret Weapon: Capping the Free Edge
If you take a look at where your manicures usually start chipping, it’s always at the very tip of the nail. Every time you type, open a drawer, or button your jeans, the edge of your nail takes a beating.
To prevent this, you must cap the free edge.
Before you finish each layer of color and top coat, take the brush horizontally and run it along the very outer rim or tip of your nail. This seals the polish over the top edge, creating a protective bumper that absorbs the shock of daily use.
3. The Holy Grail of Top Coats
Your top coat is the bodyguard of your manicure. It takes all the punches so your color doesn’t have to.
Investing in a high-quality, quick-dry top coat is a game-changer. Products like Seche Vite, Essie Gel Setter, or OPI Top Coat don’t just sit on top of the polish; they penetrate through all the layers to fuse them into one solid, hard shell.
Pro Tip: Apply your top coat while your second layer of color is still slightly tacky. The chemical bond between the two will be much stronger than if you wait for the color to dry completely.
4. Post-Manicure Maintenance: Daily Habits That Save Your Nails
Congratulations, your nails look incredible and they dried perfectly. But the job isn’t quite done. How you treat your hands over the next few days determines whether that manicure survives the week.
Water is Public Enemy Number One
Your nails are like little sponges. When they are submerged in water, they absorb it and expand. When they dry out, they shrink back down to their normal size.
Your nail polish, however, cannot expand and shrink. When your nail bends and changes size under water, the polish simply cracks and lifts away.
- Wear gloves for dishes: Seriously, buy a cheap pair of rubber cleaning gloves. Washing dishes in hot, soapy water without gloves is a guaranteed way to destroy a manicure within ten minutes.
- Skip the long baths right after painting: Avoid hot showers, baths, or swimming pools for at least four to five hours after painting your nails to allow the solvents to completely evaporate.
Use Tools, Not Your Nails
Your nails are jewels, not tools. Stop using them to pry open soda cans, scrape stickers off boxes, or scratch things. Use a butter knife, a coin, or the pad of your thumb instead. Every time your nail flexes under pressure, you are fracturing the polish bond at the tip.
The Lifesaving Power of Cuticle Oil
When nails get dry, they become brittle. When a brittle nail hits a hard surface, it snaps or bends sharply, causing the polish to chip off.
Keep your nails flexible by applying cuticle oil every single night before bed. It doesn’t have to be expensive; plain jojoba oil or sweet almond oil works beautifully. Rub a tiny drop into the base and sides of each nail. It keeps the polish pliable and makes your manicure look fresh and glossy, even days later.
5. Common Mistakes to Stop Making Right Now
Sometimes, we inadvertently ruin our manicures before we even start painting. Here are a few bad habits to leave behind:
| The Mistake | Why It Ruins Your Manicure | The Quick Fix |
| Shaking the bottle | Creates millions of tiny air bubbles that trap air under the polish, causing premature peeling. | Roll the bottle back and forth between your palms like playdough to mix it. |
| Blowing on your nails | Your breath contains moisture, which gets trapped in the polish layers and prevents proper drying. | Use a small fan on a cool setting, or just let them air dry naturally. |
| Using old, goopy polish | Thick, old polish will never dry smoothly and will peel off in large sheets. | Add a few drops of professional nail polish thinner (not acetone!) to restore the texture. |
The Verdict: A Little Patience Pays Off
If this feels like a lot of steps at first glance, I promise it becomes second nature once you do it a couple of times.
It really comes down to a simple formula: clean off the oils, paint thin layers, seal the tips, and keep water away from your bare hands. Taking an extra ten minutes during your application process will easily save you from having to repaint your nails three times a week.
Give these tweaks a shot during your next self-care night. Your nails—and your sanity—will thank you for it!