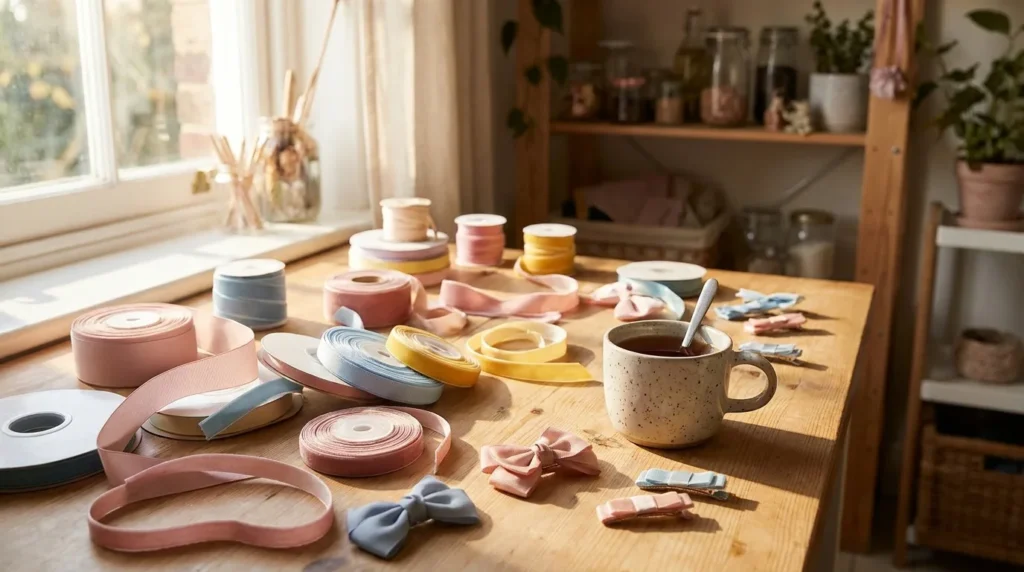

I still remember the first ribbon bow I made. It wasn’t pretty. One loop was much bigger than the other, the ends were uneven, and I somehow managed to get hot glue on my fingertips instead of the ribbon. I almost threw it away, but my little niece picked it up, clipped it into her hair, and proudly showed everyone. That tiny moment made me realize something: handmade accessories don’t have to look perfect to be special.
Since then, I’ve made ribbon hair accessories for birthday parties, holiday gifts, school events, and even a few last-minute outfits that needed a little extra color. What surprised me most was how inexpensive and relaxing the process became once I learned a few simple tricks.
If you’ve been scrolling through Pinterest and wondering if those beautiful ribbon hair bows are actually easy to make, the answer is yes. You don’t need professional crafting skills or expensive supplies. With a handful of ribbons, a few basic tools, and a little patience, you can create accessories that look charming and personal.
Whether you’re making bows for yourself, your kids, or to sell at local craft fairs, these easy tips will help you avoid common mistakes and enjoy the process.
Why DIY Ribbon Hair Accessories Are Worth Making
One of the biggest reasons I enjoy making ribbon accessories is the freedom to customize everything. Instead of searching through stores hoping to find the perfect color, I simply choose the ribbon that matches my outfit.
They’re also surprisingly affordable.
A spool of ribbon can make several bows, and many of the other supplies last for dozens of projects. Compared to buying boutique hair accessories, crafting your own can save quite a bit over time.
Another bonus is that ribbon bows make thoughtful gifts. I’ve tucked them into birthday presents, attached them to gift bags, and even used matching ribbons for family holiday photos.
Some reasons people love DIY ribbon accessories include:
- They’re beginner-friendly.
- Materials are inexpensive.
- Endless color and pattern choices.
- Great weekend craft project.
- Perfect for gifts and party favors.
- Easy to personalize.
Best of all, every finished piece feels unique because you made it yourself.
Basic Supplies You’ll Need
The good news is that you don’t need an overflowing craft room to get started.
Most of the supplies fit into one small storage box.
Here’s what I use most often:
Ribbon
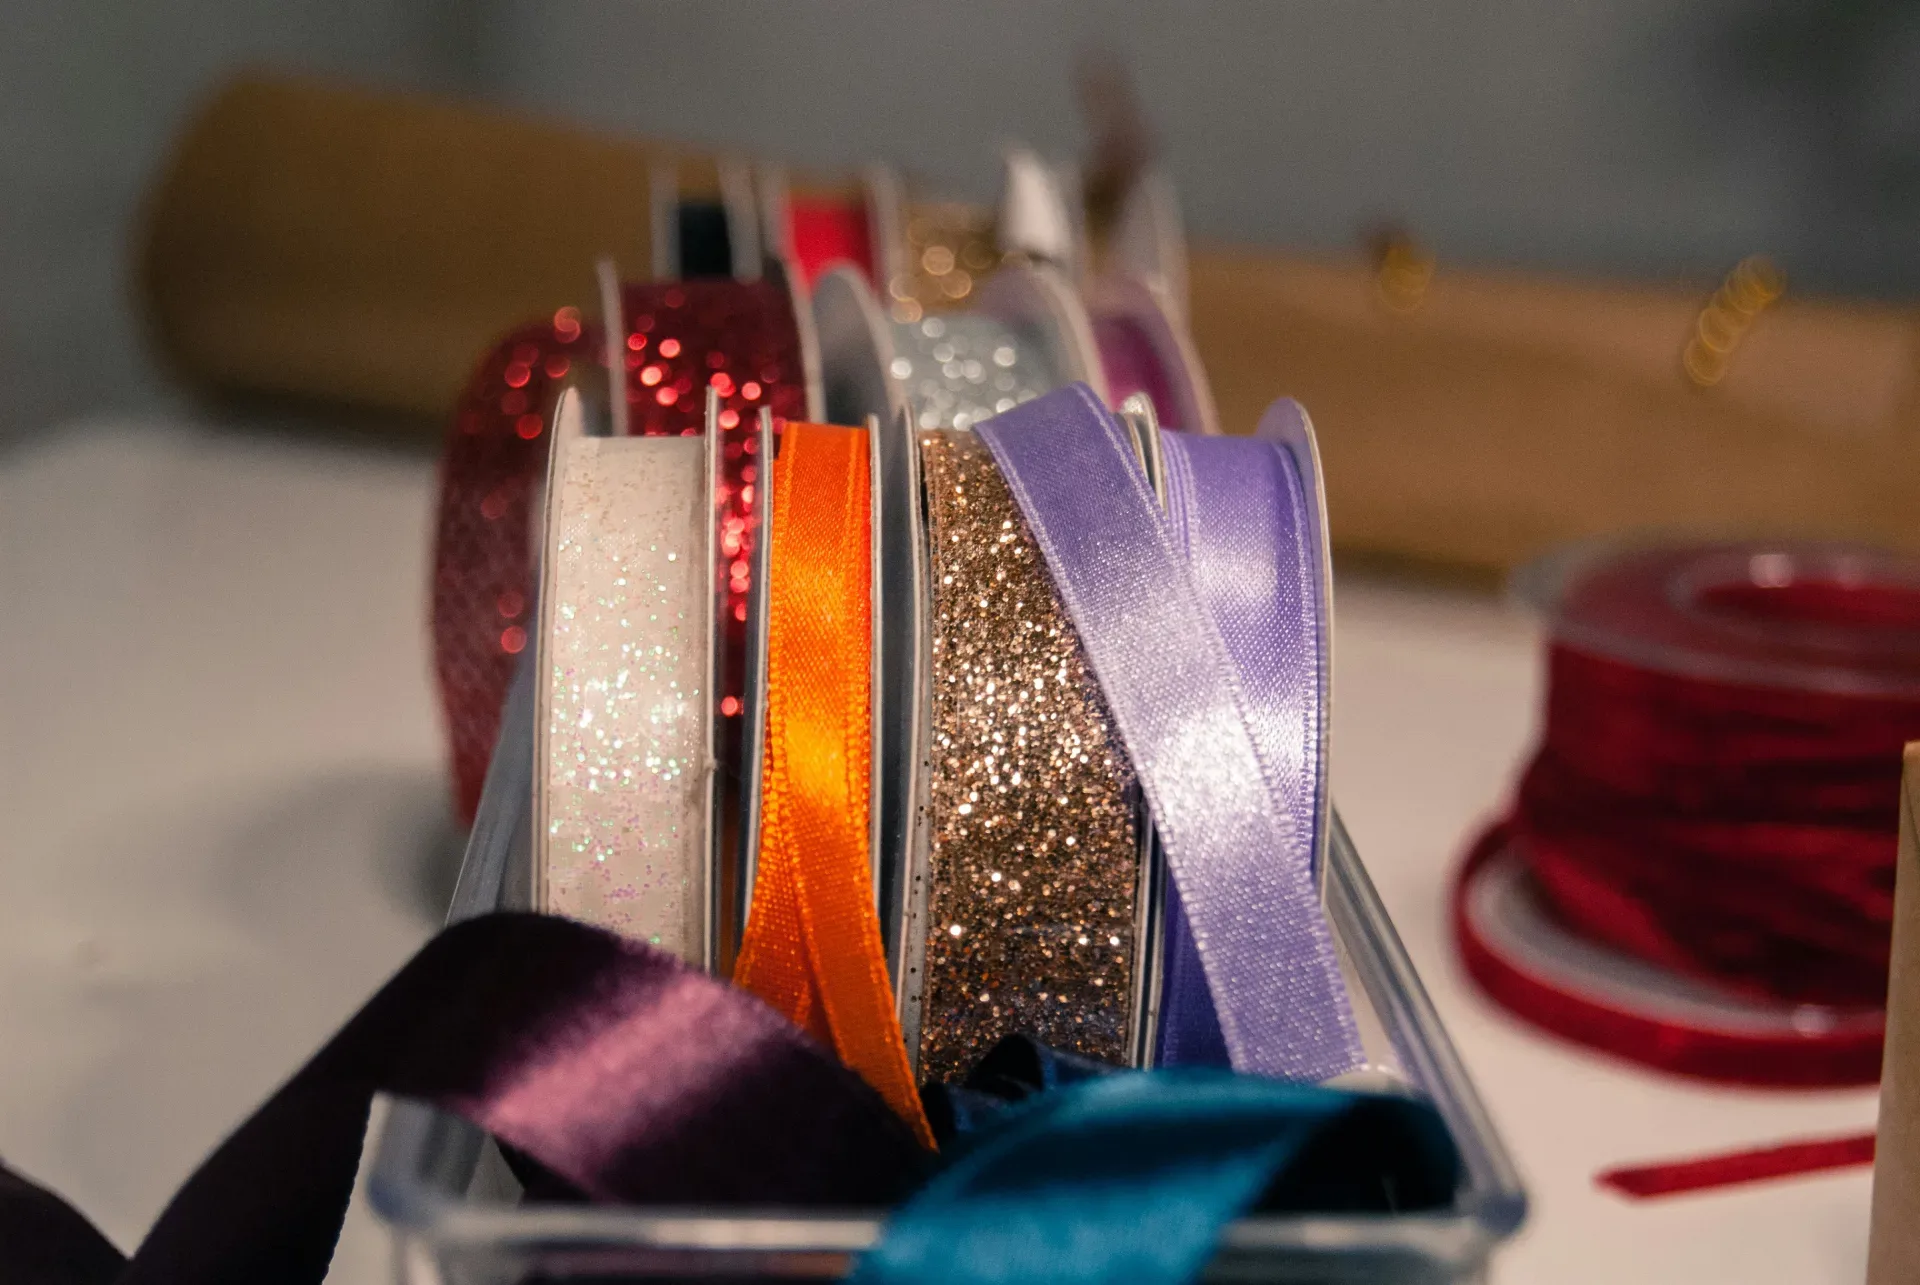
Start with grosgrain ribbon if you’re a beginner.
It holds its shape well, doesn’t slip easily, and creates neat bows without much effort.
Satin ribbon gives a softer, elegant look but can be slightly slippery while tying.
Velvet ribbon is beautiful during fall and winter, especially for holiday accessories.
Hair Clips
Alligator clips are one of the easiest options.
French barrettes work well for larger bows.
Snap clips are ideal for children’s accessories because they’re lightweight.
Sharp Fabric Scissors
This is one tool worth investing in.
I once used regular kitchen scissors and ended up with frayed ribbon edges that looked messy no matter how carefully I folded them.
Hot Glue Gun
A mini hot glue gun works perfectly.
Use only small amounts of glue. Too much creates bulky spots that are difficult to hide.
Needle and Thread
Although glue works for many projects, stitching the center of larger bows gives them better durability.
Lighter or Heat Tool
Carefully sealing ribbon edges prevents fraying.
Always work slowly and keep the flame moving without holding it directly against the ribbon.
Choosing the Right Ribbon Makes a Big Difference
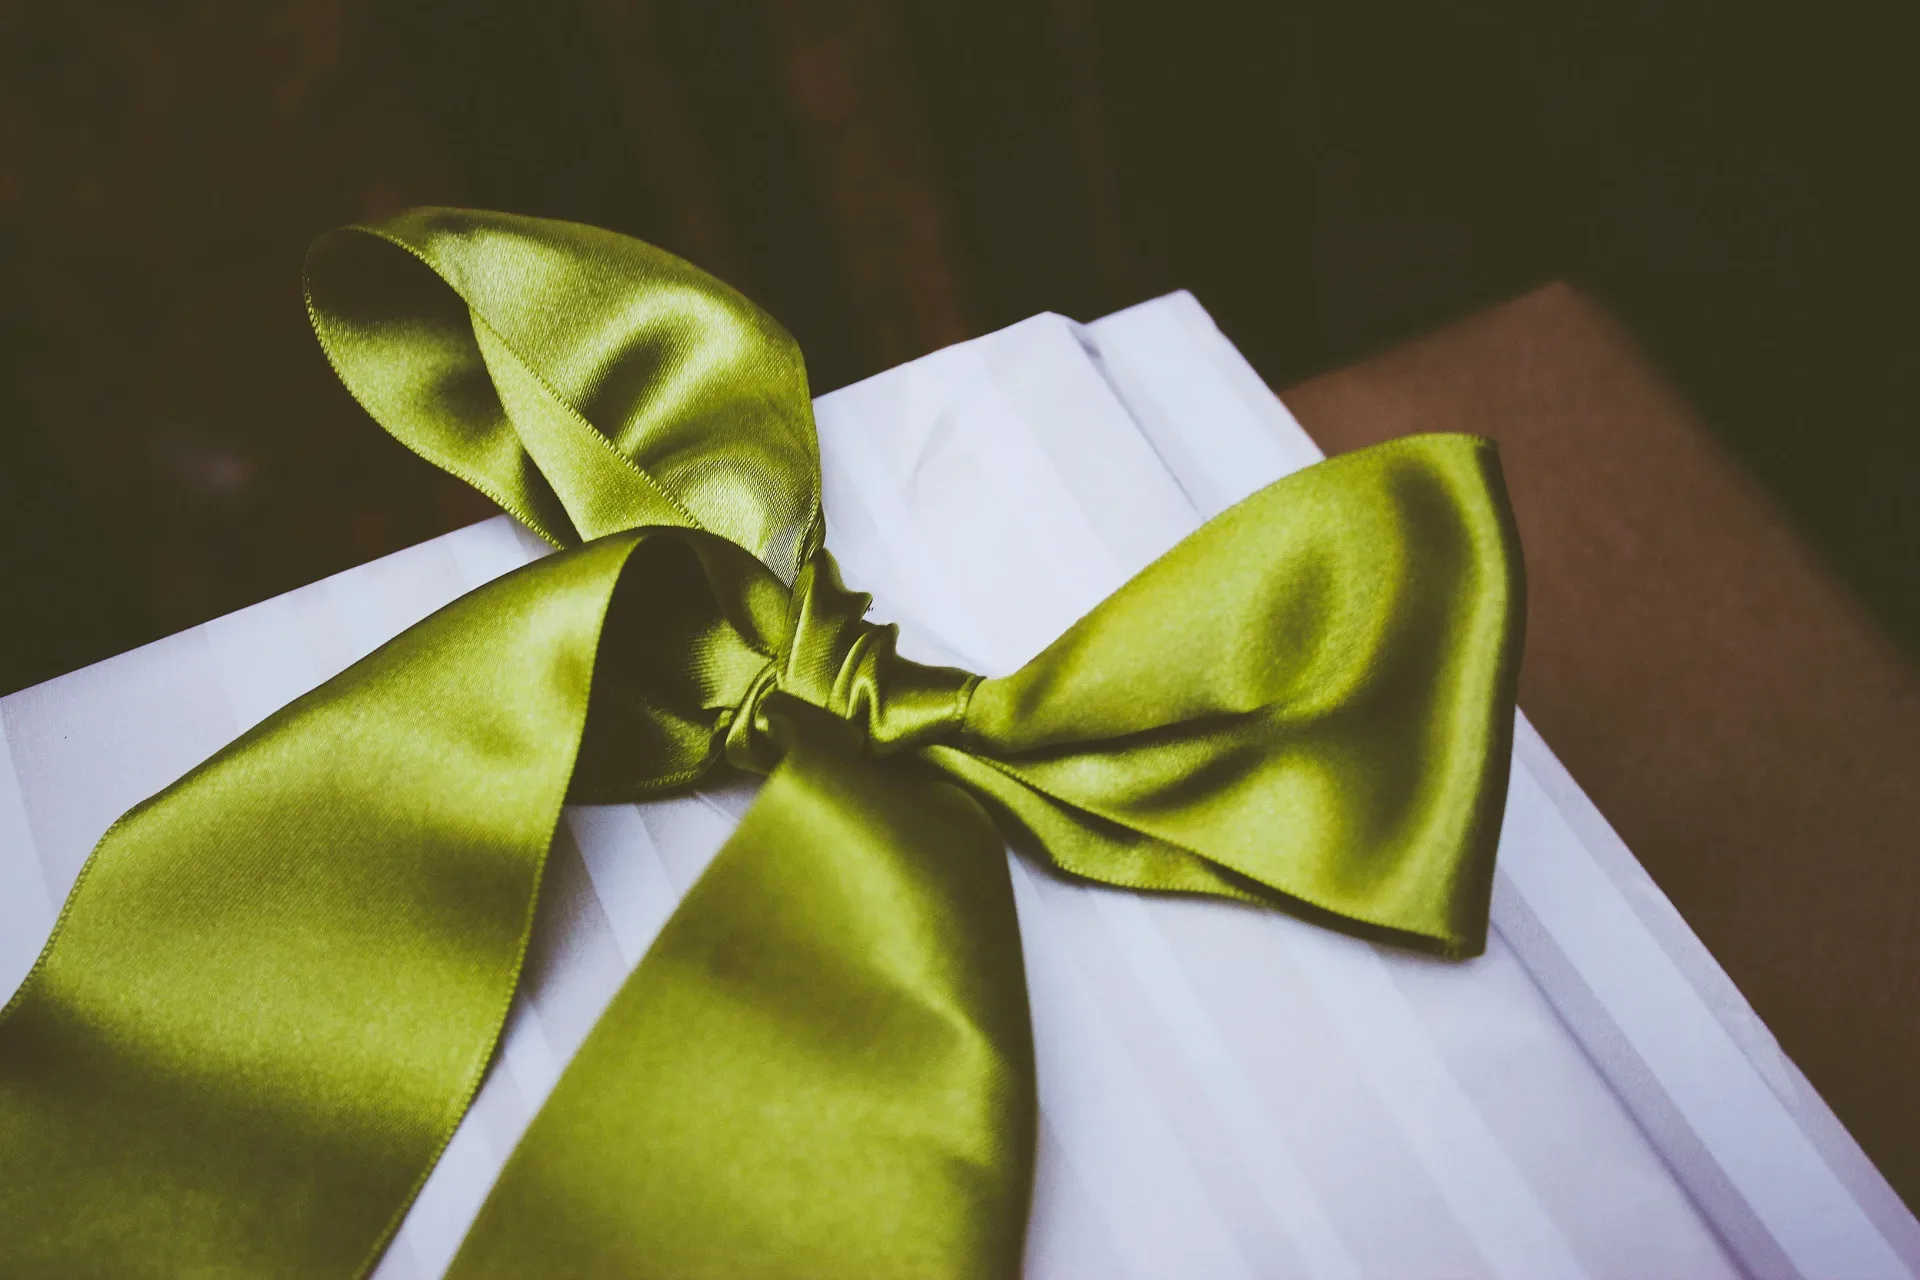
Not all ribbons behave the same way.
Learning this saved me a lot of frustration.
Grosgrain Ribbon
This is my everyday favorite.
Its textured surface helps bows stay fluffy and hold their shape.
It’s excellent for school bows, casual clips, and everyday wear.
Satin Ribbon
Satin has a beautiful shine that photographs wonderfully.
It’s perfect for weddings, birthdays, and dressier outfits.
The downside is that it wrinkles more easily and may require extra care while tying.
Organza Ribbon
If you’re after a light, airy look, organza is a lovely option.
Layering organza over grosgrain creates surprisingly elegant bows without much extra effort.
Velvet Ribbon
Velvet instantly makes accessories feel luxurious.
I especially enjoy using deep burgundy, forest green, and navy velvet during the colder months.
Easy Ribbon Bow Styles for Beginners
When I first started crafting, I made the mistake of attempting complicated layered bows right away.
That didn’t last long.
Simple designs helped me learn faster and kept the process enjoyable.
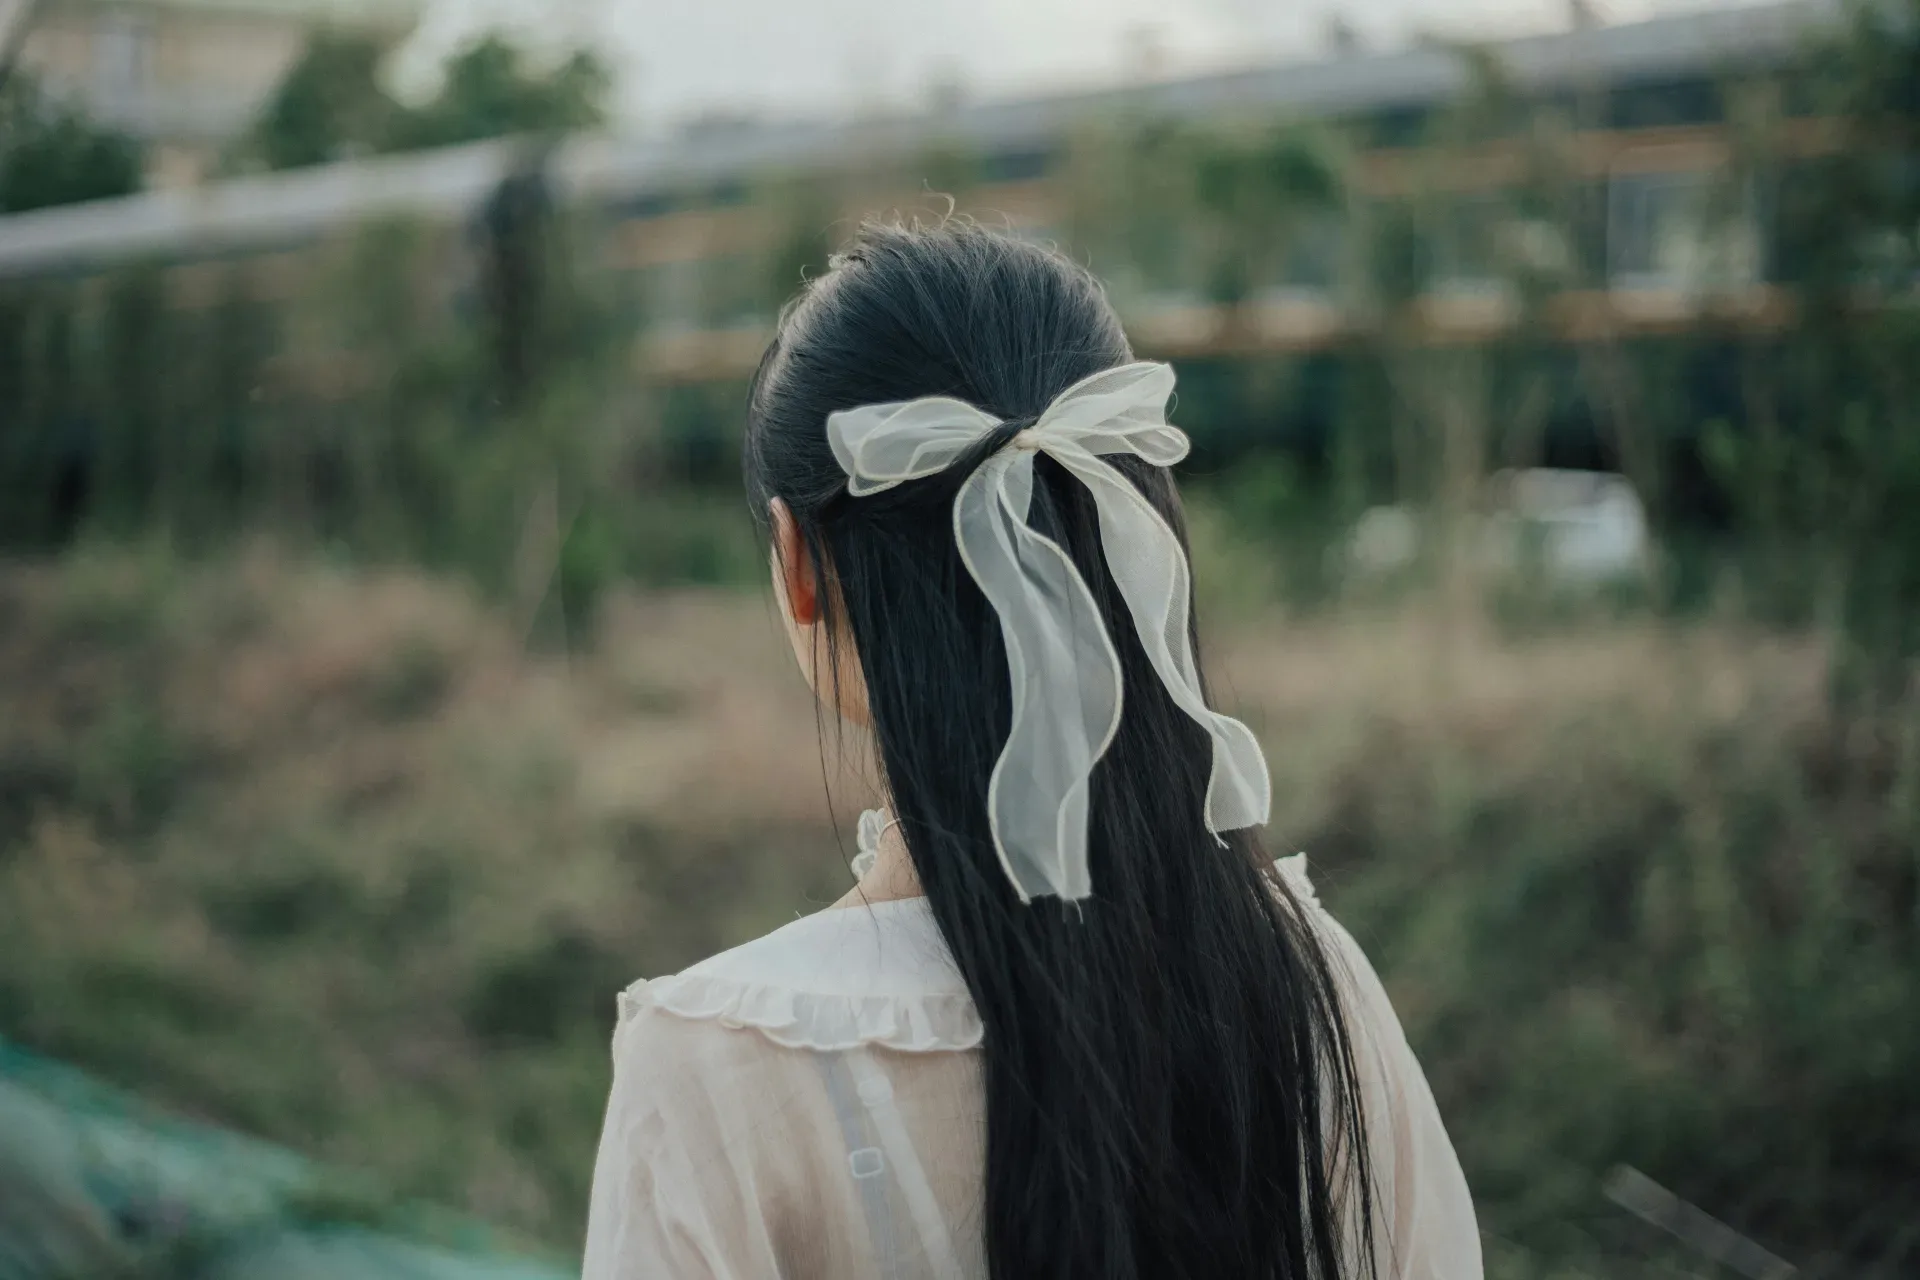
Classic Boutique Bow
This timeless design works with almost every ribbon type.
Once you’ve made three or four, tying them becomes second nature.
It’s perfect for everyday hairstyles.
Mini Pinwheel Bow
These small bows use less ribbon and come together quickly.
They’re great for toddlers, babies, and delicate hairstyles.
They’re also excellent practice before attempting larger projects.
Double Layer Bow
Adding two ribbon colors instantly creates more depth.
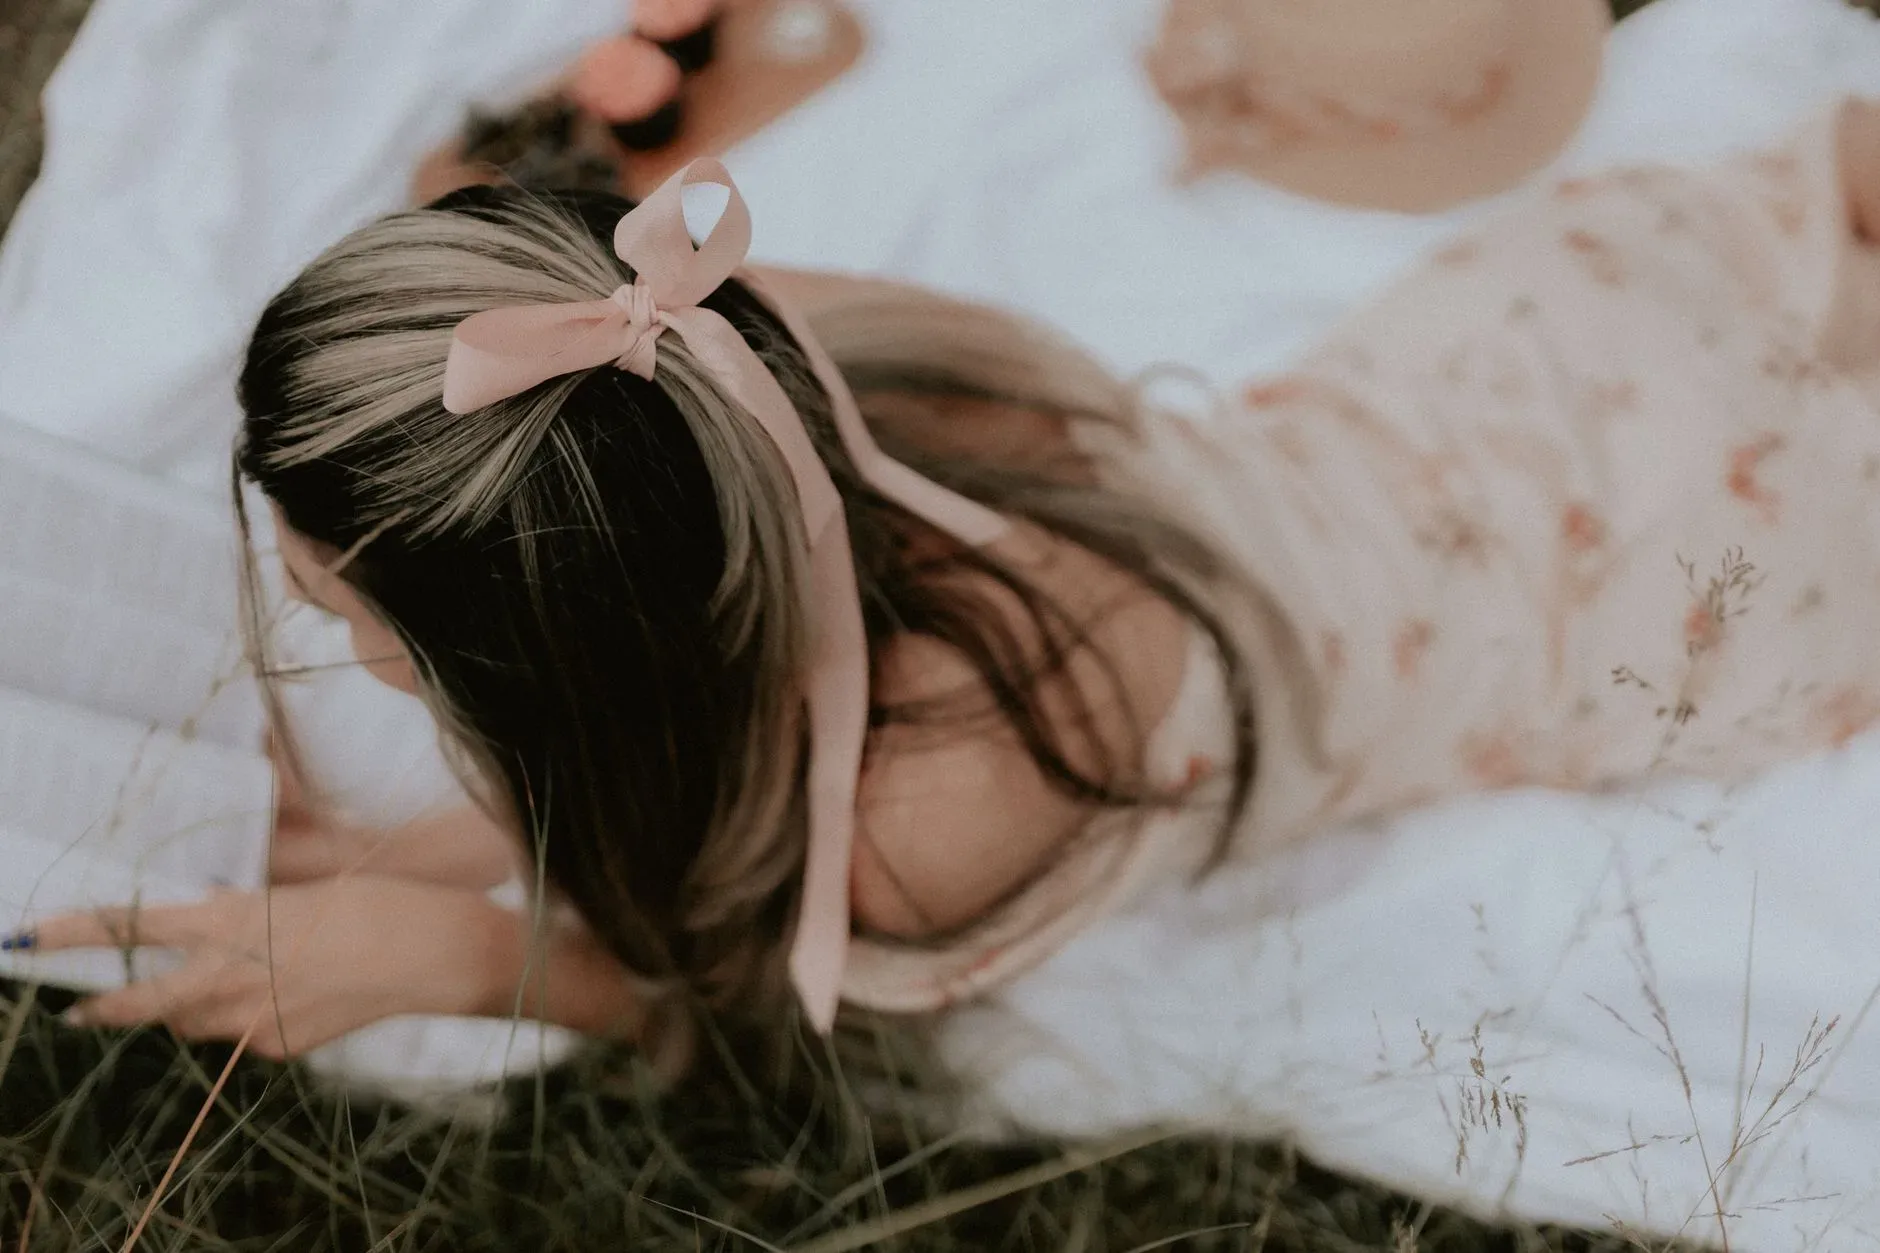
One of my favorite combinations is soft blush pink layered over cream ribbon.
Navy and mustard also look surprisingly stylish together.
Looped Ribbon Flower
Instead of traditional bow loops, several small loops are arranged into a flower shape.
Adding a pearl bead or rhinestone center gives the finished accessory a polished appearance.
Step-by-Step: Make Your First Ribbon Hair Bow
If you’ve never made one before, don’t overthink it.
Here’s the simple process I wish someone had shown me when I started.
Step 1: Measure Your Ribbon
Cut about 18 to 22 inches of grosgrain ribbon.
This gives enough length for a medium-sized bow.
Step 2: Seal the Ends
Carefully heat-seal each cut edge.
This tiny step keeps your bow looking neat much longer.
Step 3: Form the Loops
Create two even loops while keeping the center pinched between your fingers.
Don’t worry if the loops aren’t identical on your first try.
Adjust them before securing the center.
Step 4: Secure the Middle
Wrap thread tightly around the center several times.
Tie a secure knot.
If you’re using hot glue instead, allow it to cool completely before moving the bow.
Step 5: Add the Center Wrap
Cut a narrow strip of matching ribbon.
Wrap it around the middle to hide the thread or glue.
Glue the ends neatly behind the bow.
Step 6: Attach the Hair Clip
Apply a thin line of hot glue to the clip.
Press the bow firmly into place.
Hold it steady for about 30 seconds.
Step 7: Final Adjustments
Fluff each loop.
Trim the tails evenly.
If desired, cut the ribbon ends into a V shape for a classic finish.
Your first bow may not look exactly like the ones you see online, and that’s completely normal. Mine certainly didn’t. By the fifth or sixth bow, though, my loops became more even, the centers looked cleaner, and the whole process felt much more natural.
Simple Ways to Make Your Ribbon Accessories Look More Professional
One thing I’ve learned after making dozens of ribbon accessories is that the small finishing touches matter just as much as the bow itself.
For example, I used to rush through trimming the tails. Even if the bow looked nice, uneven ribbon ends made it appear homemade in the wrong way. Taking an extra minute to line everything up before cutting instantly improved the finished look.
Another trick is choosing colors that work well together instead of trying to use every ribbon you own in one design. Soft neutrals, pastel combinations, or two complementary colors often look more elegant than overly busy patterns.
Finally, don’t overload your bow with decorations. A single pearl, a small rhinestone, or a neat center wrap usually looks better than adding multiple embellishments that compete for attention.
Sometimes, less really is more when it comes to handmade accessories.
Creative Ways to Customize Your Ribbon Hair Accessories
Once you’ve mastered a basic bow, it becomes hard to stop experimenting. I started with plain pink bows, but before long I was mixing textures, layering ribbons, and adding tiny details that made each accessory feel one of a kind.
The best part is that customization doesn’t have to be expensive. A few simple changes can completely transform the look of the same basic design.
Mix Different Ribbon Widths
Layering a narrow ribbon over a wider one creates depth without making the bow difficult to assemble.
For example:
- A 1.5-inch white grosgrain ribbon with a ⅜-inch floral satin ribbon.
- Navy ribbon topped with a thin gold ribbon.
- Soft beige ribbon paired with delicate lace.
The contrast makes even a simple bow look more polished.
Add Decorative Centers
Instead of wrapping plain ribbon around the middle every time, try using decorative accents such as:
- Faux pearls
- Small rhinestones
- Fabric flowers
- Wooden buttons
- Tiny resin charms
If you’re making bows for young children, make sure embellishments are securely attached and age-appropriate.
Try Different Tail Shapes
Changing the ribbon tails is one of the quickest ways to give your bows a different personality.
Popular styles include:
- Classic V-cut
- Angled cut
- Rounded ends
- Long flowing tails
- Short boutique-style tails
It’s a tiny detail, but it changes the overall appearance more than you might expect.
Combine Patterns Carefully
One lesson I learned after a few failed projects was that not every pattern works together.
If one ribbon has bold polka dots or large florals, pair it with a solid color instead of another busy print. That keeps the finished bow from looking cluttered.
Seasonal Ribbon Hair Accessory Ideas
One of my favorite things about ribbon crafts is that they change with the seasons. Swapping colors and patterns instantly gives your accessories a fresh look without changing the basic design.
Spring
Think soft, cheerful colors like:
- Lavender
- Mint green
- Baby blue
- Peach
- Light yellow
Floral ribbons work beautifully during spring and pair well with braided hairstyles.
Summer
Bright colors feel right at home in summer.
Try:
- Coral
- Aqua
- Sunny yellow
- Hot pink
- White
These shades look especially nice for beach trips, picnics, and vacations.
Fall
Autumn is where velvet ribbon really shines.
Rich shades like rust, mustard, olive green, burgundy, and chocolate brown create cozy accessories that match sweaters and scarves perfectly.
Winter and Holidays
Holiday bows are always fun to make.
Classic combinations include:
- Red and green
- Gold and cream
- Silver and navy
- White velvet with pearl accents
I’ve also made simple plaid ribbon bows that looked surprisingly festive without needing extra decorations.
Common Mistakes Beginners Make (And How to Avoid Them)
Everyone makes mistakes when learning a new craft. I certainly did, and most of them were easy to fix once I understood what was going wrong.
Using Too Much Hot Glue
This was my biggest mistake.
More glue doesn’t make a bow stronger. It usually creates bulky lumps that show through the ribbon.
A small amount is almost always enough.
Forgetting to Seal Ribbon Ends
Skipping this step often leads to frayed edges after only a few uses.
Heat-sealing takes just a few seconds and helps your accessories last much longer.
Uneven Loops
Don’t glue your bow immediately after forming it.
Take a moment to adjust both loops until they match.
A quick adjustment before the glue sets can make a huge difference.
Choosing Low-Quality Ribbon
Very inexpensive ribbon sometimes creases easily, frays quickly, or refuses to hold its shape.
You don’t have to buy premium materials, but choosing decent-quality ribbon usually saves time and frustration.
Rushing the Process
I used to think I could finish a bow in five minutes.
Sometimes I could—but the best-looking ones were always the ones I slowed down to make.
Giving the glue time to cool and checking your measurements before cutting makes the final result much neater.
How to Keep Handmade Ribbon Accessories Looking New
After putting time into making something, it’s worth taking a few simple steps to keep it in good condition.
Store bows in a dry container or organizer where they won’t be crushed by heavier items.
If a ribbon becomes wrinkled, avoid placing a hot iron directly on it. Instead, use low heat with a protective cloth or allow steam to relax the fibers.
Dust can usually be removed with a soft cloth or a gentle makeup brush.
For accessories with glued embellishments, avoid soaking them in water. Spot cleaning is usually the safest option.
When traveling, I like placing bows in a small zippered pouch so they don’t lose their shape inside my bag.
Don’t Throw Away Your Ribbon Scraps
After a few projects, you’ll probably have lots of short ribbon pieces left over.
At first, I tossed mine in the trash. Later, I realized many of those leftovers were still useful.
Small ribbon pieces can become:
- Tiny baby bows
- Planner clips
- Bookmark decorations
- Gift wrap accents
- Keychain charms
- Decorative tags
- Scrapbook embellishments
Keeping scraps sorted by color makes it easier to use them later instead of buying more ribbon.
Can You Sell DIY Ribbon Hair Accessories?
Absolutely—but quality matters.
Friends started asking me where I bought my bows, and that’s when I realized handmade ribbon accessories can become a small side business.
If you’re thinking about selling them, focus on consistency. Customers notice clean folds, secure clips, and neat finishing.
A few helpful tips include:
- Stick to a recognizable style or color theme.
- Take bright, natural photos of your products.
- Offer sets instead of single bows.
- Package them neatly on display cards.
- Clearly list the ribbon material and clip type.
- Price them fairly by considering both materials and your time.
Platforms like Etsy, local craft fairs, Facebook Marketplace, and Instagram can be good places to showcase handmade accessories. If you’re already active on Pinterest, creating attractive pins that link to your shop or blog can also help bring in interested buyers over time.
Building a handmade business rarely happens overnight, but consistent quality and thoughtful presentation go a long way.
Final Thoughts
Making ribbon hair accessories has become one of those hobbies I always come back to. It’s relaxing, creative, and satisfying to turn a simple piece of ribbon into something that someone genuinely enjoys wearing.
You don’t need a craft room full of supplies or years of experience to get started. Begin with one spool of ribbon, one hair clip, and one simple bow pattern. As your confidence grows, you’ll naturally start experimenting with new colors, layered designs, and decorative details.
Don’t let an imperfect first attempt discourage you. Every neatly finished bow you’ve admired online was once someone’s first project too. With a little practice and a willingness to learn from small mistakes, you’ll be surprised at how quickly your handmade accessories begin to look polished and professional.