

Last Christmas, my sister-in-law picked up her present from under my tree, turned it over twice, and said, “Okay, who did you pay to wrap this?” Nobody. It was me, at 11 PM the night before, surrounded by kraft paper scraps and a glue stick that had lost its cap two Decembers ago. That’s the thing about DIY gift wrap ideas — they take almost nothing, cost almost nothing, and make people think you hired someone.
I’ve spent years wrapping presents the store-bought way: shiny paper that tears if you look at it wrong, curling ribbon that goes flat by Christmas morning, bows that pop off in the gift bag. It was fine. It was also boring, and the bag alone cost four dollars. Then I started messing around with brown kraft paper, twine, and whatever I could pull from my junk drawer, and honestly? My gifts have never looked better.
This post is my complete collection of 15 DIY gift wrap ideas, including the step-by-step method I use for the perfect brown-paper package every single time. Most of these cost under a dollar per gift, and several cost literally nothing because you already have the supplies.
Why DIY Gift Wrap Is Worth the Effort
Let’s be honest for a second: nobody is going to remember whether the gift inside was wrapped in expensive paper. But everyone remembers a package that looked special. Hand-wrapped gifts feel personal in a way store-bought paper never can, and in an era where everything arrives in a cardboard mailer, that matters.
There’s also the money angle. A full set of wrapping supplies from a fancy store can run $30-40 for a handful of gifts. My entire wrapping stash — a roll of kraft paper, twine, some ribbon from the dollar store, rubber stamps, and a bag of dried oranges — cost less than one of those pre-made bow assortments. The math isn’t even close.
And my favorite reason: sustainability. Americans throw out millions of tons of extra waste between Thanksgiving and New Year’s, and shiny foil wrapping paper isn’t recyclable. Kraft paper, twine, newspaper, and fabric wraps can be recycled or composted. It feels good knowing your beautiful gifts aren’t adding to the pile.
What You’ll Need: My Go-To Wrapping Kit
You don’t need to buy everything at once. I’ve built my kit over three years, and I reach for the same handful of supplies every season:
- Brown kraft paper — one big roll covers Christmas and birthdays for a year. I buy the plain shipping kind.
- Jute twine and cotton string — one spool of each. Twine for rustic looks, cotton string for delicate ones.
- Ribbon — a few rolls of satin or grosgrain in red, green, gold, and black. Dollar stores carry perfectly good ribbon.
- Sharp scissors and a tape dispenser — the tape dispenser genuinely matters; wrestling with a loose tape roll ruins everything.
- Rubber stamps and an ink pad — snowflakes, stars, trees. One set works for years.
- Washi tape — for sealing edges and making patterns directly on the paper.
- Blank kraft gift tags — or cut your own from scrap cardstock.
- Nature toppers — pine sprigs, dried orange slices, cinnamon sticks, small pinecones, dried lavender. Half of these you can gather outside for free.
- A wax seal stamp and sealing wax — optional, but the one splurge that makes every package look like it came from a boutique.

Master the Basics: The Perfect Brown-Paper Package (Step by Step)
Before the fancy stuff, you need a clean, tight base wrap. This is my exact method — I wrap dozens of gifts this way every December, and it works on everything from shoeboxes to awkward rectangles.
Step 1: Measure with a little extra
Set your box on the paper and roll it once around the box sideways. Mark where the paper meets, then add about two inches for overlap. For the ends, bring the paper up on each side — it should reach about two-thirds of the way across the box end. Cut there. Too little paper is the #1 beginner mistake; err on the generous side.
Step 2: Wrap the seam tight
Bring the paper around the box and tape the seam on the underside. Pull it snug — the paper should hug the box with no sagging. Fold the seam edge under by half an inch before taping for a clean line. This tiny fold is the difference between “homemade” and “homemade, wow.”
Step 3: Fold the ends like a gift shop does
On each end, crease the two side flaps inward to make a triangle shape, then fold the top flap down and the bottom flap up, taping as you go. Sharp creases are everything. Run your fingernail along each fold. If you only change one thing about your wrapping, make it this: crisp folds.
Step 4: Hide the tape with twine
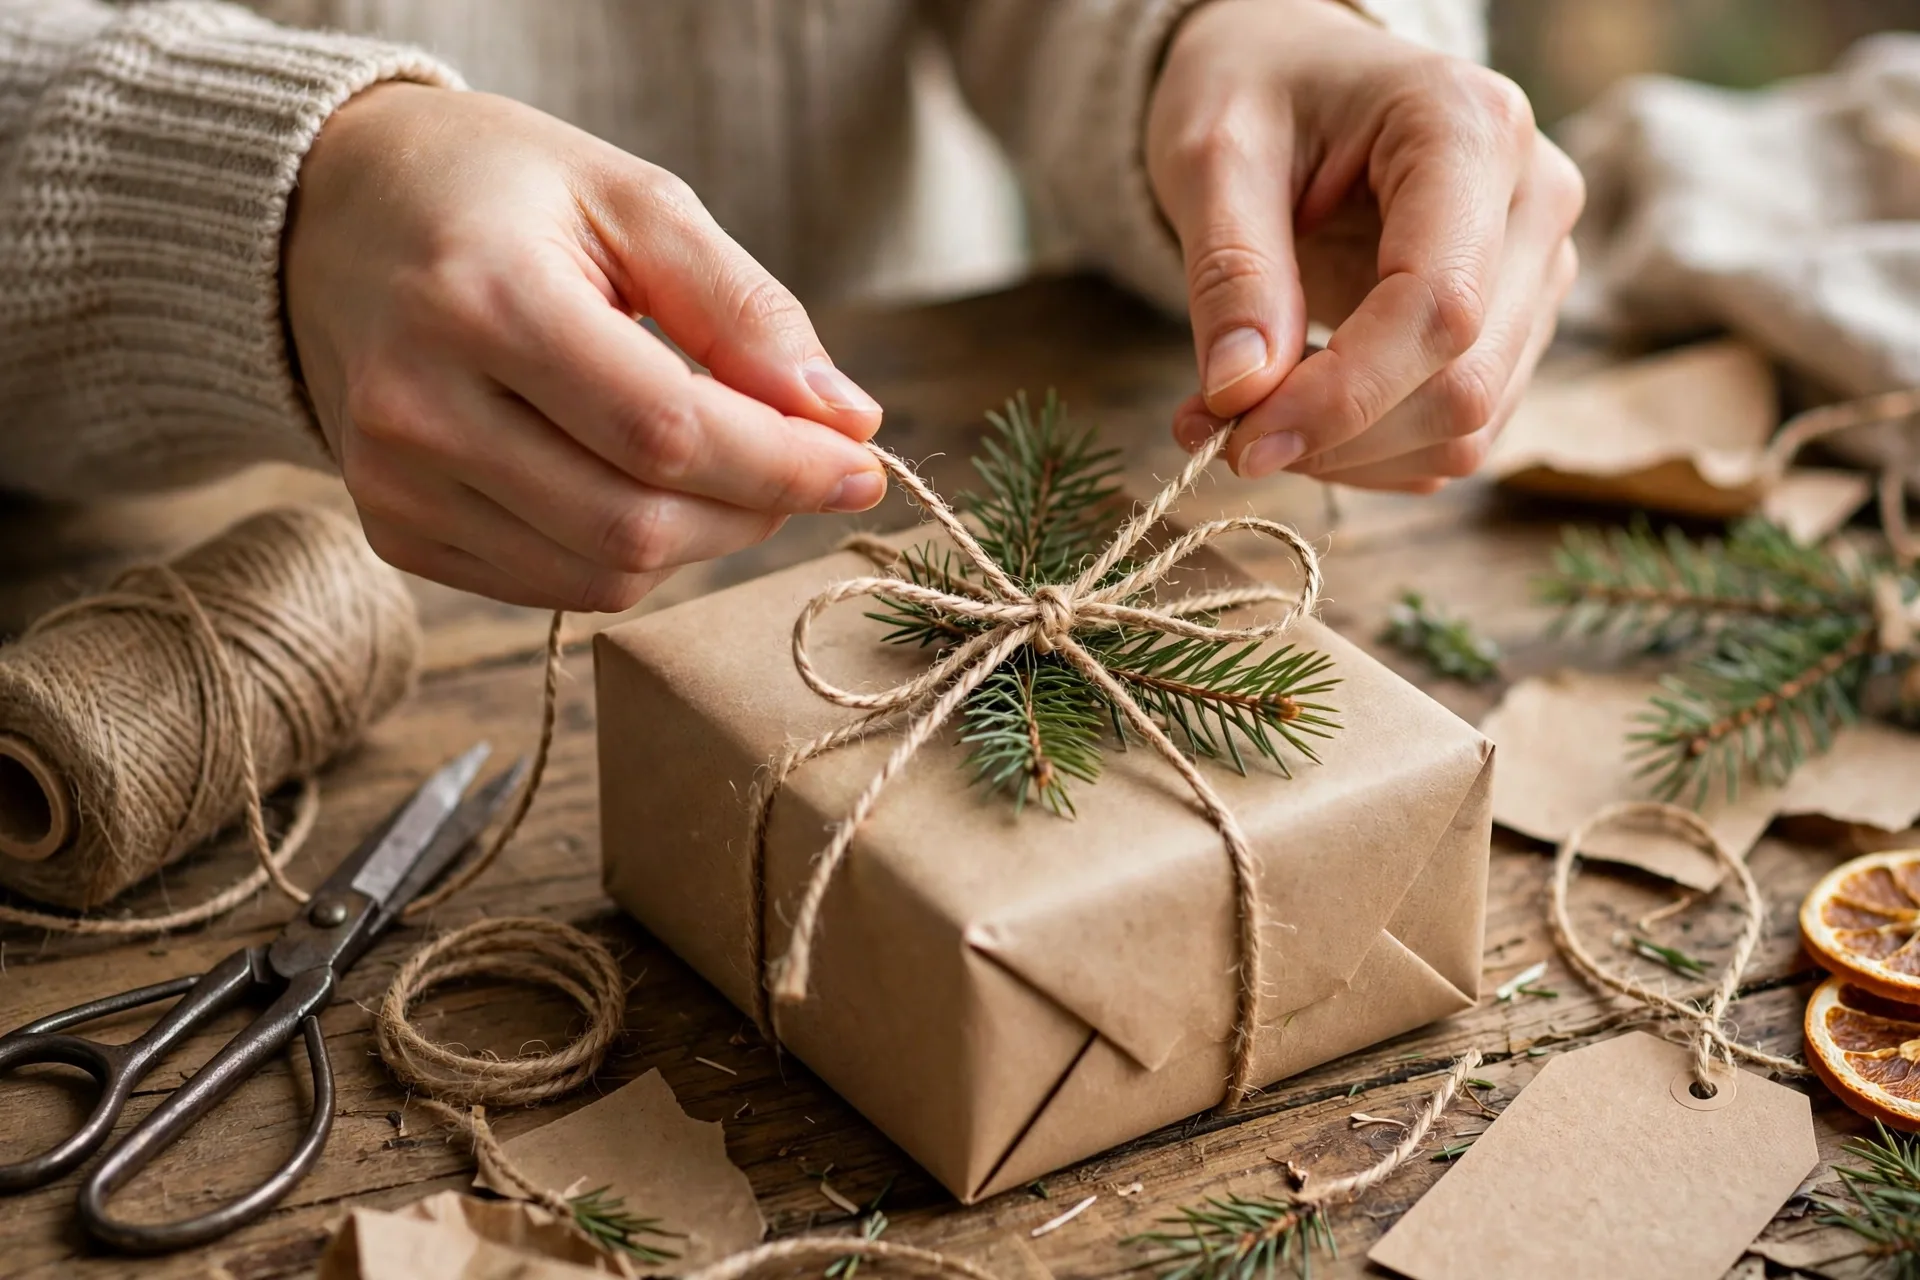
Wrap twine around the package two or three times in both directions, crossing on top. Tie it in a simple bow or knot on the top face. The twine hides every tape line and gives you a base for decorations.
Step 5: Tuck in your topper
Slide a pine sprig, dried orange slice, or cinnamon stick under the twine before you pull it tight. It stays put without glue, and you can swap toppers in seconds if you don’t like the look.
Step 6: Tag it last
Thread a blank kraft tag onto the twine ends and write the name with a marker. Done. You’ve just wrapped a gift that looks like it costs five dollars in materials and took an artisan to finish.
15 DIY Gift Wrap Ideas to Steal This Year
Now for the fun part. Each of these starts with the basic wrap above — the base is kraft paper or one of its alternatives, and the topper is what makes it sing.
1. The Classic Brown-Paper Package
The one that started it all: kraft paper, jute twine in both directions, a fresh pine sprig tucked under the knot. It smells like Christmas the second someone picks it up. Under the tree, a pile of these looks like a vintage postcard.
2. Dried Orange Slice Toppers
Slice oranges about a quarter-inch thick, dry them in the oven on the lowest setting for a few hours (flip them halfway), and thread a slice onto your twine or glue it to the top. They look like stained glass, last for years, and cost almost nothing.
3. Hand-Stamped Kraft Paper
Before you wrap, stamp snowflakes, stars, or trees across the plain kraft paper in white or gold ink. Every sheet comes out different, which means even when you wrap ten gifts, none look identical. Let kids help with this one — they love it, and it keeps them busy while you wrap the rest.
4. Furoshiki Fabric Wrap
The Japanese art of wrapping gifts in fabric. A square of linen, a thrifted scarf, or even a bandana wraps around a box with a few clever folds — and the wrapping itself becomes part of the gift. I’ve given wine bottles wrapped in tea towels and people rave about it. There are great step-by-step furoshiki diagrams online; the basic box fold takes five minutes to learn.
5. Washi Tape Patterns
Run strips of patterned washi tape across kraft paper in stripes, chevrons, or a Christmas tree shape. It’s the fastest decorated wrap I know — under two minutes per gift — and the tape is cheap. Match the washi colors to your ribbon for a pulled-together look.
6. Newspaper and Map Wrap
Save the colorful flyers and the comics section, or pick up vintage-looking maps from a thrift store. Wrap in newspaper, tie with bright red twine, and add a simple black tag. Map paper is my favorite for travel lovers — wrap the gift in a map of somewhere they’ve been or want to go.
7. Mini Wreath Topper
Twist a thin wire or a pipe cleaner into a small circle, wire on tiny pine sprigs and berries, and tie it to the top of the gift like a wreath. It takes ten minutes and looks like you spent an afternoon. A dab of hot glue holds everything in place.
8. Wax Seal Finish
Melt a stick of sealing wax (or a glue-gun wax stick) onto the knot of your twine or directly onto the paper, then press your seal stamp into it. Gold wax on black paper is ridiculously elegant. One wax stick seals about 25 gifts, so the per-gift cost is pennies.
9. Shabby Chic Lace and Ribbon
Wrap lace trim or strips of old doilies around the box instead of ribbon — check estate sales and thrift stores for cheap lace. Layer a wide satin ribbon over the lace and finish with a dried flower. This one photographs beautifully if you’re the type who posts gifts before giving them. No judgment, I absolutely do.
10. Black Paper with Handwritten Messages
Swap the kraft for black wrapping paper and write directly on it with a white gel pen or gold paint pen: the person’s name, a little message, stars, doodles. It looks modern and dramatic under the tree, and it’s the most personal wrap on this list because every word is for them.
11. Paper Bag Gift Bags
Those plain kraft shopping bags you keep meaning to throw out? Fold the top down twice, punch two holes, thread ribbon or twine through as handles, and stick a dried flower in the fold. Awkward-shaped gifts that are impossible to wrap go in these. The retail-flyer trick works here too — cut gift-card shapes from flyers and tape them on as decoration.
12. Cinnamon Stick and Pinecone Bundle
Bundle two cinnamon sticks, a small pinecone, and a sprig of evergreen together with twine, then tie the whole bundle onto the package. It smells incredible and costs nothing if you have the bits on hand. This is my default for hostess gifts and neighbor presents.
13. Painted Abstract Kraft
Thin some white or metallic acrylic paint with water and brush loose strokes, dots, or stripes across the kraft paper before wrapping. It looks like expensive designer paper. You don’t need painting skills — abstract blobs are the whole point. Let the paper dry flat before you cut it.
14. Personalized Photo Wrap
Print small photos — you and the recipient, their dog, a favorite vacation — and glue them onto the package like a collage, or use one big photo as the topper. For family, I print old childhood photos. Nobody has ever opened one of these without laughing or tearing up first.
15. Dried Flower Bouquet Topper
Tie a tiny bouquet of dried lavender, baby’s breath, or wildflowers with string and lay it across the top of the package. It’s romantic, it’s spring-like, and it doubles as a little keepsake. This is my pick for Mother’s Day and birthday gifts wrapped in plain kraft.
Wrapping Tips That Make Everything Look Professional
- Cut with sharp scissors on a flat surface. A wobbly cutting line ruins an otherwise perfect wrap.
- Double-sided tape is the secret weapon. It hides every tape line, and the finish looks seamless.
- Match your palette. Pick two or three colors for the whole batch of gifts — red, gold, and kraft, for example — and everything under the tree looks coordinated.
- Iron wrinkled paper. If your kraft paper has been sitting in a closet, run a warm iron over it. It lays flat like new.
- Size the ribbon generously. Cut more than you think you need; short ribbon that barely knots looks sad.
- Wrap in batches. Set up a wrapping station once, do all the stamping and cutting at once, then wrap assembly-line style. It’s twice as fast.
Common Mistakes (and How I Fixed Them)
Mistake 1: Using way too much paper. Excess paper bunches up on the ends and makes lumpy corners. Measure first, cut second. The “reach two-thirds across the end” rule works every time.
Mistake 2: Taping on the visible face. All seams and tape go underneath or get covered by twine. If you can see tape from the top, it’s in the wrong place.
Mistake 3: Over-decorating. My first year doing this, I put a pinecone, an orange slice, a bow, a tag, and AND a mini wreath on one package. It looked like a craft store exploded. Pick one hero topper per gift and stop.
Mistake 4: Skipping the tag until the last second. Write tags before the wrapping party rush, or at least before you pour the hot chocolate. Unlabeled beautiful gifts cause Christmas-morning chaos.
Mistake 5: Using dull scissors on thick kraft. Jagged edges are visible from across the room. Sharpen them or buy a fresh pair — it’s the cheapest upgrade in your kit.
You don’t need to be crafty to pull these off — I promise. Start with one idea from this list, the classic brown-paper package if you’re not sure which, and see how it feels. My guess: by gift number three, you’ll be tucking pine sprigs into everything and wondering why you ever paid four dollars for a bag. That’s the best part of DIY gift wrap ideas — once you start, store-bought paper just looks boring.


