
Learning how to curl hair can feel harder than it looks. You watch a tutorial, try the same steps, and end up with one side perfect and the other side flat. The good news is that curling is a skill, not a talent. Once you understand the prep, the heat settings, and the basic motion, soft waves that last all day are well within reach, even if you have never held a curling iron before.
This guide walks you through the whole process, from washing and drying to the final brush-out. You will learn two methods — the curling iron and the flat iron — plus the small habits that keep curls from falling out by lunchtime.
Before You Start: Prep Makes the Curl
Great curls start before any hot tool touches your hair. Hair that is clean, fully dry, and lightly protected holds a curl far better than hair that is damp, oily, or weighed down with heavy products.
Wash your hair the day before if you can, or on the same morning if your hair gets oily fast. Freshly washed hair can be a little too slippery to hold a curl, so many stylists prefer second-day hair. If you wash on the same day, use a light conditioner and skip heavy masks or oils at the roots.
Dry your hair completely. This step matters more than any other. Curling damp hair with a hot tool can damage it badly and the curl will drop within minutes. Rough-dry with a blow dryer, or let your hair air-dry and then smooth it with a brush. A quick pass with a round brush gives you a smooth base that curls more evenly.
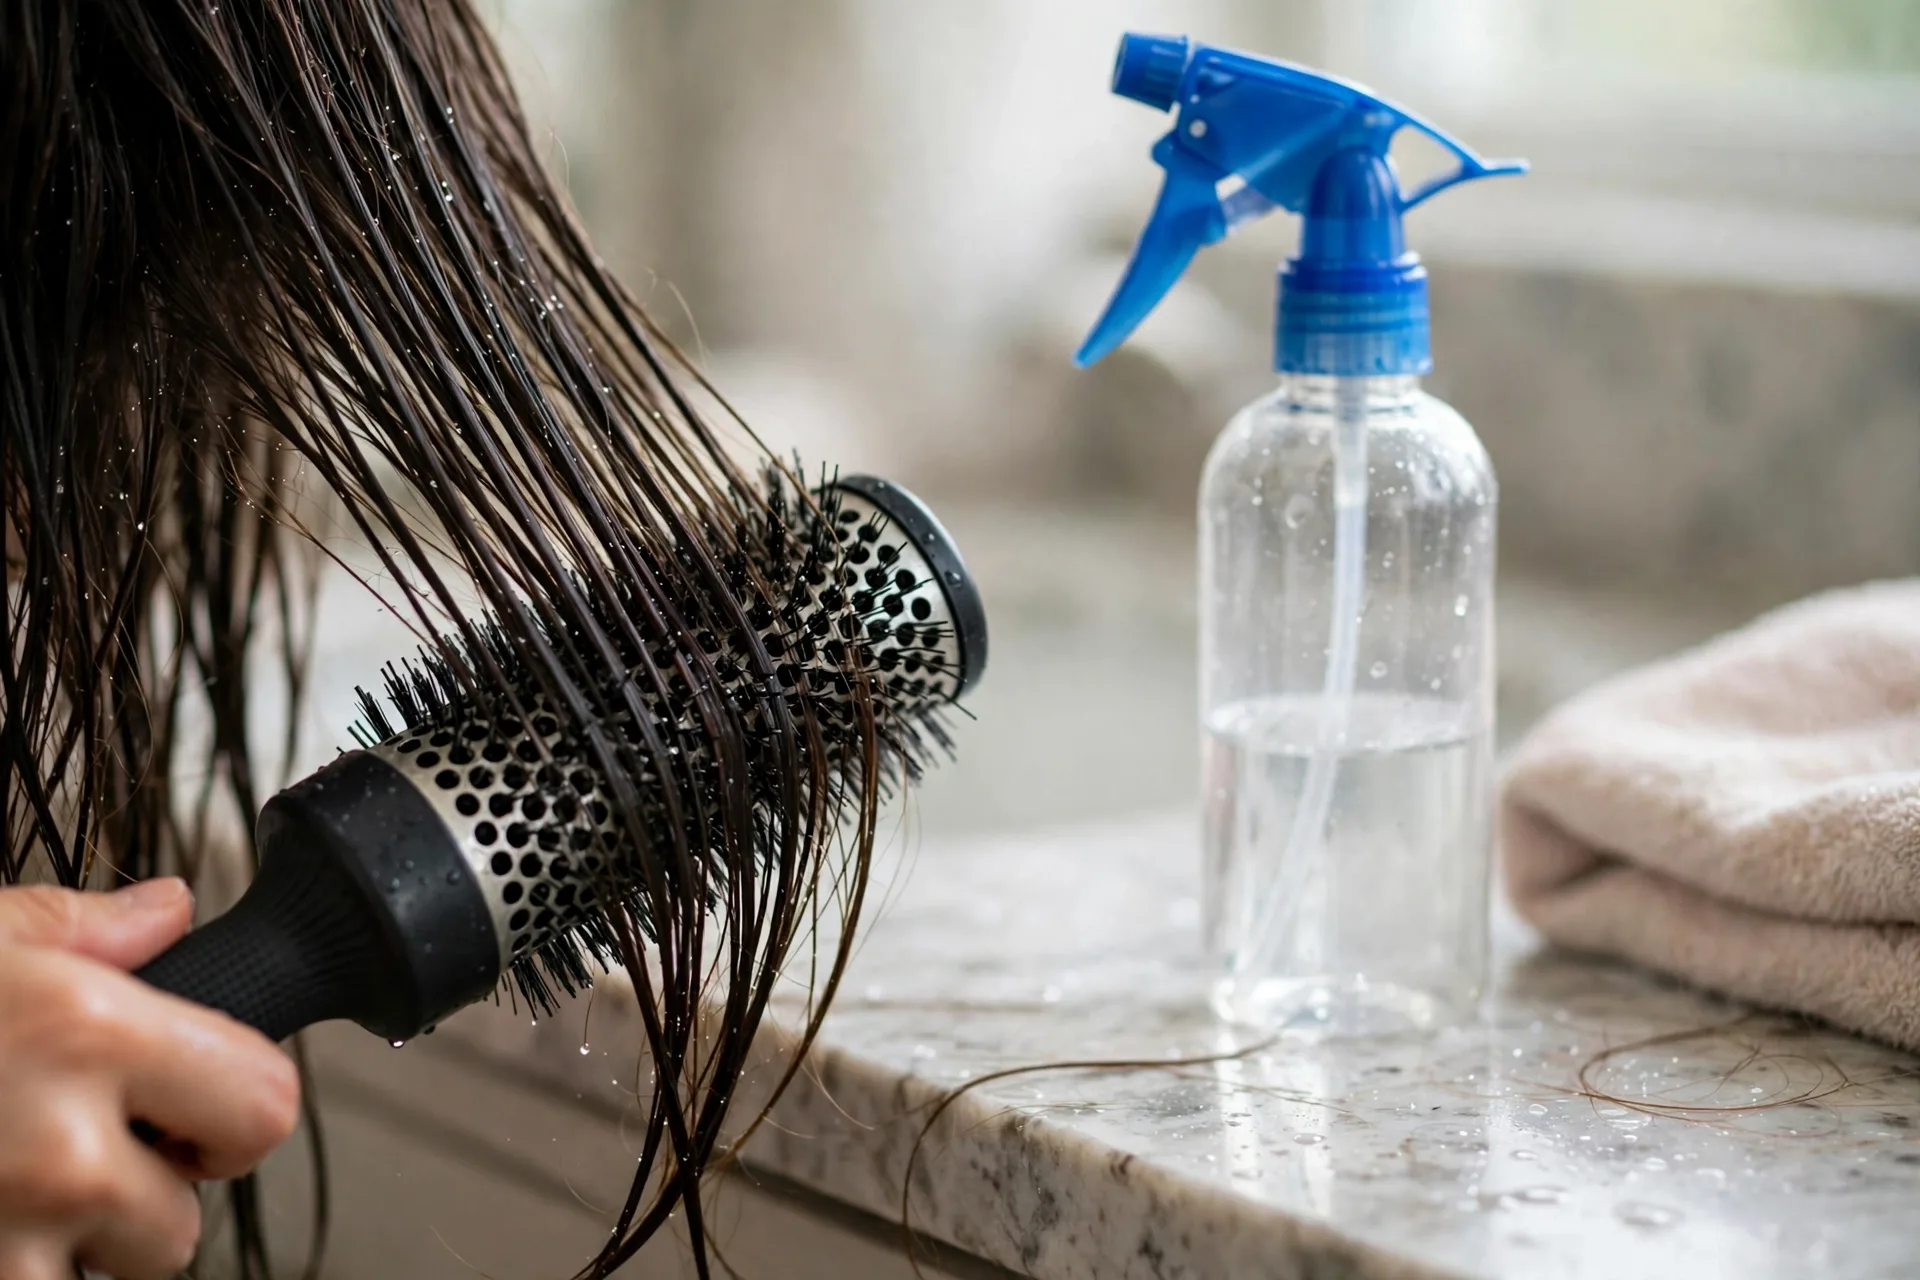
Always use a heat protectant. Mist it evenly through the lengths and ends, never just on the top layer. Heat protectant does not make your hair heat-proof, but it does cut down the damage from repeated styling. Comb it through so every section gets covered.
Finally, gather your tools before you switch anything on: your curling iron or flat iron, sectioning clips, a wide-tooth comb, a light-hold hairspray, and a couple of bobby pins. Having everything in reach means you will not leave a hot tool sitting on your hair while you hunt for a clip.
Choosing the Right Tool and Barrel Size
The barrel size decides what kind of curl you get. A 1-inch barrel is the best all-rounder for beginners and gives classic soft waves on medium and long hair. A 1.25-inch barrel gives looser, more relaxed waves. A smaller 3/4-inch barrel makes tighter curls, which suit short hair or anyone who wants more bounce.
If you already own a flat iron, you do not need to buy a curling iron to start. A flat iron with rounded edges can make beautiful waves, and it is often easier for beginners because the plates grip the hair for you. A curling wand (no clamp) gives a more natural, beachy finish but takes a little practice, since you wrap the hair by hand.
Pick one tool and learn it well before buying more. Switching between three tools while you are still learning only adds confusion.
Heat Settings by Hair Type
More heat does not mean better curls. It usually means more damage and curls that look fried instead of soft. Use the lowest temperature that still gives you a curl that holds.
- Fine or thin hair: 300–325°F (150–165°C). Fine hair heats up fast and damages easily, so keep the temperature low and hold each section for only 5–8 seconds.
- Medium or normal hair: 325–350°F (165–175°C). This range works for most people and gives soft waves without pushing the hair too hard.
- Thick or coarse hair: 350–375°F (175–190°C). Thick hair needs more heat to take a shape, but still start at the lower end and go up only if curls fall out quickly.
- Damaged, bleached, or color-treated hair: stay at or below 325°F (165°C) and never skip heat protectant. If your hair is already fragile, a lower setting with a slightly longer hold is kinder than a blast of high heat.
If your tool only has low, medium, and high settings, fine hair should stay on low, medium hair on medium, and thick hair on medium-high. Test one section first. If the curl forms and holds after cooling, your setting is right.
Sectioning: The Step Beginners Skip
Sectioning is what separates salon-looking curls from a tangled mess. Work in layers, starting at the bottom and moving up.
Split your hair into a bottom layer and a top layer. Clip the top layer up and out of the way. Then split the bottom layer into two or three sections, one on each side and one at the back. Curl one section at a time, and keep each piece about 1 to 1.5 inches wide. Wide chunks curl unevenly — the outside gets hot while the inside stays straight.
As you finish each layer, let it down and move to the next. This takes a few extra minutes, but it is the single best way to get even, consistent waves all over your head.
Method 1: How to Curl Hair With a Curling Iron
This is the classic method and the easiest one to learn. Follow these steps slowly the first few times. Speed comes with practice.
Step 1: Clamp near the ends
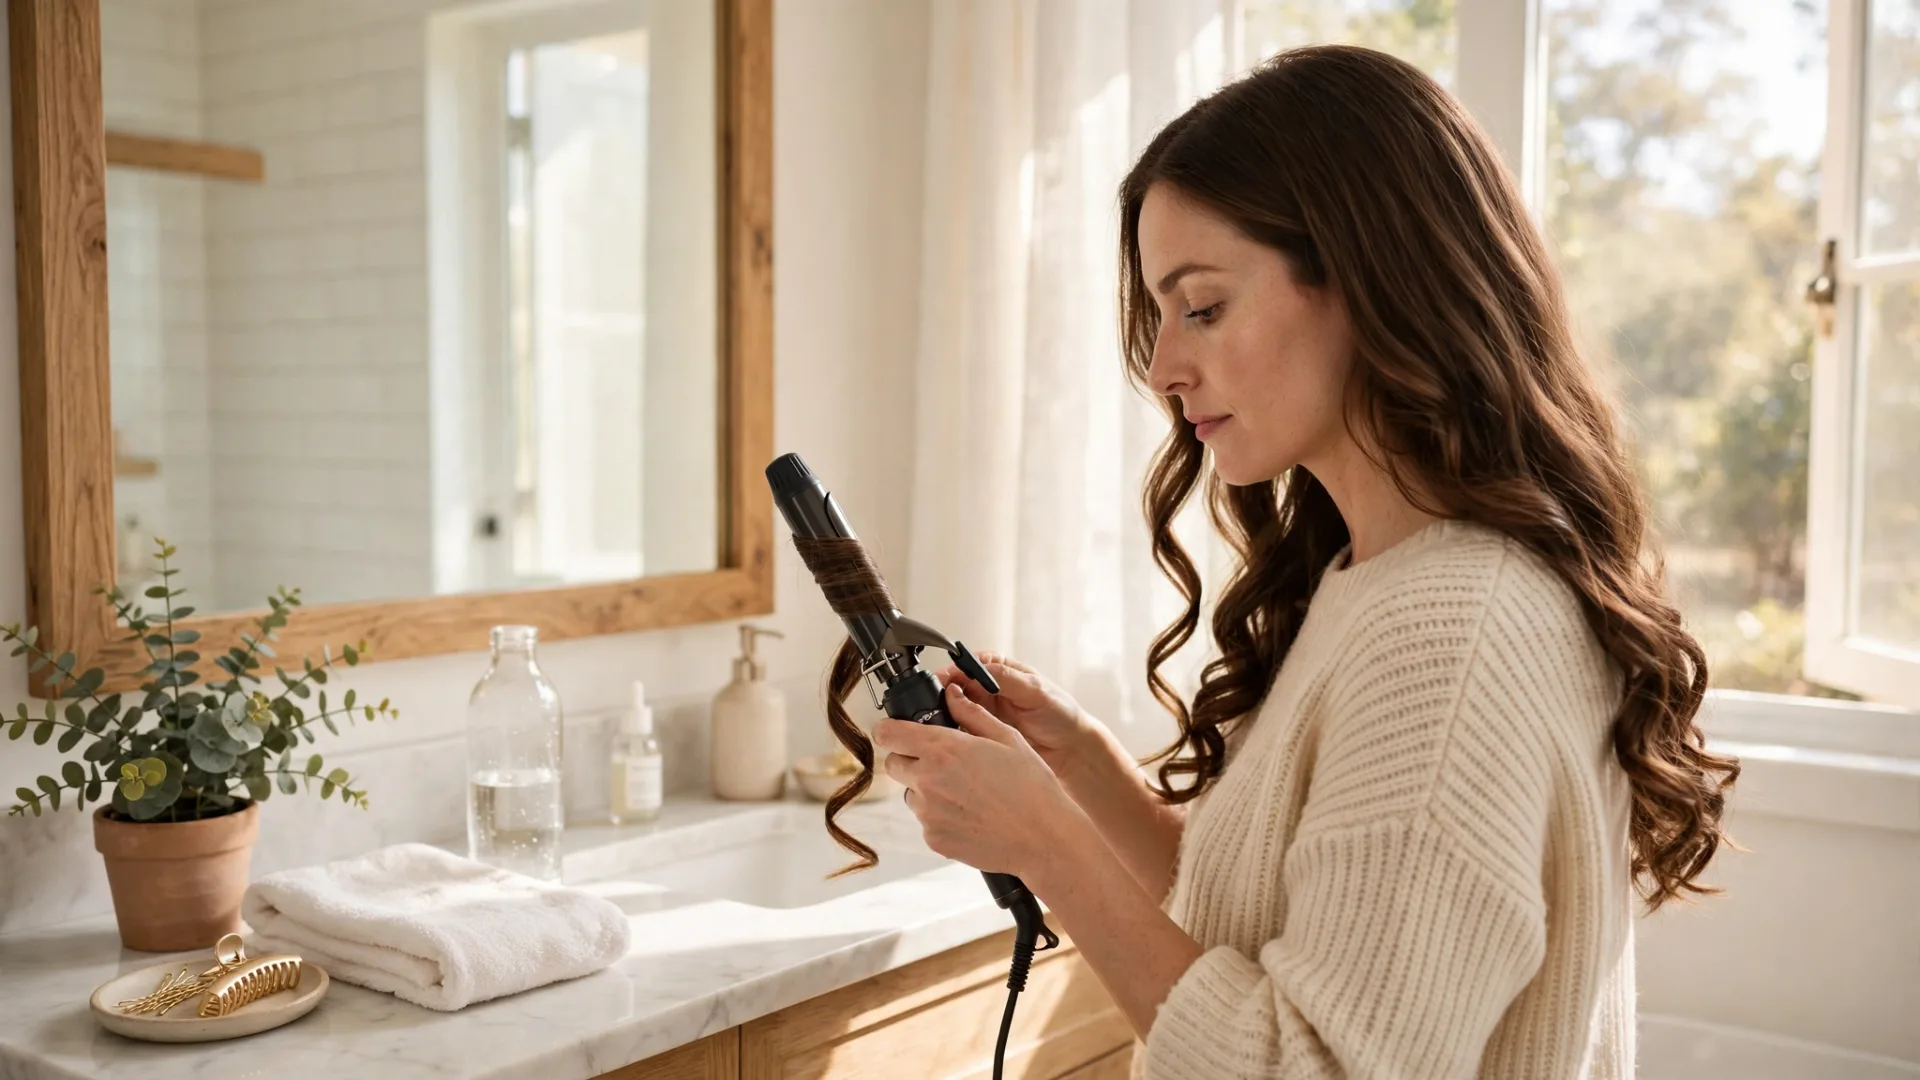
Take one section of hair and open the clamp near the ends, about 1–2 inches from the tips. Close the clamp gently. You do not need to squeeze hard — a firm but light grip is enough.
Step 2: Roll up toward your head
Roll the iron upward toward your scalp, keeping the hair flat against the barrel. Stop about an inch away from your roots so you do not burn your scalp. Keep the iron still and let the heat work.
Step 3: Hold, then release
Hold for 8–10 seconds for medium hair, a little less for fine hair, a little more for thick hair. Open the clamp and let the curl slide off the barrel. Catch it in your hand and hold it in its curled shape for a few seconds while it cools. Cooling is when the curl sets, so do not pull it straight right away.
Step 4: Alternate directions for a natural look
For soft, natural waves, curl some sections away from your face and some toward your face. Curling everything in one direction gives a more uniform, old-fashioned look. Alternating directions breaks the pattern up and makes the waves look effortless.
Repeat section by section until all your hair is curled. Work from the back to the front so you can see what you are doing in the mirror as you go.
Method 2: How to Curl Hair With a Flat Iron
A flat iron makes softer, more modern waves. It feels strange the first time, but many beginners find it easier once they get the twist motion right.
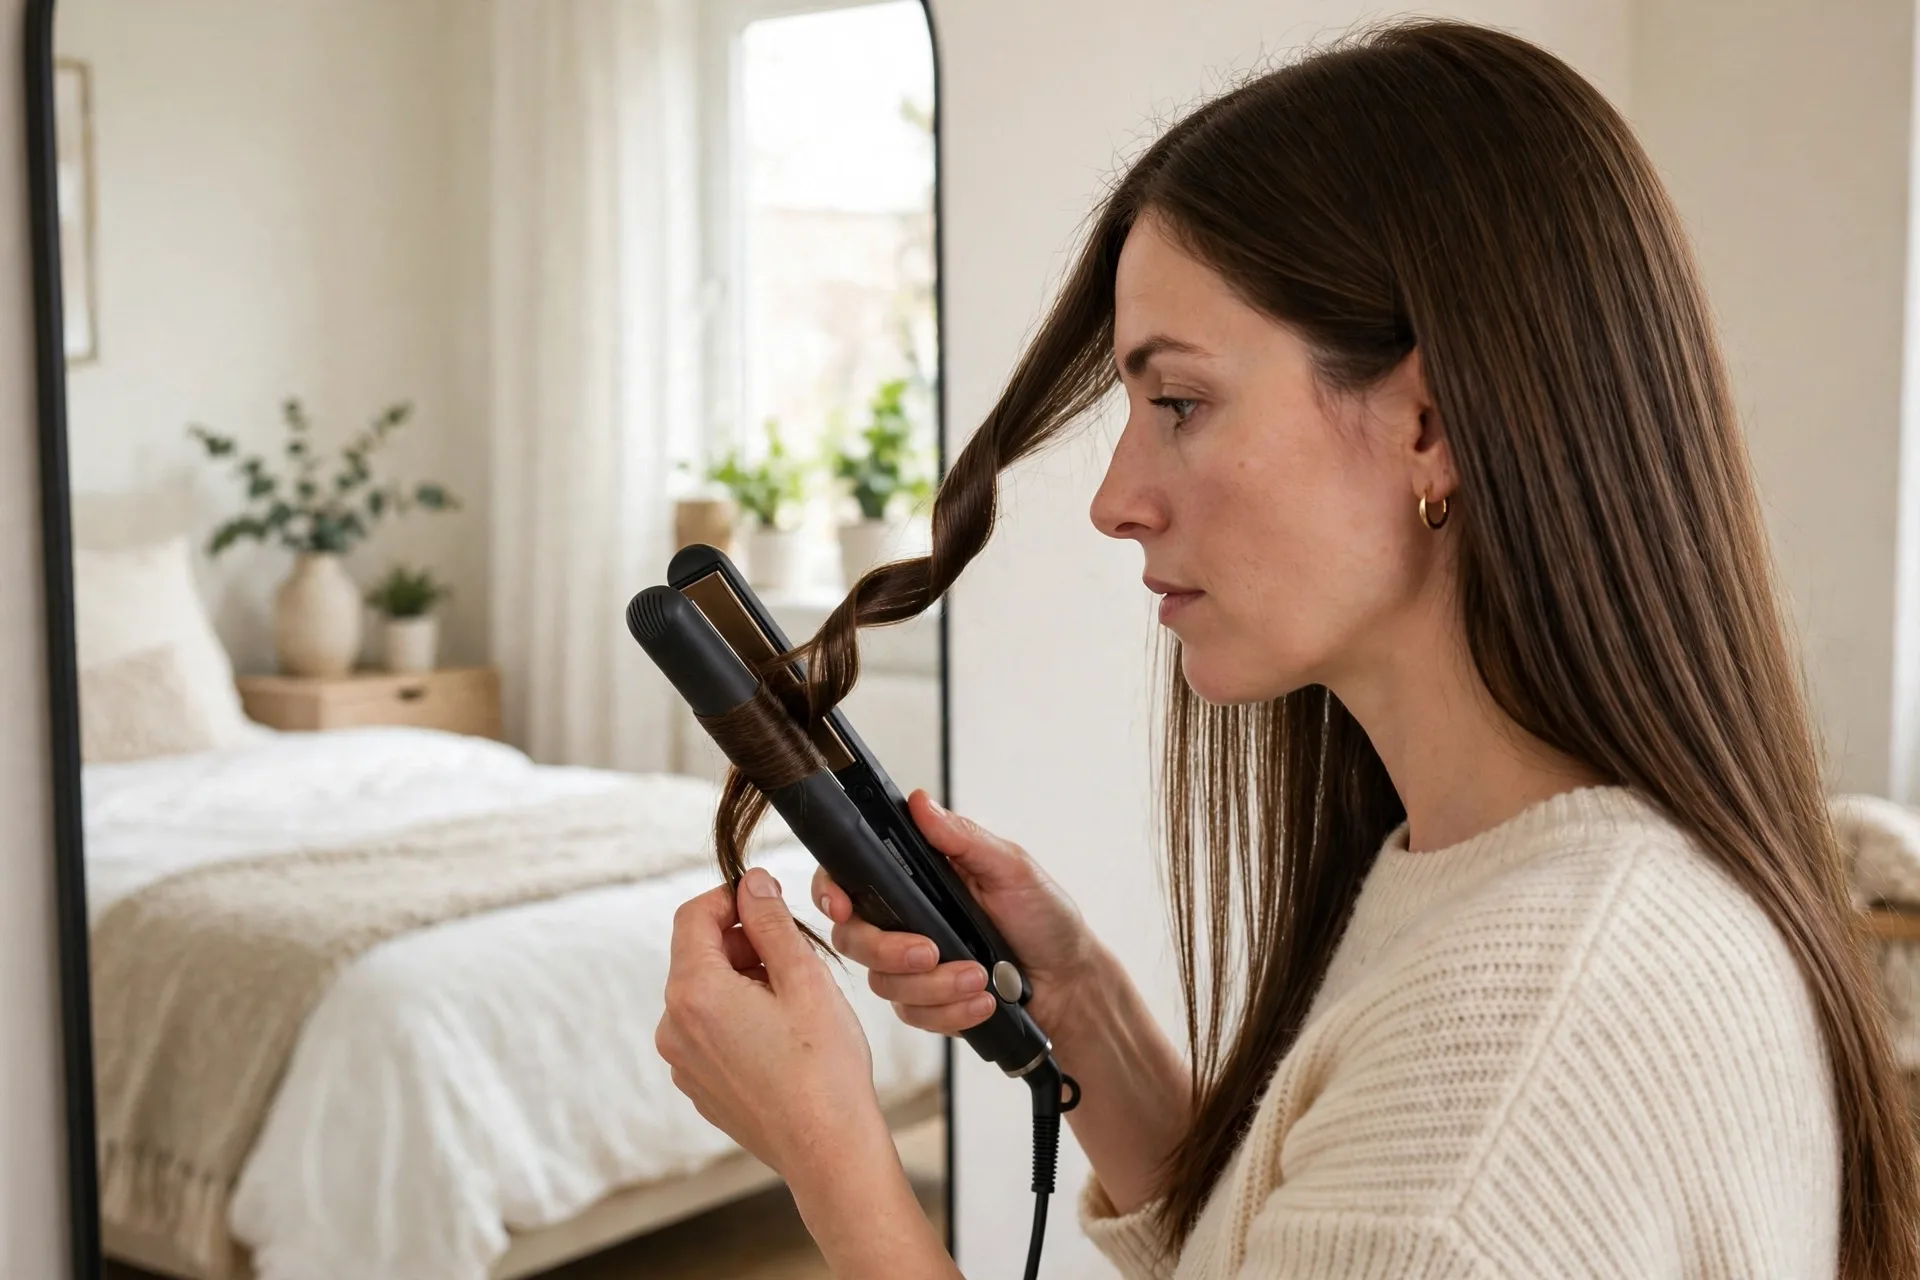
Step 1: Clamp and twist
Take a 1-inch section and clamp the flat iron near the roots. Twist the iron away from your face by half a turn, so the hair wraps around the outside of the plates.
Step 2: Glide down slowly
Glide the iron slowly down the length of the hair while keeping that twist. Do not rush. A slow, steady glide gives a smooth wave; a fast glide gives a weak bend that falls out.
Step 3: Let it cool before touching
When you reach the ends, release and let the wave cool in its shape. Just like with a curling iron, the cooling time is what locks the wave in place.
Flat-iron waves tend to be looser than curling-iron curls, which makes this method perfect if you want relaxed, everyday waves rather than bouncy ringlets.
How to Make Your Curls Last All Day
Getting curls is one thing. Keeping them past noon is another. These habits make the biggest difference:
- Let every curl cool before you touch it. Brushing or running your fingers through hot curls pulls them straight. Wait until each section is fully cool.
- Use a light-hold hairspray, not a heavy one. Mist lightly from about 12 inches away after you finish. Heavy sprays make hair stiff and can drag curls down.
- Brush out gently with your fingers or a wide-tooth comb. Never use a fine brush on fresh curls. Finger-combing separates curls into soft waves without removing the shape.
- Start with a little texture. A light mousse or texturizing spray applied before curling gives the hair grip, which helps curls hold. This is especially helpful for fine, slippery hair.
- Pin curls while they cool for extra hold. If you have time, pin each fresh curl to your head with a bobby pin and let it cool pinned. This adds serious staying power and costs only a few extra minutes.
- Avoid touching your hair during the day. Every time you run your hands through your curls, you loosen them. Style once, then leave them alone.
If your curls still drop fast, the usual cause is sections that are too wide or heat that is too low. Try thinner sections before you turn the temperature up.
Common Mistakes Beginners Make
Curling hair that is not fully dry
Even slightly damp hair will not hold a curl and can be damaged by the heat. If your hair feels cool to the touch, it is probably still damp inside. Dry it a little more before you start.
Using the same heat for every hair type
Fine hair and thick hair are not the same. What works for your friend may fry your hair or leave hers straight. Match the temperature to your own hair, using the guide above.
Taking sections that are too big
Big sections look faster, but the heat never reaches the middle of the hair evenly. The result is curls that look fine for ten minutes and then fall flat. Thin sections take longer but last far longer.
Brushing curls out too soon
Fresh curls always look tighter than the final result. Wait until they are cool, then brush out gently. You will get soft waves, not a frizzy mess.
Skipping heat protectant
Heat protectant takes ten seconds to apply and saves your hair from lasting damage. Make it a habit you never skip, even on days when you are in a rush.
Finishing Touches for Soft, Natural Waves
Once your curls are cool and brushed out, you can shape the final look. Use a tiny drop of hair oil or serum on the ends only — never at the roots — to add shine and calm flyaways. If the front pieces look too tight, wrap one or two of them around the iron again for a few seconds to loosen them.
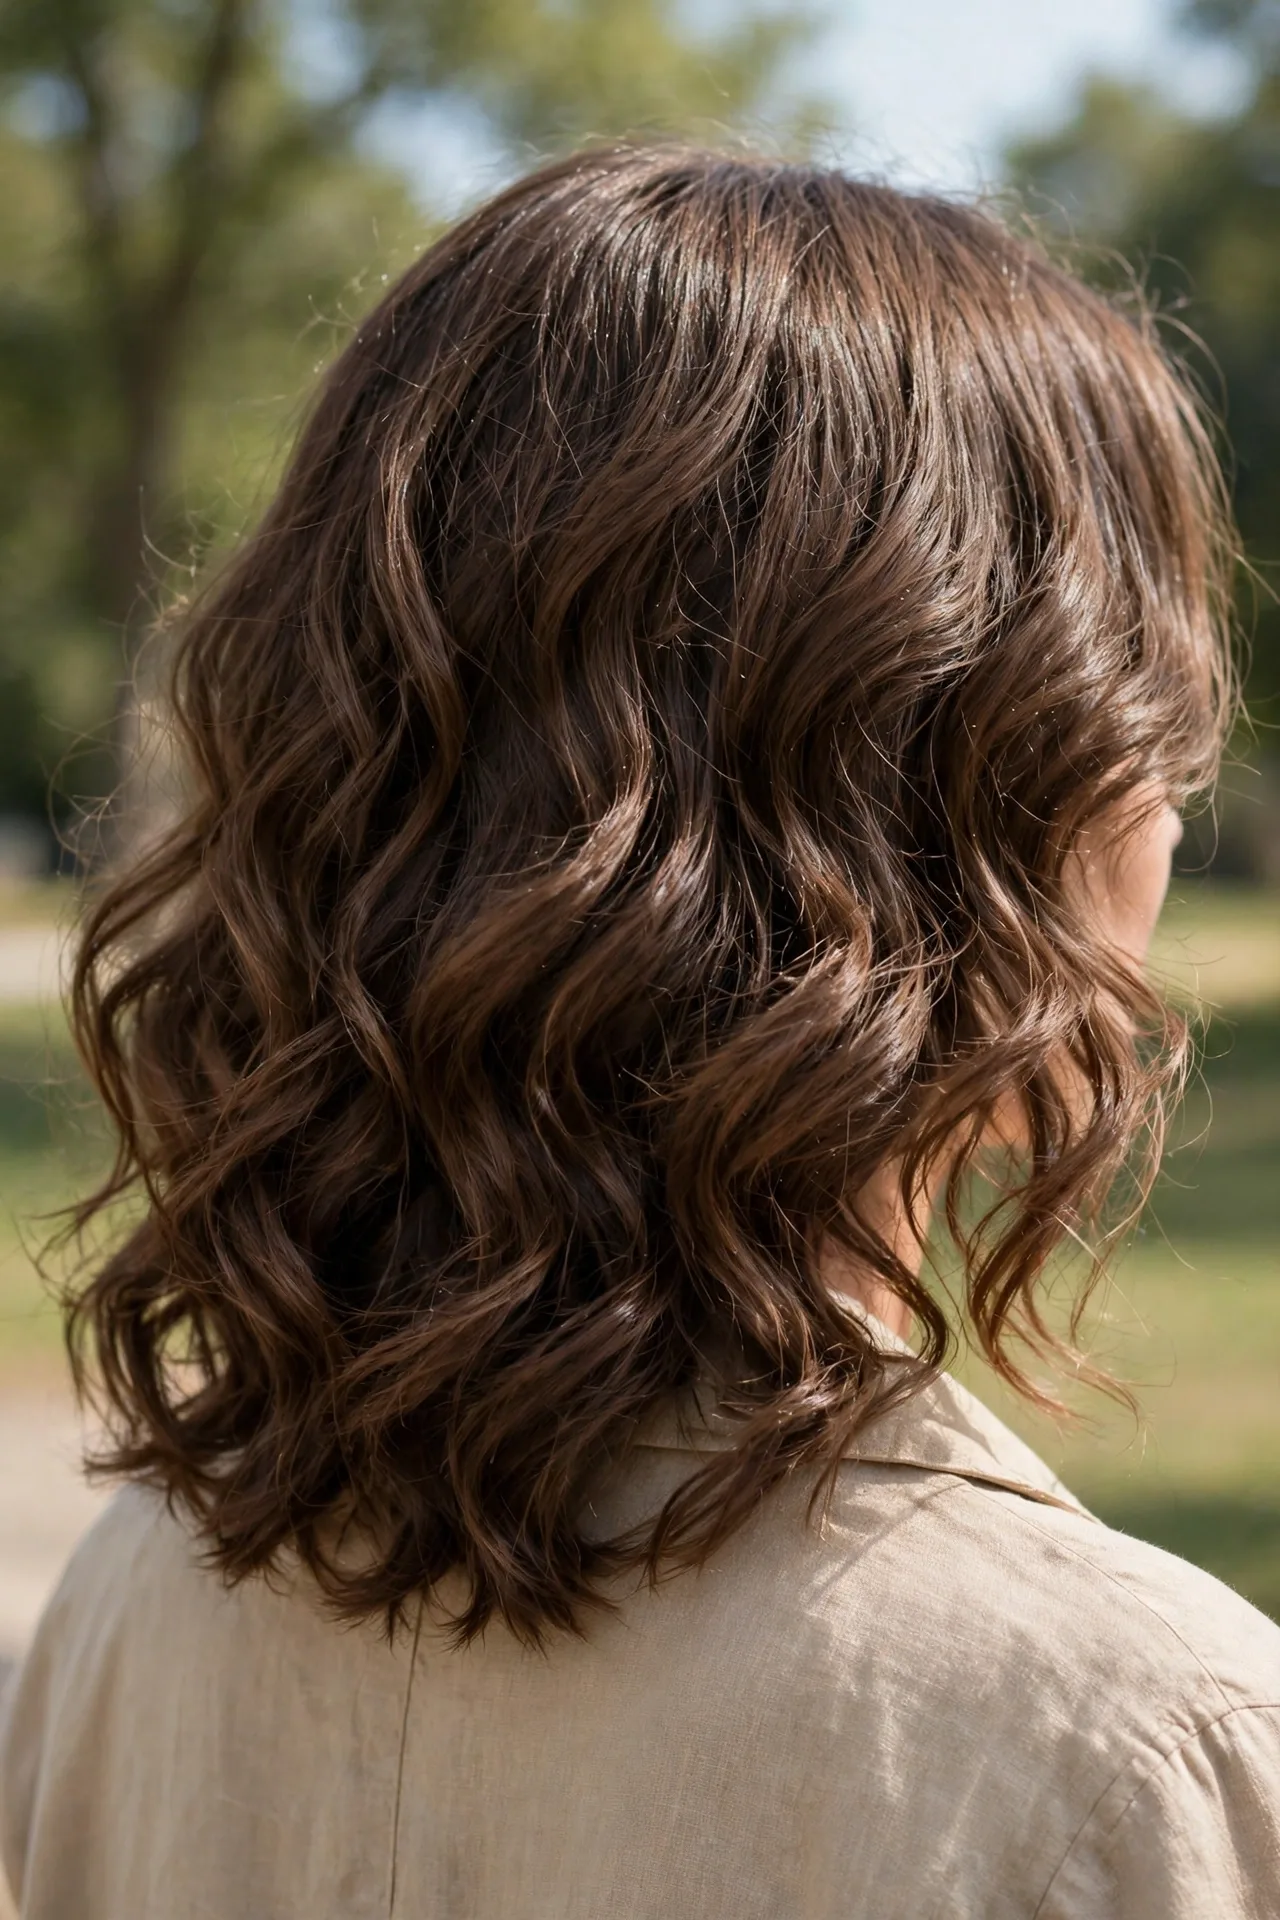
For a more polished look, part your hair as usual and smooth the top layer lightly with your hands. For a relaxed, beachy look, flip your head upside down, shake gently, and flip back. Both finishes start from the same curls — the difference is just how much you break them up.
If one side ends up curlier than the other, do not redo the whole head. Just re-curl the two or three flattest pieces on the weaker side and blend them in.
Quick Beginner Routine (30 Minutes or Less)
Here is a simple routine you can follow until the steps feel automatic:
- Start with dry hair and apply heat protectant.
- Section into a bottom layer and a top layer, clipping the top up.
- Set your iron to the right temperature for your hair type.
- Curl the bottom layer in 1-inch sections, alternating directions.
- Repeat with the top layer, curling face-framing pieces away from the face.
- Let everything cool, mist with light-hold hairspray, and finger-comb into soft waves.
The first few times, give yourself extra time and do not aim for perfection. Even slightly uneven waves look lovely once they are brushed out. With each attempt, your hands learn the motion and the whole routine gets faster.
Learning how to curl hair is mostly about practice and patience. Keep your sections small, your heat moderate, and your expectations kind for the first few tries. Before long, soft waves that last all day will feel like a normal part of your routine, not a special-occasion project.