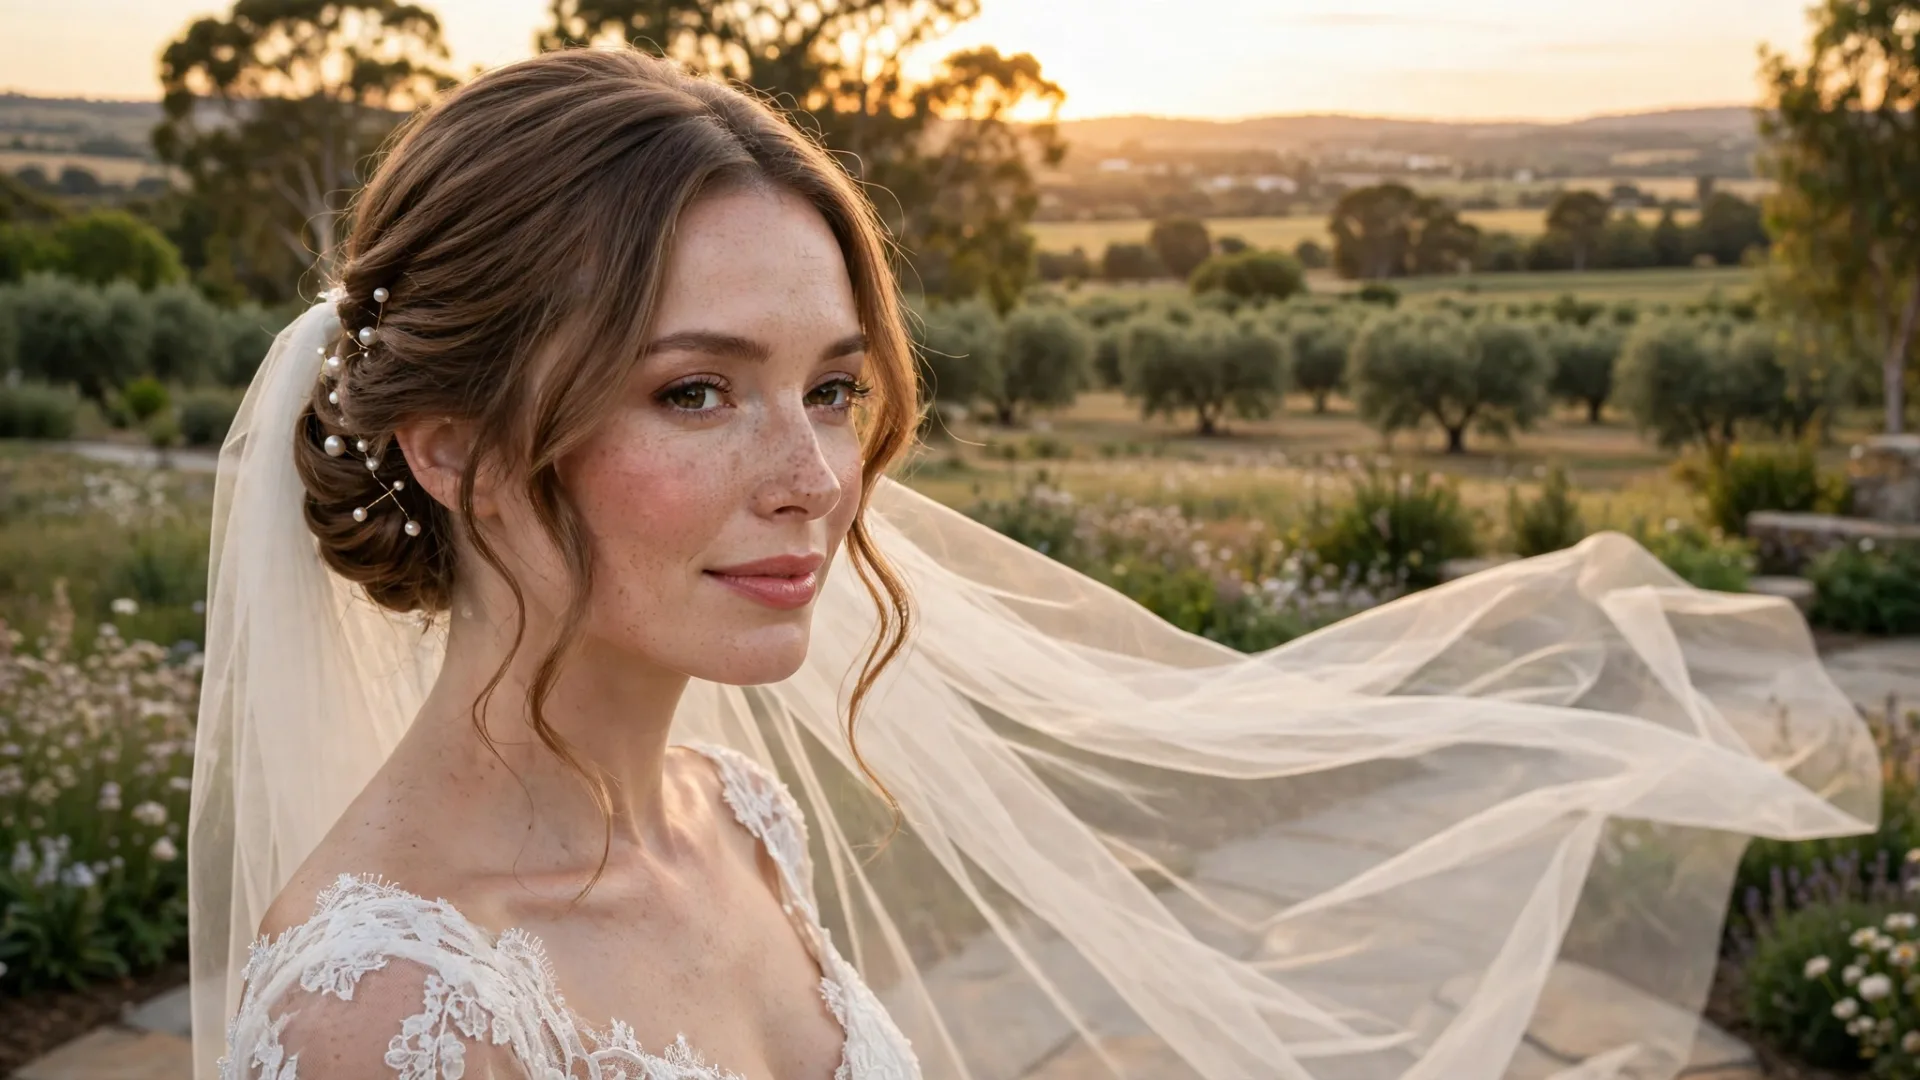
Your wedding hair deserves the same careful planning as your dress, your venue, and your guest list. A beautiful style on the day does not happen by luck. It happens because each step, from booking your stylist to packing your emergency kit, was sorted well in advance. This wedding hair checklist walks you through exactly what to do three months out, one month out, one week out, and on the morning itself, so you can walk down the aisle feeling calm, polished, and completely yourself.
Use this guide as a planning timeline, not a list of styles to choose from. Whether you want a soft updo, loose waves, or a sleek bun, the steps below stay the same. Work through them in order, tick each one off, and you will avoid the last-minute panic that catches so many brides out.
3 Months Out: Book, Plan, and Start Hair Health
Three months before the wedding is the time to lock in the big decisions. Good bridal stylists book up early, especially in peak wedding season, so this is not a job to leave until the final month.
Book your stylist and schedule your trial
Start by booking a stylist who has real experience with bridal hair, not just everyday salon work. Ask to see photos of their recent bridal work, and check whether they travel to your venue or work from a salon. Confirm the price, the deposit, and what is included: does the fee cover the trial, travel, and styling for bridesmaids or your mum, or is it bride-only?
Book your hair trial for around four to six weeks before the wedding. That timing gives you enough room to change your mind or book a second trial if the first style does not feel right, without leaving it so late that your stylist is fully booked.
Decide on colour, length, and extensions
Three months out is the right moment to decide whether you want a colour change, a cut, or extensions. If you are thinking about going lighter, darker, or adding highlights, start now. Colour often needs two or three appointments to reach the shade you want, and your hair needs time to recover between sessions.
If your dream style needs more length or volume than your own hair gives you, talk to your stylist about extensions. Clip-in extensions are the most flexible choice for a wedding because they can be fitted on the day and removed afterwards. Order them early so the colour can be matched properly and you can wear them at your trial.
Be honest with yourself about length. If you are growing your hair out for the wedding, stop trimming more than a light dusting of the ends from now on. A small trim every eight weeks keeps split ends under control without losing the length you are working towards.
Start a simple hair health routine
Healthy hair holds a style better, shines more in photos, and feels softer to the touch. You do not need an expensive routine. A gentle shampoo, a good conditioner, and a weekly deep conditioning mask are enough for most brides.
If your hair is dry or damaged, add a leave-in treatment or a light hair oil to the ends. Keep heat styling to a minimum during these three months, and always use a heat protectant when you do style it. Small habits now make a visible difference by the wedding day.
1 Month Out: Your Trial, Your Colour, Your Veil Fitting
One month before the wedding is when your plan turns into a real style. This is the busiest and most important stage of the checklist, so give it your full attention.
Go to your hair trial prepared
Arrive at your trial with reference photos, your veil or hair accessories, and a top with a similar neckline to your dress. The neckline matters more than most brides realise: an updo shows off a high neckline beautifully, while loose waves suit a strapless or off-the-shoulder dress.
Wear your hair the way you normally would on the day of the trial. If you plan to wash it the night before the wedding, do the same before the trial. Freshly washed, squeaky-clean hair can be too slippery to hold pins and curls, so slightly lived-in hair often styles better.
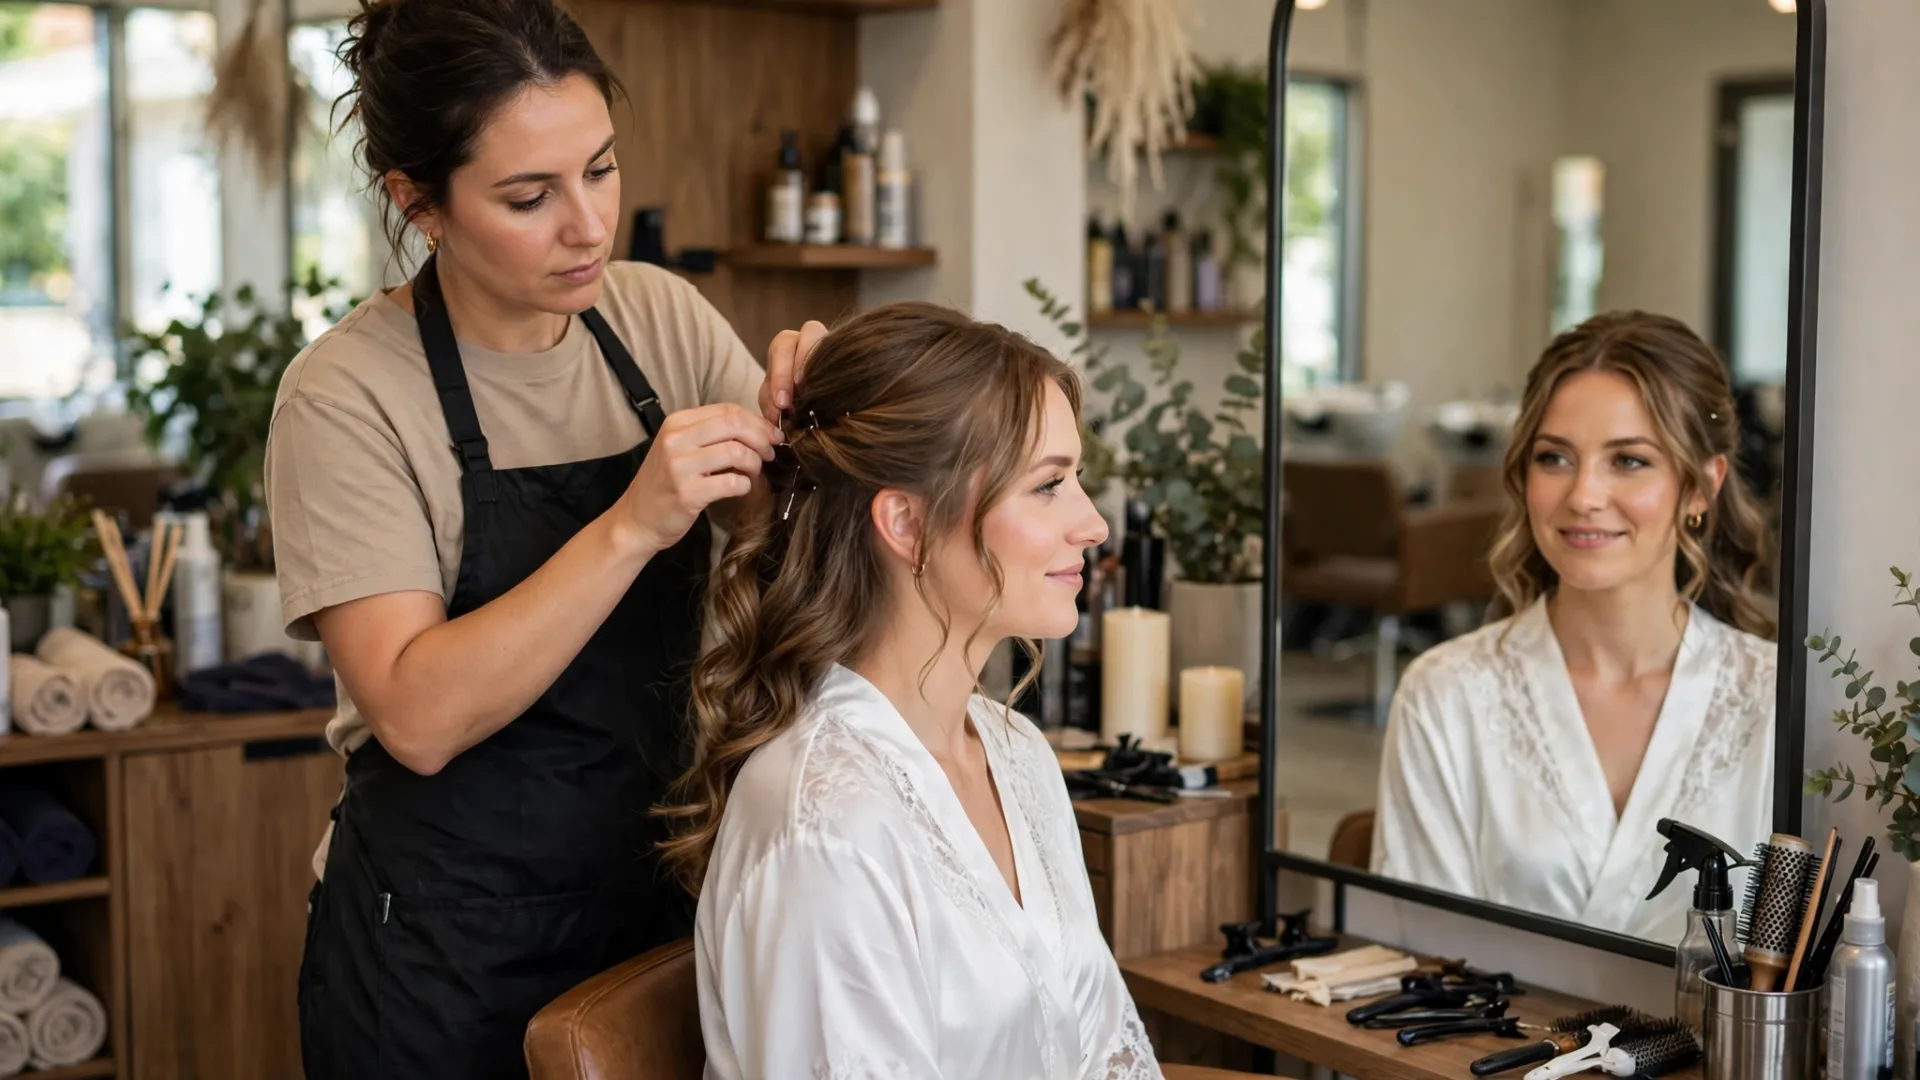
Ask your stylist to show you the style from every angle, and take photos in natural light as well as indoors. Look at the back and sides closely, because that is what your guests will see during the ceremony. If something feels off, say so. The trial is your chance to adjust the height of the bun, the softness of the face-framing pieces, or the placement of your accessories.
Time your colour appointment
Book your final colour appointment for about two weeks before the wedding. This gives the colour time to settle and soften, while still looking fresh on the day. Avoid any bold colour change in the final fortnight. If a new shade goes wrong that close to the wedding, there is very little time to fix it.
If you have greys to cover, the two-week mark works well too. Roots will not have grown through noticeably by the wedding day, and the colour will still look rich and even in photos.
Fit your veil and accessories with the style
Your veil fitting should happen at or just after your trial. The way a veil sits depends entirely on your hairstyle: a blusher veil needs a secure anchor point, a cathedral veil needs to sit below or above your updo without pulling it loose, and a birdcage veil needs to be pinned at exactly the right angle.
Bring every accessory you plan to wear, including clips, pins, a tiara, or fresh flowers, to the trial. Your stylist needs to test how each piece sits, how heavy it feels after an hour, and whether it needs extra pins or a small comb to stay put. If you are wearing fresh flowers, confirm who supplies them and when they will be delivered on the morning.
After the trial, write down the agreed style, the products used, and the accessory placement. Share this note with your stylist so you both have the same plan on the day.
1 Week Out: Final Touches and Confirmations
The final week is about protecting all the work you have done so far. Resist the urge to try anything new with your hair now.
Keep your hair routine gentle
Do a deep conditioning treatment at the start of the week, then return to your normal routine. Do not try a new shampoo, a new treatment, or a home colour kit this week. A surprise reaction or an unexpected result is the last thing you need days before the wedding.
Skip any major cut. If your ends need a tiny tidy, a light dusting is fine, but do not change the shape or length of your hair. Your trial style was built around your current length, and even a small change can alter how it sits.
Plan your wash day
Ask your stylist whether you should wash your hair the night before or the morning of the wedding. Most bridal styles hold better on hair washed the day before, because it has more grip. If your hair gets oily quickly, a light dry shampoo on the morning can freshen the roots without making the hair slippery.
Wash with your usual products and let your hair dry naturally or with low heat. Avoid heavy oils or thick serums in the final wash, as they can weigh the style down and make pins slide out.

Confirm timings and details
Confirm your stylist’s arrival time, the order of styling, and how long each person will take. The bride is usually styled last so her hair looks freshest for the ceremony, but check this with your stylist. If your photographer wants getting-ready photos, build that into the schedule too.
Double-check that your extensions, veil, accessories, and flowers are all in one place, ready to go. Put your veil in a safe spot where it will not crease, and keep your accessories in a small labelled bag so nothing goes missing in the morning rush.
On the Day: Your Wedding Morning Hair Timeline
A calm wedding morning starts with a clear schedule. Share this timeline with your stylist, your bridesmaids, and anyone helping you get ready.
Morning order of events
Start with a clean, dry base. If your stylist asked for day-old hair, arrive with it already washed and dried as agreed. Your stylist will usually work through the bridal party first, then move on to you. Allow at least 45 minutes to an hour for the bride’s style, and a little longer if you have extensions or a detailed updo.
Put your veil on after your hair is finished, not before. Your stylist should place it, secure it, and show you how it feels when you move your head. Practise walking, turning, and hugging someone with the veil in place. If it pulls or feels loose, ask for extra pins before your stylist leaves.
Ask your stylist to do a final check in natural light before they go. Indoor lighting can hide flyaways and uneven sections that daylight will show up in photos.
Pack a hair emergency kit
A small emergency kit can save the day. Pack it the night before and hand it to a bridesmaid or your maid of honour. Include:
- Bobby pins and U-pins in your hair colour, plus a few spares of each
- A small can of strong-hold hairspray and a travel-size dry shampoo
- A comb, a few clear hair elastics, and a small brush
- Extra pins or a spare comb for your veil and accessories
- Tissues or blotting paper, so you can dab away tears without disturbing your style
Keep the kit close during photos and the ceremony. A quick pin or a light spray between the ceremony and the reception can keep your style looking fresh for hours.

Keeping your style looking fresh all day
Once your hair is done, try not to touch it. Hands carry oils that flatten volume and loosen curls. If you need to fix a stray piece, use a pin rather than pulling at the style.
If you plan to change your style for the evening, for example taking an updo down into waves, tell your stylist in advance. They can build the first style so it releases easily, and leave you with the right pins and spray to make the change yourself.
Common Wedding Hair Mistakes to Avoid
Most wedding hair problems come from timing, not talent. Avoid these common slips and your day will run far more smoothly.
Do not book your trial too late. A trial the week before the wedding leaves no room for a second attempt if the style does not suit you. Do not try a brand-new colour or cut in the final two weeks, however tempting it feels. Do not skip the veil fitting, because a veil that has never been tested with your style can pull, slip, or sit at the wrong angle.
Finally, do not choose a style just because it looks good in a photo. Your hair type, your dress, your venue, and the weather all matter. A style that suits your features and survives a long day will always photograph better than a style that fights your hair from the start.
Frequently Asked Questions
When should I book my wedding hair trial?
Book your trial for four to six weeks before the wedding. This gives you time to adjust the style or book a second trial if needed, while still being close enough to the day that your hair length and colour match the plan.
Should I wash my hair on the morning of my wedding?
Most stylists prefer hair washed the day before, because it has more grip and holds pins and curls better. Ask your own stylist, though, because the answer depends on your hair type and the style you have chosen.
How far in advance should I colour my hair before my wedding?
Have your final colour done about two weeks before the wedding. The shade will have settled and softened, but it will still look fresh. Avoid any dramatic colour change in the final fortnight.
Do I need extensions for my wedding hairstyle?
Only if your chosen style needs more length or fullness than your own hair provides. Clip-in extensions are a popular choice because they can be fitted on the day and removed afterwards. Try them at your trial before you commit.
What should be in a bridal hair emergency kit?
Pack bobby pins and U-pins in your hair colour, strong-hold hairspray, dry shampoo, a comb, clear elastics, and spare pins for your veil and accessories. Give the kit to a bridesmaid so it is close at hand all day.