
I’ll be honest: the first time I decorated a party with streamers, it was a disaster. My niece’s seventh birthday was in two hours, I had six rolls of crepe paper from the dollar store, and I hung them in plain straight lines across the living room ceiling with regular masking tape. Within twenty minutes, half of them had peeled off and landed in the punch bowl. My sister still brings it up at family dinners.
But here’s the thing I learned since then — streamers are genuinely one of the best decorations you can buy. A couple of dollar-store rolls can turn a boring room into something that looks like you hired a party stylist, as long as you know a few tricks. I’ve now decorated birthdays, a baby shower, a graduation party, and my own kid’s first-day-of-summer cookout with nothing but crepe paper streamers and painter’s tape, and I’ve figured out what actually works (and what falls on the cake).
This guide has 14 streamer decoration ideas that are all cheap, doable the morning of the party, and way more impressive than straight lines of paper. I’ll also show you exactly how to hang streamers so they stay put, because that’s the part nobody tells you until it’s too late.
Image credit: homedishy.com
1. The Layered Streamer Curtain Backdrop
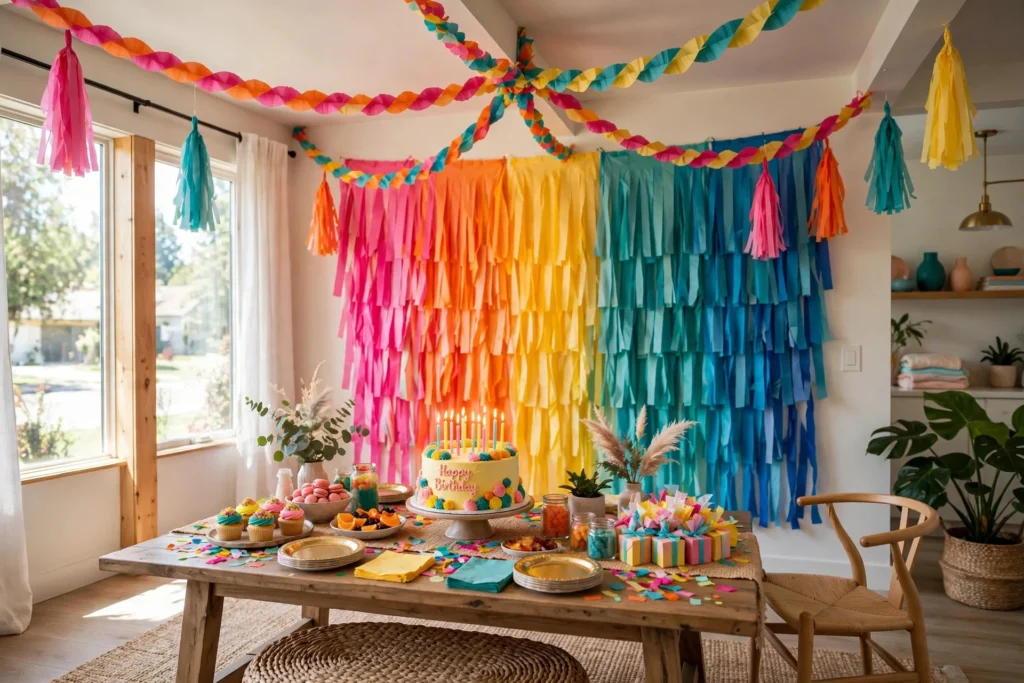
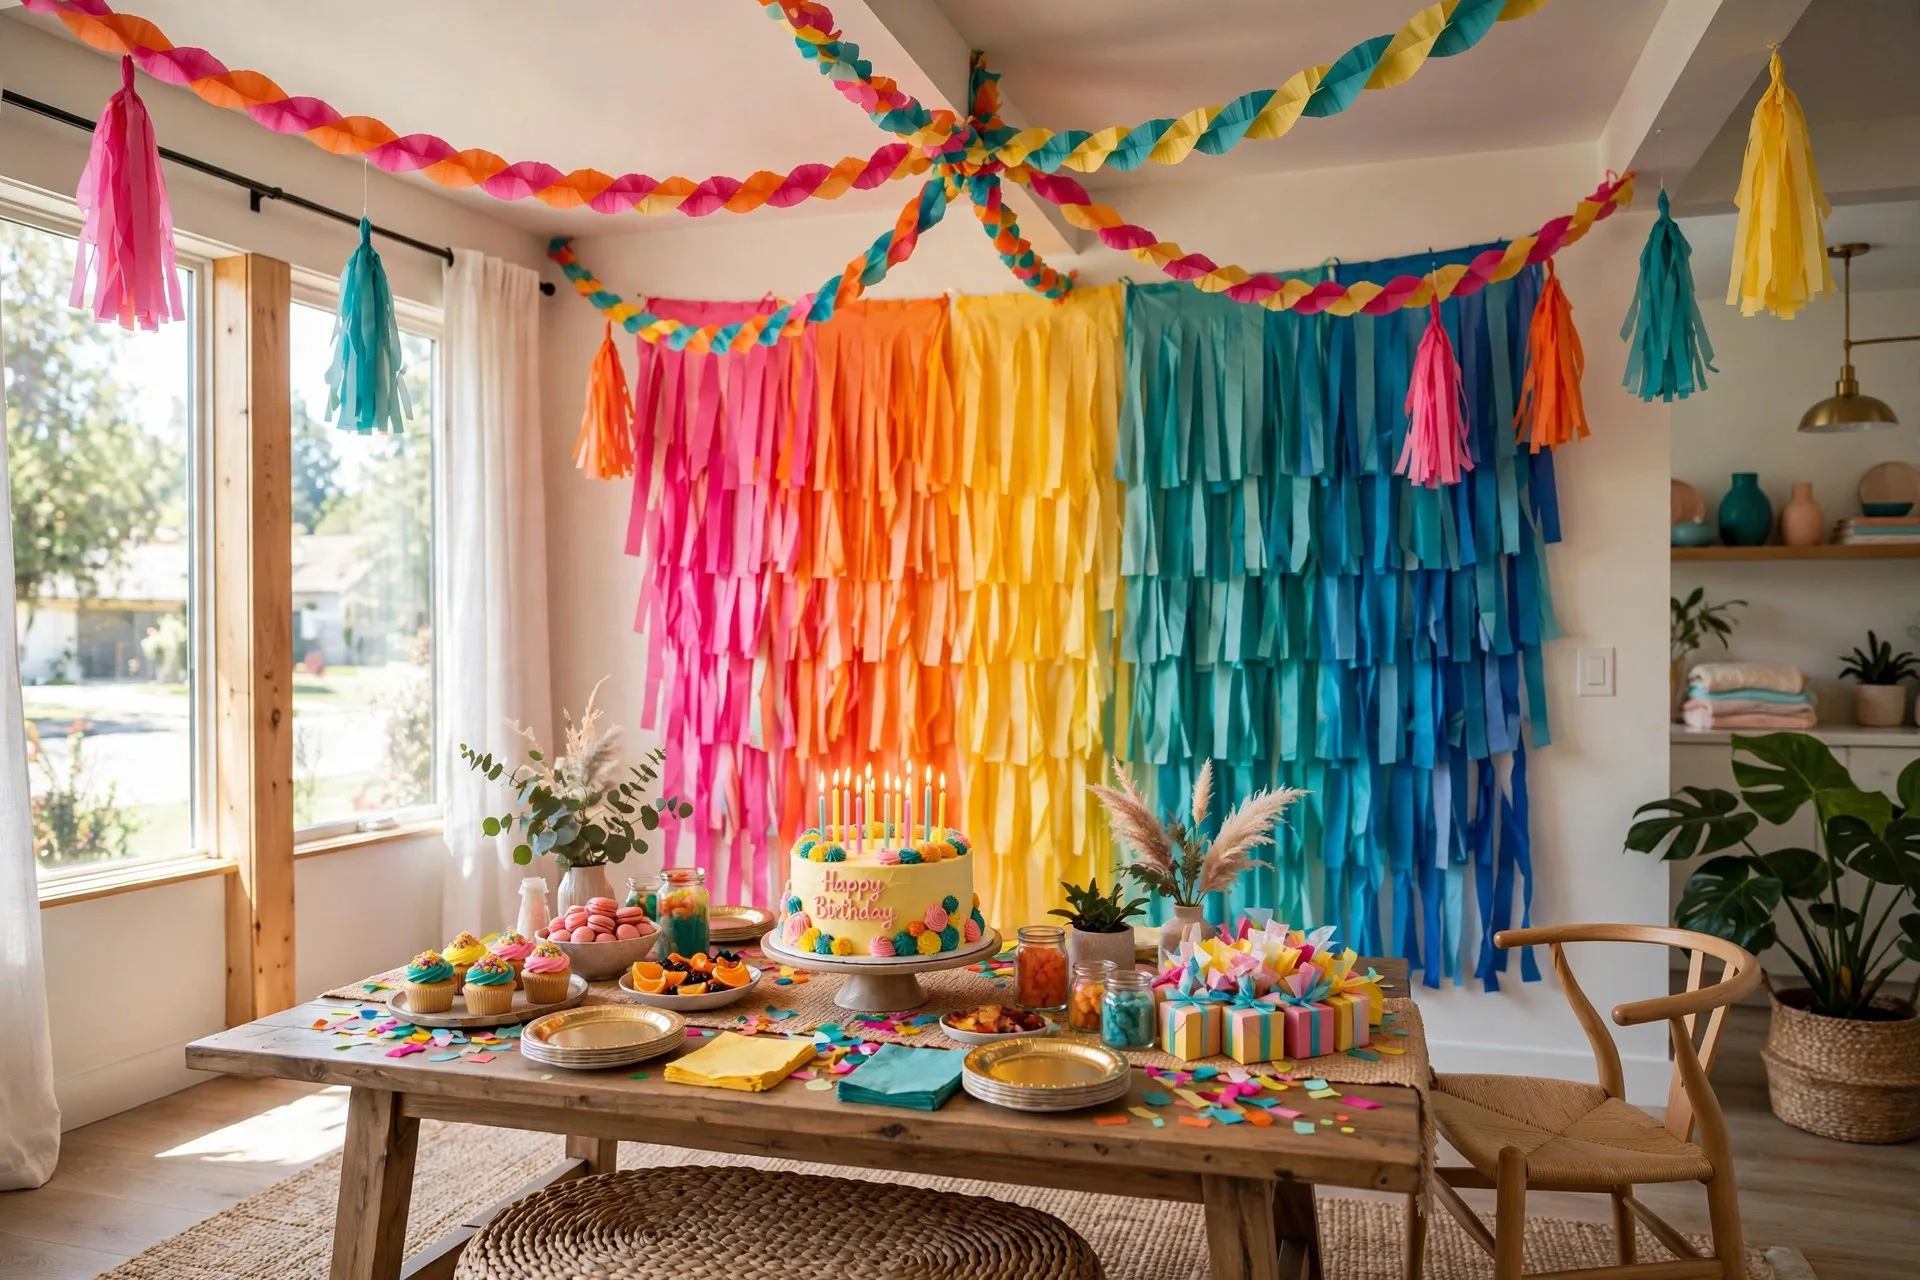
This is the single highest-impact thing you can do with streamers, and it takes about twenty minutes. Instead of hanging a few strips, you build a full wall of vertical streamer strands behind the cake table or photo area. The secret is using two or three coordinating colors — say pink, coral, and gold — and cutting the strips in slightly different lengths so the bottom edge looks soft and wavy instead of choppy.
I always assemble the whole curtain on a long strip of painter’s tape first, laying it on the table and pressing the streamer tops onto the tape side by side. Then I lift the entire strip and stick it to the wall. Trying to hang strips one by one directly on the wall is how you end up with crooked rows and a headache. The center of the backdrop should be a little denser than the edges — it photographs much better that way.
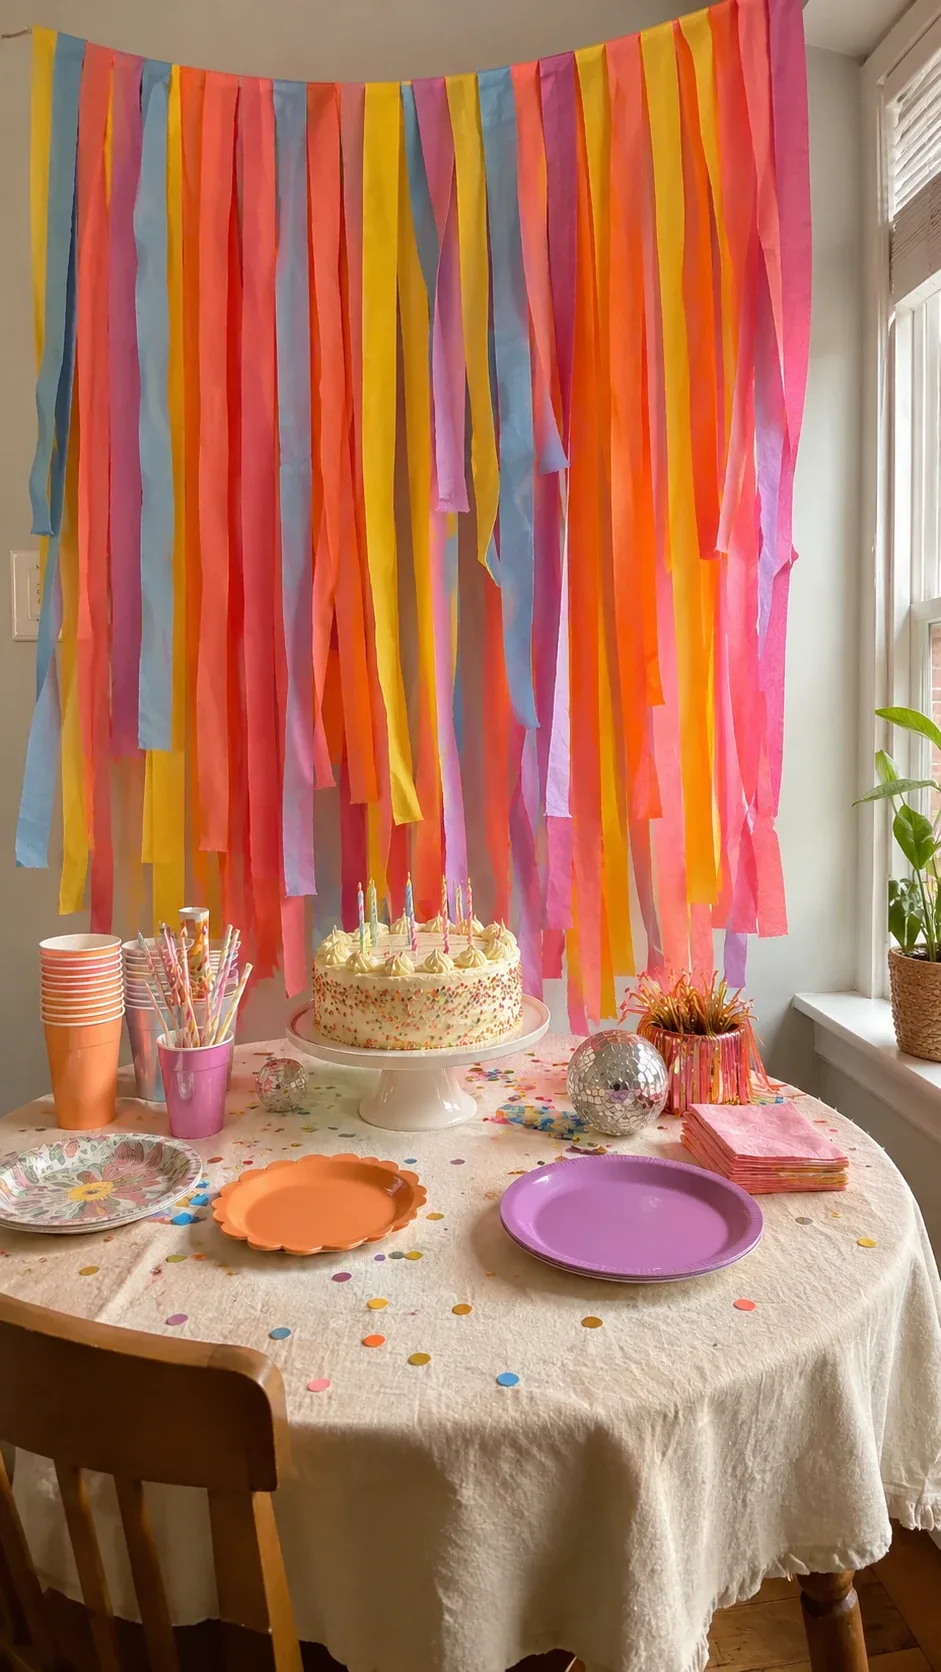
Image credit: homedishy.com
2. A Ceiling Canopy With Gentle Dips
Running streamers across the ceiling in random straight lines looks like a third-grade classroom. Instead, pick one center point on the ceiling and stretch streamers out toward each wall, letting each one dip just a little in the middle. Those relaxed curves make the whole room feel like it has movement and energy instead of looking flat and stiff.
The trick is not pulling them tight. Crepe paper stretched tight will either snap or slowly pull its tape anchors loose over the next hour. Give each strand a lazy, relaxed sag — about four to six inches of dip — and alternate two colors around the room instead of throwing up every color you own. A two-color canopy looks intentional; a rainbow explosion usually just looks chaotic in photos.
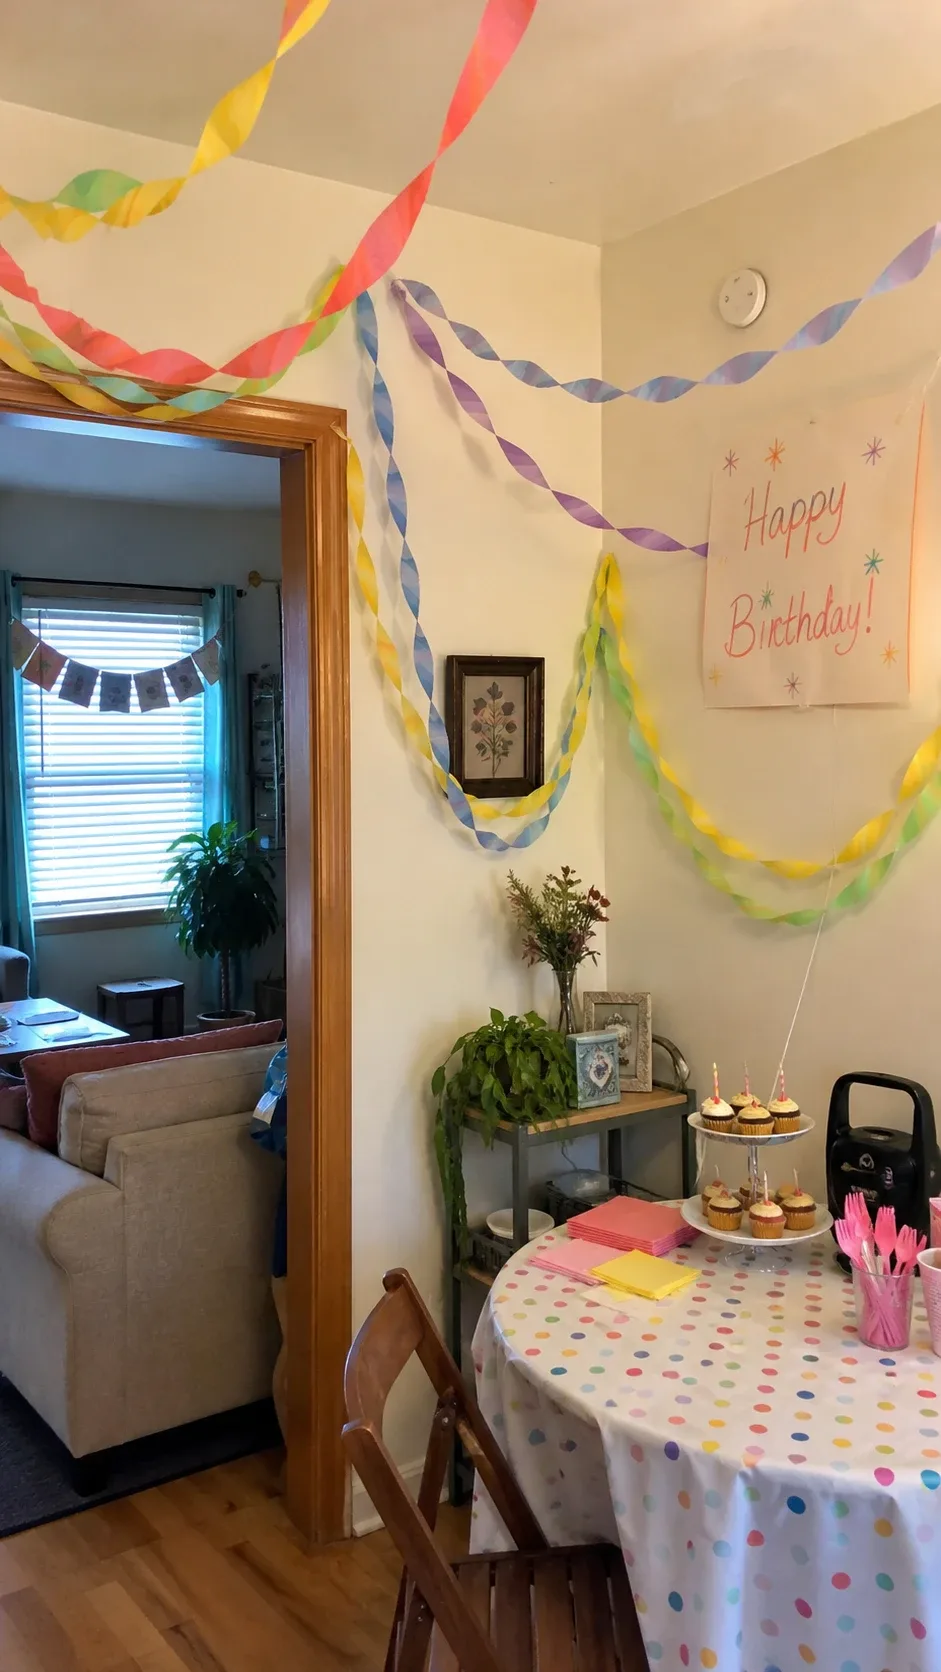
Image credit: homedishy.com
3. Twisted Two-Tone Garlands
Two rolls of streamers in coordinating colors — I like mint and white, or coral and blush — twisted loosely together make a rope-like garland that looks ten times fancier than a single strand. Cut equal lengths of both colors, line up the ends, and twist them gently together. The key word is gently. Crepe paper tears if you twist it tightly, and a loose, even twist actually photographs better anyway.
I hang these in soft scallops around doorways, windows, and the front of the dessert table. A scallop (just letting the garland sag naturally between two anchor points) reads as “decorated with care” while straight-across hanging reads as “ran out of time.” One garland can frame a whole doorway, so two rolls go a long way.
4. A Streamer Rainbow Arch
If you’ve seen those giant balloon rainbow installations and thought “no way, that’s hundreds of dollars,” this is your answer. Mark an arch shape on the wall with painter’s tape first — a big rainbow outline — then lay streamer strips along the curve, one color per band, working from the outside in. Each band sits just inside the last one.
Put the arch behind the cake table with a simple sign or number in the center and you have a full party backdrop for under five dollars. Slightly wobbly curves are fine; perfectly straight rainbow bands actually look less charming. This is the one kids run to for photos, every single time.
5. Ruffled Streamer Wall
When you gather or fold streamers into loose waves as you attach them, the paper catches light and shadow in a way that flat streamers never do, and the whole wall gets this soft, textured, almost fabric-like look. It’s stunning behind a gift table or a dessert spread.
Fair warning: this technique eats material. A ruffled wall uses roughly twice as much paper as a flat one, so measure your space and buy an extra roll or two. Also, crepe paper can split along its folds if you yank it, so gather it loosely. I do horizontal rows of ruffles, alternating one dominant color with a lighter accent every few rows, and it always looks like something from a much more expensive party.
6. Hanging Streamer Tassel Drops
Sometimes you don’t want to cover a whole wall — you just want vertical movement in the room. Cut streamers into strips, gather a handful together at the top, and tie them into a bundle with ribbon or twine. Hang the bundles at different heights from the ceiling and you get this lovely waterfall effect.
Keep the individual strips reasonably wide, though. I once cut mine super thin for a delicate look, and after an hour of kids running past, they curled up into sad little spirals. Medium-width strips hold their shape all party long. These look especially good hung in clusters above the buffet or dessert table, where the vertical lines naturally draw the eye down to the food.
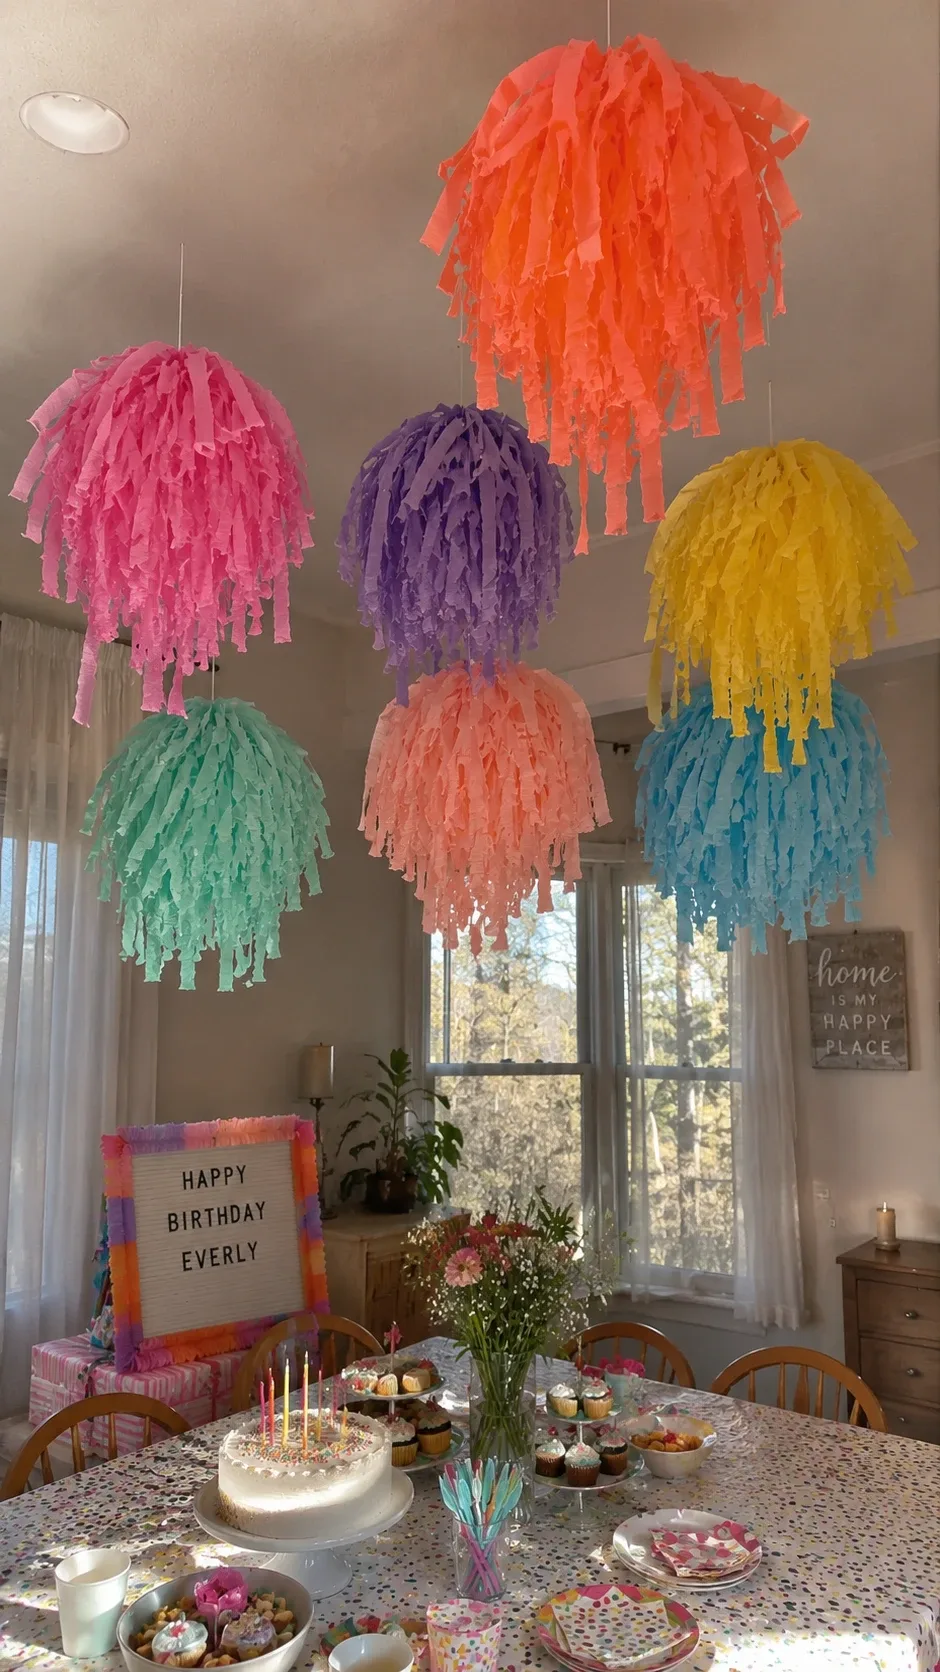
Image credit: homedishy.com
7. A Streamer Photo Booth Frame
Guests will take photos at your party no matter what, so give them a good spot to do it. Instead of covering an entire wall, frame the outer edges of a doorway or a blank wall section with twisted and layered streamers, leaving the center clear for people to stand in. It becomes an instant photo booth.
Reinforce the attachment points at shoulder height, because people will brush against the decoration — especially kids. And keep the floor area clear of loose paper so nobody’s foot catches a streamer strand mid-photo. A few cardstock letters spelling something like “SHE’S SEVEN” or “GRAD 2026” in the center takes it to the next level.
8. Floating Streamer Clouds
These are my favorite ceiling decoration. Gather short streamer strips into loose, airy bundles that look like colorful little clouds, then suspend them from the ceiling with transparent thread at slightly different heights. The irregular, puffy shapes fill empty airspace over a party table without taking up any floor room.
Don’t pack them tight — the magic is in the loose, cloud-like fluff. Use lightweight crepe paper and secure each cluster at a few points so it doesn’t sag. Over a dining or dessert table, two or three clouds in coordinating shades make the whole setup feel styled and intentional. For my daughter’s party I did blush pink and cream clouds and they showed up in every single photo.
9. Streamer Doorway Fringe
Don’t let your entrance be a boring blank zone. Hanging a fringe of vertical streamer strips across the top of a doorway makes walking into the party feel like an event in itself. Attach parallel strips along the top, then trim the bottoms into varied lengths for that classic fringe look.
Space them close enough to look full but leave real room for people to walk through — nobody wants paper in their face while carrying a gift. A nice touch: use a darker shade around the outer edges and lighter shades toward the center. That little gradient gives the fringe depth and makes it look way more professional than a single flat color.
10. A Streamer Table Runner
Streamers aren’t just for walls and ceilings — they can decorate the table itself. Layer several narrow strips lengthwise down the center of the table and gently twist a few sections for texture. It’s a disposable runner that costs basically nothing and takes five minutes.
Two rules I learned the hard way: keep the paper away from candles and hot serving dishes (crepe paper and heat do not mix), and put a washable or plastic tablecloth underneath, because crepe paper bleeds color if it gets wet. For messy parties — think kids’ birthdays — that underlayer will save your table and your sanity. Tuck in a few small paper decorations or tiny bud vases between the streamer sections to balance the tablescape.
11. A Streamer-Wrapped Party Sign
A plain cardboard sign with “HAPPY BIRTHDAY EMMA” written on it looks fine. The same sign wrapped with streamers around its border looks like you actually tried. Wrap streamer strips around the outer edge of a foam board or cardboard sign and secure them on the back with double-sided tape, then add your lettering.
Use one or two colors around the border rather than covering the whole sign — the message has to stay readable. And pick a lettering color that contrasts strongly with the sign background. I once did pink letters on a pink streamer sign and nobody could read it from more than three feet away. Lesson learned: contrast is everything.
12. A Mini Backdrop for the Dessert Table
You don’t need to decorate the entire room. A small, concentrated streamer backdrop right behind the dessert table gives you a finished, pulled-together look with a fraction of the effort. Keep the streamers within the width of the table, maybe a touch wider than the cake itself, so the decoration frames the food without competing with it.
Layer shorter strips over longer ones to add depth — that layering is what makes it look full in photographs instead of thin and sad. Match the streamer colors to the cake, napkins, or serving pieces and the whole table suddenly looks coordinated, like a set from a magazine. This is my go-to move when I’m decorating in under an hour.
13. A Spiral Streamer Chandelier
For a playful centerpiece above the party table, cut long streamer pieces, twist them loosely into spirals, and suspend them from a central ceiling point at different lengths. The spirals catch air movement and slowly rotate, which looks genuinely magical when guests first walk in.
Keep the whole installation lightweight and well secured — one falling spiral on someone’s plate is funny exactly once. Leave plenty of clearance above guests’ heads, especially around dining tables where people stand up and move around. Slightly asymmetrical chandeliers look more modern and homemade-in-a-good-way than perfectly symmetrical ones.
14. An Ombre Gradient Streamer Wall
This is the fanciest-looking idea on the list and it’s just color ordering. Arrange vertical streamer strips so the colors flow from dark to light — deep coral melting into blush, for example, or navy fading into sky blue. That gradient effect photographs beautifully and makes people assume you spent way more than you did.
It helps to lay the strips out on the floor in order before hanging anything. I arrange mine left to right in the gradient sequence, then transfer them to the taped strip in that same order. Three shades of one color family is the sweet spot; two can look abrupt and four gets muddy. For a gold-and-white ombre backdrop at a graduation party, the photos looked like a professional backdrop rental.
How to Hang Streamers So They Actually Stay Up
This is the part that matters more than any single idea, because the best streamer wall in the world is worthless if it slides off the wall before the guests arrive. Here’s my method, refined through several tape failures:
Step 1: Use painter’s tape, not masking tape or regular tape
Painter’s tape (the blue or green kind) sticks well to walls, holds lightweight crepe paper, and peels off cleanly afterward. Regular masking tape loses grip as the room warms up, which is exactly why my first streamer attempt ended in the punch bowl. For a few dollars, painter’s tape is the single best party-supply investment you can make.
Step 2: Build on the table first
For backdrops, curtains, and fringe, lay a long strip of painter’s tape sticky-side-up on the table and press your streamer tops onto it in order. You get perfect spacing with zero ladder time, and then you just lift the whole strip and press it to the wall. This one trick cut my decorating time in half.
Step 3: Give ceiling strands a gentle sag
Never pull streamers drum-tight across a ceiling. Tight paper puts constant tension on the tape anchors, and crepe paper stretches and tears under tension. A relaxed curve with a few inches of dip looks better and stays up longer. The paper needs slack to survive.
Step 4: Double up your anchor points
Any place where people might brush against the decoration — doorways, shoulder-height walls, the edges of a photo area — gets two pieces of tape instead of one. The five seconds this takes saves you from mid-party repairs, which are always worse because now there are witnesses.
Step 5: Test one spot first
Before you cover a whole wall, stick one piece of painter’s tape on an inconspicuous area and check it after ten minutes. Most painted walls are fine, but textured or dusty walls can reject tape, and you want to find that out with one test piece, not after building a whole backdrop.
Mistakes That Make Streamers Look Cheap (I Made Them All)
Using every color in the pack. A rainbow of unrelated colors almost always looks messier than two or three coordinating shades. Limited palettes look expensive; grab-bag palettes look like a clearance bin.
Twisting too tightly. Over-twisted crepe paper wrinkles, tears, and looks stressed. A loose twist is prettier and holds up better.
Decorating in a steamy or damp room. Crepe paper absorbs moisture, sags, and bleeds color when it gets damp. If you’re decorating an outdoor party, put the streamers up as close to party time as possible and keep them under cover.
Forgetting the floor. Step back and look at the whole room, not just the wall you’re working on. Bare floors next to a decorated wall make the decoration look smaller than it is. A cheap solid-color tablecloth and a few balloons scattered at floor level ground the whole look.
Final Thoughts
Streamer decorations work because they give you scale for almost no money. A ten-dollar trip to the dollar store buys enough crepe paper to transform a whole room, and with a little layering and a limited color palette, the results genuinely look like you hired someone. My punch-bowl disaster taught me the two things that actually matter: build on painter’s tape first, and never pull the paper tight.
Pick the one idea that fits your space — a curtain backdrop behind the cake table is the best starting point — take your time with the arrangement, and don’t aim for perfection. Slightly wobbly curves and handmade-looking edges are part of the charm. The kids will run straight to the rainbow arch, the adults will ask where you got the backdrop, and nobody will believe it cost less than a pizza.