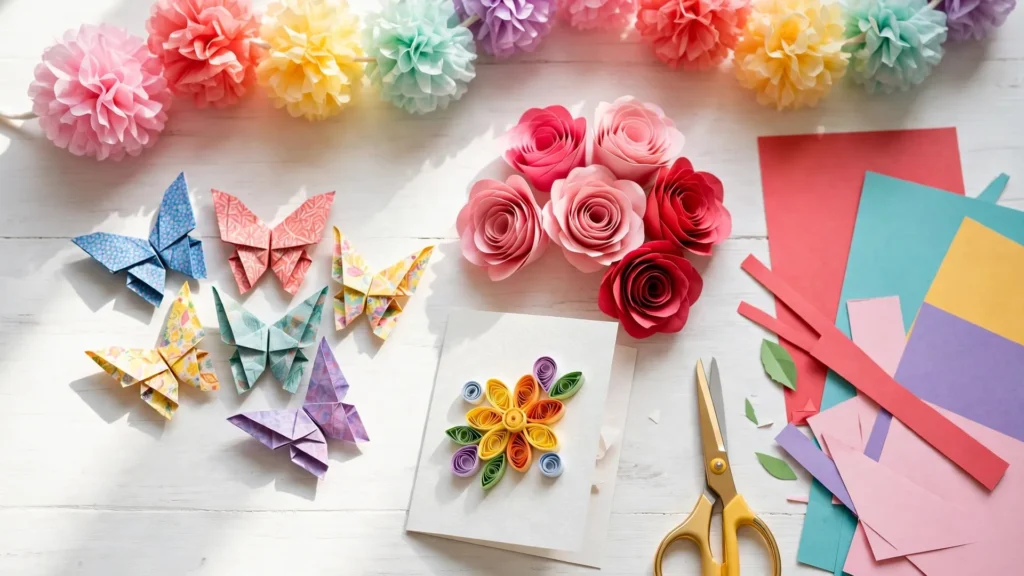

The first craft most of us ever made was a paper craft. A folded paper airplane. A snowflake cut out during art class. A card for Mom with glue still wet when we handed it over. Nobody taught us the rules, and somehow it still worked — that’s the whole magic of working with paper.
If you’ve been scrolling through Pinterest watching people turn a single sheet of paper into butterflies, flowers, and gift-ready cards, here’s the good news: you don’t need expensive supplies, a craft room, or years of experience. You need paper, a few tools you probably already own, and an afternoon. This guide walks you through beginner-friendly paper crafts that actually look good — from origami basics to paper garlands and quilling starters — with step-by-step instructions, real examples, and the mistakes to skip.
Why Paper Crafts Are the Perfect Place to Start
Paper is the most forgiving craft material on the planet. Mess up a fold? Unfold and try again. Cut too much? The paper was nearly free anyway. There’s no drying time to wait out, no fumes, no kiln, no sewing machine learning curve. You can start a project and finish it in a single sitting, which means you get the best part of crafting — holding something you made — within the hour.
It’s also genuinely affordable. A pack of colored paper, a glue stick, and scissors cost less than a single dinner out, and that one shopping trip will fuel dozens of projects. Paper crafts work for adults who want a relaxing weekend hobby, parents looking for low-mess projects with kids, and teens who want dorm-room decor that doesn’t cost much. And because supplies are so light, you can craft at the kitchen table, on the couch, or anywhere with a flat surface.
Your Starter Supply List (Keep It Simple)
You don’t need a craft-store haul. Start with these basics, then add specialty items only when a specific project calls for them:
- Colored paper or cardstock — a mixed pack with lots of colors covers most projects.
- Scissors — sharp ones; dull blades tear paper instead of cutting it.
- Glue stick — less messy than liquid glue and plenty strong for paper-to-paper bonds.
- Ruler and pencil — for marking folds and cutting lines.
- Tape — regular or double-sided, useful for garlands and quick fixes.
- String, yarn, or twine — for hanging garlands, mobiles, and ornaments.
- Markers or gel pens — for adding faces, patterns, and details.
That’s it. As you get more confident, you can add a bone folder for crisp creases, a craft knife for detailed cuts, and quilling strips — but don’t buy those on day one.
7 Easy Paper Craft Projects for Beginners
Here are seven projects ordered roughly from easiest to slightly more involved. Each one can be finished in under an hour, uses only the supplies above, and teaches you a technique you’ll reuse on harder projects later.
1. Origami Corner Bookmarks
This is the ideal first origami project because the folding sequence is short, and the result is genuinely useful. Corner bookmarks slide over the corner of a page, so they double as a cute reading accessory.
How to make one: Start with a square sheet of paper (about 15 x 15 cm). Fold it in half diagonally to make a triangle, then fold that triangle in half again to make a smaller triangle. Position it with the folded edge at the bottom. Take the two top corners of the smaller triangle and fold them up to the top point — you’ll get a diamond shape. Now tuck both of those folded corners down into the pocket that formed in the middle of the diamond. Flatten it well, and you have a triangular corner pocket.
Make it yours: Draw a monster face, a cat face, or eyes and teeth on the triangle, and it instantly becomes a fun character bookmark. This is a favorite kids’ project because the decorating is half the fun.
2. Rolled Paper Flowers
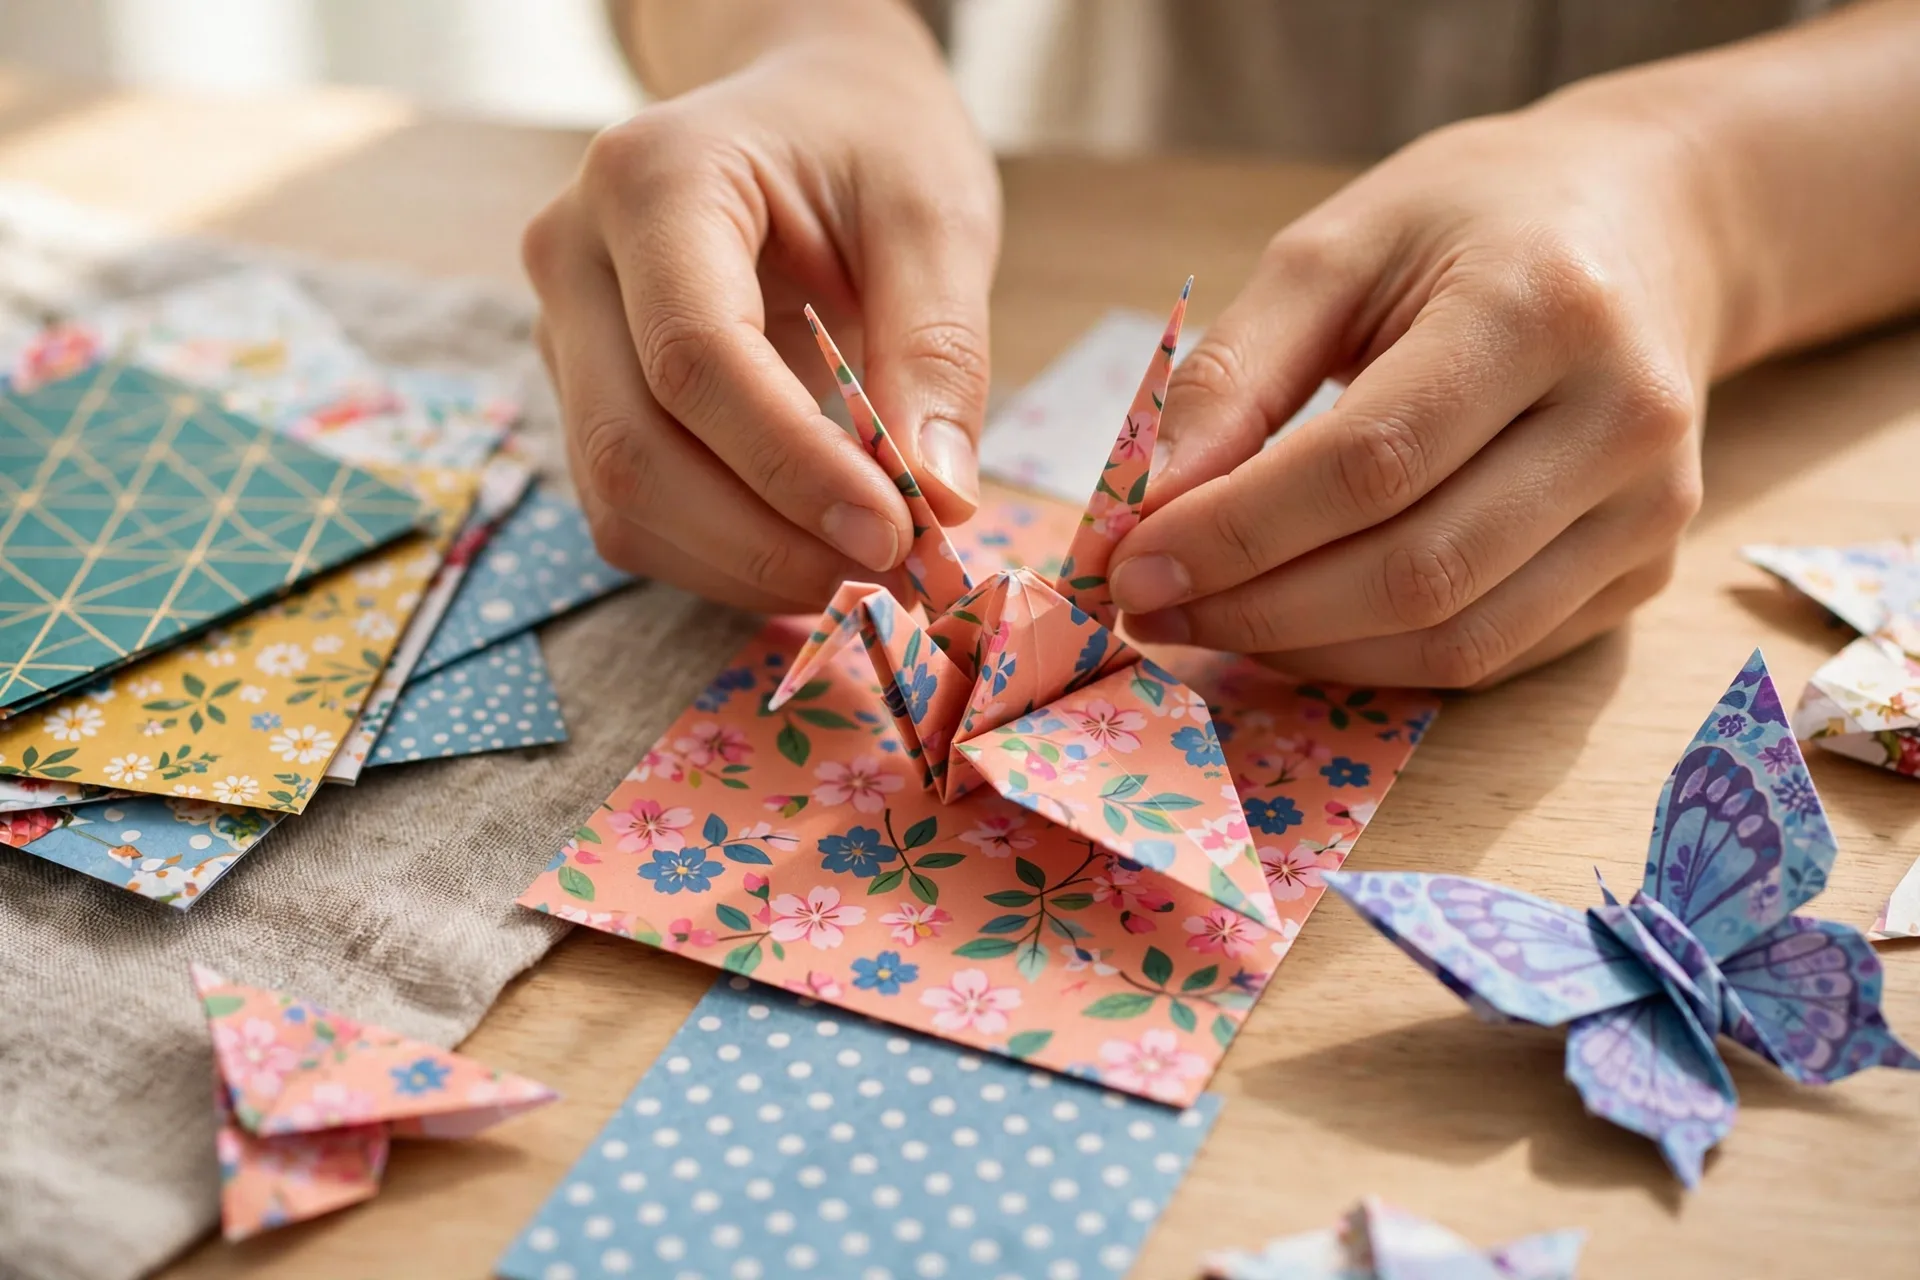
Rolled paper roses look far more impressive than the effort they take. They’re the gateway into paper florals, and a small bouquet makes a lovely gift or shelf decoration.
How to make them: Cut a spiral shape out of a square of colored paper — imagine a circle with a spiral cut winding from the edge toward the center. Starting from the outer end of the spiral, roll the paper tightly around itself (a toothpick or skewer helps at the start). Keep rolling until you reach the center of the spiral. Let go slightly so the roll relaxes into a rose shape, then put a dab of glue on the center disc and press the rolled flower onto it. Hold for a few seconds.
Tips: Wavy or imperfect spiral cuts actually make prettier, more natural-looking flowers. Try different paper weights — cardstock gives sturdy, bold roses, while lighter paper makes softer, ruffled blooms. Glue a few onto a skewer or floral wire, add paper leaves, and you have a full bouquet that never wilts.
3. Tissue Paper Garlands
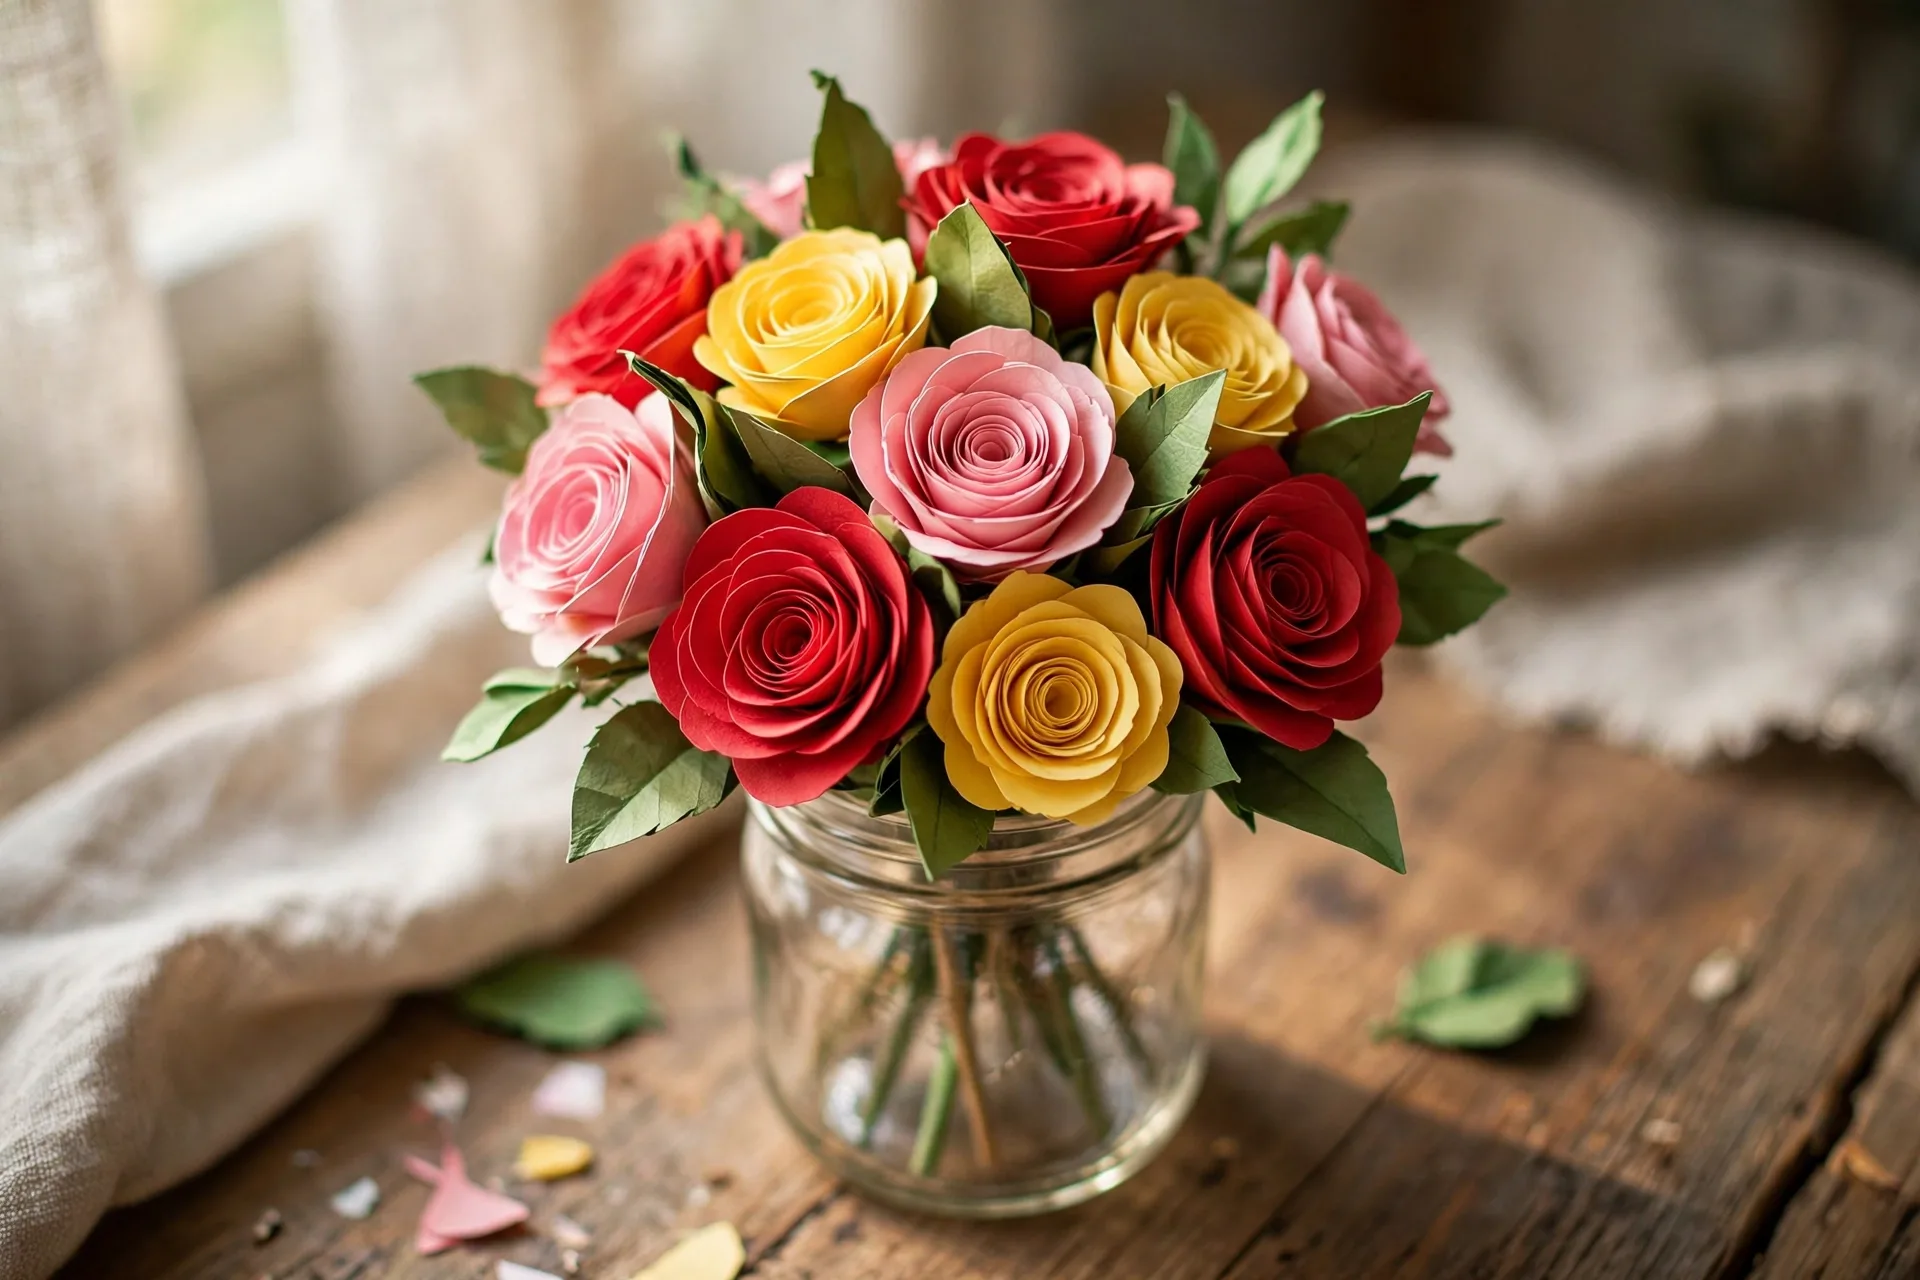
Garlands are the fastest way to make a room feel decorated. A tissue paper tassel or pom-pom garland takes minutes per piece and looks like party decor from a shop.
How to make tassels: Stack 2–3 sheets of tissue paper and fold them in half. Cut the folded end into thin strips (about 1 cm wide), leaving about 3 cm uncut at the top fold. Unfold the paper, then roll the uncut top section tightly to form a loop, and secure it with tape or a dab of glue. Thread the loops onto a piece of string or twine, spacing them out, and hang the garland.
How to make pom-poms: Stack 8–10 sheets of tissue paper, fold the stack accordion-style in about 3 cm folds, tie the middle with string, and cut both ends into rounded or pointed shapes. Then gently pull apart each layer, fluffing them outward from the center, until you get a full pom-pom. Alternate colors along your string for the classic party look.
4. Quilling Starter Shapes
Quilling is the art of rolling thin paper strips into coils and shaping them into designs. It looks delicate and intricate, but the basic shapes take about ten minutes to learn. You can cut your own strips from colored paper (about 0.5 cm wide) if you don’t want to buy a quilling set — a toothpick works as a rolling tool.
How to make the basic coil: Slide one end of a paper strip into the slit of a toothpick (or wrap it around the tip). Roll the strip around the toothpick evenly, keeping the edges aligned. When you reach the end, dab a bit of glue on it and let go — you now have a tight coil. For a loose coil, let it relax for a moment before gluing, then you can shape it.
Three beginner shapes: pinch one side of a loose coil into a teardrop; pinch both sides for an eye or leaf shape; push the center of a coil outward slightly for a small dome or cup. Combine these shapes on a card or in a frame to make flowers, snowflakes, and mandalas. Most beginners are surprised at how quickly their quilling starts looking like the photos.
5. Handmade Greeting Cards
Store-bought cards cost several dollars each and say what everyone else is saying. A handmade card takes fifteen minutes, costs almost nothing, and people genuinely keep them.
How to make one: Fold a sheet of cardstock in half — that’s your card base. Layer a slightly smaller rectangle of patterned or colored paper on the front with a glue stick. Now add your design: a quilled flower, a cut-out heart, a stamped or hand-lettered message, or a small rolled-rose cluster. Keep the front uncluttered — one strong focal point beats five competing elements. Write your message inside by hand.
Why this project sticks: It’s the most practical craft on this list. Birthdays, holidays, thank-you notes, baby showers — handmade cards get used all year. Make five or six in one sitting and you’ll always have one ready.
6. Paper Lanterns
Paper lanterns add warm, playful decoration to a party, a patio evening, or a kid’s bedroom. They’re a classic beginner project because the construction is just cutting and rolling.
How to make one: Fold a rectangular sheet of paper in half lengthwise. Along the folded edge, cut straight slits about 2 cm apart, stopping about 2 cm from the open edge — don’t cut all the way through. Unfold the paper, roll it into a cylinder so the short ends meet, and tape or glue them together. Add a handle by gluing a strip of paper across the top. When the slits open up, you get the classic lantern shape.
Variations: Use two colors — one for the lantern body and a contrasting strip for the handle and the top/bottom rims. String several together with twine for a festive garland, or place a battery tealight inside a larger lantern for a soft glow (never use a real candle — paper and flame don’t mix).
7. Accordion Paper Butterflies
These butterflies are made entirely from two accordion-folded pieces of paper, which makes them one of the simplest 3D paper crafts — and one of the cutest. They’re lovely on greeting cards, gift wrapping, or strung into a mobile.
How to make one: Cut two rectangles from colored paper — one larger (about 10 x 15 cm) and one smaller (about 8 x 12 cm). Fold each one accordion-style in narrow folds, then fold each folded stack in half. Open them slightly so they fan out into wing shapes — the larger one is the top wings, the smaller the bottom wings. Wrap a pipe cleaner or twisted strip of paper around the middles of both to form the body, twist it closed, and curl the ends for antennae. Spread the wings and you’re done.
Know Your Paper: A Quick Guide
Using the right paper makes every project easier. Here’s what the main types are good for:
- Construction paper — the classic colorful school paper. Cheap, easy to fold, great for kids’ crafts and garlands. Downside: it fades in sunlight and isn’t very strong.
- Cardstock — thicker and sturdier. Best for greeting cards, rolled flowers, and anything that needs to hold its shape.
- Tissue paper — thin and delicate. Perfect for pom-poms, tassels, and anything fluffy or layered. Tears easily, so handle gently.
- Scrapbook paper — printed patterns and designs, usually cardstock-weight. Great for card fronts, bookmarks, and origami where a pattern adds interest.
- Printer paper — fine for practicing origami folds before you use the good stuff. Keep a stack nearby for test folds.
A beginner tip: always practice a new fold or cut on scrap paper first. It costs nothing and saves your colored paper for the real attempt.
5 Common Mistakes Beginners Make (and How to Avoid Them)
1. Using dull scissors. Dull blades catch and tear the paper, leaving ragged edges. If your cuts look fuzzy, it’s the scissors, not you. A sharp pair makes every project cleaner instantly.
2. Using too much glue. More glue doesn’t mean a stronger bond — it means soggy, wrinkled paper. A thin, even layer from a glue stick is enough for almost everything. If the paper is rippling, you’re using too much.
3. Skipping measurements. Eyeballing works for rustic crafts, but garlands, lanterns, and modular origami need roughly even cuts. Take the ten seconds to mark with a ruler — it shows in the finished piece.
4. Choosing paper that’s too thick for folding. Cardstock is wonderful for cards and flowers, but it fights you on multi-layer origami folds. Match the paper weight to the project: lighter paper folds more crisply.
5. Expecting perfection on the first try. Your first rolled rose will probably look like a cinnamon roll. Your second will look like a flower. Paper crafts have one of the fastest learning curves in all of crafting — each repeat is visibly better than the last. Give yourself three attempts before judging.
Where to Go From Here
Once you’re comfortable with these projects, the natural next steps are modular origami (units that slot together into stars and balls), paper mache for 3D sculptures, pop-up cards, and layered paper art in shadow-box frames. All of them build on the same basic skills you’ve practiced here: measuring, cutting, folding, and gluing with care.
Start with one project this weekend — the corner bookmarks or the paper lanterns are both excellent first picks. Set out your paper, clear the table, and give yourself permission to make a mess. The only thing standing between you and a table full of handmade paper crafts is a single sheet of paper and about twenty minutes.