
I’ll be honest with you: the first time I tried DIY Candle Making, my kitchen looked like a crime scene. Wax on the counter, wax on the floor, and a candle that came out looking more like a pancake than the cozy autumn-scented jar I had pictured. But here’s the thing — my second batch smelled amazing, and by my fifth, friends were asking if they could buy them. That’s the magic of this craft. You don’t need to be perfect to make something beautiful.
DIY candle making is one of those hobbies that rewards you fast. Within an afternoon, you can hold a finished, fragrant candle in your hands — one you made from scratch. It’s cheaper than buying boutique candles, it makes ridiculously good gifts, and once you get the hang of it, you can customize everything: the scent, the color, the container, even the crackle of the wick. Let’s walk through everything you need to know, plus 15 candle projects to spark your creativity.
What You Need to Start Making Candles
Before we get to the fun projects, let’s talk supplies. A starter candle-making kit costs around $25–40 and includes most of what you need, but you can also gather everything separately. Here’s your shopping list:
- Soy wax flakes — the beginner-friendly favorite. They melt easily, clean up with soap and water, and burn cleanly. A 5-pound bag is a good starting amount.
- Wicks — cotton wicks for containers, wooden wicks if you want that cozy fireplace crackle. Wick size matters more than you’d think — match it to your container’s diameter.
- A pouring pitcher — aluminum or stainless steel, with a spout. You can also use a large Pyrex measuring cup.
- A pot for a double boiler — never melt wax directly over high heat. Set your pitcher inside a pot of simmering water.
- Fragrance oils — buy oils specifically made for candles (candle-safe fragrance oils). Essential oils work too, but fragrance oils are stronger and made for this purpose.
- Wick stickers or holders — to keep wicks centered while the wax sets. Clothespins or chopsticks work in a pinch.
- Containers — heat-safe glass jars, tins, mugs, teacups. Thrift stores are gold mines for cute candle vessels.
- A thermometer — a cheap kitchen thermometer is fine. Temperature is the secret to candles that smell great.
- A kitchen scale — weigh your wax and fragrance for consistent results.
How to Make a Basic Soy Container Candle (Step by Step)
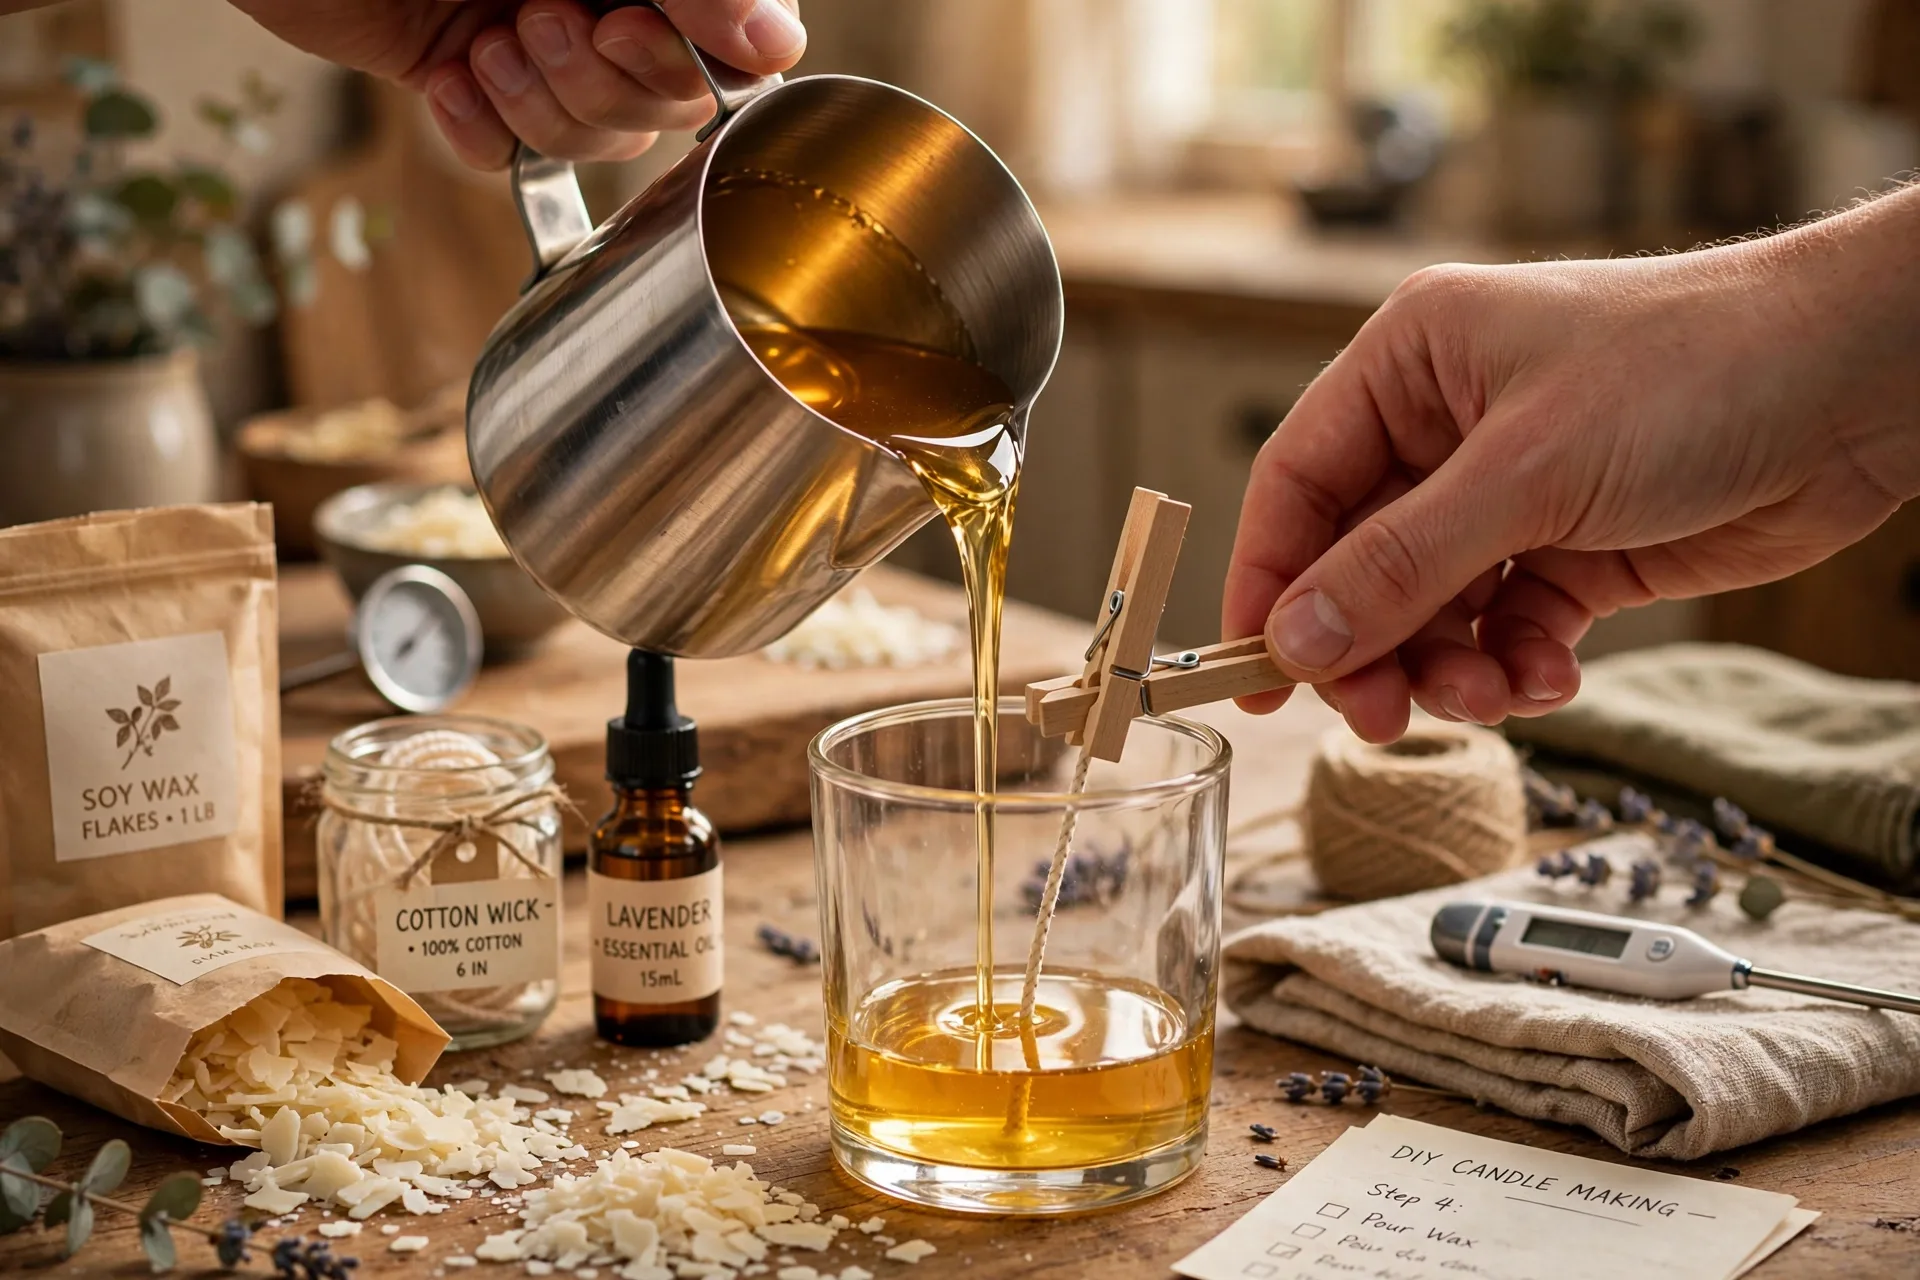
Every candle project below starts with this foundation, so learn it once and you’re set. This recipe makes one 8-ounce candle.
Step 1: Prep your container. Wash and dry your jar completely — water and wax don’t mix. Stick a wick to the center of the bottom with a wick sticker, and keep it upright with a clothespin or wick holder laid across the rim.
Step 2: Measure your wax. You’ll need about 6.5 ounces of soy wax flakes for an 8-ounce jar. Set your pitcher on the scale and weigh it out.
Step 3: Melt gently. Put a few inches of water in a pot, set the pitcher inside, and heat over medium. Stir occasionally. You want the wax fully melted and clear — around 170°F (77°C).
Step 4: Add fragrance. Remove the pitcher from heat and let the wax cool to 150–155°F (65–68°C). Add about 0.5 ounces of fragrance oil — that’s roughly a 6% fragrance load. Stir slowly and steadily for a full two minutes. This step is where most weak-smelling candles fail: stir too little and the scent won’t bind.
Step 5: Pour. Let the wax cool to 135–145°F (57–63°C), then pour slowly into your container, keeping the wick centered. Leave about half an inch of headspace at the top.
Step 6: Cure. Leave the candle undisturbed for at least 24 hours — 48 is better for soy. Trim the wick to ¼ inch before the first burn. Then light it and enjoy.
15 DIY Candle Making Ideas You’ll Love
1. Classic Soy Container Candle
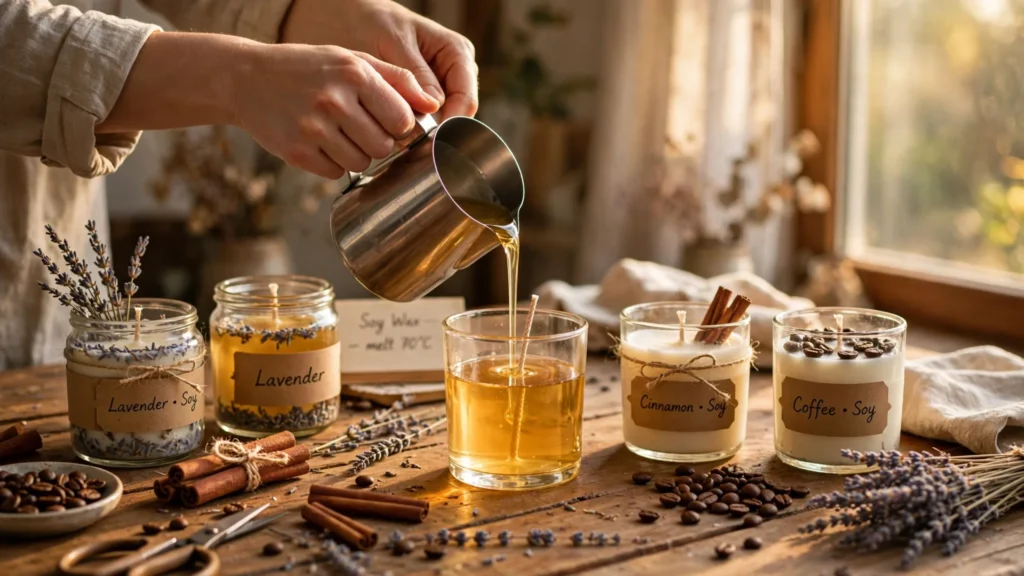
The perfect first project. Pick your favorite scent — vanilla bourbon, lavender fields, or fresh linen — and pour it into a mason jar. Tie some twine around the lid ring and you’ve got a gift that looks like it came from a boutique. Once you’ve made one, you’ll wonder why you ever paid $25 for store-bought candles.
2. Layered Fall Candles
These look stunning and are easier than they appear. Pour a layer of burnt-orange wax, let it set, then pour a layer of deep brown, then cream on top. Add scents like cinnamon, apple cider, and pumpkin spice to each layer. The result? A candle that looks like a fancy layered latte and smells like your favorite season.
3. Pure Beeswax Candles
Beeswax has a natural honey scent, so you don’t even need fragrance oil. It burns longer and cleaner than soy, with a warm golden color that’s gorgeous on its own. Beeswax melts at a higher temperature (around 145–147°F / 63°C), so use a sturdy container. Roll-and-light beeswax taper candles — made from sheets of beeswax rolled around a wick — are a wonderful no-melt project for kids too.
4. Citrus Rind Candles
Cut a lemon or orange in half, scoop out the flesh, and pour wax right into the rind. Add lemongrass or orange essential oil for a fresh, zesty scent. These make dreamy table centerpieces for dinner parties, and they’re completely compostable. Fair warning: citrus rind candles are best for short burns — they’re more decoration than workhorse candle.
5. Coffee-Scented Candles
For the coffee lover who has everything. Add espresso fragrance oil to soy wax, pour into a ceramic mug, and top with a few whole coffee beans before the wax sets. The finished candle looks adorable on a kitchen shelf. Pro tip: coffee-scented candles have an incredible cold throw — they smell amazing even when they’re not lit.
6. Lavender Relaxation Candles
This is the candle you light at the end of a long day. Combine lavender and vanilla fragrance oils, pour into a purple or white jar, and sprinkle a few dried lavender buds on top before the surface sets. Keep the buds away from the wick for safety. Place one on your nightstand and let your bedroom feel like a spa.
7. Dried-Flower Decorative Candles
These are the ones that get all the Pinterest saves. Press small dried flowers — lavender, chamomile, rose petals — against the outside of a finished pillar candle using melted wax as “glue,” or arrange them on the top of a container candle. Just remember: dried flowers are flammable, so keep them well away from the wick and trim them if needed. Safety first, beauty second.
8. Wooden-Wick Candles
Wooden wicks crackle softly as they burn — like a tiny fireplace. They come with little metal clips to hold them upright. The trick is trimming: wooden wicks need to be very short (about ⅛ inch) or they won’t stay lit. Pair a cedar or sandalwood scent with a wooden wick in an amber glass jar for maximum cozy.
9. Colored Layer Candles
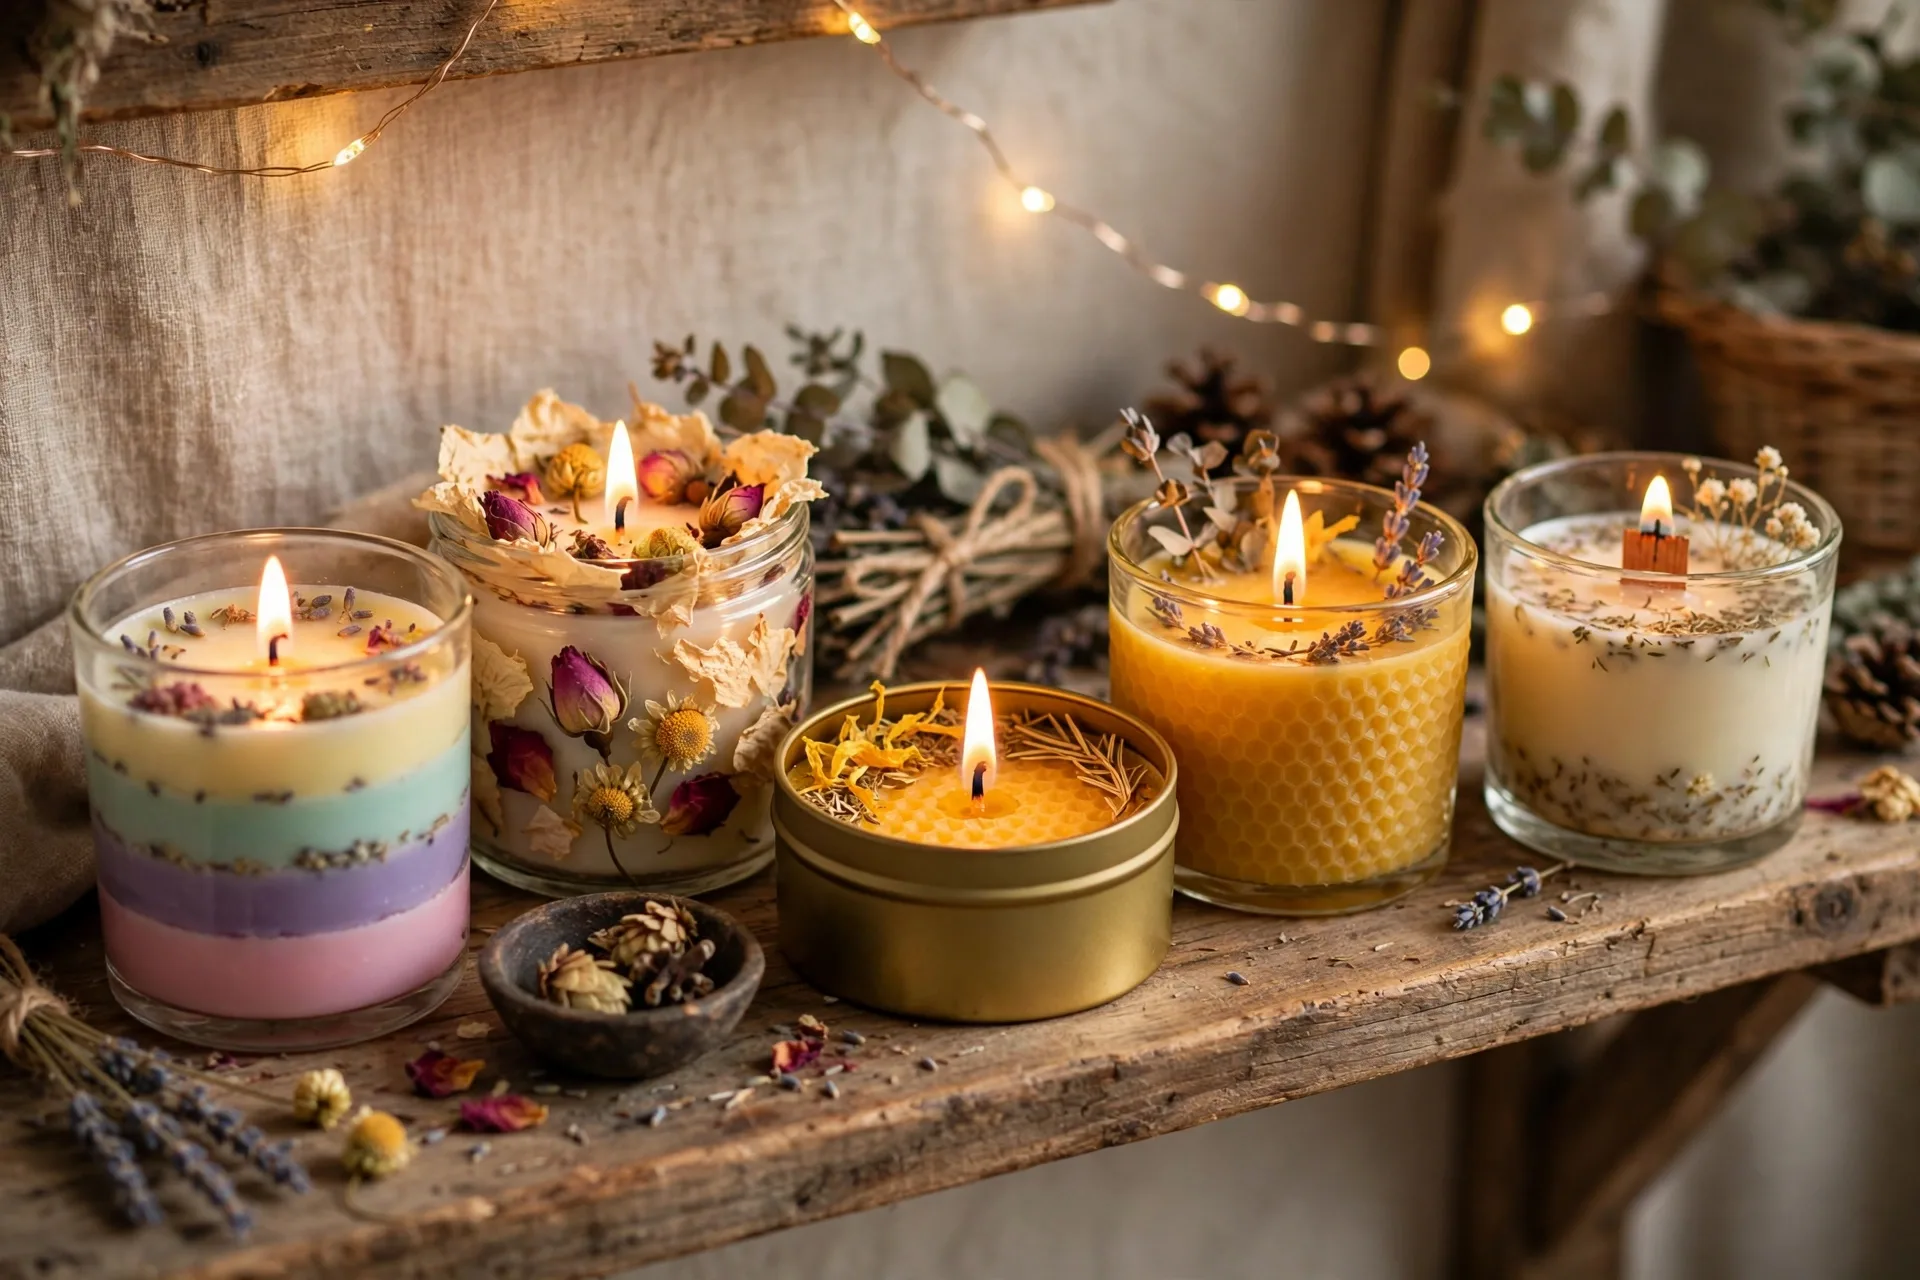
Similar to the fall layers, but this time go bold: teal, magenta, and gold, or a sunset gradient of pink, orange, and yellow. Use candle dye chips or liquid dye — a little goes a long way, so add dye in tiny amounts until you love the shade. Each layer needs about 30–45 minutes to set before you pour the next. Patience pays off here.
10. Cinnamon Spice Candles
Perfect for the holidays. Add cinnamon, clove, and nutmeg fragrance oils to your wax, and tie a few cinnamon sticks to the outside of the jar with jute string. These smell like December in candle form. They also make fantastic teacher and neighbor gifts — quick to make in batches.
11. Mini Tin Travel Candles
Small round tins with lids are cheap, portable, and adorable. Make a batch of mini tins in different scents — one for each room, or a little set to toss in a suitcase. Travel candles are also a great first project for candle-making parties: set up a station, let everyone pour their own, and send them home with a custom creation.
12. Emergency Candles
Practical meets crafty. Pour unscented or lightly scented wax into a sturdy jar with a long-burning wick. Label them with the date. These belong in every emergency kit, and making them yourself means you know exactly what’s in them. During power outages, you’ll be very glad you made a batch.
13. Marble-Effect Candles
Want an artsy, boutique look? Melt two colors of wax separately. Pour your base color into the jar, then drizzle the second color in thin ribbons while the base is still warm, swirling gently with a skewer. The marbling effect is different every single time — no two candles ever look alike. Marble candles photograph beautifully, which is why they’re all over Pinterest.
14. Herb-Infused Candles
Rosemary, thyme, or eucalyptus add a fresh, botanical vibe. Add the fragrance oil for scent strength, then press a small sprig of the actual herb into the top wax for looks. These candles look incredible in kitchens and make thoughtful hostess gifts. Just keep the herbs trimmed short and away from the flame.
15. Gift-Wrapped Candle Sets
Take three small candles in complementary scents — say, vanilla, coffee, and caramel — nestle them in a box with tissue paper, and add a handwritten tag. You’ve just created a gift that rivals anything at the mall for under $10. Holiday gift season, birthdays, teacher appreciation — a curated candle set never disappoints.
Candle Making Safety: What Every Beginner Should Know
Let’s be real for a moment: you’re working with hot wax and open flame, so safety isn’t optional. The good news? Every safety rule is simple to follow.
Always use a double boiler. Never melt wax directly in a pot over high heat. Wax has a flash point, and direct heat can overheat it. A pot of simmering water with your pouring pitcher nested inside is the safe, standard method. Keep the heat at medium and never walk away from melting wax.
Watch your temperatures. Get a thermometer and actually use it. Add fragrance oil around 150–155°F — too hot and the scent burns off; too cool and it won’t mix properly. Pour soy wax around 135–145°F for the smoothest tops. These numbers are the difference between a candle that smells amazing and one that barely smells at all.
Trim your wicks. Before every burn, trim the wick to ¼ inch (⅛ inch for wooden wicks). Long wicks create tall, smoky flames that can crack glass and produce soot. It’s a ten-second habit that keeps everything safe.
Never leave a burning candle unattended. This is the big one. Keep candles away from curtains, papers, pets, and kids. Burn on a stable, heat-resistant surface. Don’t burn a candle all the way down — stop when about half an inch of wax remains.
Keep fragrance oils away from flame. Measure fragrance oil at your work station, well away from the hot wax pot. And store all candle supplies — especially fragrance oils and dye — out of reach of children and pets.
Common Mistakes Beginners Make (And How to Fix Them)
Mistake 1: “I can’t smell my candle.” This is the number-one beginner complaint. The usual cause is adding fragrance oil at the wrong temperature or not stirring long enough. Add oil at 150–155°F, stir slowly for two minutes, and use a proper fragrance load (6–10% for soy). Also, let soy candles cure for 48 hours before judging the scent — fresh candles always smell weaker.
Mistake 2: Sinkholes and wet spots. Soy wax shrinks as it cools, which can leave little craters around the wick. Fix it with a second “relief” pour: after the first pour cools, poke holes around the wick with a skewer and pour a thin layer of melted wax on top. Wet spots (little air pockets between the wax and glass) are cosmetic and totally normal.
Mistake 3: Tunneling. If your candle burns straight down the middle and leaves a ring of unused wax, the first burn was too short. The first burn sets the “memory” of the candle — let it burn long enough that the entire top layer melts to the edge. This usually takes 1–2 hours for an 8-ounce candle.
Mistake 4: The wick won’t stay lit. Usually a wick that’s trimmed too long or too short, or a wick size mismatched to the container. If the flame keeps dying, try a slightly larger wick. If it flames too high, trim it shorter or size down.
Mistake 5: Frosting on soy candles. Soy wax naturally develops a white, frosty film as it cures. It’s harmless and doesn’t affect how the candle burns — many makers consider it a sign of natural soy wax. If it bothers you, try pouring at a slightly lower temperature or storing candles at a consistent room temperature.
Start Pouring — You’ll Be Hooked
Here’s what I love most about DIY candle making: it meets you where you are. Your first candle might have a sinkhole or a wobbly wick, and you’ll light it anyway and feel ridiculously proud. Then you’ll make a second one. Then a batch for Christmas gifts. Then, if you’re anything like the makers in this community, you’ll be experimenting with marble swirls and layered scents while your kitchen smells like a candle shop.
Start with one simple container candle this weekend. Gather your supplies, clear your counter, put on some music, and pour. The worst that happens is you learn something — and the best that happens is a hobby that fills your home with warmth and your gift list with handmade treasures.
I’d love to hear how your first candle turns out. Happy pouring!