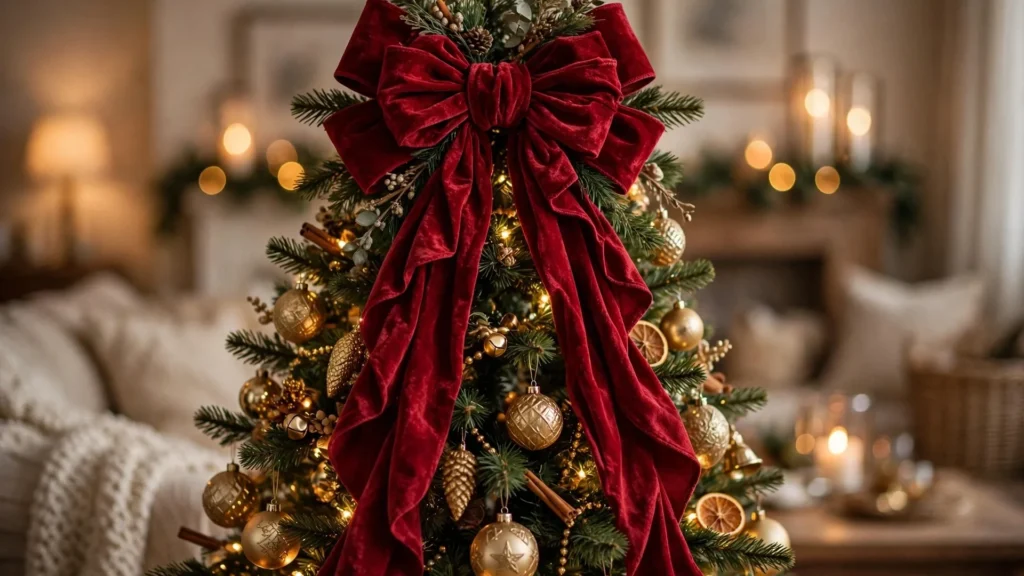

Here’s a confession: for years, my Christmas tree looked great from the middle down and then just… stopped. Ornaments hung, lights twinkled, the garland cascaded beautifully — and at the very top, where the whole thing was supposed to finish with a flourish, there sat a sad little gold star I’d owned since college, leaning sideways like it had given up.
Everything changed the year I finally made my own DIY Christmas tree topper. I made a big, dramatic velvet bow — nothing fancy, just ribbon, floral wire, and an hour on a Sunday — and the difference was unreal. Guests kept asking where I bought it. My sister photographed it for her “decor goals” folder. A ten-dollar ribbon suddenly became the thing everyone noticed.
That’s the secret about tree toppers: they’re small, but they carry the whole tree. And making your own means it actually matches your theme, your colors, and your budget — not some generic star that looks like everyone else’s. Below, I’ll walk you through my go-to oversized velvet bow tutorial step by step, then give you twelve more DIY Christmas tree topper ideas to choose from.
My Go-To Core Tutorial: Oversized Velvet Bow Topper
This is the topper I make almost every year in a new color, because it’s the fastest way to make a tree look designer-styled. Velvet ribbon with a wired edge is the whole trick — the wire lets you shape loops that stay plump and perky all season instead of flopping over.
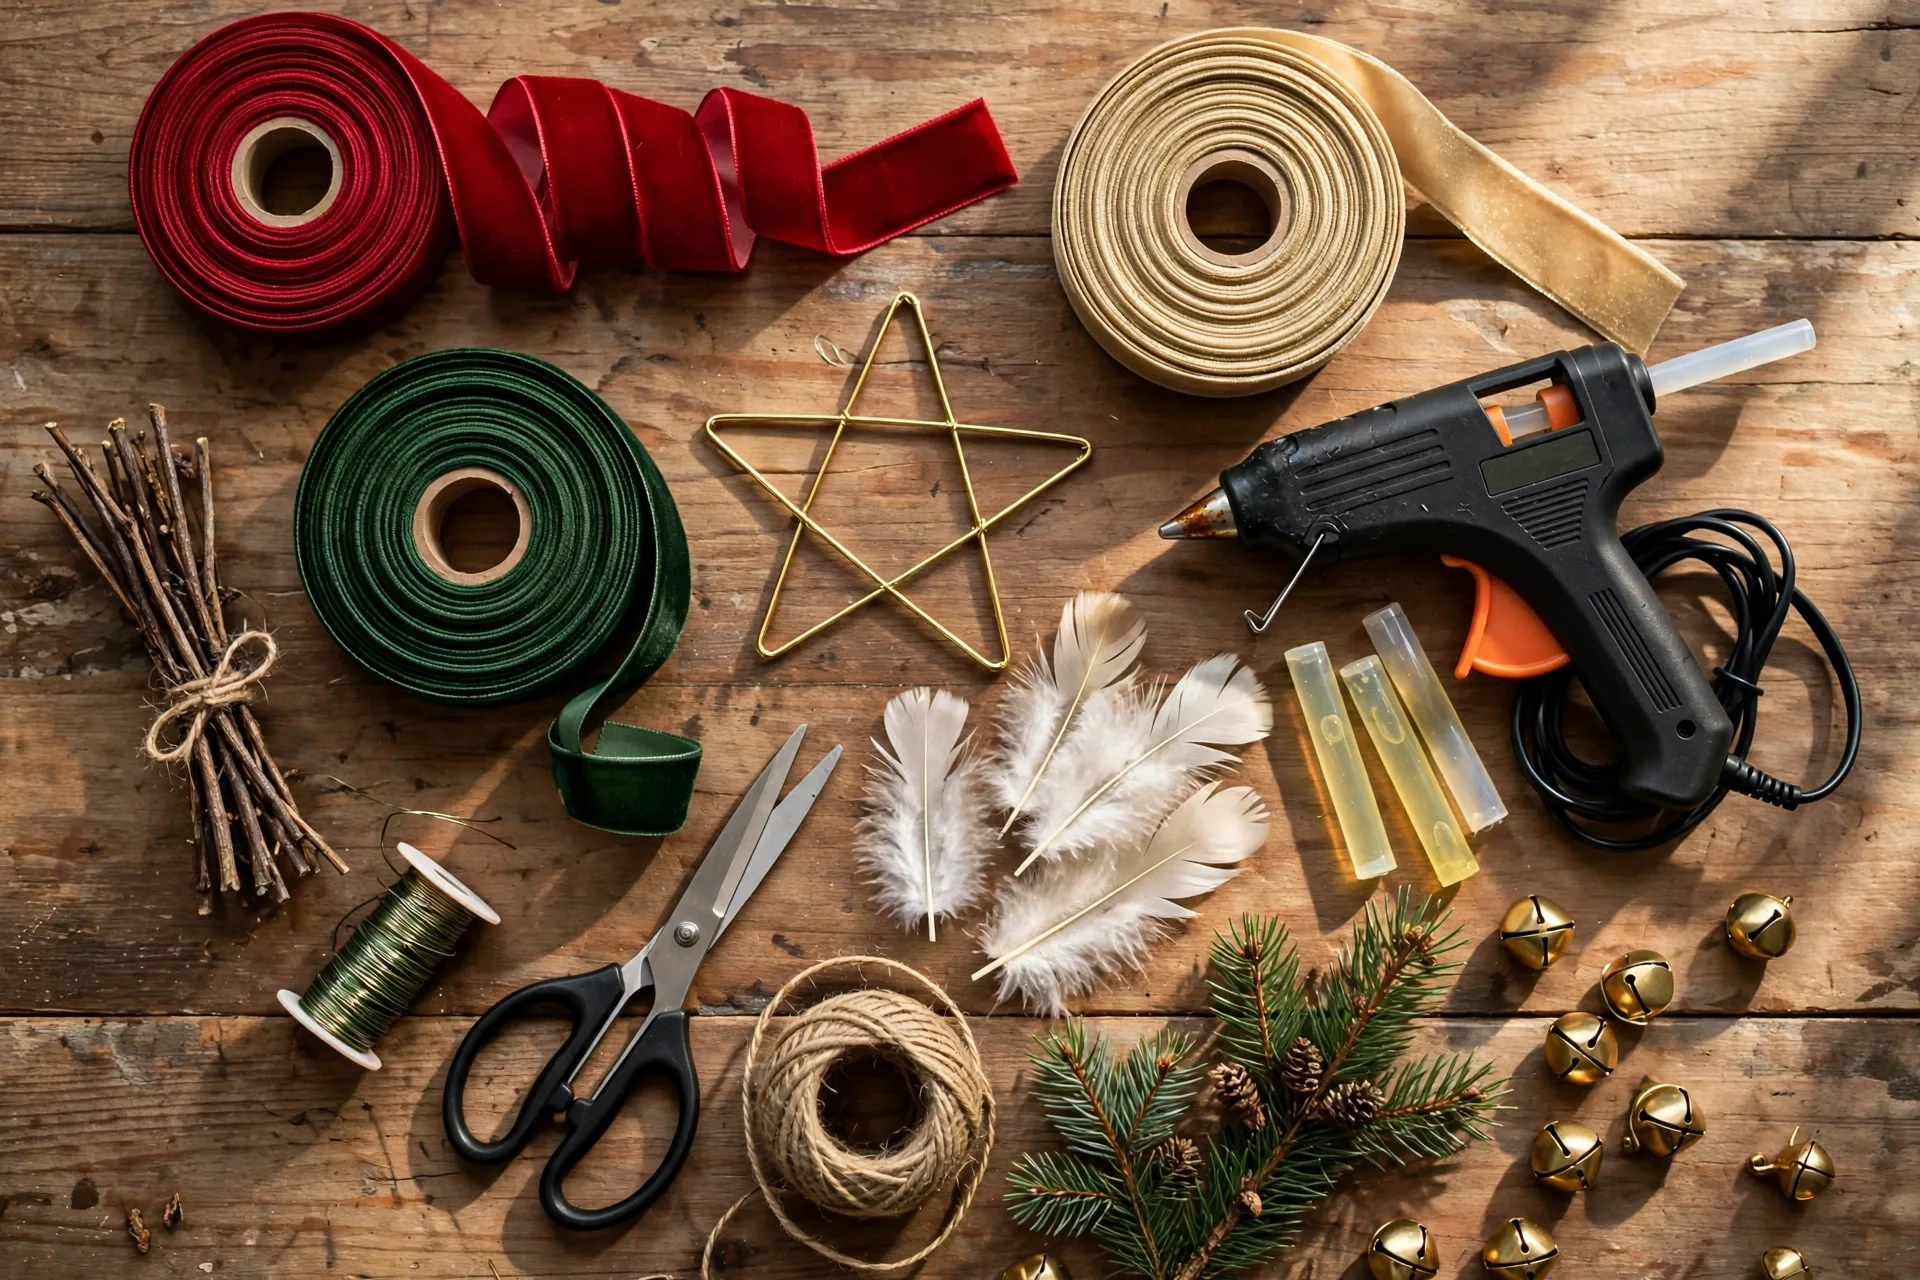
Materials List
- Wired-edge velvet ribbon, 2.5 to 4 inches wide — about 3 to 4 yards for a full bow with long tails (deep red, forest green, champagne, or navy all look incredible)
- Floral wire or heavy-gauge craft wire, about 12 inches
- Sharp scissors
- Optional: a sprig of faux greenery, a pinecone, or a few berry picks to tuck behind the bow
- Optional: a hot glue gun for attaching extras
Step-by-Step Instructions
Step 1 — Cut your ribbon. Cut one piece about 1.5 yards long for the bow itself and two separate pieces about a yard each for the tails. Longer tails look more dramatic; you can always trim them.
Step 2 — Form the loops. Lay the long piece flat, pinch the center, and fold each side into a loop — two loops per side, about 8 to 10 inches each, like a shoelace bow scaled up. Don’t worry about perfection; velvet hides a multitude of sins.
Step 3 — Wire the center. Wrap the floral wire tightly around the pinched center and twist it firmly. This is what holds everything together. Give the loops a good fluff — pull them out and up so they’re full and rounded. The wired edges will hold the shape you pose.
Step 4 — Add the tails. Take your two yard-long pieces, fold each in half to find the center, and wire or tie them behind the bow’s center so they hang down. Cut the ends in a V shape or on a diagonal — it looks far more finished than a straight cut.
Step 5 — Mount it on the tree. This is the step everyone skips and then regrets. A bow needs a firm anchor or it will tilt. Wrap the wire tails from the bow’s center tightly around the top branch of the tree, twisting it several times. If the top branch is thin, zip-tie a green garden stake or wooden dowel to the trunk first and mount the bow to that. Test it by giving the bow a gentle shake — it shouldn’t wobble.
Step 6 — Fluff and style. Once it’s mounted, fluff the loops one more time, spread the tails so they cascade down through the top branches, and tuck a sprig of greenery or berries behind the bow for depth. Step back. Done. Your tree has a crown now.
13 DIY Christmas Tree Topper Ideas to Try
Once you’ve mastered the bow, here are thirteen variations covering every style — rustic, glam, vintage, kid-friendly, and modern. Pick the one that matches your tree’s personality.
1. Classic Oversized Velvet Bow
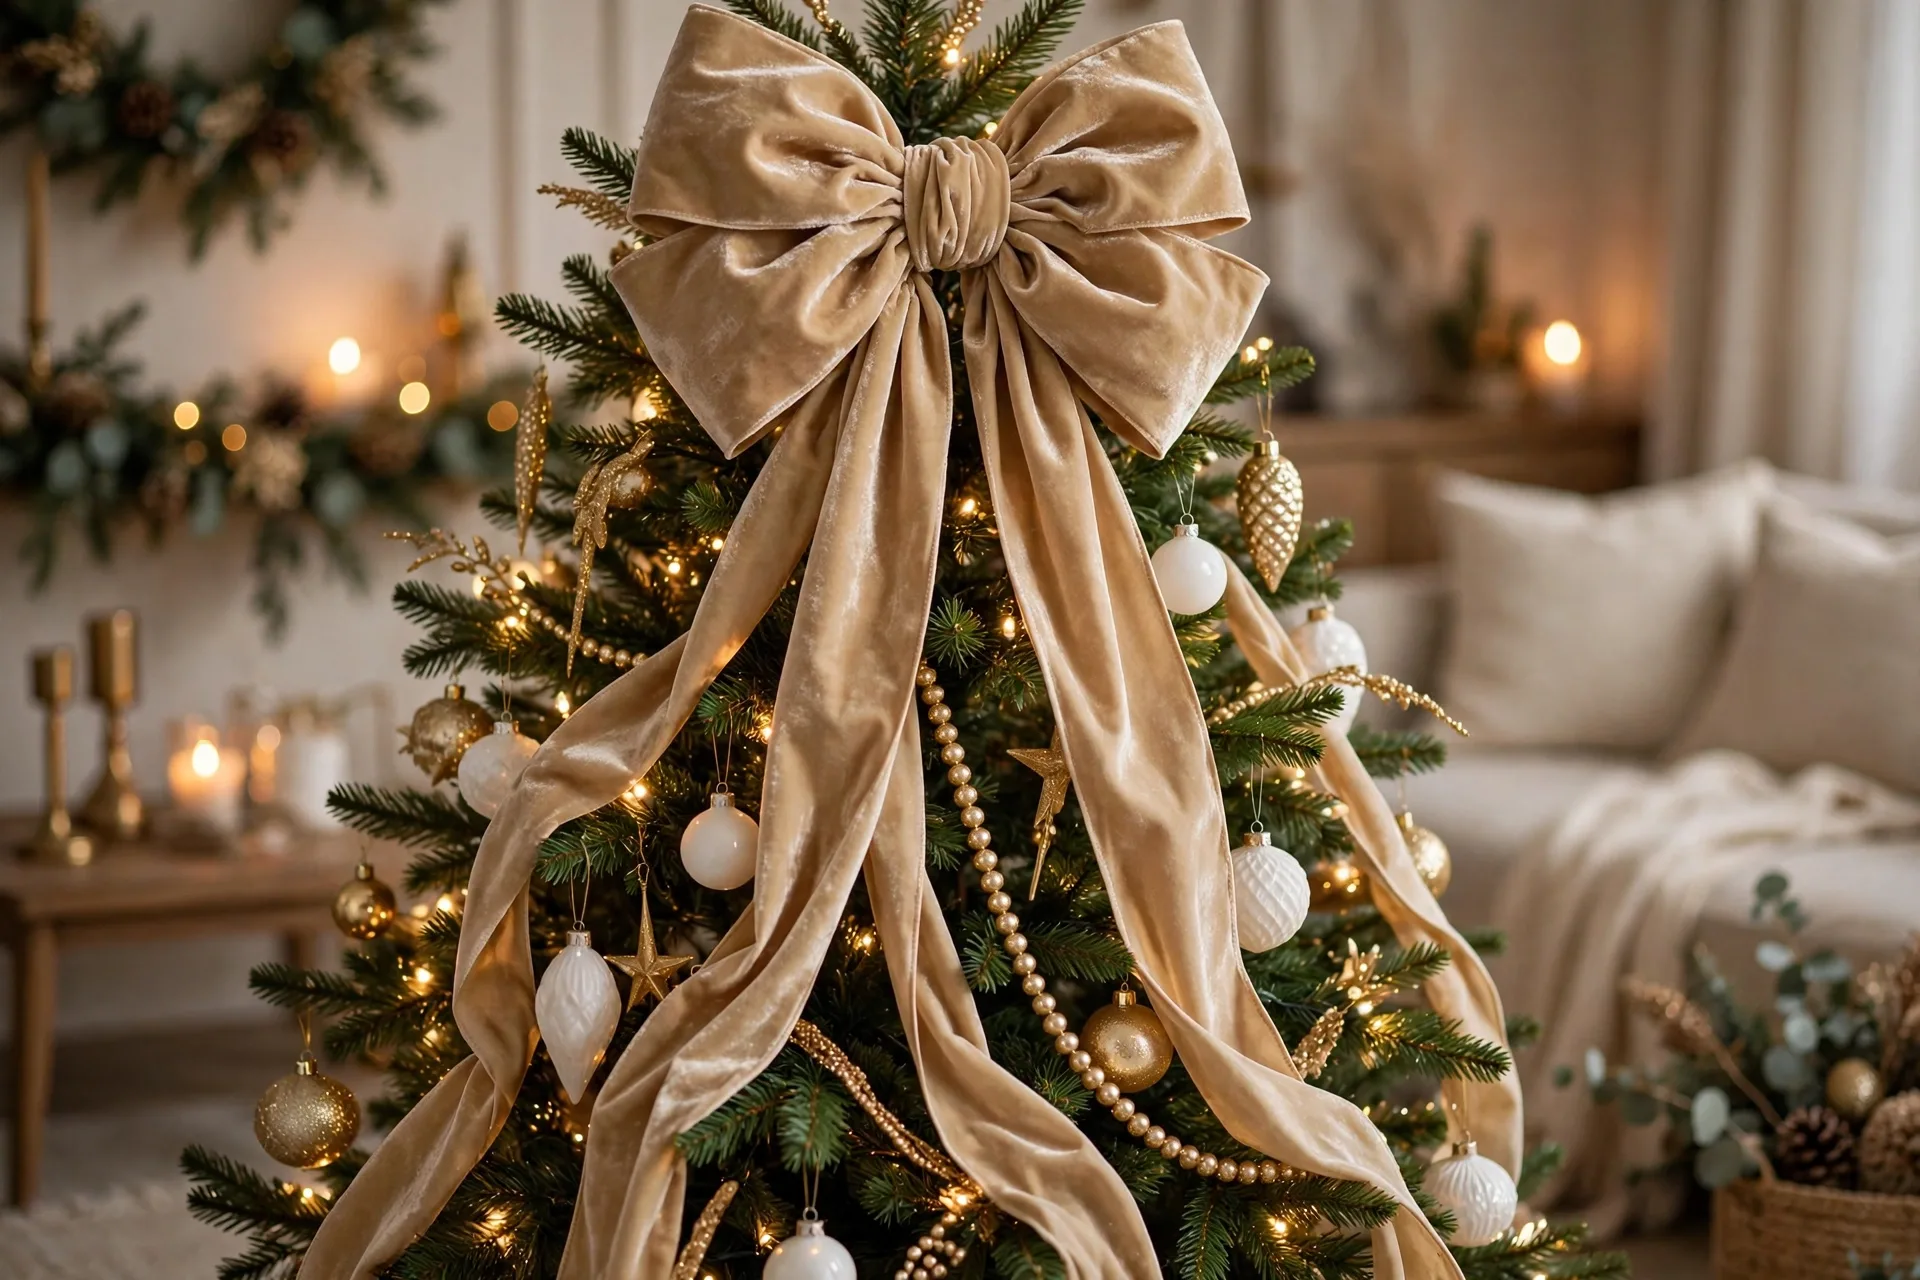
The tutorial above. For a modern look, try it in a single solid color like emerald or blush velvet. For traditional trees, layer two ribbons — a wide one in red with a narrower gold one on top — wired together at the center.
2. Rustic Twig Star
Gather five sturdy, dry twigs of equal length from the yard. Arrange them into a star shape, hot-glue the joints, and wrap each joint with twine or a strip of burlap. Add a wire coil at the bottom to mount it on the tree top. It costs basically nothing and looks perfect on farmhouse or woodland trees.
3. Golden Twig Starburst
The most dramatic topper on this list. Hot-glue wooden skewers or thin dowels into a small Styrofoam ball, radiating outward in all directions to form a starburst, then spray paint the whole thing gold. Insert a cardboard tube at the base to slide over the top branch. It reads like a piece from a designer boutique.
4. Simple Wire Star with Lights
Bend thick craft wire into a five-point star (a template printed from the internet makes this easy). Wrap the star with a short string of battery-operated fairy lights. The lit wire star is stunning at night and suits minimalist or modern trees.
5. Feather Topper
Glue white or champagne craft feathers around a small foam cone or ball, layering them so they fan outward like a soft crown. Add a few gold-sprayed feathers for shimmer. This one photographs beautifully and works with glam, white, or pastel trees.
6. Vintage Porcelain Angel
For the nostalgic look, make a simple angel from a porcelain or ceramic doll head (thrift stores always have them), a cone of cream linen for the body, and wings cut from wire-edged organza ribbon. Glue a small gold halo behind the head. Mounted on a cone base, it’s pure vintage charm.
7. Glittered Cardboard Star (3D)
Trace and cut two identical star shapes from sturdy cardboard. Score and fold them so each has dimension, glue them back to back, then coat with glue and sprinkle glitter generously over both sides. Lightweight, nearly free, and you can match the glitter to your exact color scheme.
8. Woodland Animal Topper
Clip-on woodland creatures — owls, reindeer, foxes, cardinals — make the sweetest toppers for kids’ trees or cabin-style decorating. Glue one to a small wooden dowel, add a tiny plaid bow around its neck, and perch it on the top branch like it’s sitting on the tree.
9. Silk-Scarf Bow
A big square silk or satin scarf (an old one from your closet works perfectly) ties into an enormous, romantic bow — no sewing needed. Thread floral wire through the knot and secure it to the top branch. The pattern and sheen make it look expensive, and you probably already own the scarf.
10. Pom-Pom Ball Topper
Glue yarn pom-poms of different sizes onto a foam ball, covering it completely, and top it with one big pom-pom. This is the best option for a kid-decorated tree — it’s soft (no breakage risk), colorful, and kids can help make the pom-poms themselves.
11. Snowflake Topper
Glue popsicle sticks into a snowflake pattern — three long sticks crossed at the center, with shorter ones branching off — then paint it white and dust it with glitter while the paint is wet. Simple, graphic, and perfect for winter-white or blue-themed trees.
12. Berry and Bell Cluster
Wire together a cluster of artificial red berries, a few small jingle bells, and pine sprigs into a dome shape. The bells catch the light and give a faint jingle when the tree is bumped. It’s the easiest topper on this list — no shaping required — and it smells and sounds like Christmas.
13. Botanical Spray Topper
Skip the single object entirely and build an arrangement: wire together eucalyptus stems, gold-leaf sprays, tall branches, and a few dried flowers, then fan them out around the top branch in all directions. This is the trendiest look in tree styling right now — more “arrangement” than “object” — and it adds gorgeous height.
Tips and Common Mistakes
After making and remaking toppers for years, here’s what actually matters:
- Anchor it properly. The number-one topper failure is a floppy, tilting crown. A garden stake or dowel zip-tied to the trunk gives every topper a firm base. Test by shaking the branch gently before you call it done.
- Size it to your tree. A good rule of thumb: the topper should be roughly one-fifth the height of the tree. For a 6-foot tree, aim for a 12-to-14-inch topper. Too small and it disappears; too big and the tree looks top-heavy.
- Match the topper to your theme, not the other way around. A glittery angel on a rustic twig tree will always look off. Decide your tree’s style first, then pick the topper that belongs with it.
- Dry natural materials first. Fresh twigs shrink and crack as they dry, which can wreck a star’s shape. Use twigs that have been sitting dry for a few weeks, or bake them low in the oven to speed things up.
- Don’t skip the wire. Glue alone will fail by Christmas Day on anything heavier than paper. Hot glue plus a wrap of floral wire at every joint is the combination that survives the season.
- Photograph it at night with the lights on. If you’re making one partly to show off — no judgment — take your hero photo after dark with only the tree lights on. The glow makes every topper look magical.
A DIY Christmas tree topper was the project that finally finished my tree — the thing I’d been skipping for years. It doesn’t need to be expensive or complicated. One roll of wired velvet ribbon, an hour on a Sunday, and suddenly your tree has the kind of crown that makes people ask where you bought it.
Start with the oversized bow tutorial, pick one of the thirteen ideas that matches your tree’s style, and make it this weekend. December you, standing in a softly lit living room with the perfect finished tree, will be glad you did.