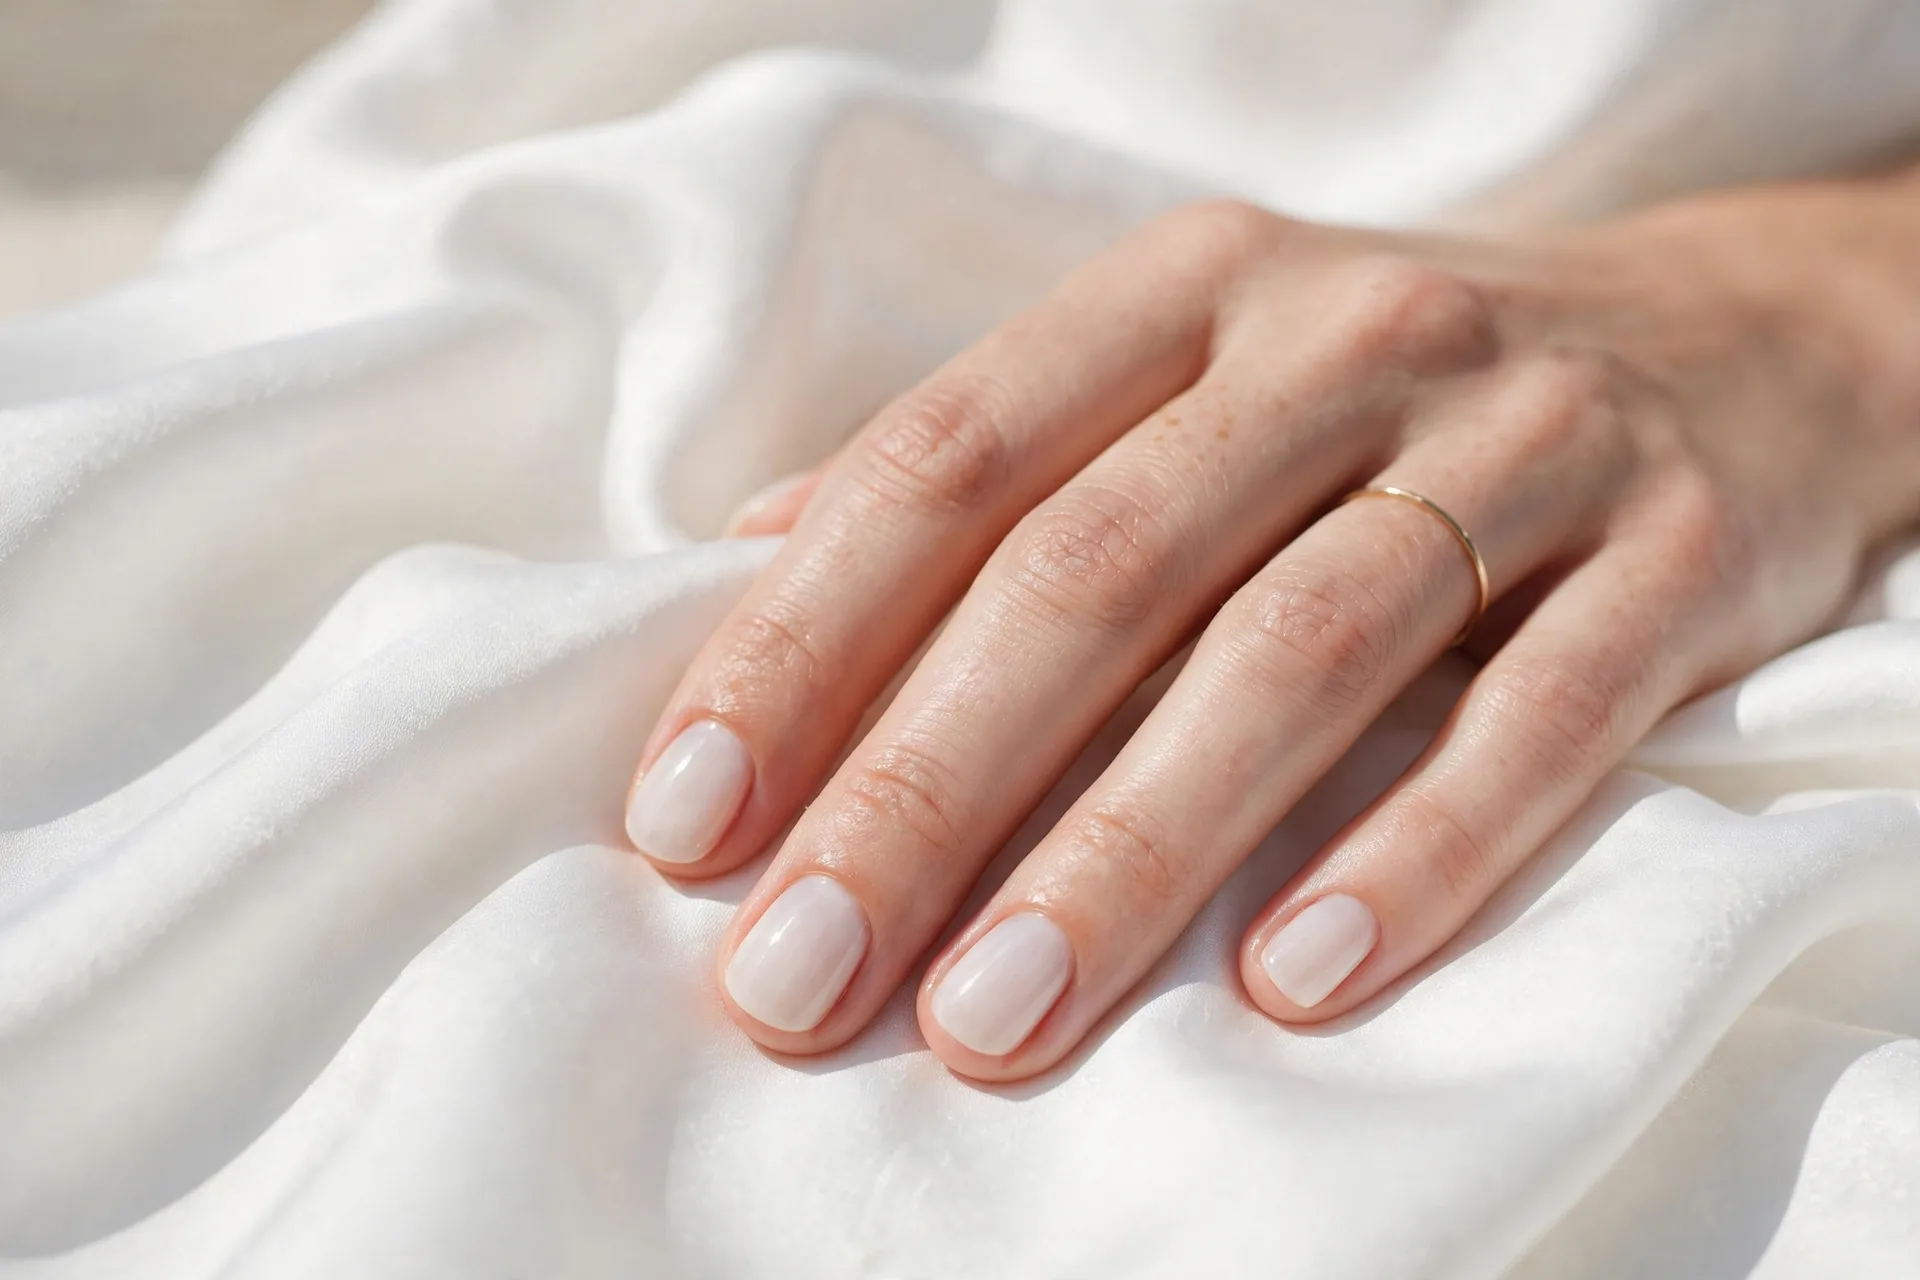

Let me tell you about the worst manicure habit I ever had: cutting my cuticles. I did it for years with one of those little curved scissors, snipping away anything that looked ragged. My cuticles looked “clean” for about a day — and then came the hangnails. Then the red, sore spots. Then that one time my thumb got so infected I could not bend it for three days.
Here is what I wish someone had told me a decade ago: you should never cut your cuticles. Not at home, not at the salon. And you do not need to — because there is a gentler way to get that same clean, salon-worthy nail bed in about five minutes, with zero blades involved.
Learning how to remove cuticles without cutting changed my nails more than any product ever has. No more hangnails, no more sore red rims, and my polish lasts longer because it finally has a clean surface to grip. Here is the exact routine.
Why Cutting Your Cuticles Is a Bad Idea
Your cuticle is not dead skin — it is a living seal. That little rim of skin at the base of your nail exists to keep bacteria, fungi, and moisture out of the nail matrix, which is the factory where your nail is made. When you cut it, you are literally removing your nail’s immune system.
The consequences are not theoretical. Cutting cuticles causes hangnails (those painful little tears are usually cuticle nicks growing back wrong), opens the door to paronychia — the red, throbbing infection around the nail — and can damage the matrix itself, which leads to ridged or deformed nail growth. Dermatologists are unanimous on this: cuticles should be pushed back, never cut.
There is also a cosmetic irony: cut cuticles grow back thicker, ragged, and uneven. People cut them because they look messy, but cutting is what makes them look messy. The gentle routine below breaks that cycle — within a few weeks, your cuticles will look better than they ever did with scissors.
Cuticle vs. Eponychium: What You Are Actually Removing
Quick anatomy lesson, because it matters. The cuticle is the thin, dead, flaky tissue stuck to the nail plate — that papery film that creeps up from the base. The eponychium is the living skin rim around it. You want to remove the dead cuticle film (it blocks polish adhesion and looks ragged) and leave the living eponychium completely alone.
Everything in this routine targets only the dead tissue. That is why it is safe: we are exfoliating and pushing, not cutting living skin.
What You Need
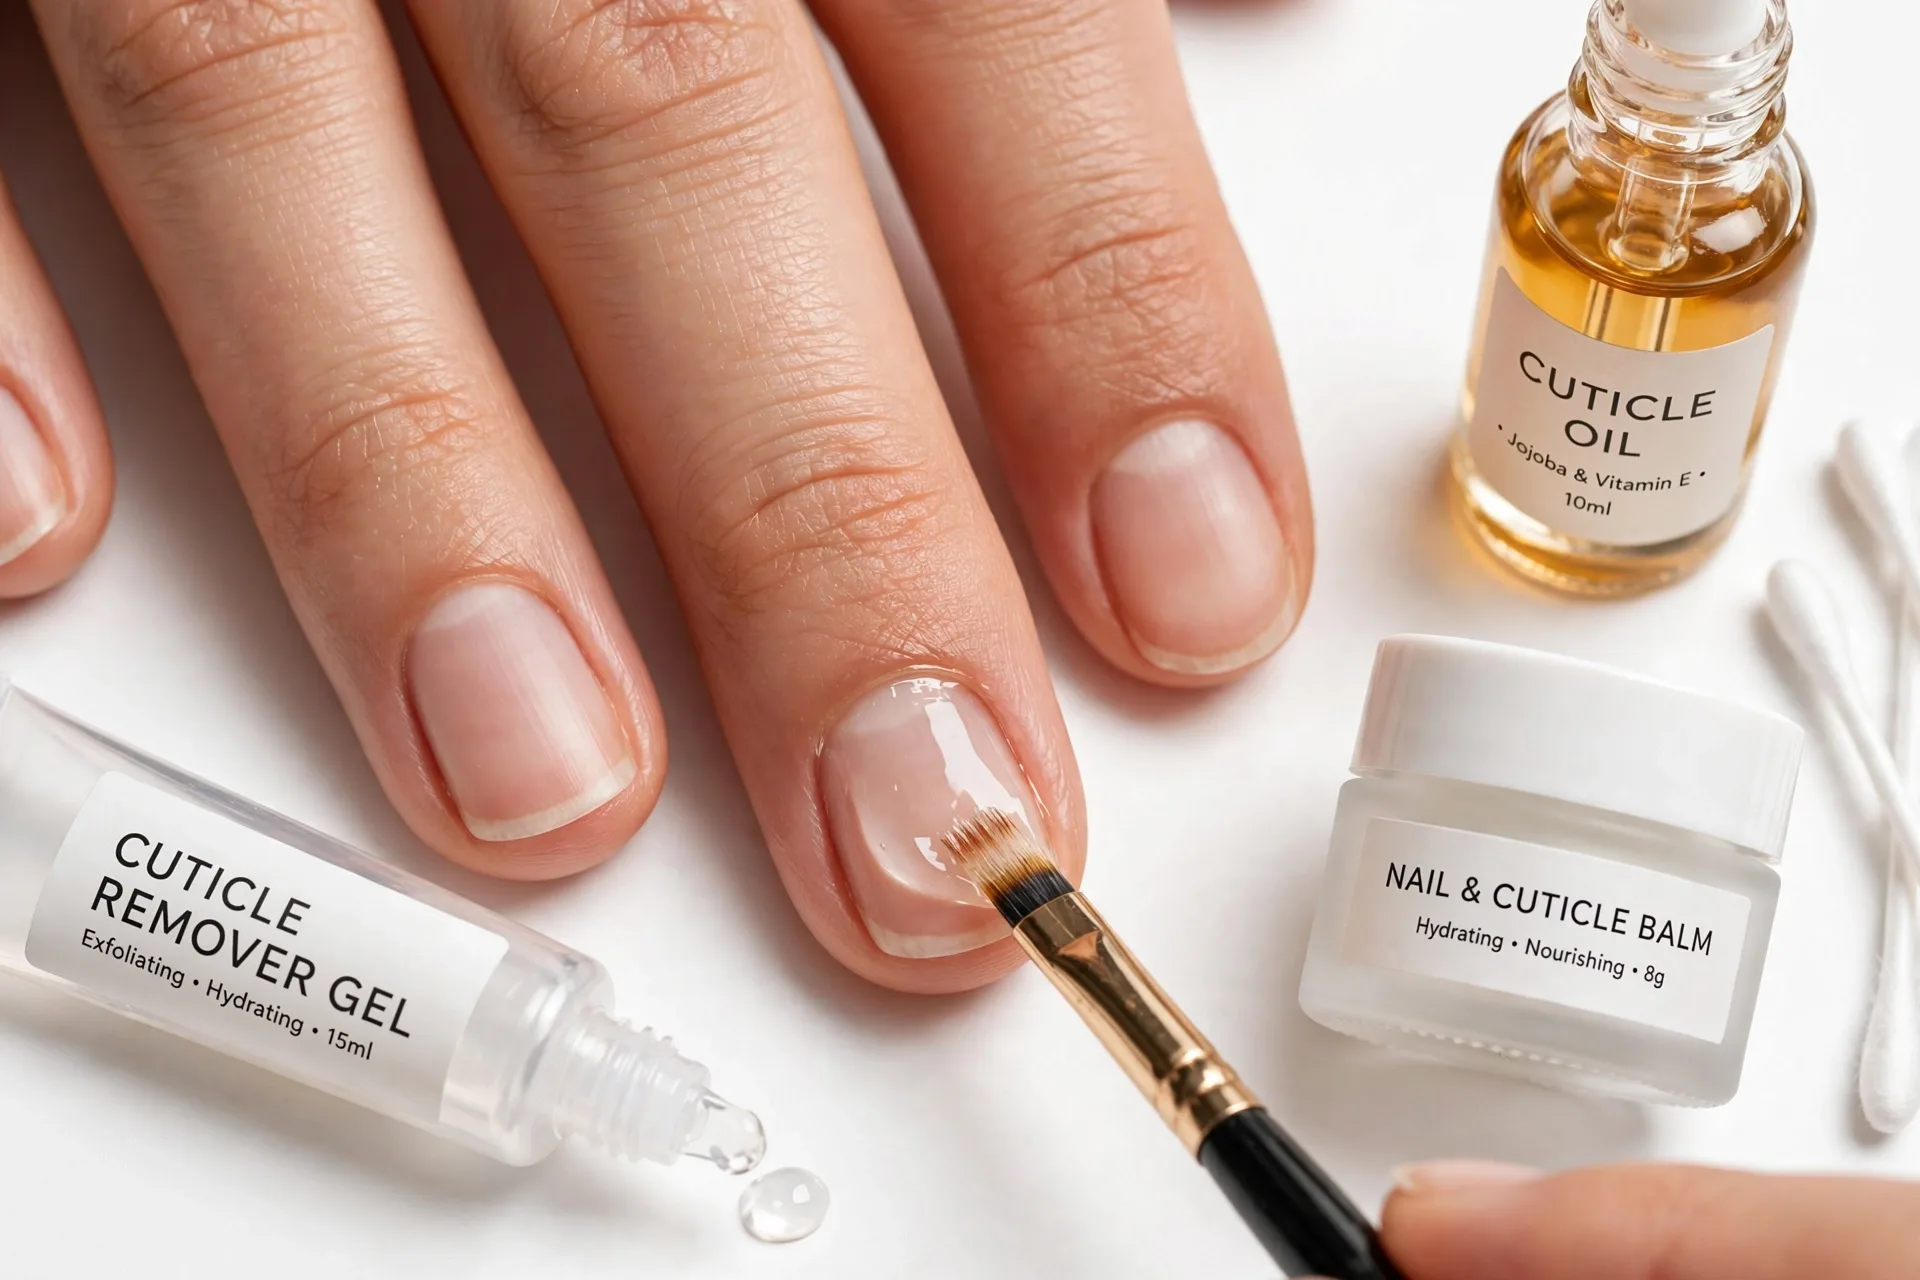
- Cuticle remover gel or cream. This is the hero product. It is usually an alkaline formula (potassium hydroxide based) that softens and dissolves dead cuticle tissue in minutes. Blue Cross, Sally Hansen, and Deborah Lippmann all make good ones. One bottle lasts months.
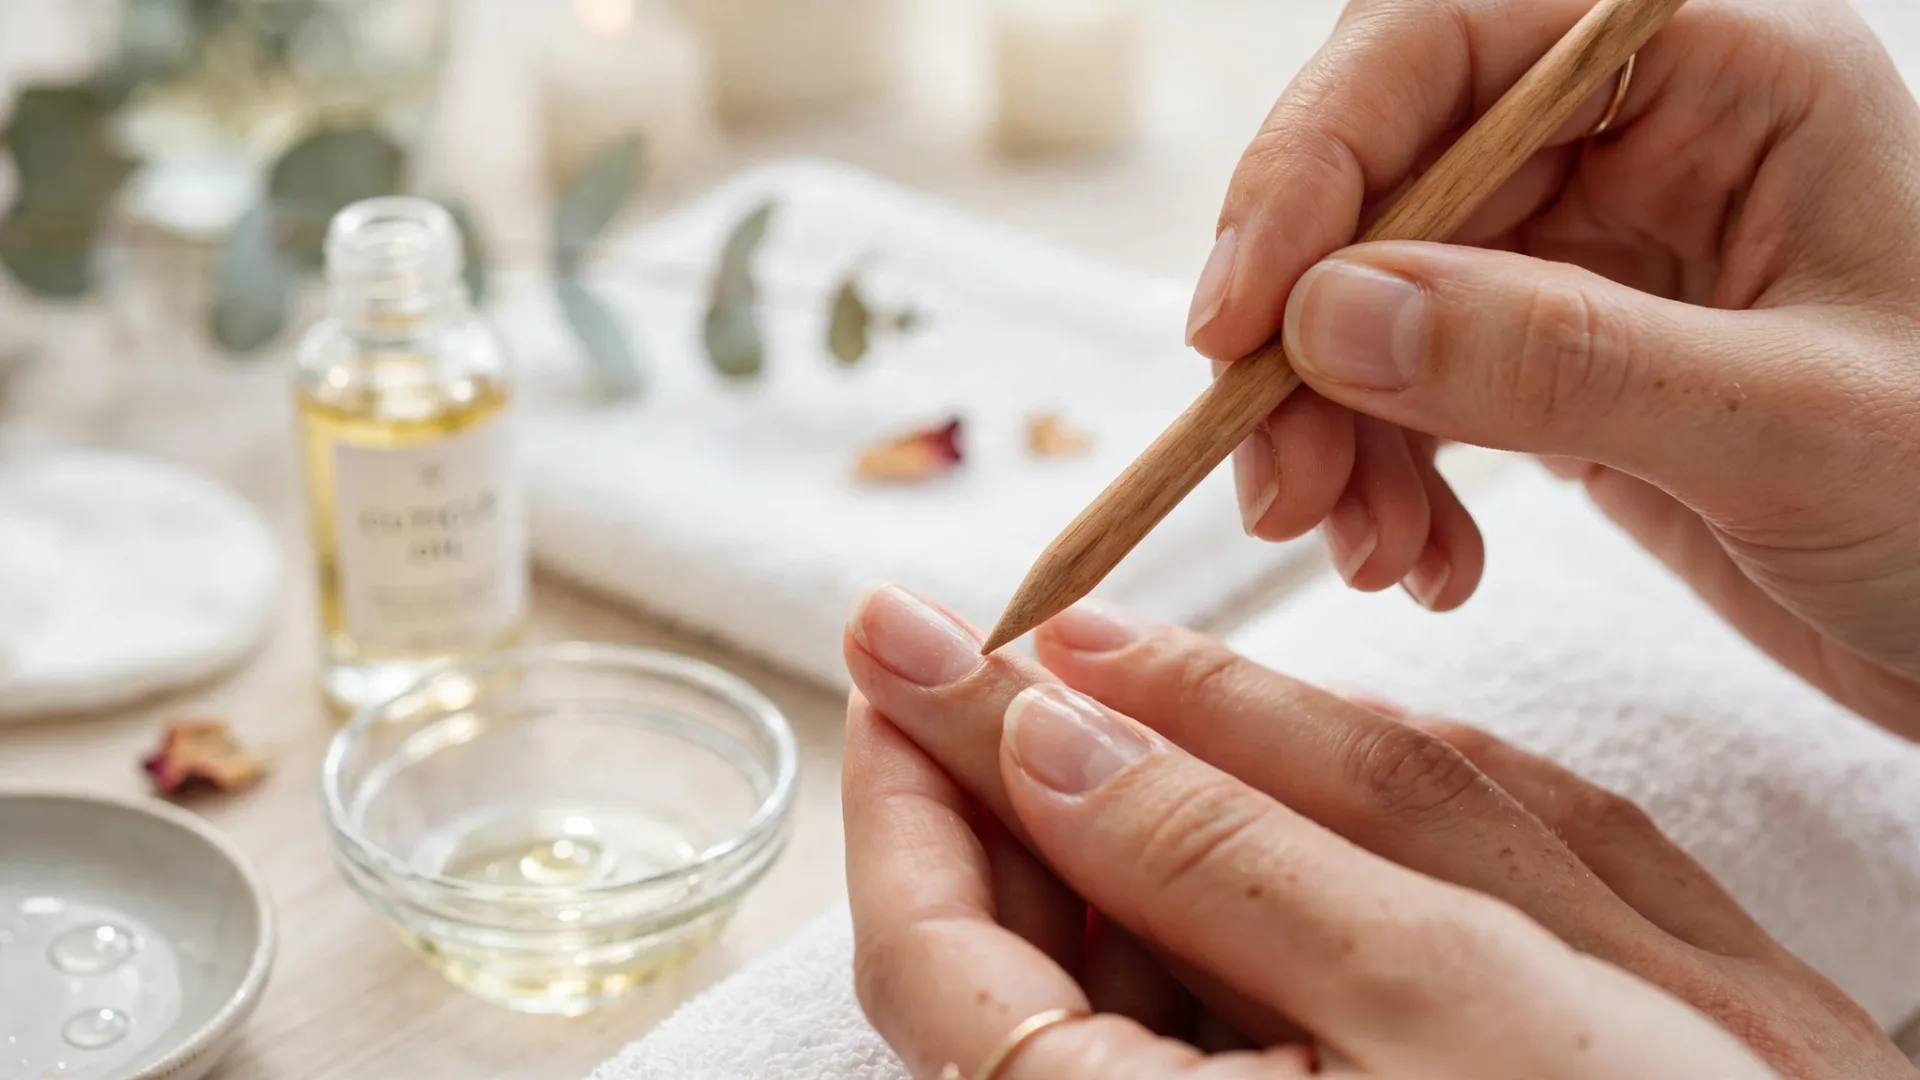
- An orangewood stick. The gentle, disposable pusher. Get a bag of them — they are pennies each and you should use a fresh one regularly.
- A soft cuticle pusher (optional). The rubber or silicone-tipped kind is even gentler than wood for daily use.
- Cuticle oil. Jojoba-based is best — its molecules are small enough to actually penetrate the nail area. Apply nightly.
- A soft nail brush for cleaning under and around nails without harsh tools.
- Hand cream. Your regular one is fine.
The 5-Minute No-Cut Cuticle Routine
Step 1: Soften (1 minute)
Soak your fingertips in warm (not hot) water for two to three minutes, or do this routine right after a shower when everything is already soft. Pat dry, then apply a thin line of cuticle remover along the base of each nail. Wait the time the product says — usually two to five minutes. You will feel the dead tissue getting soft and gummy. That is exactly what you want.
Step 2: Push back gently (2 minutes)
Take your orangewood stick and, holding it at a low angle, gently push the softened tissue back from the nail plate. Use small, rolling motions — never scrape or gouge. Work from one side to the other, not straight back. The dead cuticle film will roll up into little pills you can wipe away. Be especially gentle at the corners, where the skin is thinnest.
If something resists, do not force it. Apply a little more remover, wait another minute, and try again. Anything that will not budge with gentle pressure is living tissue — leave it alone.
Step 3: Clean the nail plate (1 minute)
Use the flat edge of the stick or a soft brush to sweep away the rolled-up dead tissue. Then wash your hands thoroughly with soap and water — this is important, because cuticle remover is alkaline and you do not want it sitting on your skin. Dry completely.
Step 4: Exfoliate lightly (30 seconds)
If you have stubborn flaky bits around the nail, a gentle pass with a fine buffer or a soft exfoliating scrub smooths them away. Light pressure only. This is for surface flakes, not for digging at anything attached.
Step 5: Oil and moisturize (30 seconds)
Massage a drop of cuticle oil into each nail bed and the surrounding skin. Then apply hand cream over everything. The oil keeps the eponychium supple so it never gets ragged enough to tempt you toward scissors again.

How Often Should You Do This?
The full routine: once a week or once every two weeks. The daily maintenance that makes it work: cuticle oil every night. That is the real secret — nightly oil keeps the cuticle area so soft and healthy that the weekly routine takes two minutes instead of ten, and you never develop the ragged edges that make people reach for clippers.
Think of it like skincare: the weekly routine is the deep treatment, the nightly oil is the moisturizer that maintains the results. Skip the oil and you will be back to ragged cuticles in a week, no matter how good the routine is.
Choosing a Cuticle Remover
Not all cuticle removers are equal. The classic alkaline gels (the ones that feel slightly slippery) work fastest — they dissolve dead tissue in two to five minutes. Cream formulas are milder and better for sensitive skin but take a little longer. Avoid anything that requires scraping hard; if the product needs force, it is not doing its job.
Patch-test a new remover on one nail first, especially if your skin is sensitive. And never use cuticle remover on broken, irritated, or infected skin — wait until it heals.
What About Hangnails?
Hangnails are torn bits of eponychium, and the instinct is to rip or bite them. Do not — pulling a hangnail tears living skin deeper and invites infection. Instead: soften the area with oil, then trim only the dead, detached flap with clean nippers, cutting straight across the dead bit without touching attached skin. Then oil again. As your no-cut routine takes effect, hangnails become rare — most of mine disappeared within a month.
Mistakes to Avoid
- Pushing too hard or too often. Aggressive daily pushing irritates the eponychium and causes the very raggedness you are trying to fix. Gentle and weekly wins.
- Using metal pushers aggressively. Metal tools are fine in trained hands, but at home they make it too easy to scrape too hard. Stick with wood or silicone.
- Leaving remover on too long. More time does not mean better results — overexposure irritates living skin. Follow the product’s timing.
- Skipping the wash-off. Alkaline residue left on skin causes dryness and irritation. Always wash after.
- Cutting “just the ragged bits” with scissors. This is how the cycle restarts. Oil and patience fix ragged bits; scissors create them.
- Doing it on dry, unsoftened cuticles. Dry pushing tears instead of rolling. Always soften first.
Cuticle Care If You Wear Polish or Gel
Good cuticle care pays extra dividends if you wear polish or gel. Polish applied over ragged cuticles lifts at the base within days — the number one cause of “my manicure peeled from the cuticle” complaints. When the nail bed is clean and the eponychium lies flat, polish bonds edge-to-edge and lasts noticeably longer. Gel wearers benefit even more: gel that cures onto cuticle skin instead of nail is guaranteed to lift, so a clean, pushed-back cuticle line is the foundation every gel manicure needs. Do the full routine the day before your manicure, not the day of — freshly oiled nails need a few hours for the oil to absorb before polish goes on.

Final Thoughts
Quitting cuticle-cutting felt strange at first — like I was leaving a job half-done. But within three weeks, my cuticles looked better than they had in years of snipping: smooth, even, no red rims, no hangnails. My polish started lasting longer too, because it finally had a clean, intact nail bed to hold onto.
Your cuticles are not the enemy. They are the seal that keeps your nails healthy. Treat them gently, oil them nightly, and they will repay you with the clean, salon-looking nail beds you were trying to cut your way to all along.