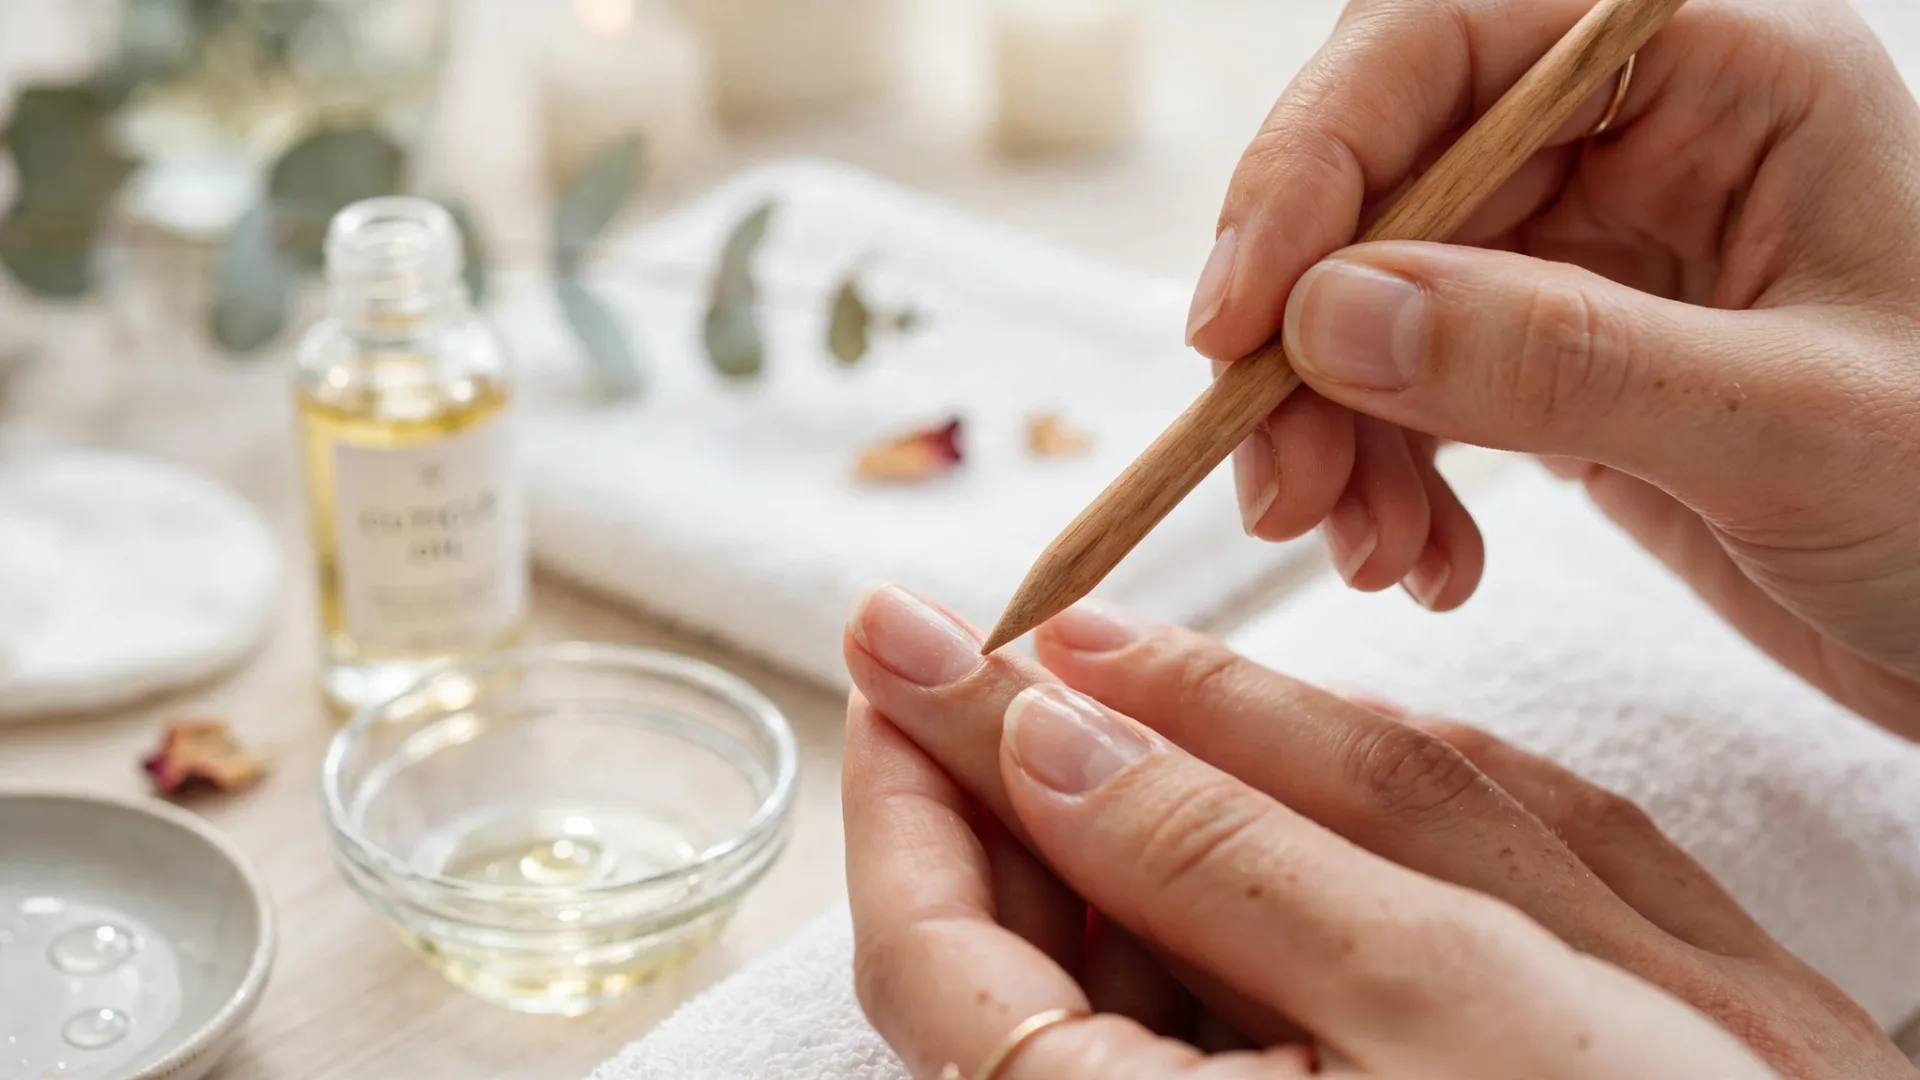
Confession: I used to peel my gel manicures off. I would find a little lifted edge and — I know, I know — spend the evening slowly working it loose, feeling weirdly satisfied as each nail popped free. And then I would look at my nails and want to cry. Thin, bendy, ridged, with flaky white patches where layers of my actual nail had come off with the gel.
If that sounds familiar, here is the truth that took me too long to learn: gel polish does not damage nails. Peeling gel polish damages nails. Every “gel ruined my nails” story I have ever heard ends with “…and then I peeled it off.” The gel itself, removed properly, leaves your nails completely fine.
Learning how to remove gel nail polish at home safely takes fifteen minutes, costs almost nothing, and leaves your natural nails strong and intact. Here is the exact damage-free method, plus what to do if things go sideways.
What You Will Need
- 100% pure acetone. Not regular nail polish remover — it is too weak and you will be soaking for an hour. Pure acetone from any drugstore or beauty supply. A small bottle lasts many removals.
- Cotton balls or pads, torn into nail-sized pieces.
- Aluminum foil, cut into roughly 3-inch squares — ten of them.
- A coarse nail file (100/180 grit) for breaking the top seal.
- An orangewood stick or cuticle pusher for gently lifting softened gel.
- Cuticle oil and hand cream for afterward — non-negotiable.
Optional but nice: soak-off clips (reusable plastic caps that hold the cotton in place — easier than foil), and a glass bowl if you prefer the full soak method.
The Safe Soak-Off Method, Step by Step
Step 1: Break the seal
Use your coarse file to gently buff the shiny top coat off each nail. You are not trying to file the gel off — just roughing up the glossy seal so the acetone can get through. Five to ten light strokes per nail is plenty. If you see color coming off on the file, you are pressing too hard; back off.
Step 2: Protect your skin
Acetone is brutally drying. Rub a thick layer of petroleum jelly, cuticle oil, or even olive oil on the skin around each nail — not on the nail itself, just the surrounding skin. This barrier makes a huge difference in how your fingers feel afterward.
Step 3: Soak
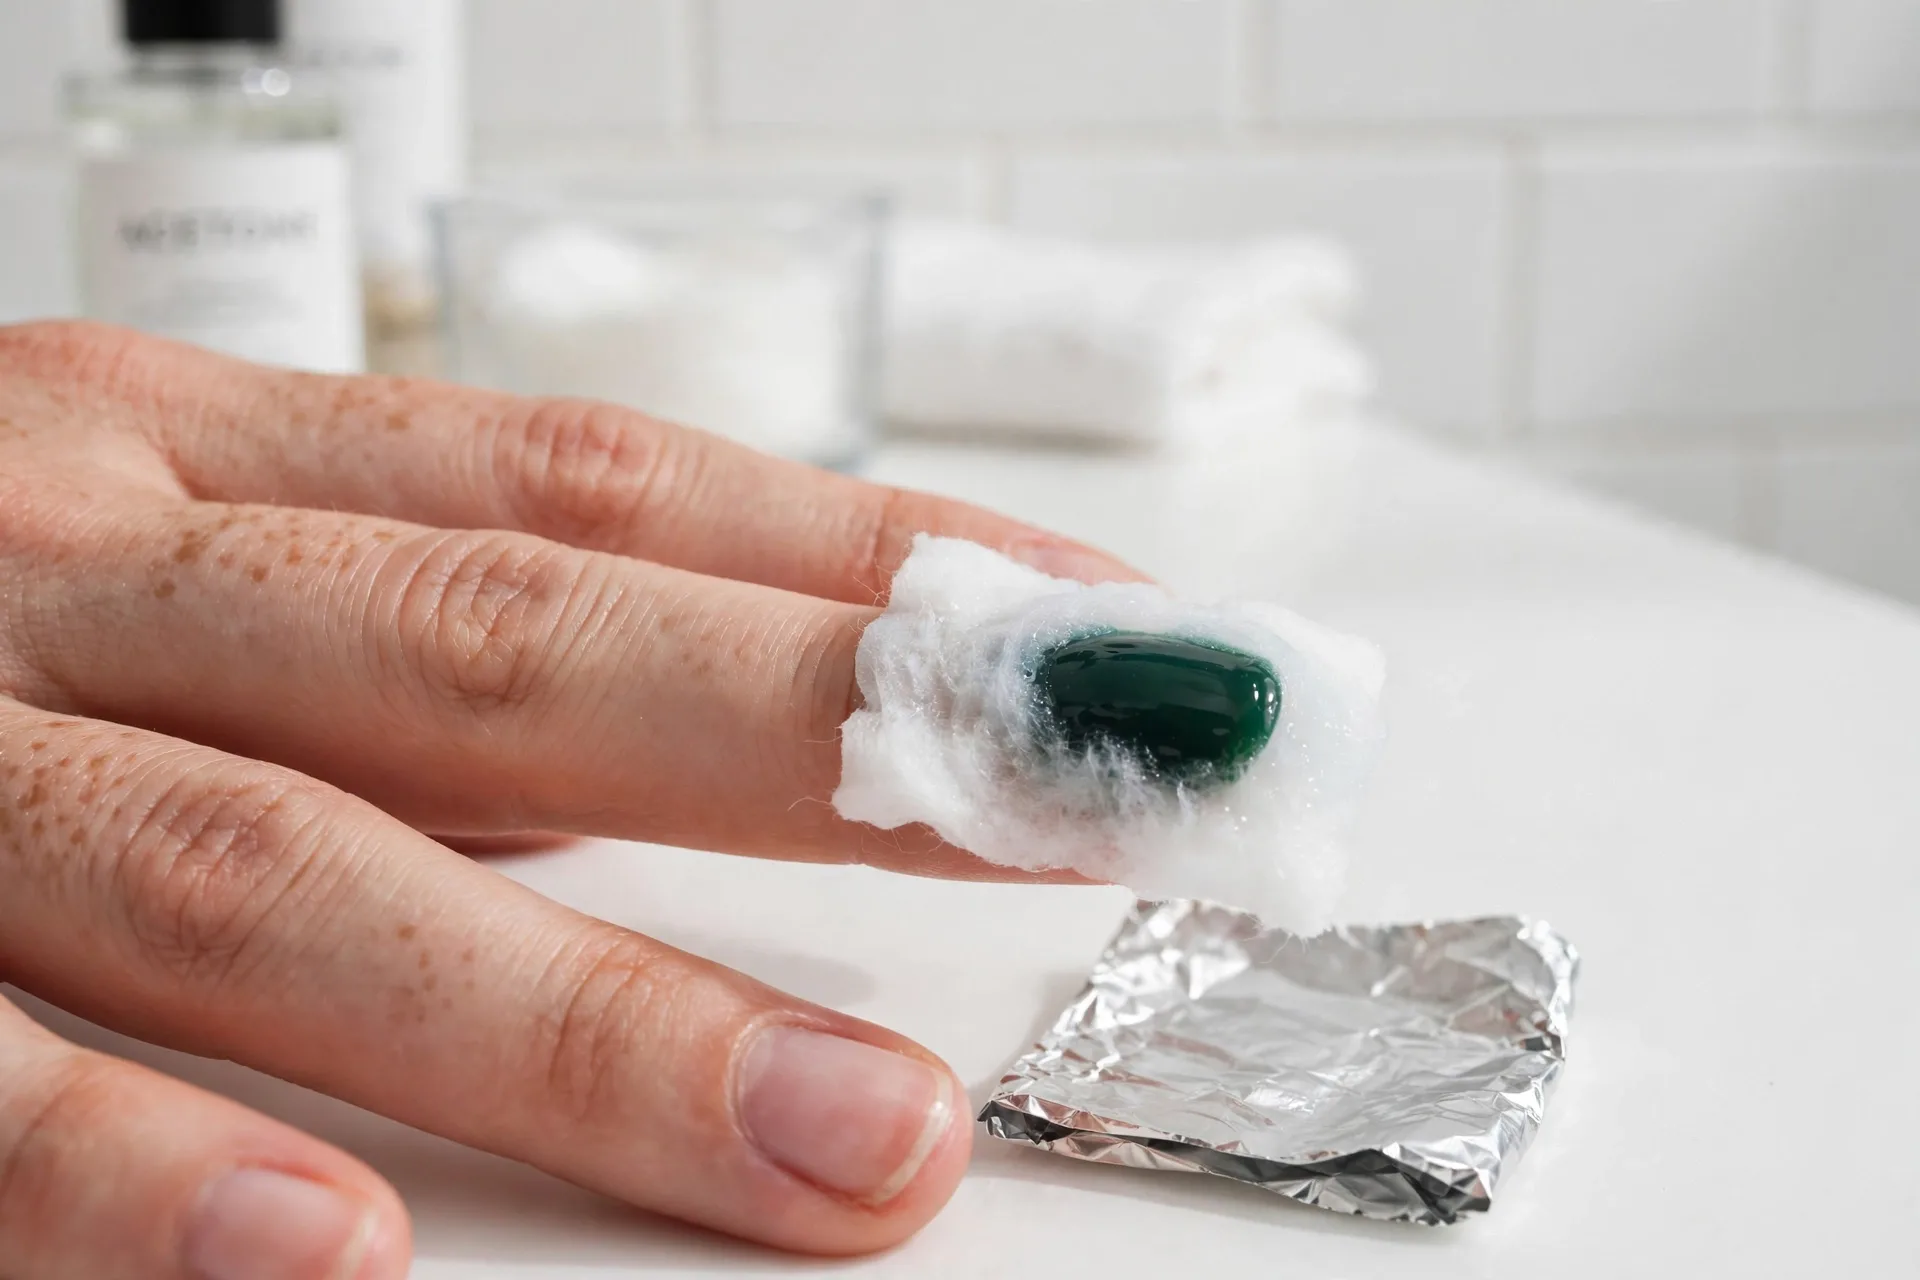
Soak a piece of cotton in pure acetone, place it directly on the nail, and wrap the fingertip tightly in foil, shiny side in. The wrap traps heat and fumes, which is what softens the gel. Do all ten fingers. Now wait 10 to 15 minutes. Set a timer and do not peek early — impatience is the number one cause of incomplete removal.
Step 4: Check and gently push
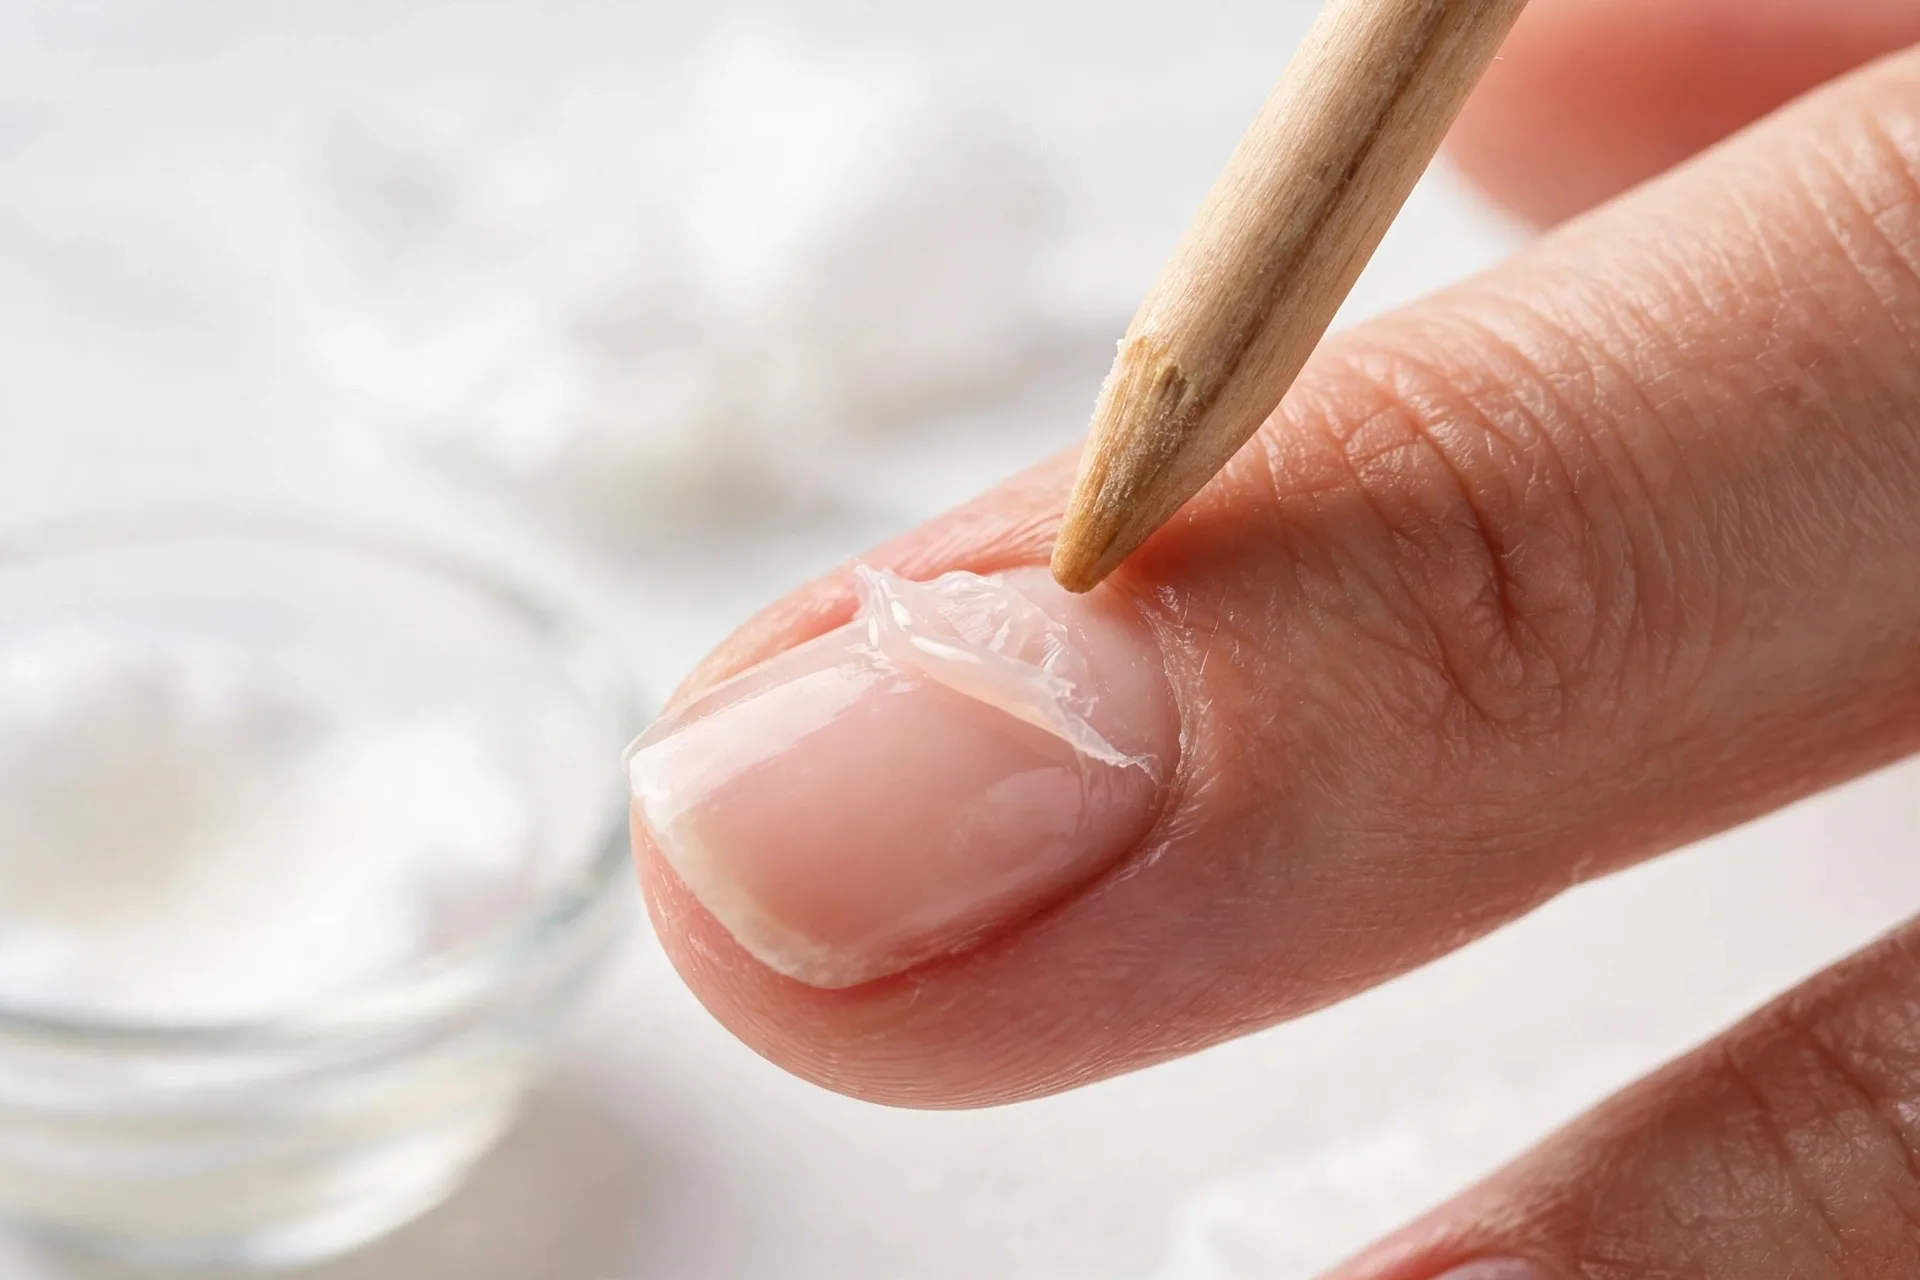
Unwrap one nail and check: the gel should look bubbly, wrinkled, or lifted at the edges. Take your orangewood stick and gently push the softened gel off, working from the cuticle toward the tip. It should slide off with minimal pressure. If any spot resists, do not scrape — re-wrap that nail for another five minutes and move on to the next one.
Step 5: Clean up residue
Once the bulk is off, there may be a thin sticky layer left. Lightly buff it away with a fine buffer block — gentle passes only. Then wash your hands thoroughly with soap and lukewarm water to remove all acetone.
Step 6: Rehydrate everything
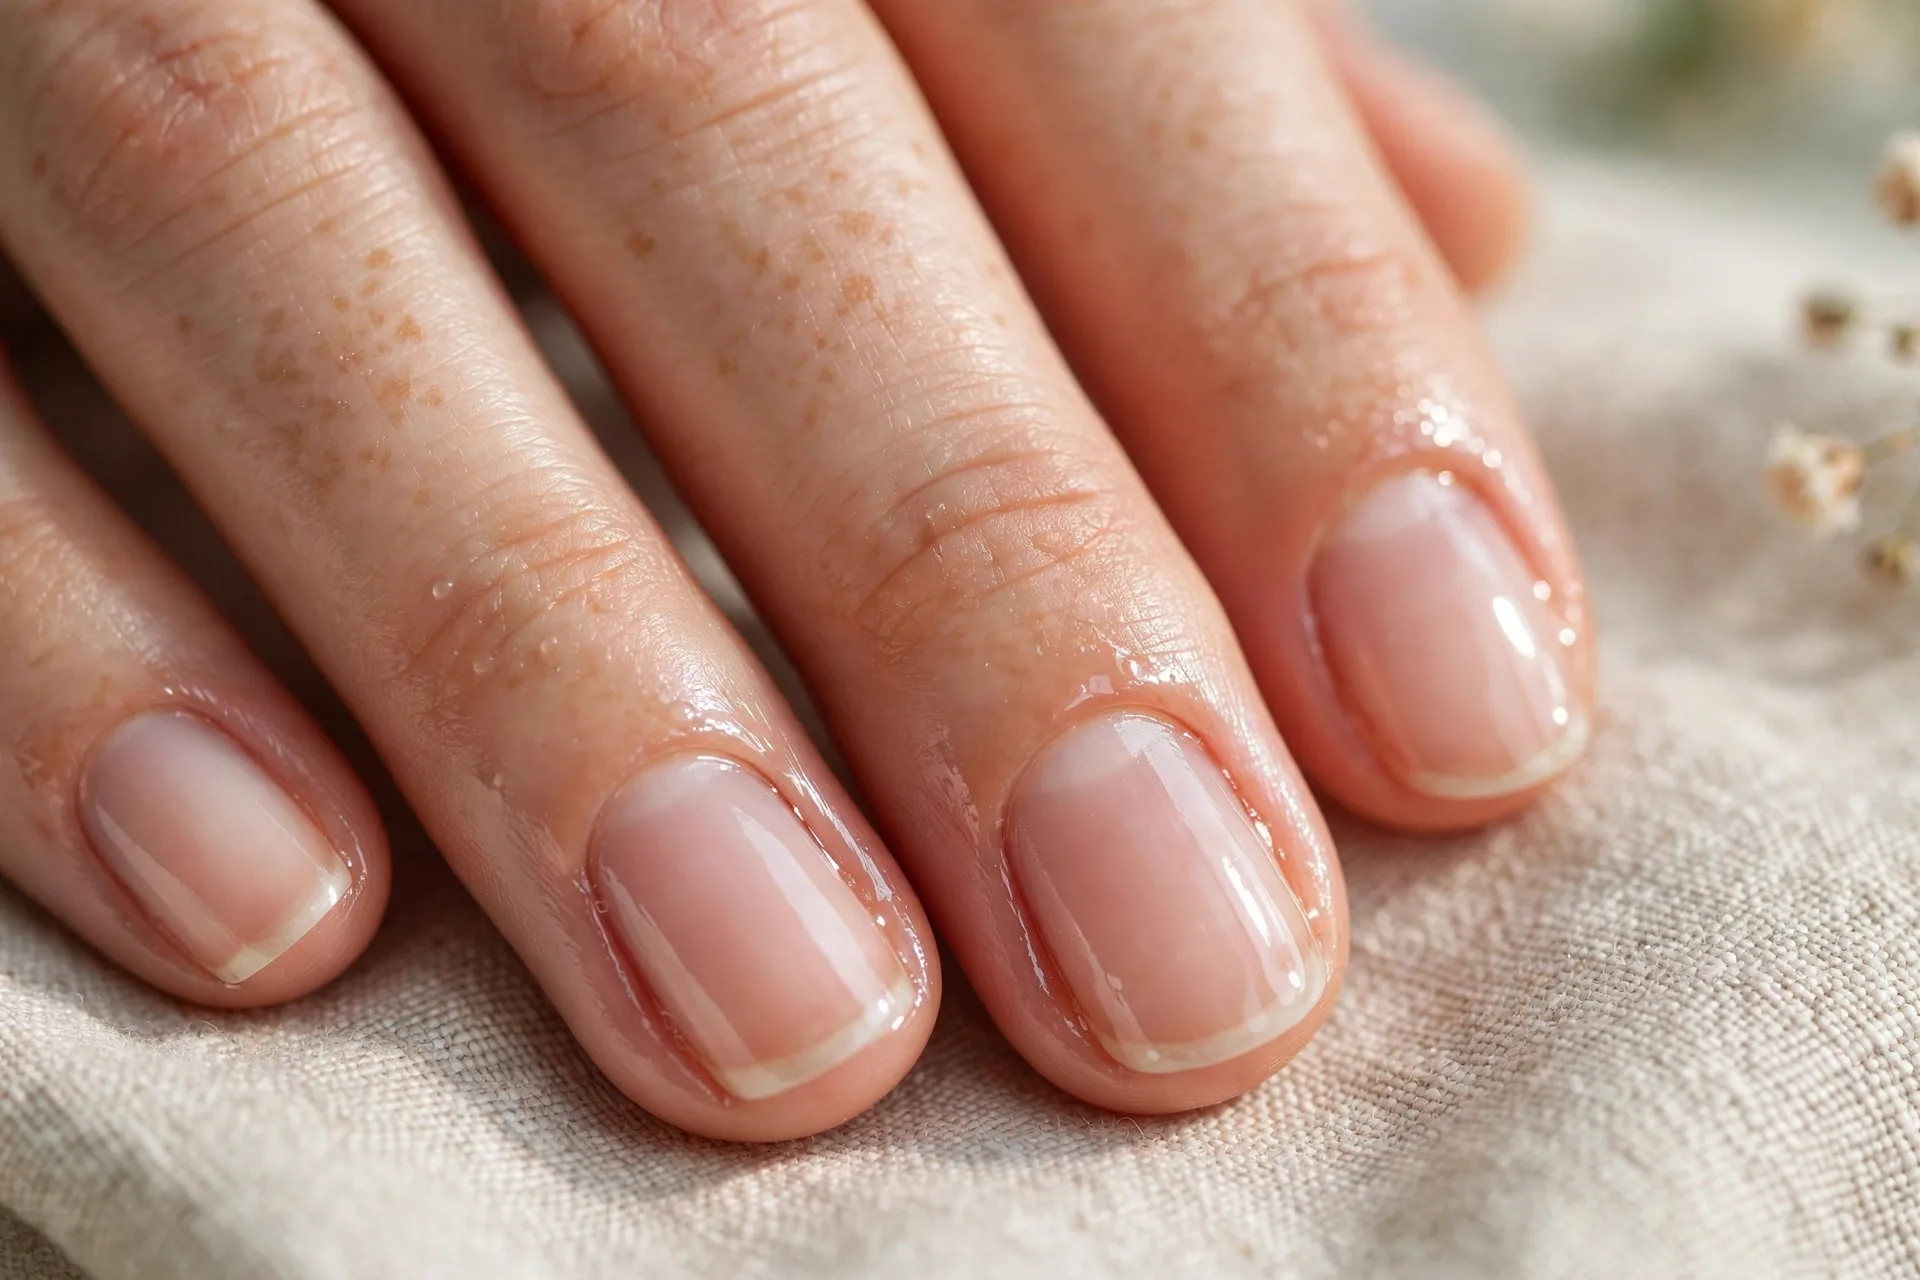
Massage cuticle oil generously into each nail and the surrounding skin, then apply a rich hand cream. Your nails and skin just survived a chemical soak — they are thirsty. Repeat the oil before bed for the next few nights.
The Bowl Soak Alternative
If foil wrapping feels fiddly, the bowl method works too: pour pure acetone into a glass bowl, rub protective oil on your surrounding skin, and soak your fingertips for 10 to 15 minutes. The downside is that your whole fingertip sits in acetone, which is harsher on skin — the foil method is more targeted. But if you are removing gel from all ten nails at once and hate wrapping, the bowl is faster to set up. Never use a plastic bowl; acetone melts some plastics.
What If It Is Builder Gel or Hard Gel?
Soft gel polish (the kind in this guide) soaks off. Builder gel in a bottle (BIAB) also soaks off, though it takes a little longer — file more aggressively and soak up to 20 minutes. Hard gel (the jar kind) does not soak off at all. If you are not sure what you have, try the soak: if nothing softens after 20 minutes, it is probably hard gel, and you need to file it down carefully instead — thin it as much as you dare, then let the last layer grow out rather than filing into your natural nail.
When in doubt about what is on your nails, a salon can identify it in seconds. There is no shame in asking — guessing wrong is how people file through their nail plate.
After Removal: Helping Your Nails Bounce Back
Even a perfect removal is drying, so give your nails a little recovery time. For the next few days: oil your cuticles nightly, keep nails short while they rehydrate (long dry nails break), and consider a nail strengthener or just a clear base coat for protection.
If your nails feel thin or bendy, that is usually dehydration, not damage — it resolves in a few days of oiling. If you see white flaky patches, those are surface dehydration too; gentle buffing and oil fix them. Real damage — deep ridges, painful thin spots — almost always traces back to peeling or aggressive filing, not to proper soak-offs.
You do not need to “let your nails breathe” for weeks between gel sets, by the way. Nails do not breathe — they get their nutrients from blood, not air. A day or two of oiling between sets is plenty; then you can go straight into your next manicure.
Mistakes That Cause the Damage People Blame on Gel
- Peeling or picking. Worth saying ten times: peeling rips layers of your natural nail off with the gel. This is the damage. Everything else on this list is minor by comparison.
- Scraping resistant gel. If it does not push off easily, it is not ready. Re-soak. Metal tools and force gouge the nail plate.
- Skipping the seal-break filing. Without it, acetone cannot penetrate and you will soak twice as long for half the result.
- Using weak remover. Regular polish remover (not pure acetone) turns a 15-minute job into an hour of frustration and overexposure.
- Peeking every two minutes. Every unwrap lets heat escape and restarts the clock. Set a timer and wait.
- No aftercare. Skipping oil after an acetone soak leaves nails dry and brittle — which people then blame on the gel.
- Filing into the natural nail. When thinning builder or hard gel, stop when you see a thin layer of product left. File the product, never the nail underneath.
How to Tell Your Gel Is Ready to Come Off
Timing matters. The ideal moment to remove gel is at two to three weeks, when you see grow-out at the cuticle but the product is still firmly bonded everywhere else. If the gel is lifting in multiple places on its own, remove it promptly — lifted edges trap moisture underneath, which can lead to bacterial growth (the greenish discoloration sometimes called “greenies”). On the other hand, if the gel is still perfectly bonded at four weeks, it is fine to wait a few more days, but do not push it much further: the longer the nail grows, the more leverage at the tip, and the higher the chance of a painful break that takes real nail with it.
A quick readiness test after soaking: gently nudge one edge with the orangewood stick. If it slides, you are good. If it fights you, give it five more minutes. The gel will tell you when it is ready — your only job is to listen.
When to Go to a Salon Instead
DIY removal handles standard gel polish beautifully, but see a professional if: you have hard gel and no e-file experience, your nails are already damaged or painfully thin, there is any sign of infection (redness, swelling, pain around the nail), or you have enhancements (acrylics, sculpted extensions) rather than polish. A $15 professional removal is cheaper than repairing real damage.
Final Thoughts
The day I stopped peeling and started soaking, my relationship with gel nails completely changed. My nails stayed strong month after month, my manicures lasted longer (healthy nails hold polish better), and I stopped dreading the removal process — fifteen quiet minutes with foiled fingers instead of an evening of picking.
Gel is not the villain. Impatience is. Give your nails the fifteen minutes they deserve, oil them after, and they will be ready for whatever color you want next week.