The first time I heard the words “liquid gel” at my nail salon, I nodded along like I knew exactly what my tech was talking about. She was holding a small bottle, painting something thicker than regular gel polish onto my nails, and curing it under the lamp layer by layer. It wasn’t a full set of acrylics, it wasn’t a basic gel manicure — it was somewhere in between. When I finally asked, “So wait, what is this exactly?” she laughed and said, “Honey, this is what keeps your nails from breaking without gluing plastic tips on them.” That one sentence changed how I do my nails forever.
If you’ve seen “liquid gel manicure” popping up on salon menus or all over your feed and wondered what it actually is — and whether it’s worth the extra money — you’re in the right place. I’ve had liquid gel manicures done more times than I can count, I’ve tried regular gel polish, acrylics, and even press-ons, and I’m going to break down exactly what this treatment is, who it’s for, and what it really costs. Let’s get into it.
What Is a Liquid Gel Manicure, Really?
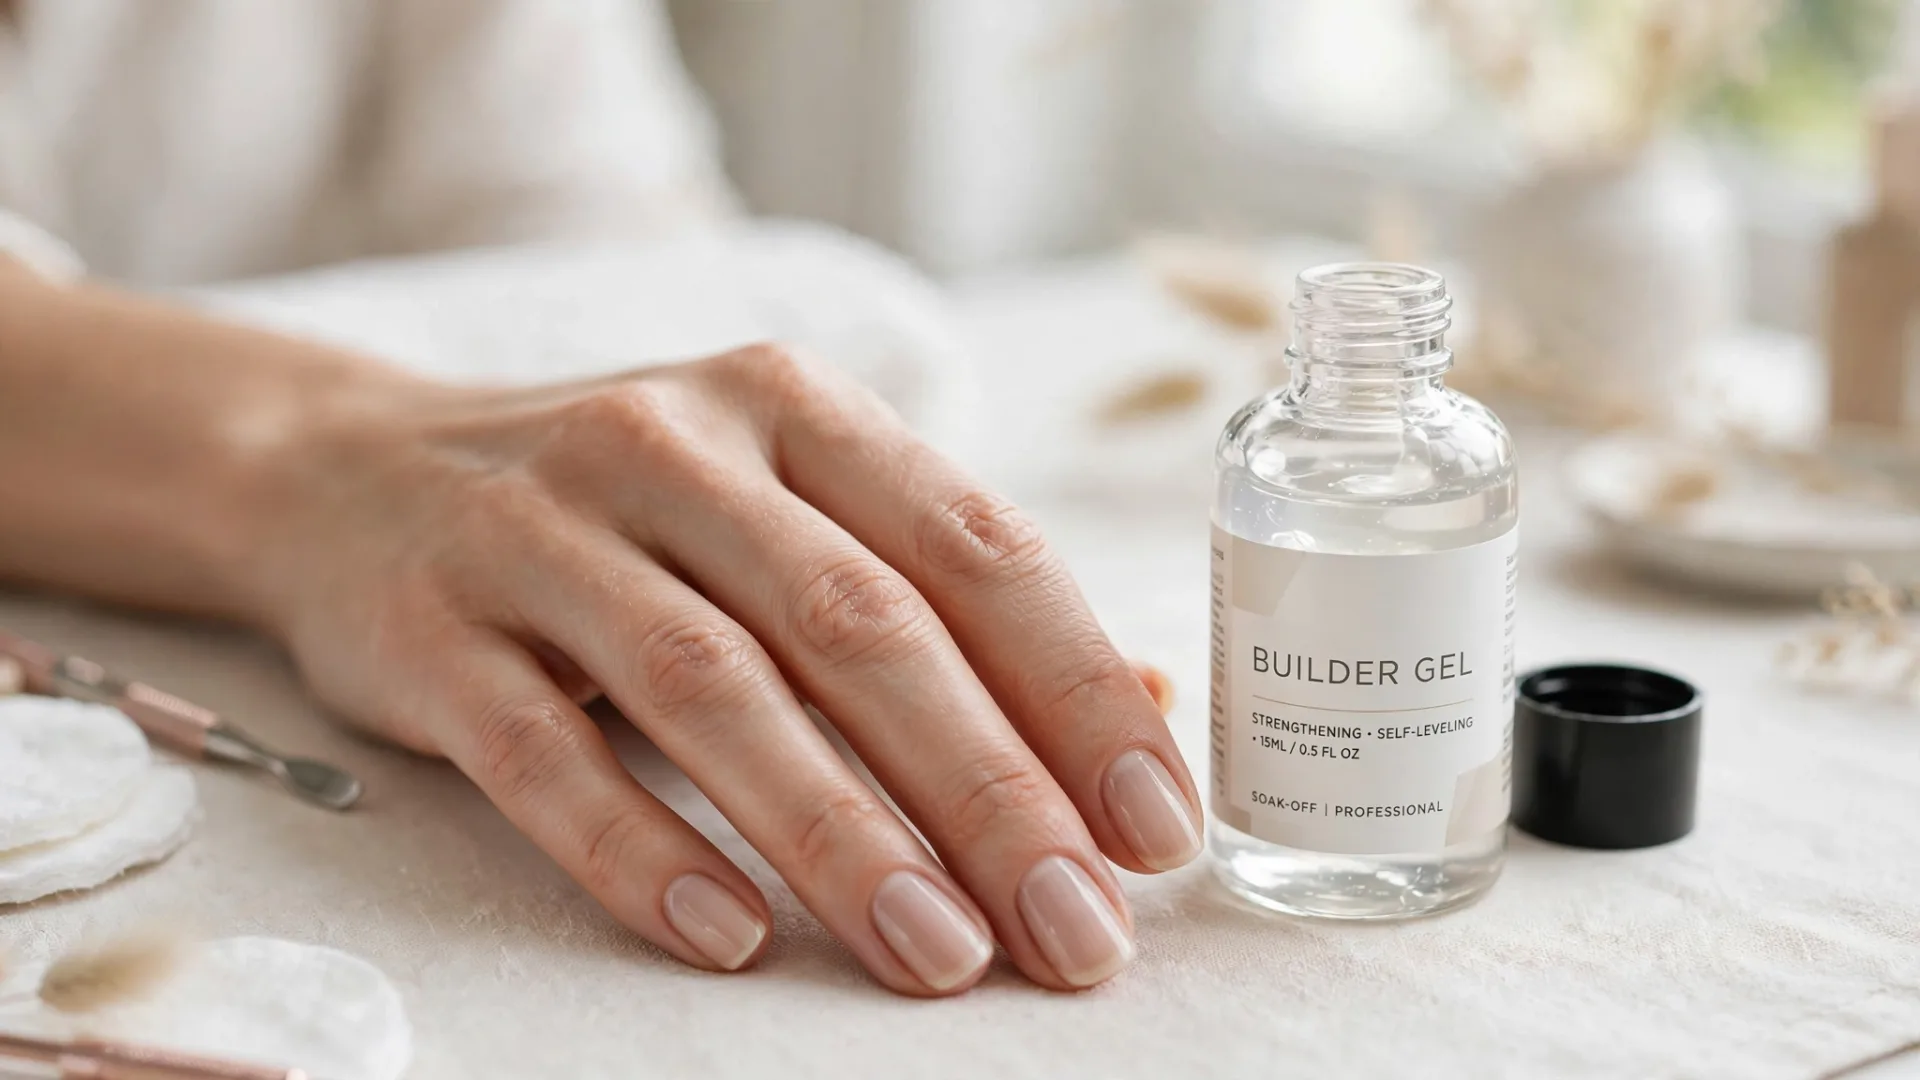
Liquid gel — also called builder gel in a bottle (BIAB) — is a soak-off soft gel that comes in a polish bottle and is thicker than regular gel polish. Think of it as gel polish’s stronger, more serious older sister. Your nail tech paints it onto your natural nail in thin layers, curing each layer under a UV or LED lamp, and it builds up a flexible yet protective coating over your own nails.
Here’s the key detail: it’s called “liquid” because of its consistency compared to hard gel, which usually comes in a jar and has to be scooped out with a brush. Liquid gel flows out of a bottle like polish, but it’s noticeably thicker and more viscous than the gel color you might be used to. That thickness is the whole point — it creates a protective layer that gives your natural nails real structural support.
The name can be confusing because salons use several terms interchangeably: liquid gel, builder gel, builder gel in a bottle, and BIAB (which just stands for “builder in a bottle”). They all refer to the same family of product. If your salon offers “builder gel overlays” or “structured manicures,” there’s a very good chance they’re talking about liquid gel too.
How Liquid Gel Differs From Everything Else on the Menu
This is where most people get confused, because nail menus are full of overlapping terms. Let me sort them out one by one.
Liquid Gel vs. Regular Gel Polish
Regular gel polish is a thin color coat that cures under a lamp. It’s basically long-lasting nail polish — pretty, chip-resistant for about two weeks, but it adds almost no strength to your nail. Liquid gel is thicker and designed to build structure, not just color. A liquid gel manicure starts with the builder as a base layer, and then you can add regular gel color on top of it if you want. The builder does the heavy lifting underneath; the color is just decoration.
Liquid Gel vs. Hard Gel
Hard gel is the jar-based product that’s stronger and can be sculpted into long extensions, but it cannot be soaked off — it has to be filed off. Liquid gel is a “soft” gel, meaning it can be removed with acetone soaking. Hard gel is tougher overall and better for very long extensions, but it’s harder on your nails at removal time. Liquid gel gives you a middle ground: real strength with a gentler removal.
Liquid Gel vs. Acrylics
Acrylics are the strongest option — a mix of liquid monomer and powder that hardens into a rock-solid nail. But acrylic application involves more filing, more fumes, and a harsher removal process. Liquid gel is applied more gently, looks more natural (it flexes slightly with your real nail instead of sitting on top like a hard cap), and causes less damage over time. Acrylics win on raw strength and length; liquid gel wins on natural look and nail health.
Liquid Gel vs. Gel-X
Gel-X is a system of pre-shaped soft gel tips that are glued onto your natural nail with gel and cured. It’s a form of extension — you’re adding a full-coverage tip. Liquid gel can be used on its own over your natural nails, or it can be used to sculpt a short extension over a form. Gel-X is faster for getting length instantly, while liquid gel is more about strengthening what you already have.
The Liquid Gel Application Process, Step by Step
Here’s what actually happens in the chair during a liquid gel manicure, so you know what to expect before you book.
1. Prep (the most important part)
Your tech starts with normal manicure prep: shaping, pushing back cuticles, and lightly buffing the nail surface. Proper prep is everything with liquid gel — if there’s oil or lift around the cuticle, the product will peel. A good tech spends real time here and never skips cuticle work.
2. Base Coat and Dehydration
The nail plate gets dehydrated (usually with an alcohol-based product), then a gel base coat is applied and cured. This creates the foundation the builder layer will grip onto.
3. The Builder Layer
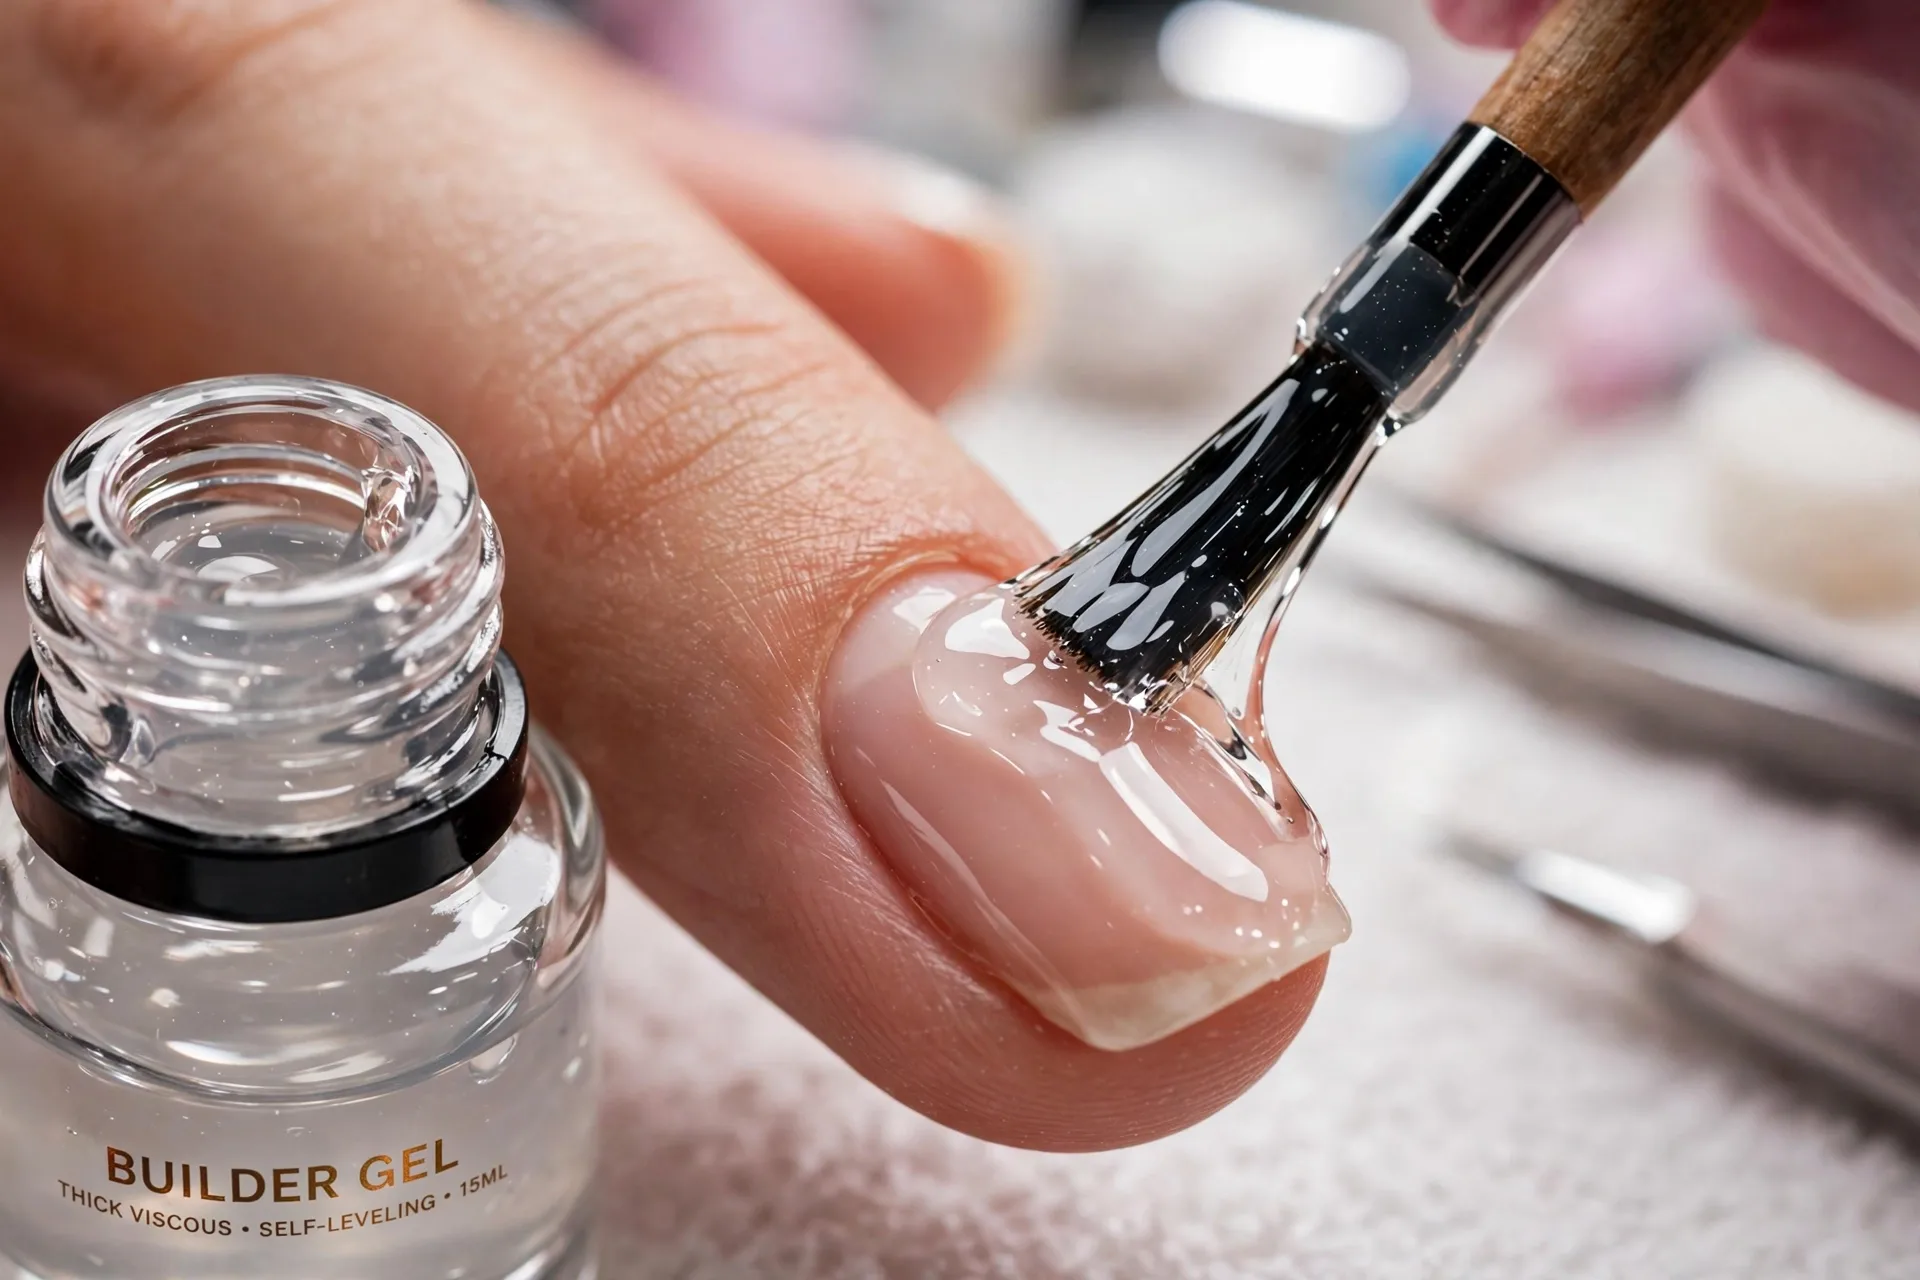
This is the main event. The liquid gel is painted on in one to two layers, each cured under the lamp. Your tech will often add a little extra product at the stress point of the nail — that area around the middle where nails tend to break — and build a slight curve (called the apex) so the nail has architectural support. It should feel smooth and natural, not thick or heavy.
4. Color and Finish
Once the builder is cured and shaped, you can add gel color polish on top, nail art, or just leave the builder nude with a glossy top coat. That “your nails but better” look — a sheer nude or milky white over liquid gel — is one of the most requested finishes right now.
5. Shaping and Top Coat
After curing, the tech refines the shape with a file, seals everything with a top coat, cures one last time, and you’re done. Total appointment time is usually 60 to 90 minutes — longer than a basic gel manicure, but shorter than a full acrylic set.
The Pros: Why People Swear by Liquid Gel
- It lets your natural nails actually grow. This is the number one reason people switch. The flexible builder layer protects your real nail from bending, snagging, and breaking, so nails that used to snap at the same length suddenly grow past it. If your nails have been stuck at “short” your whole life, liquid gel is often the thing that finally breaks the cycle.
- It looks natural. Unlike acrylics, which can look and feel thick, liquid gel moves with your nail and can be applied thin. Even with a couple of layers, your nails still look like your nails — just stronger and smoother.
- Less damage than acrylics. There’s less aggressive filing during application, and because it’s a soak-off product, removal doesn’t require grinding down to the nail plate. Over months of wear, most people’s nails stay healthier with liquid gel than with acrylics.
- Versatile finishes. Wear it with a sheer nude for the clean-girl look, add color, add French tips, or do nail art on top — the builder base works under all of it.
- Good for recovering nails. If you’re growing out damage from acrylics, press-ons, or over-filing, a liquid gel overlay is one of the gentlest ways to protect your nails while they recover.
The Cons: The Honest Downsides
- It costs more than a basic gel manicure. Expect to pay somewhere in the $50–$90 range depending on your city, compared to $35–$50 for a regular gel manicure. It’s a premium service because the product costs more and the appointment takes longer.
- Your tech’s skill matters a lot. A sloppy liquid gel application floods the cuticles, looks lumpy, and lifts within days. A good one is smooth, thin, and lasts weeks. This is not the service to cheap out on — ask to see your tech’s work first.
- Not as strong as hard gel or acrylic for long extensions. Liquid gel is flexible, which is great on natural nails, but that flexibility means it can’t support extreme lengths the way hard gel or acrylic can. If you want long, dramatic stilettos, acrylics or hard gel are still the better pick.
- Removal still takes time. Yes, it soaks off — but “soaks off” still means 10–15 minutes of acetone wraps plus gentle scraping. It’s not instant, and impatient removal (peeling or prying) will damage your nails just like with any gel product.
- Allergies are a real thing. Gel products contain acrylates, and some people develop sensitivities — especially if uncured product touches the skin repeatedly. This is another reason to go to a skilled tech who keeps product off your skin and cures properly.

How Long Does a Liquid Gel Manicure Really Last?
Here’s the honest answer: a well-done liquid gel manicure lasts 2 to 4 weeks. Most people get a solid 3 weeks of wear before they notice meaningful grow-out or any lifting. A few things affect where you land in that range:
- Nail growth speed. If your nails grow fast, the gap at the cuticle will show sooner — that’s cosmetic, not a product failure.
- Your lifestyle. Hands in water all day, typing, cleaning without gloves, or using your nails as tools will shorten wear time for any manicure.
- Application quality. Proper prep and cuticle work are what prevent lifting. A rushed prep job means peeling by week two no matter how good the product is.
- Aftercare. Cuticle oil daily genuinely helps — it keeps the product flexible and prevents the lifting that starts at the edges. Wear gloves for dishes and cleaning.
Can it last longer than 4 weeks? Sometimes people push it to 5 or 6, but I wouldn’t recommend it. The longer you wait, the more leverage your nail has at the tip, and the higher the risk of a painful break. Think of 3 weeks as the sweet spot for a fill or fresh set.
What About Fills and Maintenance?
One of the best things about liquid gel is that you don’t always have to start from scratch. At around the 2–3 week mark, you can get a fill (also called a rebalance): the tech files down the top layer, fills in the grow-out area near the cuticle with fresh builder gel, and refinishes. Fills are usually a bit cheaper and faster than a full new set.
Some people alternate: a fill at week 3, then a full soak-off and fresh application at week 6 or so. Others just do a fresh set every 3 weeks. Either way works — the point is you’re never grinding product all the way off your nail plate the way you would with hard gel, which is a big part of why nails stay healthier.
Safe Removal: Do Not Peel It Off
I know it’s tempting. I know the edge lifts a little and your fingers just… go there. Don’t do it. Peeling liquid gel rips up layers of your natural nail plate, and that’s where most “gel ruined my nails” stories come from — not the product, the peeling.
Safe removal looks like this: the tech files off the top coat and most of the color, wraps your nails in acetone-soaked cotton with foil (or uses soak-off clips), waits 10–15 minutes, and then gently pushes the softened product off with an orangewood stick or cuticle pusher. If anything resists, it gets re-wrapped — never scraped or forced. After removal, nails get a light buff, cuticle oil, and a breather before the next set (or you can go straight into a fresh application).
How Much Does a Liquid Gel Manicure Cost?
Prices vary a lot by location, but here’s a realistic range:
- Liquid gel overlay on natural nails: $50–$90
- With gel color on top: often included, or +$5–$15
- Nail art: $5–$25+ depending on complexity
- Fill/rebalance: $40–$65
- Soak-off removal (without a new set): $10–$20
It’s more than a regular gel manicure, but less than most full acrylic sets with art. Given that you’re getting 3+ weeks of wear and genuinely stronger nails out of it, the cost-per-week is honestly pretty reasonable compared to a $40 gel manicure you have to redo every 10 days.
Who Is a Liquid Gel Manicure Best For?
Liquid gel is a great fit if:
- Your nails break before they ever get long, and you want to grow your natural nails out
- You like the look of natural, elegant nails rather than dramatic extensions
- You’re recovering from acrylic damage and want something gentler
- You want a low-maintenance manicure that lasts 3+ weeks
- You’ve had lifting or chipping problems with regular gel polish
It might not be the best pick if:
- You want very long, dramatic nail shapes — acrylics or hard gel handle extreme length better
- You’re on a tight budget and just want the cheapest long-lasting color
- You do heavy manual labor that destroys even strong nails (no product survives everything)

Common Mistakes to Avoid
- Skipping the research on your tech. Liquid gel is technique-sensitive. Check reviews, look at photos of their work, and ask whether they do builder gel regularly — not just as a side offering.
- Peeling or picking at lifting product. Covered above, but it bears repeating: peeling causes the damage people blame on the product.
- Going too long between appointments. Past 4 weeks, the structure grows out past where it supports the nail, and breaks get painful. Book your next appointment before you leave the salon.
- Expecting acrylic-level hardness. Liquid gel is strong but flexible. If you treat it like armor — opening cans, scraping stickers — it can still crack. Respect the flex.
- Skipping cuticle oil. It’s a two-dollar habit that genuinely extends wear. Keep a pen in your bag.
- DIYing it with cheap Amazon kits on day one. Builder gel has a learning curve, and uncured product on skin can cause allergies. If you want to try it at home eventually, that’s fine — but learn proper application and curing first, and don’t cure with a weak lamp.
Final Thoughts
When my tech first painted that little bottle of liquid gel onto my nails, I didn’t know I was getting what would become my default manicure for the next year. My nails went from chronically broken to actually long — not salon-long, but long for me — and they looked like real nails the whole time. That’s the magic of this product: it doesn’t replace your nails, it just finally lets them be their best selves.
If you’re on the fence, here’s my honest take: try it once, with a good tech, and give it the full three weeks. Pay attention to how your nails feel and look at the end. For a lot of us with weak, break-prone nails, one liquid gel manicure is all it takes to become a convert. Just remember to book the fill before you leave — future you will be glad you did.