
There is a specific kind of chaos that lives on my crafting table right now. If you walked into my spare room, you’d see a half-empty coffee mug perilously balanced on a stack of watercolor paper, three different types of hot glue sticks strewn about, and a smattering of dried eucalyptus leaves from last weekend’s failed wreath attempt.
Let’s be honest: crafting isn’t always a picture-perfect Pinterest board. It’s messy, sometimes frustrating, and you will almost certainly glue your fingers together at least once.
But there is nothing quite like the feeling of looking at a beautiful object in your home and thinking, “Yeah, I made that.”
Lately, I’ve been moving away from overly complicated, three-day projects that require a degree in engineering and a garage full of power tools. Instead, I’ve been focusing on quick, satisfying handmade ideas that you can actually finish in an afternoon without losing your sanity.
If you are looking to inject a little soul back into your space—or want to make a gift that actually looks like it was bought at a high-end boutique—here are more than 10 gorgeous, beginner-friendly projects to tackle today.
The Essential Starter Kit
Before we dive into the projects, let’s talk gear. You don’t need to spend a fortune at the craft store. In fact, over-buying supplies before you even start is the number one trap most crafters fall into (ask me about the untouched basket of knitting yarn in my closet).
To pull off most of these handmade ideas, you really only need a few reliable workhorses:
A high-quality hot glue gun (dual temperature is best).
A self-healing cutting mat and a sharp utility knife.
Good fabric scissors (hide these from anyone who might use them on paper!).
A jar of matte Mod Podge.
Got your tools? Awesome. Let’s get making.
1. Pressed Botanical Floating Glass Frames
There is something incredibly elegant about floating frames, and they are ridiculously easy to make. I started making these after a spring hike when I couldn’t bear to throw away some wild ferns I’d picked.
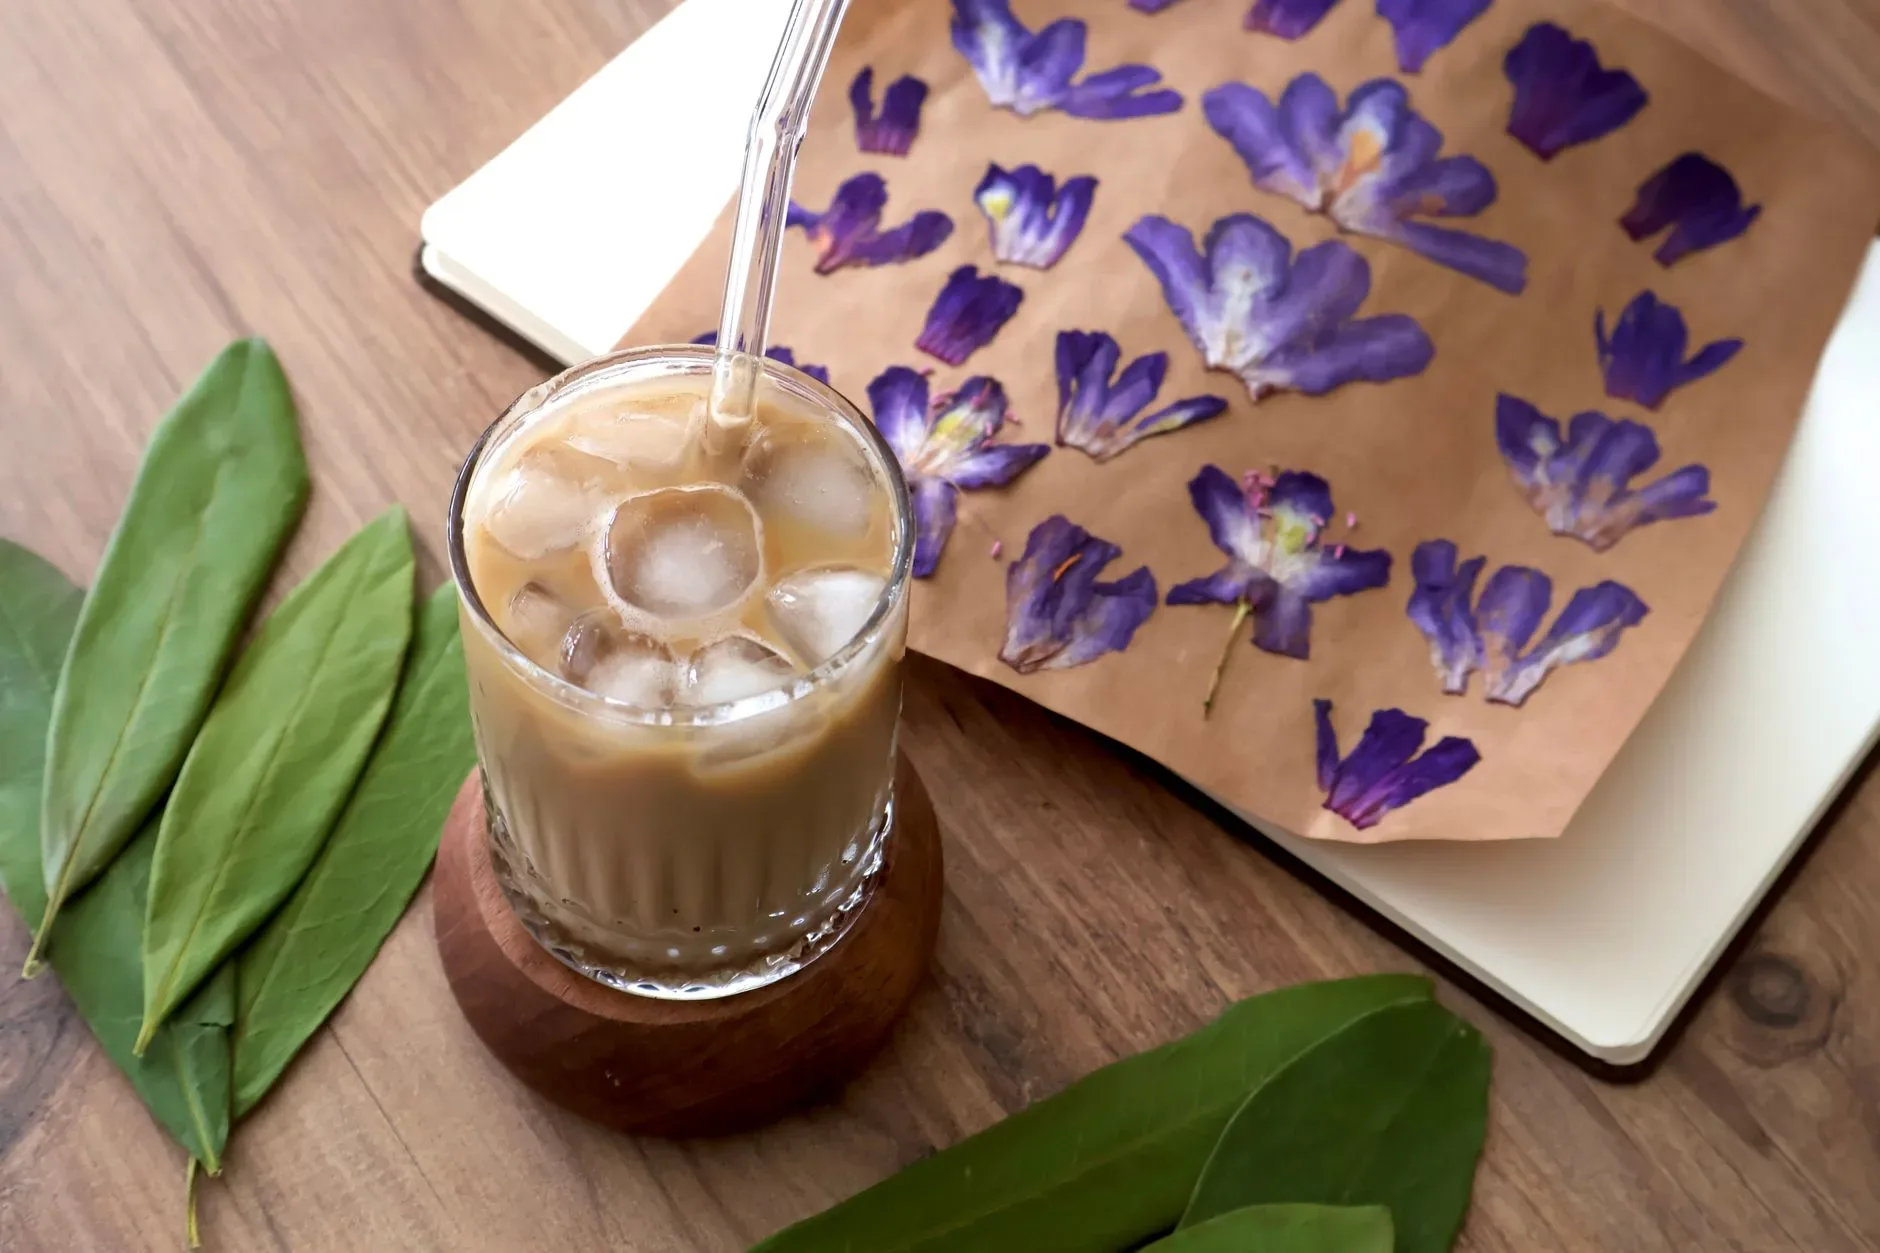
Materials Needed:
Double-glass floating frames
Dried, pressed leaves or flowers
Tweezers
A tiny dot of clear glue
How to do it:
First, ensure your botanicals are completely flat and dry. If they have any moisture left, they will mold inside the frame (learned that the hard way!). Arrange your leaves on the back piece of glass using tweezers.
Add a microscopic dot of clear glue to the back of the plant to keep it from sliding down over time. Carefully lower the top piece of glass and secure the frame. Hang it near a window where the light can shine through the negative space.
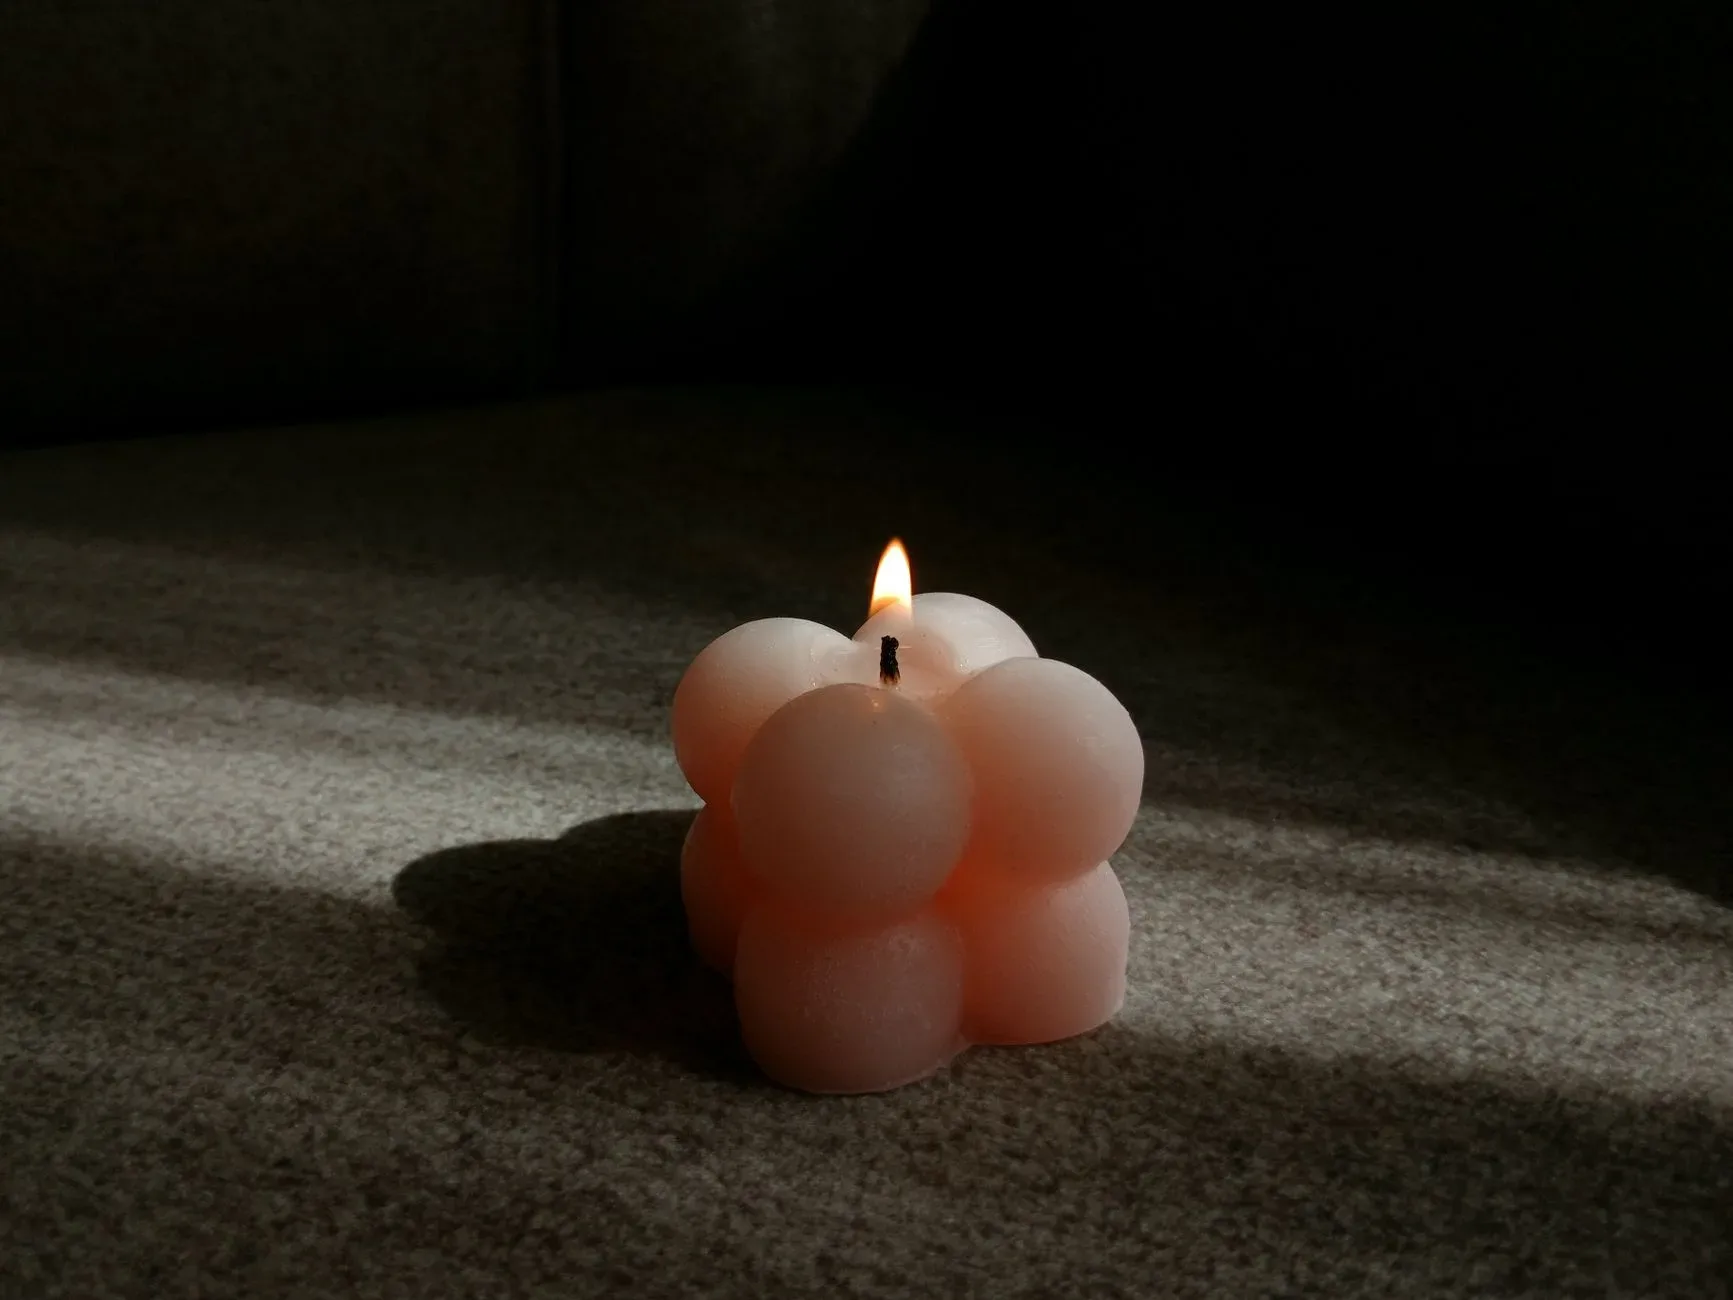
2. Hand-Poured Soy Bubble Candles
You’ve probably seen these trendy, geometric bubble candles all over Instagram selling for $30 a pop. You can make a whole batch of them for a fraction of that price.
Materials Needed:
Soy wax flakes
Silicone bubble molds
Candle wicks and a wick holder
Essential oils (optional)
How to do it:
Melt your soy wax flakes in a double boiler (or a glass bowl over a pot of simmering water). Poke a small hole in the bottom of your silicone mold, thread the wick through, and secure it at the top.
Once the wax cools slightly (around 135°F if you want to get technical, but “warm but not boiling” works too), pour it into the mold. Let it sit overnight. The magic happens when you peel the silicone mold away—it pops out perfectly smooth every time.
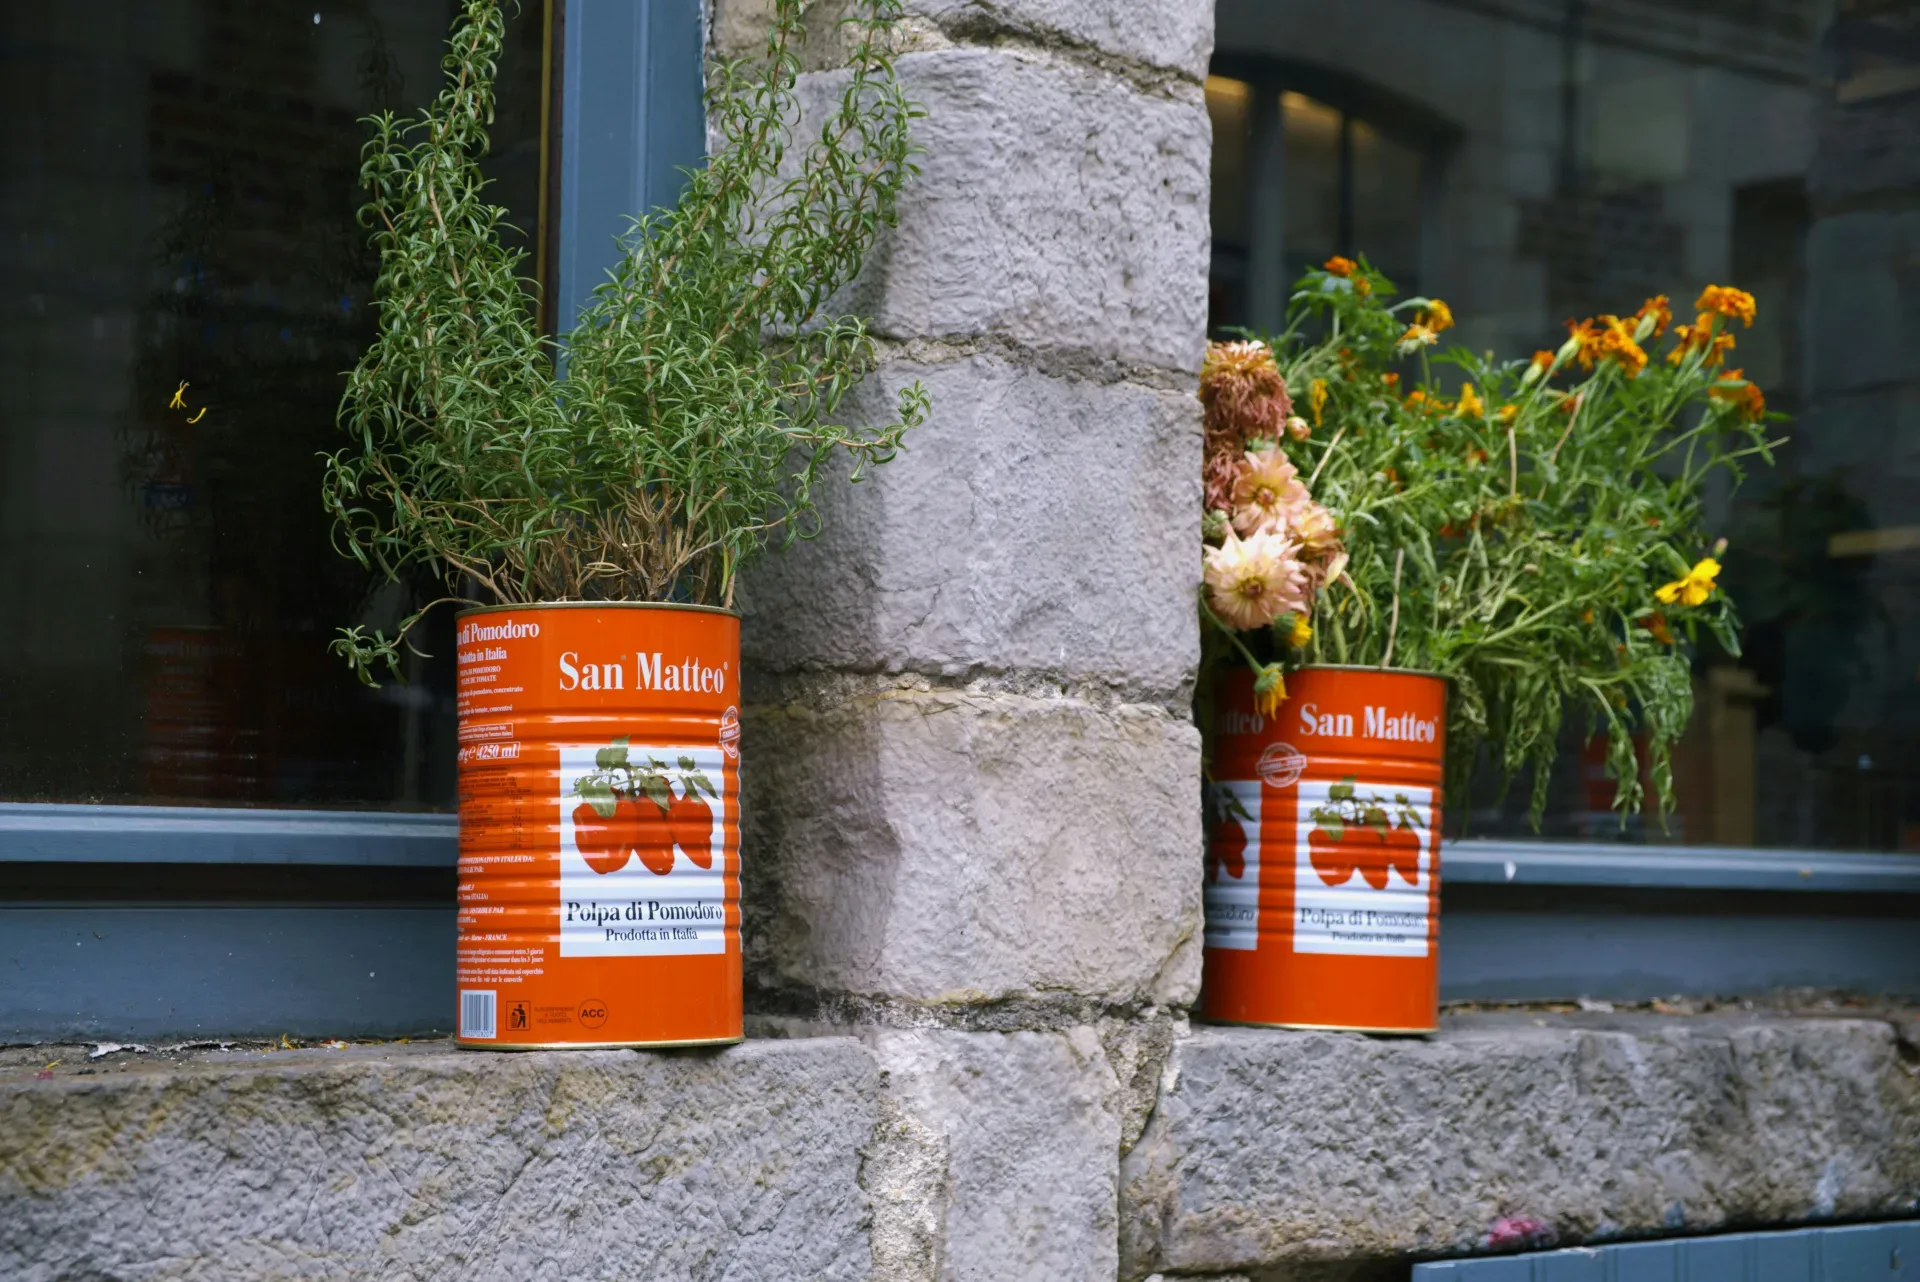
3. Upcycled Tin Can Herb Planters
Don’t throw away your tomato soup cans. With a little paint and texture, they make the most charming rustic planters for a kitchen windowsill.
Materials Needed:
Empty, clean tin cans
Baking soda and acrylic paint
Hammer and a thick nail
Twine
How to do it:
Flip the can over and use the hammer and nail to punch three drainage holes in the bottom. Now for the secret weapon: mix a tablespoon of baking soda into your acrylic paint. This gives the paint a gritty, ceramic-like texture that completely hides the fact that it’s an old can.
Paint the exterior, let it dry, and wrap the rim with twine for a finished, textured look. Pop a little basil or mint inside, and you’re set.
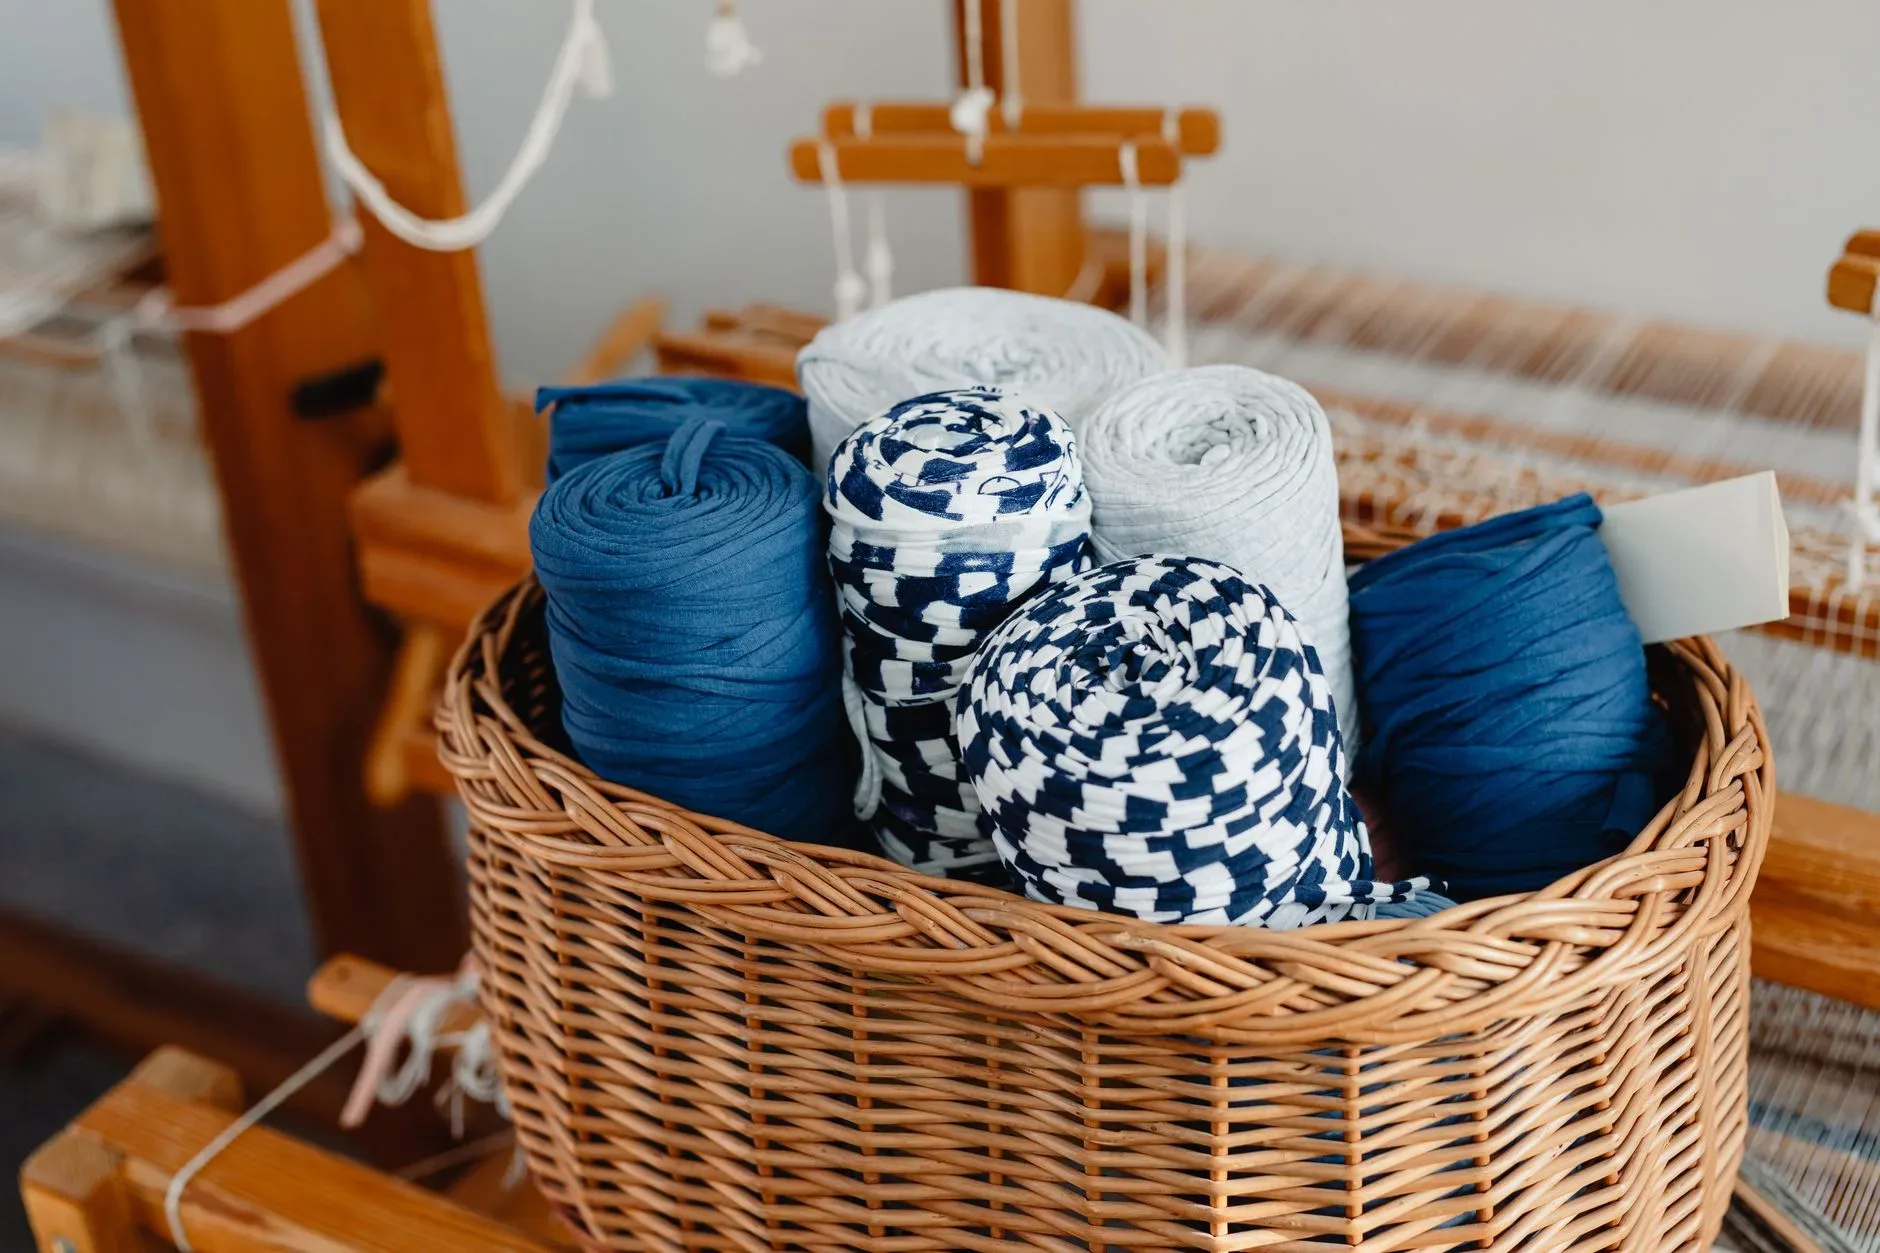
4. The No-Sew Fabric Rope Basket
If you have a mountain of blankets or dog toys cluttering your living room, this project is a lifesaver. It looks incredibly high-end, like something you’d find at a modern home goods store.
Materials Needed:
1/4-inch cotton piping cord (about 50-100 feet)
Hot glue gun and lots of glue sticks
A base object to wrap around (like an old bucket or large bowl)
How to do it:
Start by coiling the end of the rope into a tight flat circle, gluing as you go, to create the base of the basket. Once the base is as wide as you want, place your guide bucket upside down on top of it.
Begin wrapping the rope up the sides of the bucket, applying a thin bead of glue along each layer of rope. Crucial tip: Do not accidentally glue the rope to the guide bucket. Keep it snug but loose enough to slide the bucket out when you’re done.
5.
Polymer clay is basically magic for adults. It’s cheap, incredibly forgiving, and bakes right in your kitchen oven.
Materials Needed:
White polymer clay
Small scraps of colored polymer clay (black, terracotta, green, gold)
A rolling pin
A circular cookie cutter or jar lid
How to do it:
Condition your white clay by kneading it in your hands until it’s soft, then roll it out into a flat sheet about a quarter-inch thick. Take your colored clay scraps and chop them into tiny, irregular specks using a craft knife.
Scatter these colored flakes over your white clay sheet. Gently roll over the top with your rolling pin to press the flakes flat into the base. Use your cookie cutter to stamp out circles, bake them according to the package instructions, and you have gorgeous, custom terrazzo coasters.
6. Minimalist Hand-Stamped Linen Napkins
Upgrade your dinner parties with custom table linens. You don’t need to know how to embroider to make something beautiful.
Materials Needed:
Plain linen or cotton napkins
Fabric ink (like Speedball)
A raw potato or a linoleum block
A stamp pad or small brayer roller
How to do it:
Cut a raw potato in half and carve a simple geometric shape into the flat surface—a triangle or a half-moon works beautifully. Press the potato stamp into your fabric ink and stamp a repeated pattern along the edge of your napkins.
Once the ink dries, run a hot iron over the back of the fabric to heat-set the ink so it won’t wash out in the laundry.
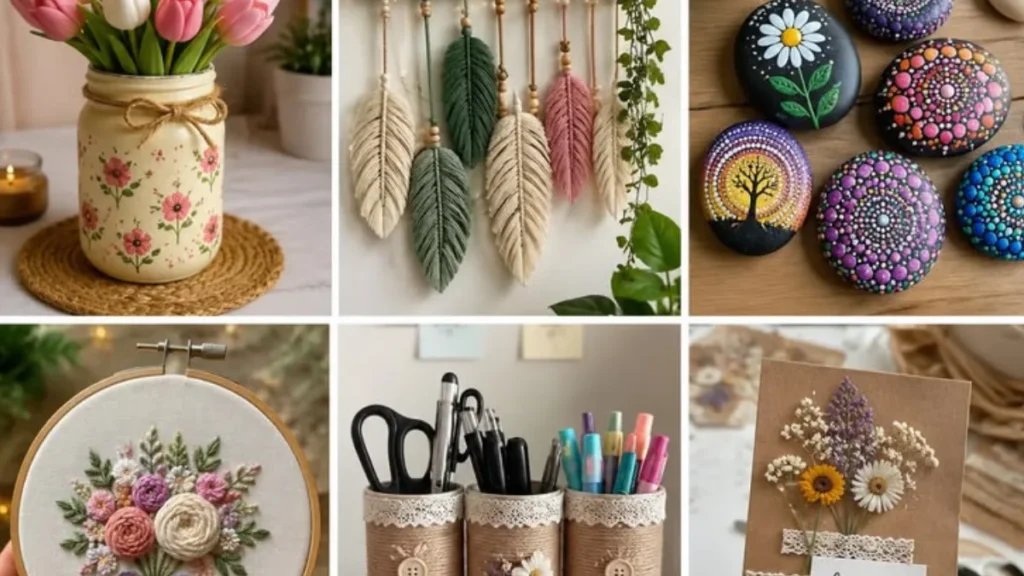
7. Boho Macrame Feather Wall Hanging
If traditional macrame looks too intimidating with all its complex knots, start with feathers. It only requires one basic knot, but the result looks incredibly intricate.
Materials Needed:
A driftwood branch or wooden dowel
Cotton macrame cord
A pet brush or fine-tooth comb
Fabric stiffener spray (or watered-down school glue)
How to do it:
Cut a main spine piece of cord and loop it onto your branch. Then, cut dozens of short, equal-length pieces of cord. Tie these short pieces onto the spine using simple lark’s head knots, working your way down to create a fringe.
Once full, take the pet brush and vigorously brush out the twisted fibers of the cord until it turns into a soft, fluffy fringe. Trim the edges into a feather shape, and spray it generously with fabric stiffener so it holds its shape on the wall.
8. Soothing Lavender & Epsom Salt Bath Bombs
Making your own bath products ensures you know exactly what is going into them. These make incredible gifts, provided you don’t keep them all for yourself.
Materials Needed:
1 cup baking soda
1/2 cup citric acid
1/2 cup Epsom salt
1 tsp water, 2 tsp essential oil, 1 tbsp coconut oil
Dried lavender buds
Bath bomb molds
How to do it:
Mix the dry ingredients in one bowl and the wet ingredients in another. Slowly—very slowly—drizzle the wet mixture into the dry mixture while stirring. If you dump it in all at once, it will start fizzing immediately, and the project is ruined.
The texture should feel like wet beach sand. Drop a few dried lavender buds into the bottom of your mold, pack the mixture tightly into both halves, press them together, and let them dry for 24 hours.
9. Wet-on-Wet Watercolor Abstract Art
You do not need to be an artist to create gorgeous wall art. Abstract watercolor relies on physics and water to do the heavy lifting for you.
Materials Needed:
Heavyweight watercolor paper (300gsm is best)
Watercolor paints (tubes work better than pans for this)
A large, soft brush
Painter’s tape
How to do it:
Tape your paper down to a flat board—this keeps it from warping and creates a clean white border. Brush a layer of clean, clear water over the entire surface of the paper.
Then, drop highly concentrated watercolor paint onto the wet paper. Watch how the color blossoms and spreads across the wet fibers. Layer two or three matching colors (like deep indigo, gold, and grey) and let them bleed into each other naturally. Let it dry completely before peeling the tape away.
10. Leather Cord Organizers
If your desk drawer looks like a snake pit of tangled charging cables, this quick utility craft will change your life.
Materials Needed:
Scraps of thick leather or faux leather
Heavy-duty metal snaps
A snap-setting tool
Utility knife
How to do it:
Cut the leather into small strips, roughly 1 inch wide by 4 inches long. Round the corners with your knife for a polished look.
Punch a hole on either end of the strip and install the male and female ends of the metal snap using your setting tool. Wrap it around a coiled iPhone or laptop charger, snap it shut, and enjoy instant organization.
11. Sparkling UV Resin Keychains
Resin used to be a massive headache because you had to mix two parts precisely and wait days for it to cure. UV resin changes the entire game.
Materials Needed:
UV resin
Silicone keychain molds
Glitter, dried flowers, or pigment powders
A UV LED lamp (like the ones used for gel nails)
How to do it:
Squeeze a thin layer of UV resin directly from the bottle into your silicone mold. Use a toothpick to pop any tiny air bubbles. Drop in your glitter or pressed flowers, then top it off with another layer of resin.
Place the mold under your UV lamp for 2 to 3 minutes. It cures instantly under the light, coming out rock-hard, glossy, and ready to attach to a keychain ring.
Craft Disasters: 3 Mistakes to Avoid
Over the years, I’ve made every mistake in the book. If you want your handmade ideas to actually look good, keep these three rules in mind:
Don’t rush the drying times. Whether it’s paint, glue, resin, or concrete, pulling a project out of its mold or hanging it up before it’s fully set is the fastest way to break it. Patience is a tool just like a hammer.
Prep your surfaces. Paint won’t stick to a dusty tin can. Glue won’t hold on oily plastic. Take thirty seconds to wash, dry, and prep your materials before you start assembling them.
Buy quality basics. You can use cheap paint, but don’t use a cheap paintbrush that sheds bristles into your artwork. Invest in the tools that touch the material.
Wrapping Up the Creative Mess
At the end of the day, crafting shouldn’t feel like another chore on your to-do list. It’s supposed to be a playground for your brain. If your circle isn’t perfectly round or your candle has a tiny wrinkle on the side, lean into it. That’s the hallmark of something truly handmade, not machine-stamped in a factory thousands of miles away.
Clear off a corner of your table, pick one project that catches your eye, and just start. Your hands will figure out the rest.