
How I Finally Grew Long, Healthy Nails Naturally (And What Actually Works)
I spend about eight to ten hours a day hammering away at a mechanical keyboard. Between coding, writing content, and general daily life, my hands take a beating. For the longest time, my nails were a disaster. They were thin, constantly peeling in gross little layers, and if they ever managed to grow past my fingertips, they would instantly snap on a keyboard key or while opening a soda can.
For a few years, I relied on the standard “fix”: acrylics and gel extensions. They looked great, sure. But the maintenance was exhausting, expensive, and every time I took them off, the natural nail underneath looked like it had been through a war zone. I finally hit a breaking point when a gel extension ripped off naturally, taking a painful chunk of my real nail bed with it.
I decided I was done. I wanted to figure out how to grow my own natural nails. I approached it the same way I approach troubleshooting a broken website or fixing a piece of hardware: I looked at the variables, researched the actual science (no marketing fluff), and tested different routines until I found exactly what worked.
If you are struggling with short, brittle, or peeling nails, I’m going to share the exact routine, tools, and weird little habits that took my nails from paper-thin to strong, long, and healthy. No fake promises, just the practical stuff that actually gets results.
The Biggest Realization: Nails Are Dead (And Flexibility is Everything)
The first thing you have to understand—and the thing that completely changed my approach—is that the visible part of your nail is dead tissue. It’s made of keratin. You cannot “heal” a split nail. You cannot feed it vitamins to make the dead part come back to life.
The only living part is the matrix, which is tucked under your skin behind the cuticle. The goal of a natural nail routine is two-fold: feed the matrix so it produces stronger keratin, and protect the dead nail plate so it doesn’t break before it gets long.
I used to buy every “nail hardener” at the drugstore. I thought hard nails meant strong nails. This is a massive trap. If your nail is completely rock hard, it becomes brittle. Think of a dry piece of spaghetti—if you bump it, it snaps in half instantly. Now think of a cooked piece of spaghetti, or a fresh, green tree branch. It bends when you put pressure on it.
You don’t want hard nails. You want flexible nails. Flexibility allows the nail to absorb impact (like hitting a desk or a car door handle) and bend instead of tearing.
The Mistakes That Were Destroying My Nails
Before we talk about what to do, we need to talk about what to stop doing. These were the things actively sabotaging my progress.
Using my nails as tools This sounds obvious, but you don’t realize how much you do it until you pay attention. I was using my thumbnails to pry open packages, scrape off stickers, open keyrings, and pop open battery compartments. Every time you do this, you cause micro-fractures in the keratin layers. Get a pocket knife, use a pen, or grab a spoon. Never use your nails as tools.
Soaking them in water Remember the whole “flexibility” thing? Water actually ruins that. Your nails are porous like sponges. When you take a long hot shower or wash dishes without gloves, your nails soak up water, swell, and expand. As they dry, they contract. This constant swelling and contracting completely destroys the structure of the nail layers, leading directly to peeling.
Cutting cuticles with nippers I used to relentlessly clip the skin around my nails because I thought it looked cleaner. Most of what I was cutting wasn’t actually the cuticle; it was the proximal fold (live skin). Cutting this skin triggers an immune response, making it grow back thicker, harder, and more prone to painful hangnails. It also opens the door for bacterial infections which can permanently damage the nail matrix.
Using cheap cardboard emery boards Those gritty, sand-paper files you get in multipacks at the grocery store are way too harsh for natural nails. They rip and tear the edges of the nail rather than sanding it down smoothly. This leaves microscopic ragged edges that catch on clothing and turn into massive tears.
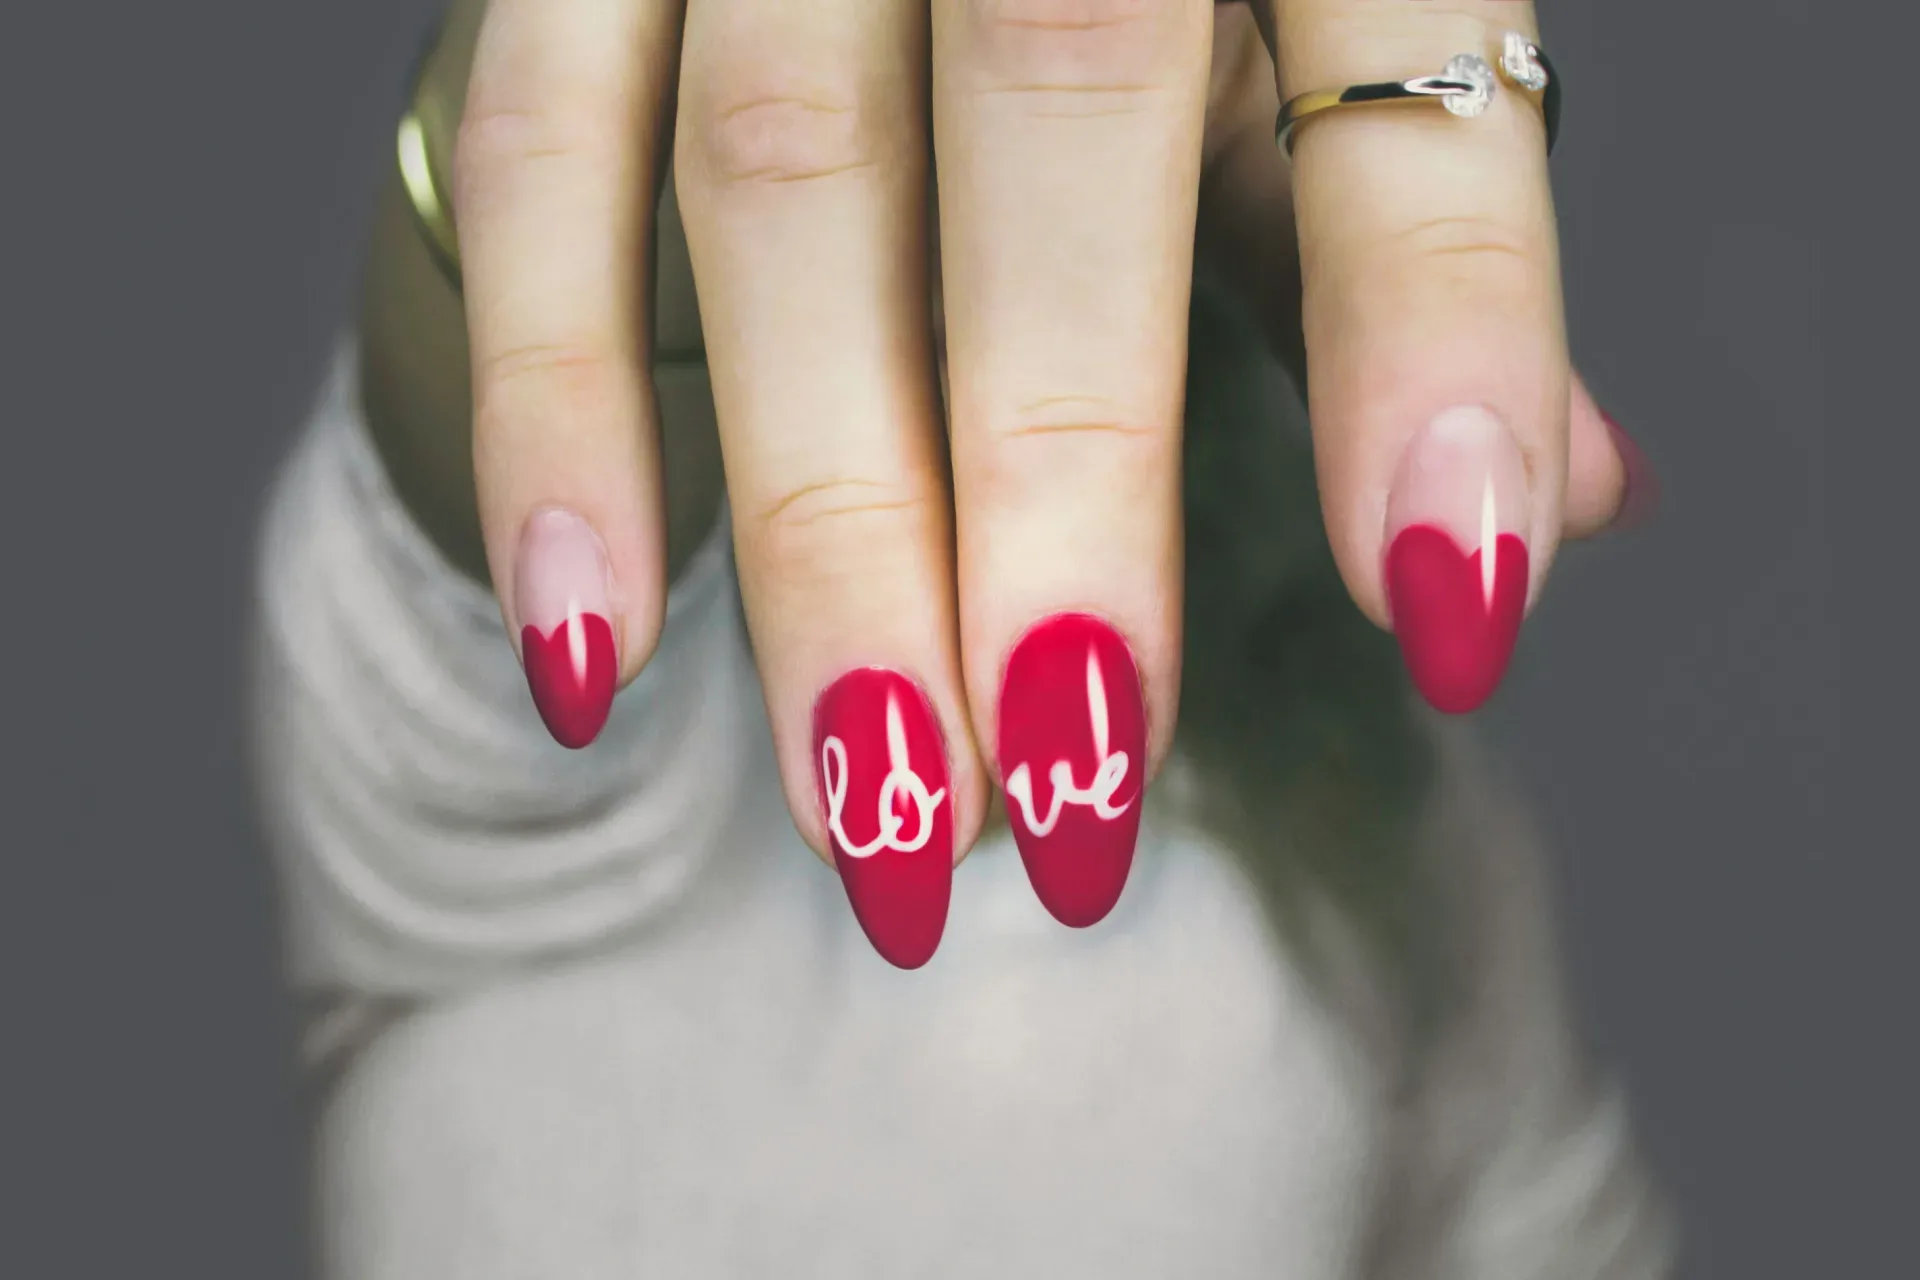
📷 Photo by DESIGNECOLOGIST on Unsplash
The Hardware: My Non-Negotiable Nail Toolkit
You don’t need a massive drawer full of expensive serums, but you do need a few specific, high-quality tools. Here is what I actually use.
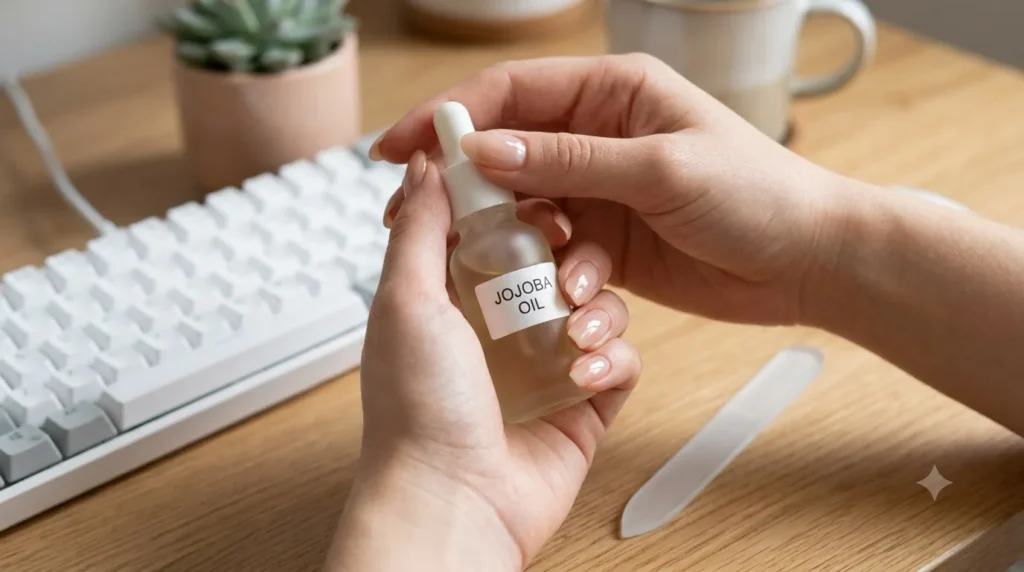
1. 100% Pure Jojoba Oil
If you take only one thing away from this entire article, let it be this. Jojoba oil is the holy grail of nail care. Why? Because on a molecular level, the structure of jojoba oil is incredibly similar to human sebum (the natural oil our skin produces).
Most hand lotions and thick creams just sit on top of the nail. The molecules are too large to penetrate the keratin plate. Jojoba oil molecules are small enough to actually sink into the layers of the nail, keeping them lubricated, glued together, and flexible.
I buy a big bottle of organic, cold-pressed jojoba oil (brands like Cliganic or NOW Foods are cheap and great) and fill up empty cosmetic brush pens with it. I keep one on my desk, one in my car, and one by my bed.
2. A Czech Glass Nail File
Throw away the emery boards and metal files immediately. You need a glass nail file, specifically one made of tempered Czech glass (brands like Mont Bleu or Bona Fide Beauty on Amazon are fantastic and cost about $10).
The surface of a glass file is chemically etched, not sprayed with grit. It glides over the nail edge, sealing the keratin layers together completely smooth. With a glass file, you can even file back and forth without damaging the nail, though filing in one direction is still best practice for shaping. They also last forever—you just wash them with soap and water.
3. Rubber Gloves
I bought a pack of reusable, cotton-lined nitrile gloves for the kitchen. I do not touch soapy dishwater without them on. Detergents are designed to strip grease and oil, which means they will violently strip all the natural moisture out of your hands and nails in seconds.
The Daily & Weekly Routine for Growth
Here is exactly what I do to maintain my nails now. It feels like a lot typed out, but it takes maybe five minutes a day.
The Daily Oil Habit
I apply jojoba oil to my cuticles, the sides of my nails, and underneath the free edge of the nail at least three times a day. If I just washed my hands, I apply oil. If I’m sitting in a Zoom meeting with my camera off, I’m oiling my nails. You literally cannot over-oil them. Massage it into the skin for about twenty seconds to increase blood flow to the matrix.
The Weekly Maintenance Manicure
Once a week, usually on a Sunday evening, I sit down to do a reset.
Step 1: Gentle shaping I only use my glass file. I never use nail clippers unless a nail is severely broken. Clippers pinch the nail flat before cutting, which can crack the natural curve of the nail plate. I file my nails into an oval or “squoval” (square with rounded corners) shape. Pointy stiletto nails or sharp squares look cool, but those sharp corners catch on everything and break easily. Rounding the edges distributes force evenly if you bump your finger.
Step 2: Pushing, not cutting I apply a little bit of cuticle remover gel (Blue Cross is a classic, but Sally Hansen works fine) and let it sit for about thirty seconds. Then, using a wooden orange stick or a silicone pusher, I very gently push the skin back and scrape away the white, dead tissue stuck to the nail plate. I wash my hands immediately after, as those removers are alkaline and can dry things out if left on too long.
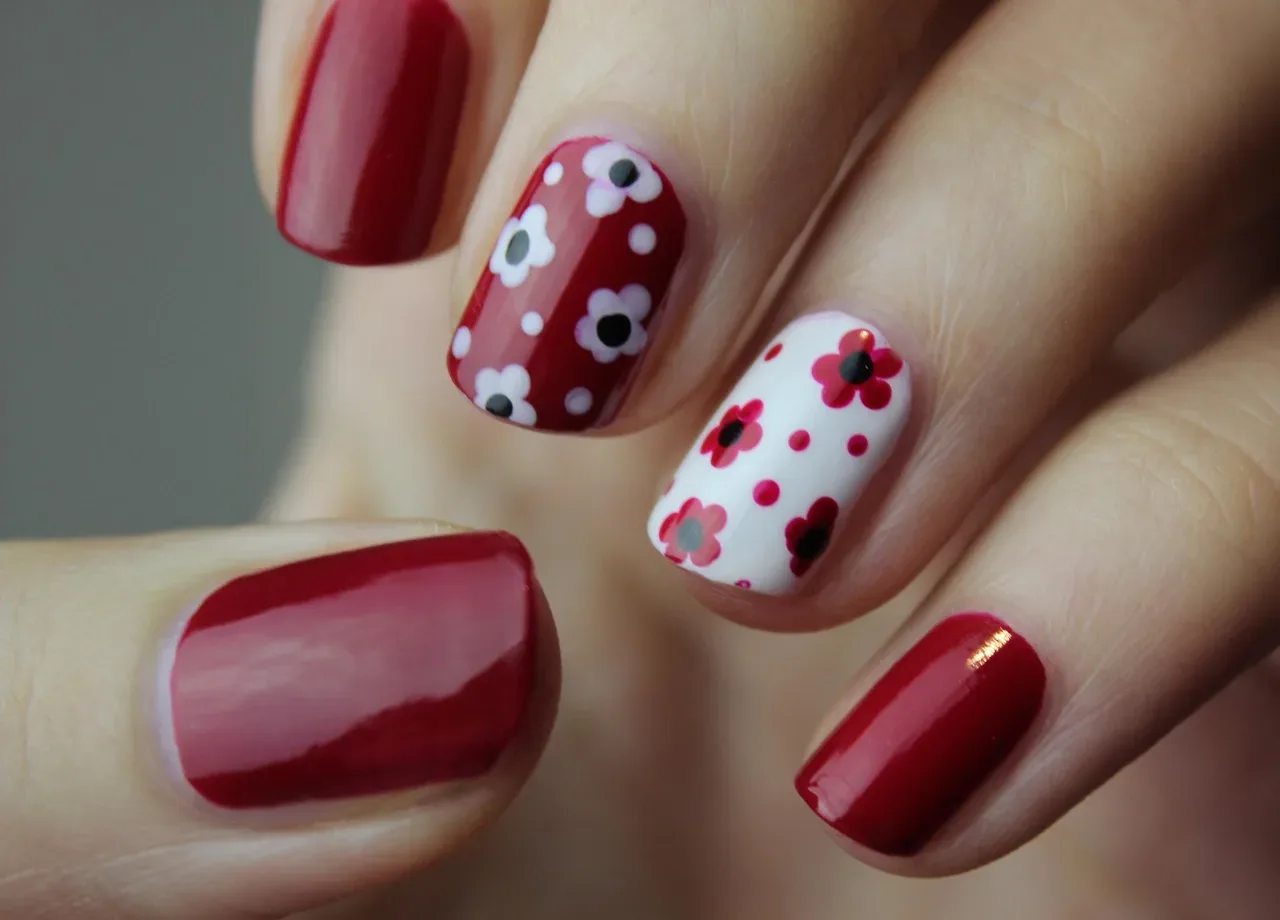
Step 3: The protective armor (Nail Polish) I never, ever leave my nails naked. Even if you hate the look of colored polish, you need a protective barrier. Naked nails are exposed to water, dry air, and friction.
I use a high-quality base coat. OPI Nail Envy is great if your nails are severely damaged (use it for a few weeks, then switch to something normal so they don’t get too brittle). CND Stickey is another good one. I apply the base coat, maybe a sheer neutral color, and a quick-dry top coat (Seche Vite or Essie Gel Setter are my go-to choices).
The most important part of painting your nails is “wrapping the tip.” When you apply the top coat, lightly run the brush horizontally across the very front edge of the nail. This seals the layers and prevents the polish from chipping at the tip when you type.
Troubleshooting: What to Do When a Nail Tears
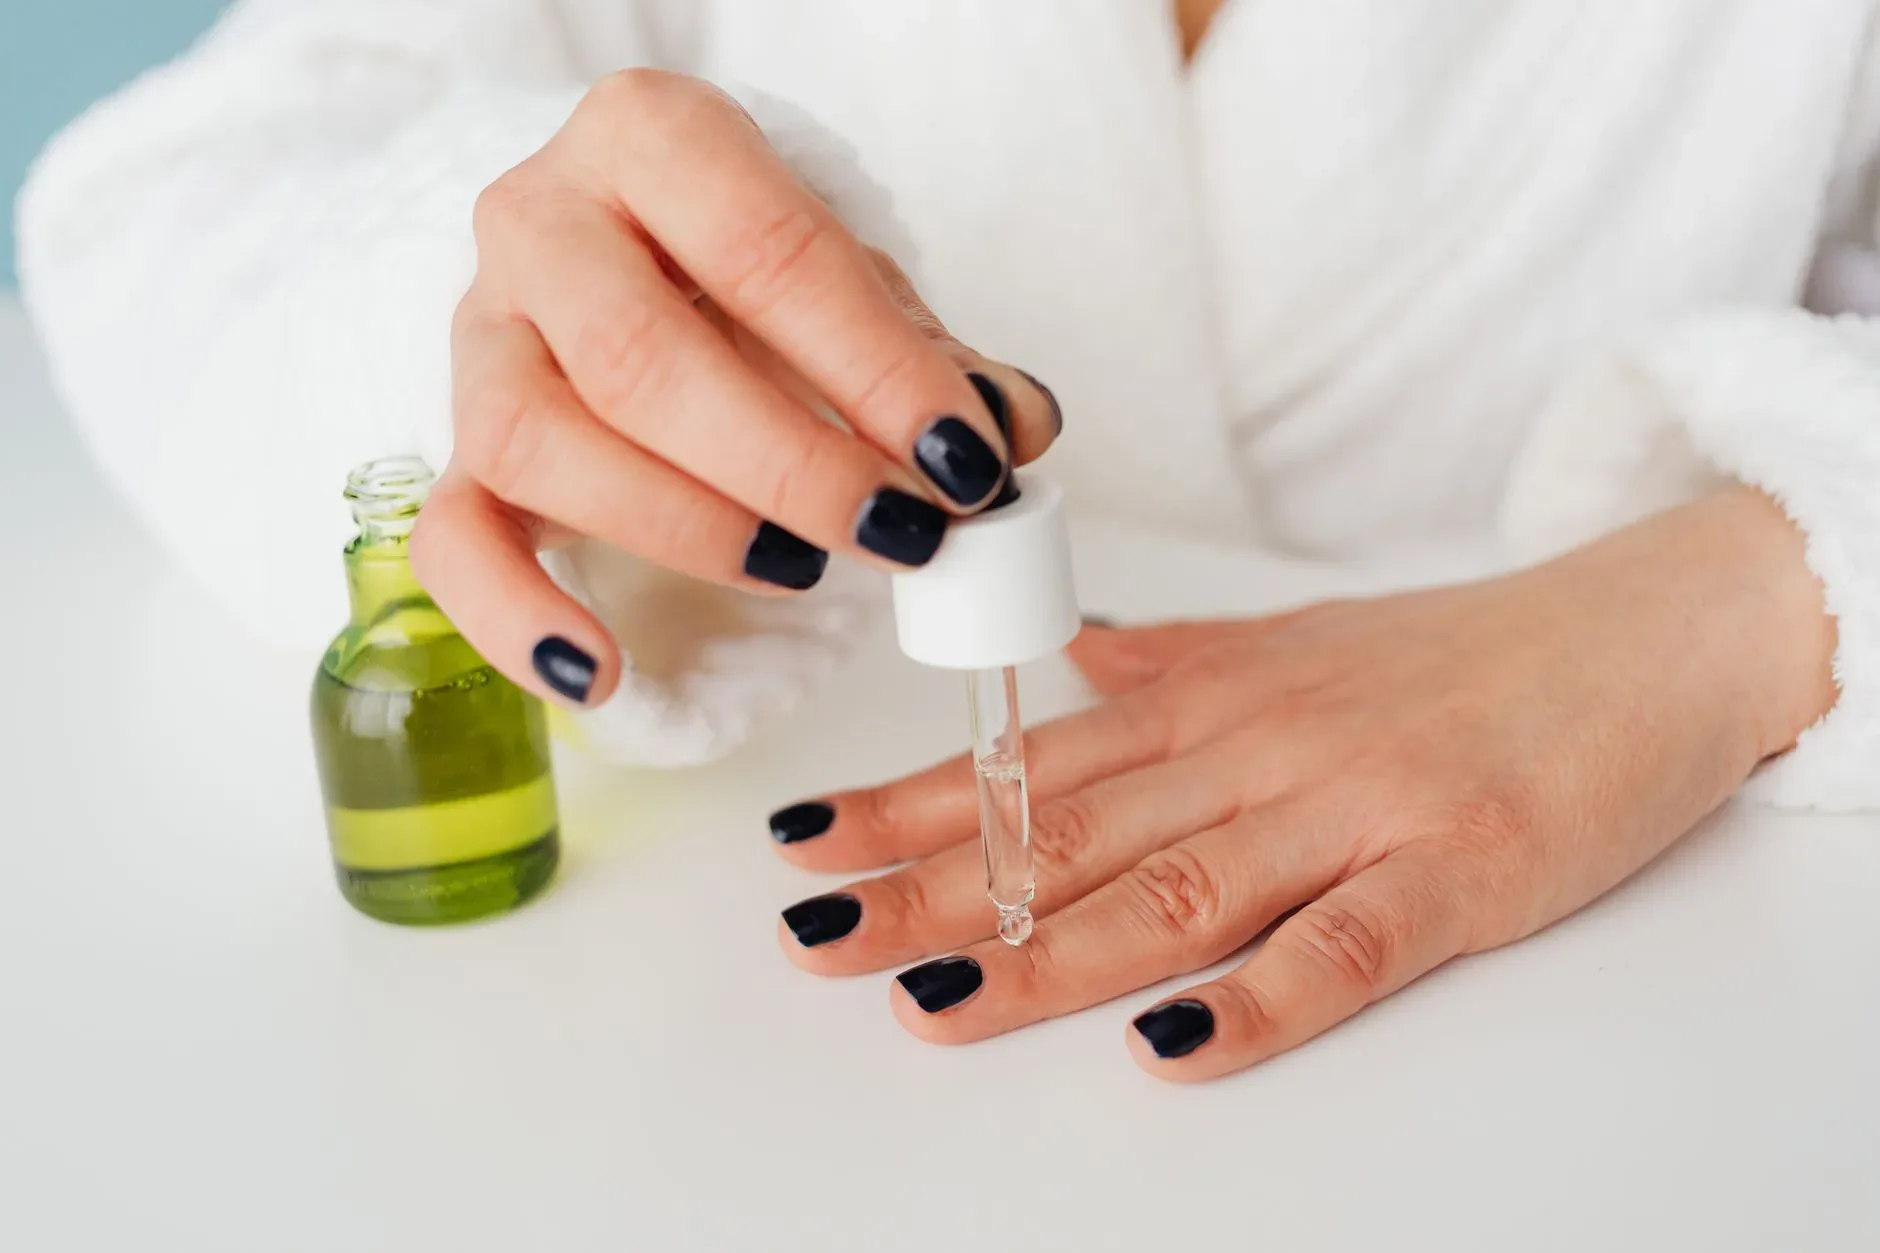
📷 Photo by www.kaboompics.com on Pexels
No matter how careful you are, you will eventually get a tear on the side of a nail. In the past, I would just rip it off or cut the whole nail down to the nub. Now, I do the “tea bag patch.”
If the tear is low down on the nail bed (where it would bleed or hurt if you cut it), do not cut it. Take a regular, dry tea bag from your kitchen and cut a tiny square out of the paper. Clean the nail to remove any oils. Apply a tiny dot of nail glue (or a thick clear base coat) over the tear, and use tweezers to lay the tea bag paper over it.
Once it dries, buff it completely smooth with a gentle buffer block, and paint over it. The paper acts exactly like fiberglass reinforcement. It will hold the nail together for weeks until the tear grows out past the fingertip and can be safely filed off. It completely saved my progress multiple times.
A Quick Word on Diet, Biotin, and Supplements
You can’t talk about natural nail growth without someone mentioning Biotin or expensive hair-skin-and-nails gummies.
Here is the reality I found after researching the actual dietary science: unless you have a clinical deficiency in biotin (which is quite rare for people eating a standard, varied diet), taking excess biotin will do absolutely nothing for your nails. Your body just flushes out what it doesn’t need.
What did make a difference for me was basic hydration and protein. Nails are built from keratin, which is a protein. If you are surviving on iced coffee and instant noodles, your body is going to prioritize keeping your vital organs functioning, not growing pretty nails. Eating enough eggs, meats, nuts, or plant-based proteins, and drinking actual water instead of just caffeine, provides the raw materials your body needs to build the nail in the first place.
Final Thoughts
Growing natural nails is an exercise in patience. It takes about four to six months for a nail to grow entirely from the matrix to the free edge. That means if you start treating them right today, you won’t see the fully transformed, healthy nail at your fingertips until half a year from now.
But you will see the difference in the new growth near your cuticles within a few weeks. The skin will look healthier, hangnails will stop forming, and the polish will sit better on your hands.
Don’t buy into the marketing hype of miracle hardening serums. Protect them from water, keep them flexible with jojoba oil, shape them gently with a glass file, and wear a layer of polish as armor. It feels like a slow process in the beginning, but once that healthy growth reaches the end of your fingers, you’ll never want to go back to acrylics again.