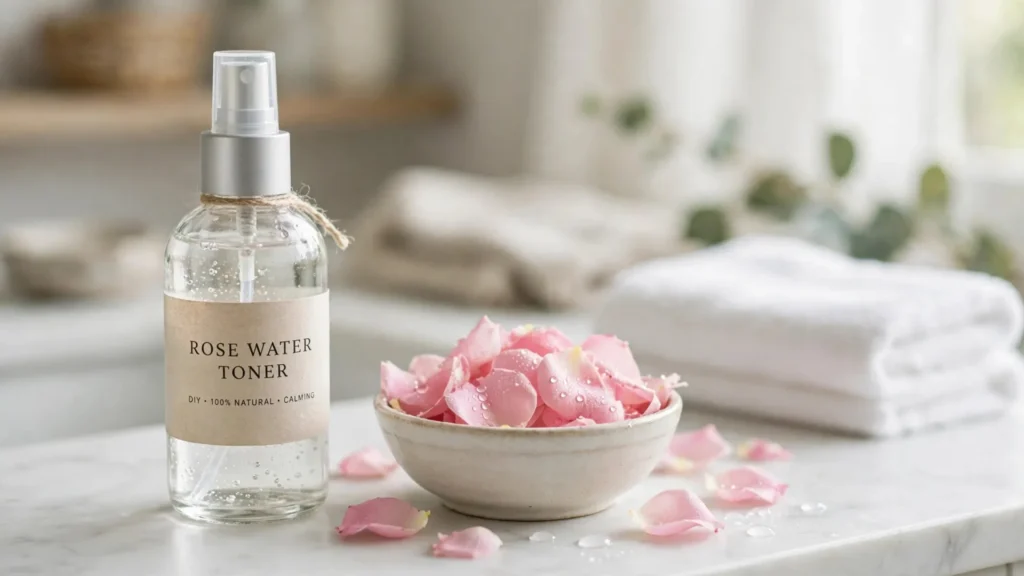

The Bathroom Shelf Mistake That Started It All
Last spring, my bathroom shelf looked like a crime scene. Half-empty bottles of serums, two different toners that promised “glass skin in seven days,” a vitamin C thing that had turned the color of old pennies. I had spent — I kid you not — almost nine thousand rupees on products that my skin politely ignored.
Then one afternoon I visited my aunt, who has the kind of skin that makes you squint and wonder if she’s wearing a filter. She’s sixty-two and has never bought a serum in her life. I asked what she uses. She laughed and pointed at the rose bush by her front gate. “That. Boiled in water. That’s my toner.”
I thought she was joking. She wasn’t.
Two weeks later I made my first batch of DIY rose water toner at home, and honestly, it became the one step of my routine I never skip. It costs almost nothing, it takes about half an hour, and my skin has been calmer, more hydrated, and genuinely glowier since I made the switch. Here’s exactly how I make it, what I’ve learned the messy way, and how you can make a bottle today.
Why Rose Water Actually Works as a Toner
A toner’s whole job is simple: after cleansing, it adds a light layer of hydration, helps bring your skin’s pH back toward normal, and preps the skin so your serum and moisturizer sink in better. Rose water does all of that naturally.
Rose petals contain natural antioxidants — the same kinds of compounds that give tea and berries their reputation — plus mild anti-inflammatory properties. In practical terms, that means rose water tends to calm redness, feel cooling on irritated skin, and hydrate without any oil or heaviness. It’s gentle enough that people with sensitive skin often tolerate it, and light enough that oily skin types don’t feel greasy afterward.
What I personally noticed after about ten days of daily use: my makeup sat better in the afternoon, the dry tightness I used to feel after washing my face was gone, and I stopped getting those little red patches along my nose. It wasn’t a miracle transformation — nothing is — but it was a steady, real improvement. And the ritual itself, that little cool mist, feels like a tiny spa moment every morning.
What You’ll Need
Before you start, gather everything. The method moves fast once the petals hit the heat.
Ingredients
- Fresh rose petals — about 2 cups, loosely packed (or 1/2 cup dried rose petals). Use roses that have not been sprayed with pesticides. If you’re buying from a shop, ask whether they’re food-grade or at least grown without chemical sprays. This matters: pesticide residue has no place on your face.
- Distilled water — about 2 cups. Distilled is better than tap because it’s free of minerals and chlorine that can interfere with shelf life and irritate sensitive skin. I buy the big bottles from the supermarket — they’re cheap and I use them for my skincare and my iron.
- Witch hazel (optional) — 2 tablespoons of alcohol-free witch hazel. I like Thayers alcohol-free witch hazel; it adds a mild astringent kick that helps with pores. Skip it if your skin is dry or very sensitive.
- Vegetable glycerin (optional) — 1 teaspoon. This is a humectant, which means it pulls moisture toward your skin. If your skin is on the dry side like mine gets in winter, glycerin makes the toner noticeably more hydrating.
Tools
- A small saucepan with a lid
- A fine-mesh strainer or a piece of clean muslin/cheesecloth
- A bowl for straining
- A clean glass spray bottle (mine is a 100 ml amber glass one — dark glass is better because light breaks down natural ingredients faster)
- A small funnel (optional but saves you from pouring rose water all over the counter, which I did the first time)

DIY Rose Water Toner Recipe: Step by Step
Step 1: Pick and rinse your petals
If you’re picking from your own garden, choose petals from fully opened blooms in the morning, when their scent is strongest. Pull the petals gently away from the flower head and pick out any bugs or brown bits. Rinse them under cool running water in a colander. Don’t skip this — garden petals carry dust and pollen.
Step 2: Put petals and distilled water in the saucepan
Place your 2 cups of petals in the saucepan and pour in the distilled water, just enough to cover the petals. Not too much — more water means a weaker, more diluted toner. You want the water to turn a deep pink, which only happens if the ratio of petals to water is generous.
Step 3: Simmer low and slow (don’t boil!)
Put the lid on, set the heat to the lowest setting, and let it simmer gently for 15 to 20 minutes. This is the most important detail in the whole recipe. You’ll know it’s done when the petals have gone pale and almost translucent, and the water has turned a soft pink.
Whatever you do, do not let it boil hard. Boiling destroys the delicate compounds that make rose water worth using, and it dulls the scent into something flat and cooked. The first batch I ever made, I got impatient and cranked the heat — I ended up with pink water that smelled like boiled cabbage water. Learn from my mistake: low and slow.
Step 4: Cool, then strain
Turn off the heat and let everything cool completely. This takes about 30 minutes. Then pour the mixture through your strainer or muslin into a bowl. Press the petals gently with the back of a spoon to squeeze out every last drop of liquid. Compost or discard the spent petals.

Step 5: Add your boosters (optional)
If you’re using witch hazel or glycerin, stir them into the strained rose water now. A tiny whisk or even a chopstick works. The toner should be a clear, pale pink liquid with that classic rose scent.
Step 6: Bottle it up
Using your funnel, pour the toner into your clean spray bottle. I sterilize mine first by rinsing with boiling water and letting it air-dry — a clean bottle means your batch lasts longer without any funky growth. Screw the cap on tight and pop it in the fridge.
How to Use It (and How Often)
Use your DIY rose water toner twice a day — right after cleansing, while your skin is still slightly damp. Mist it directly onto your face (about 4-6 spritzes, holding the bottle six inches away), or spray it onto a cotton pad and sweep it over your skin. Follow with your serum and moisturizer as usual.
It also doubles as a midday refresher. I keep the bottle in my bag on hot days and mist over my makeup when my skin looks tired around 4 pm. It settles powder beautifully and gives that dewy finish without disturbing anything.
Patch test first. Even natural ingredients can irritate. Spray a little on your inner wrist or behind your ear and wait 24 hours. If there’s no redness or itching, you’re good. I know one friend who discovered she’s sensitive to rose — she learned this the gentle way, on her arm, instead of on her face. Do the same.

Storage and Shelf Life (Read This Before You Make a Big Batch)
Because this toner has no preservatives, it will not last like store-bought products. Stored in the fridge, your batch keeps for about 2 weeks. At room temperature in a cool dark place, use it within about a week. Always use a clean spray bottle, and if it ever smells off or looks cloudy, toss it and make a fresh batch — it takes thirty minutes, so there’s no reason to risk it.
This is also why I recommend making small batches. My recipe above fills one 100 ml bottle, which is about right for two weeks of daily use. Making a huge batch feels efficient, but it just means you’re throwing away the last half.
Variations for Your Skin Type
For dry skin
Add the full teaspoon of vegetable glycerin and skip the witch hazel. The glycerin makes a real difference — my winter skin drinks this version up. You can also follow the toner with a slightly heavier moisturizer than usual.
For oily or acne-prone skin
Add the alcohol-free witch hazel and skip the glycerin. The witch hazel gives a gentle tightening effect that helps skin look less shiny through the day. Don’t expect it to fix acne on its own — think of it as supporting cast, not the lead actor.
For sensitive skin
Keep it simple: just rose water and distilled water, nothing else. This plain version is the gentlest option and it’s still effective. My aunt, whose skin taught me this whole trick, has used the plain version for years.
For a brighter glow
Try adding a splash of brewed, cooled green tea (about 2 tablespoons) to your finished toner. Green tea brings its own antioxidants to the party and people swear it helps with dullness. Just remember the extra ingredient means a slightly shorter shelf life — use it within 10 days.
Common Mistakes I Made So You Don’t Have To
Mistake 1: Using tap water. I did this in batch one and the toner developed a slightly sour smell by day five. Distilled water really does keep it fresher longer. It’s one of those details that seems fussy until you compare the two batches side by side.
Mistake 2: Boiling the petals. As I said — boiled cabbage water. Gentle simmer only. The petals should release their color slowly.
Mistake 3: Using roses of unknown origin. Florist roses are often heavily sprayed. If you can’t verify they’re pesticide-free, buy dried organic rose petals online or from a health food shop. I now order a big bag of dried petals — they work just as well and I don’t have to worry about sprays.
Mistake 4: Adding essential oils without care. I see recipes online that tell you to drop rose essential oil into the mix. Essential oils are highly concentrated and can irritate facial skin if not properly diluted and formulated. Your homemade infusion already has plenty of rose character — skip the oils unless you really know what you’re doing.
Mistake 5: Skipping the patch test. I was impatient and skipped it on batch two. Nothing happened, thankfully, but a friend wasn’t so lucky with a different DIY recipe. Twenty-four hours of patience beats a week of redness.
Store-Bought vs. DIY: An Honest Comparison
I’ll be straight with you: a good commercial rose water toner is not a bad product. If you buy one, look for a short ingredient list with rose distillate or rose water high up and no added fragrance. The convenience is real — months of shelf life, consistent quality, no saucepan to wash.
But DIY wins on three things: cost (a batch costs pennies once you have the petals), freshness (nothing beats using it days after making it), and control (you decide exactly what goes on your face). It loses on shelf life and consistency — every batch smells slightly different depending on the roses. For me, that’s a feature, not a bug. There’s something grounding about a skincare product you made with your own hands from flowers you can name.
One Last Thought
That first batch I made was imperfect. The bottle I used was ugly, I spilled rose water down my arm, and the scent was lighter than I expected. But the next morning, standing in front of my mirror, I misted my face with something I’d made myself — and my skin drank it in. Six months later, it’s still my favorite step of the day. Sometimes the best skincare isn’t in a fancy bottle. Sometimes it’s simmering on your stove.



Pingback: Double Cleansing Method for Oily Skin: The Exact 2-Step Routine That Stopped My Breakouts