

Last winter, my foundation started cracking by 11 AM. Not a little creasing — actual flaky patches around my nose and chin that no amount of setting spray could fix. I had dry skin and I’d convinced myself that the whole “glass skin” thing just wasn’t for people like me. Glass skin looked like something you were born with, or something only oily-skinned girls on TikTok could pull off.
Turns out I was doing almost everything wrong. The problem wasn’t my skin type. It was my routine — too many harsh products, layers in the wrong order, and the classic dry-skin mistake of skipping moisturizer because “my skin feels oily after serums.” Three weeks of changing the order of things — not buying twenty new products, just changing how I used the ones I had — and a friend grabbed my face in the office and said, “What is ON your skin?” That was the moment I knew the glass skin routine for dry skin actually works.
So here it is: the exact routine, the exact layering order, the real products I used, and every mistake I made along the way so you don’t have to.
What “Glass Skin” Actually Means (For Dry Skin)
Glass skin is the K-beauty term for skin that looks so smooth, hydrated, and translucent that it reflects light like glass. It’s not about being oily or shiny — it’s about plumpness. Think of a freshly cut cucumber slice versus one that’s been sitting out for an hour. Same thing, just more water.
Here’s what dry skin people get wrong about this goal: we think our skin can’t look luminous because it doesn’t produce oil. But glass skin has nothing to do with oil. It’s water content + a healthy barrier. Dry skin is actually low on lipids, which means water escapes faster. Once you fix the escape problem, dry skin can look just as glassy as anyone else’s — sometimes better, because you have fewer enlarged pores to deal with.
The Golden Rule: Thin to Thick, Damp to Dry
If you remember one thing from this whole article, make it this: apply products from thinnest to thickest texture, and never let your skin dry completely between layers.
I used to wash my face, pat it bone dry with a towel, scroll my phone for ten minutes, then wonder why my serum sat on top of my skin like a film. Your skin is a sponge. A damp sponge absorbs; a dry sponge repels. Every hydrating product in this routine works 10x better on slightly damp skin. From now on: cleanse, and within 60 seconds you start layering. That’s it. That single change made more difference than any product I bought.
The Morning Glass Skin Routine (7 Steps, 10 Minutes)
Step 1: Skip the Morning Cleanse (Seriously)
This was the hardest one for me to accept. I’d been washing my face every morning since I was fourteen. But here’s what happens with dry skin: you spend all night building up your skin’s natural oils, then you wash them straight off at 7 AM and spend the whole day trying to replace them.
Now I just splash with lukewarm water in the morning. If my skin feels congested or I wore a sleeping mask the night before, I use a gentle cream cleanser — I like the CeraVe Hydrating Facial Cleanser because it’s cheap, fragrance-free, and doesn’t leave that squeaky-tight feeling. But plain water does the job most days.
Step 2: Hydrating Toner — The Foundation Layer
While your face is still damp, press in a hydrating toner. Not an astringent, not a witch-hazel toner from the drugstore — a watery, humectant-packed toner. This is the layer most Western routines skip, and it’s the backbone of glass skin.
I use the I’m From Rice Toner — rice water has been used in Korean skincare forever and it’s brilliant for dry skin because it hydrates without any sting. Press it in with your palms, don’t swipe with a cotton pad. Cotton pads create friction and absorb half the product. Your hands are free. Use them.

Step 3: Hyaluronic Acid Serum on Damp Skin
Here’s the mistake I made for a full year: I applied hyaluronic acid serum to dry skin in a dry room. Hyaluronic acid is a humectant — it pulls moisture from its surroundings. On damp skin, it pulls that water into your skin. On dry skin in dry air, it can actually pull water out of your deeper layers. I was dehydrating myself with a hydrating product.
Apply 2-3 drops of a hyaluronic acid serum (the Ordinary Hyaluronic Acid 2% + B5 is under ten dollars and genuinely good) onto damp skin within 30 seconds of your toner. Press, don’t rub. Then immediately move to the next step — don’t let it air-dry.
Step 4: Niacinamide for Pores and Brightness
Niacinamide (vitamin B3) is the unsung hero for dry skin glass looks. It tightens the look of pores, evens out tone, and — this is the part most people miss — it actually boosts your skin’s natural ceramide production over time. Better barrier = less water loss = more glass.
I use a 5% niacinamide serum. Fair warning: the popular 10% formulas can irritate dry skin, especially if your barrier is already damaged. Start at 5%, see how your skin feels after two weeks, and only go up if you want to. More is not better here.
Step 5: Facial Oil — The Dry Skin Secret Weapon
This is the step that changed everything for me. Two to three drops of facial oil, pressed into the skin — not rubbed. Oil doesn’t hydrate, but it seals in everything you just applied. Think of all those watery layers as the drink, and the oil as the lid on the cup.
For dry skin, squalane oil is the safest bet. It’s lightweight, non-comedogenic, and your skin already makes a version of it. The Ordinary 100% Plant-Derived Squalane costs next to nothing and lasts months. If your skin is very dry, rosehip oil is another great option — it has a slight tint that adds warmth.
I resisted oil for months because I was scared of looking greasy. But there’s a huge difference between greasy and glassy: greasy is oil sitting on unprepared skin. Glassy is oil sealing in six layers of hydration. Once I layered correctly, I stopped looking oily entirely — I looked lit from within, which is exactly the point.
Step 6: Rich Moisturizer With Ceramides
Now you lock it all in with a proper cream. For dry skin chasing glass, you want ceramides — they’re the lipids your skin barrier is made of, and dry skin is usually running low on them. I use the CeraVe Moisturizing Cream (the one in the tub) in the morning. It’s not glamorous, but it works.
If you want something more elegant, the Laneige Water Bank Blue Hyaluronic Cream layers beautifully and gives that bouncy finish. Apply with upward strokes — not because it “lifts” anything (it doesn’t), but because downward dragging stretches dry skin over time.
Step 7: Dewy Sunscreen — Non-Negotiable
Skipping sunscreen while chasing glass skin is like mopping the floor while the tap is running. UV damage breaks down the exact barrier you’re trying to build. And here’s the bonus: a good dewy sunscreen is glass skin in a bottle.
Avoid mattifying sunscreens — they’re the enemy of this look. I use the Beauty of Joseon Relief Sun, a Korean SPF 50 that leaves the most beautiful dewy finish. It doubles as a glow primer. On days I’m staying home, I still wear it. Glass skin is a daily practice, not a sometimes thing.
The Night Routine: Where Glass Skin Is Really Made
Your morning routine maintains. Your night routine builds. While you sleep, your skin goes into repair mode, and giving it the right materials makes all the difference. My night routine takes about 15 minutes, and honestly, it’s my favorite part of the day now.
Step 1: Double Cleanse (Gently)
If you wore sunscreen and makeup, double cleanse. First an oil-based cleanser or cleansing balm — the Beauty of Joseon Ginseng Cleansing Oil melts everything without stripping. Massage for a full 60 seconds; most people rush this and leave residue behind.
Then follow with the same gentle cream cleanser from the morning. Keep it to 30 seconds max. Long, hot cleansing sessions are one of the fastest ways to wreck a dry skin barrier.
Step 2: Exfoliate — But Only 2-3 Times a Week
Dry skin still needs exfoliation, because dead skin cells sitting on the surface block every hydrating product you apply. But this is where dry-skinned people self-destruct: we over-exfoliate, destroy our barrier, then wonder why our skin looks dull.
Use a gentle chemical exfoliant, never a scrub. Lactic acid (5-10%) is perfect for dry skin — it’s an AHA that also hydrates while it exfoliates. The Ordinary Lactic Acid 5% + HA twice a week in the evening is plenty. If your skin stings, drop to once a week. Smooth skin reflects light; rough skin scatters it. That’s the entire physics of glass skin right there.
Step 3-5: Repeat the Hydration Layers
Toner, hyaluronic acid serum, niacinamide — same as morning, same damp-skin rule. At night I add one extra: a snail mucin essence (the COSRX Advanced Snail 96 Mucin Power Essence). I know, I know — snail slime. I was skeptical too. But it’s one of the most hydrating, barrier-repairing ingredients in K-beauty, and it gives that signature glassy slip. Two pumps, pressed in.
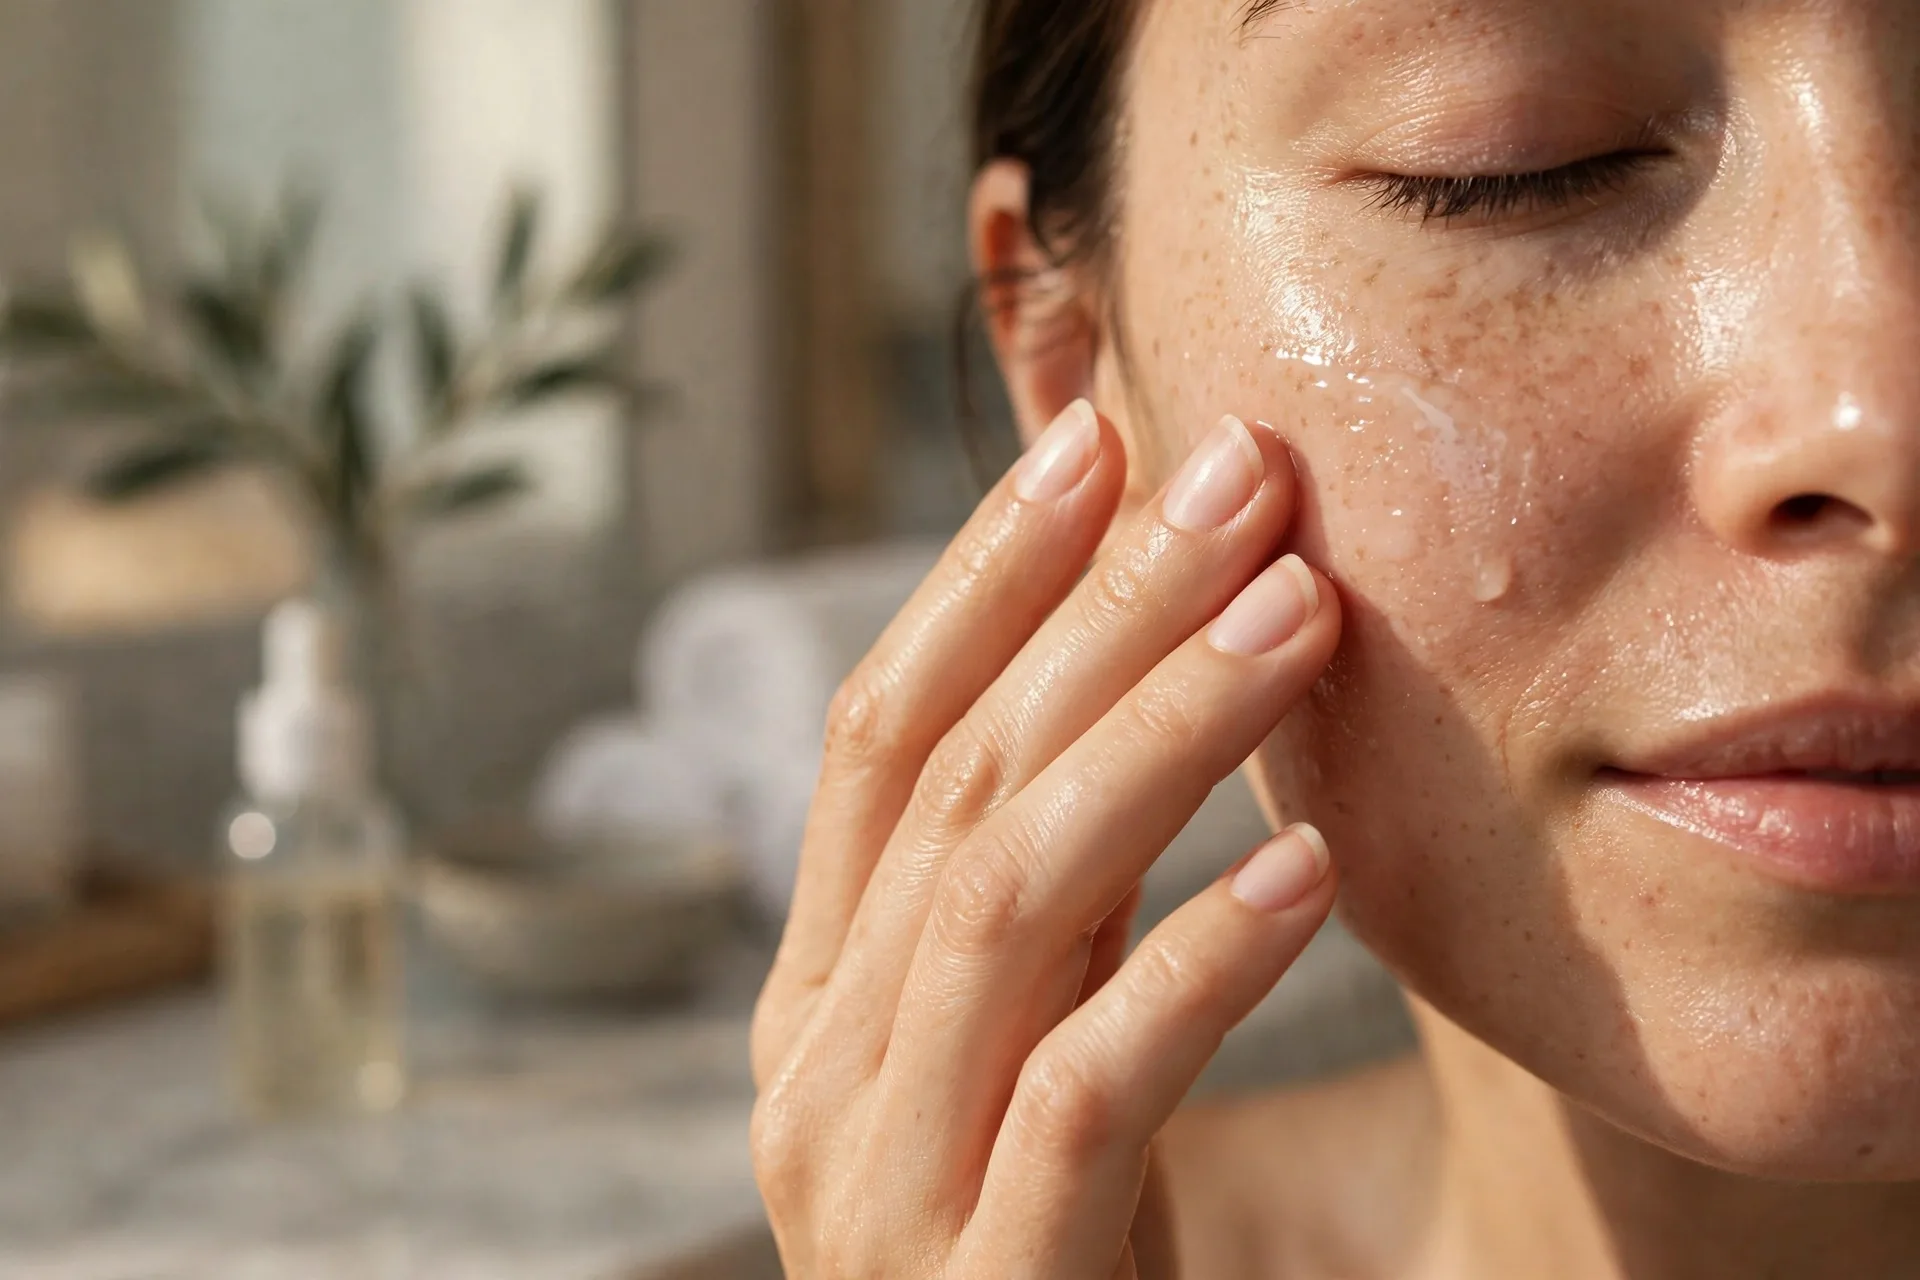
Step 6: Night Moisturizer + Sleeping Mask
At night, go richer than your morning cream. I layer the CeraVe Moisturizing Cream and then, 2-3 nights a week, finish with the Laneige Water Sleeping Mask as the final seal. You’ll wake up with skin that looks like you drank two liters of water and slept ten hours, even if you did neither.
On non-sleeping-mask nights, I do “slugging” instead — a thin layer of Vaseline or Aquaphor over everything. It sounds insane. It looks insane. But occlusives reduce overnight water loss by up to 98%, and for dry skin that’s the difference between waking up plump and waking up papery.
Mistakes I Made (So You Don’t Have To)
Mistake 1: Buying Products Before Fixing the Order
I spent around $200 on serums before I learned the damp-skin rule. Every single one of them underperformed because I was applying them wrong. Fix your technique first — it costs nothing.
Mistake 2: Too Many Actives at Once
There was a week where I used vitamin C in the morning, retinol at night, and exfoliated daily because a YouTuber said “glass skin needs actives.” My barrier collapsed. My face burned when I applied water. I had to strip back to cleanser + moisturizer for ten days. Introduce one new product every two weeks. Your skin is not a chemistry experiment.
Mistake 3: Skipping Moisturizer Because Serums “Felt Enough”
Serums hydrate. Moisturizers seal. They’re different jobs. Skipping the seal is like pouring water into a bucket with no bottom. If your skin feels tight an hour after your routine, you’re missing the seal.
Mistake 4: Hot Water
I loved a steaming hot face wash. Hot water strips your natural oils faster than almost anything. Lukewarm only. Your barrier will thank you.
Mistake 5: Expecting Overnight Results
Real talk: it took me three weeks to see a real change and six weeks for the full glass effect. Anyone promising “glass skin in 3 days” is selling you something. Skin cells take about 28 days to turn over. Give the routine at least one full cycle.

Budget vs. Splurge: What Actually Matters
You don’t need expensive products for glass skin. Honestly, the technique matters more than the price tag. Here’s my honest breakdown:
- Save on: cleanser, hyaluronic acid serum, niacinamide, squalane oil, basic ceramide moisturizer. The Ordinary and CeraVe cover all of these for under $40 total.
- Worth the splurge: a good hydrating toner/essence and a dewy sunscreen you’ll actually wear every day. These are the two products where texture and finish genuinely differ by price.
- Skip entirely: expensive “glass skin kits” that bundle ten products you don’t need, and any device that promises to “push products deeper.” Your fingers work fine.
Small Habits That Boost the Glass Effect
Skincare is maybe 70% of glass skin. The other 30% is boring lifestyle stuff nobody wants to hear, but it matters:
- Humidifier: Running one in your bedroom in winter stopped my morning tightness almost completely. Dry air pulls moisture from your skin all night.
- Water intake: It won’t fix your skin alone, but being dehydrated makes everything harder. I keep a bottle on my desk now.
- Silk pillowcase: Less friction, less product transfer to your pillow, and your sleeping mask actually stays on your face.
- Hands off: Touching your face transfers bacteria and breaks down your carefully layered products. I had to train myself out of the chin-resting habit.
Final Thoughts
Glass skin for dry skin isn’t a product — it’s a method. Damp skin, thin-to-thick layering, seal everything in, protect it every morning. I went from flaky foundation disasters to strangers asking about my skin, and the biggest change wasn’t my shelf of products. It was learning that dry skin doesn’t need more products — it needs the right order and a little patience.
Start tonight. Just the damp-skin rule and the layering order. Give it three weeks, take a photo today so you can compare, and come back and tell me I’m right. Your skin already knows how to glow — you just have to stop getting in its way.