Last December I showed up to my office holiday party with plain nude nails, and I spent the whole evening staring at everyone else’s hands. Not in a jealous way — more like a researcher. The woman from accounting had these tiny gold reindeer on deep green that looked like they’d cost a fortune. The intern had candy-cane stripes she admitted took her twenty minutes with a toothpick. That night I went home, ordered a $12 nail art brush set, and spent the next three weeks testing every Christmas design I could find. Some were disasters (my first snowflake looked like a spider). But thirteen of them turned out genuinely beautiful — salon-looking, festive, and doable at home. Here they are, with everything I learned the hard way.
1. Classic Red With Gold Foil Tips
This is the design that started my obsession, and it’s still the one I recommend to beginners. Paint all nails a true Christmas red — not orange-red, not burgundy, but that classic cherry red. Let it dry completely (this matters more than you think), then press small pieces of gold foil onto just the tips using tweezers. Seal with top coat.
The trick is restraint: three or four small foil pieces per nail, clustered near the tip, looks expensive. Covering the whole nail in foil looks like you dropped your hand in a craft bin. I use foil flakes rather than sheets — they’re easier to control. A $6 jar lasts for dozens of manicures. The most common mistake is applying foil to tacky polish; it slides around and wrinkles. Wait until the red is fully dry to the touch, then use a tiny dot of clear polish as “glue” for each flake.
2. Deep Forest Green With Tiny Gold Stars
Forest green is the most underrated Christmas nail color. It’s festive without screaming, and it makes gold accents glow. I paint two coats of a deep pine green, then use a dotting tool (or the end of a bobby pin) to place tiny gold stars — I buy star-shaped nail sequins, but you can also stamp them with gold polish.
Placement is everything: one star near the cuticle on each nail, or a scattered constellation on just the ring fingers, looks intentional. Random stars everywhere looks chaotic. My lesson learned: buy the sequins slightly curved if you can — flat ones lift at the edges and catch on everything. Seal with two layers of top coat, wrapping the free edge, and they’ll survive two weeks of dishwashing.
3. Candy Cane Stripes
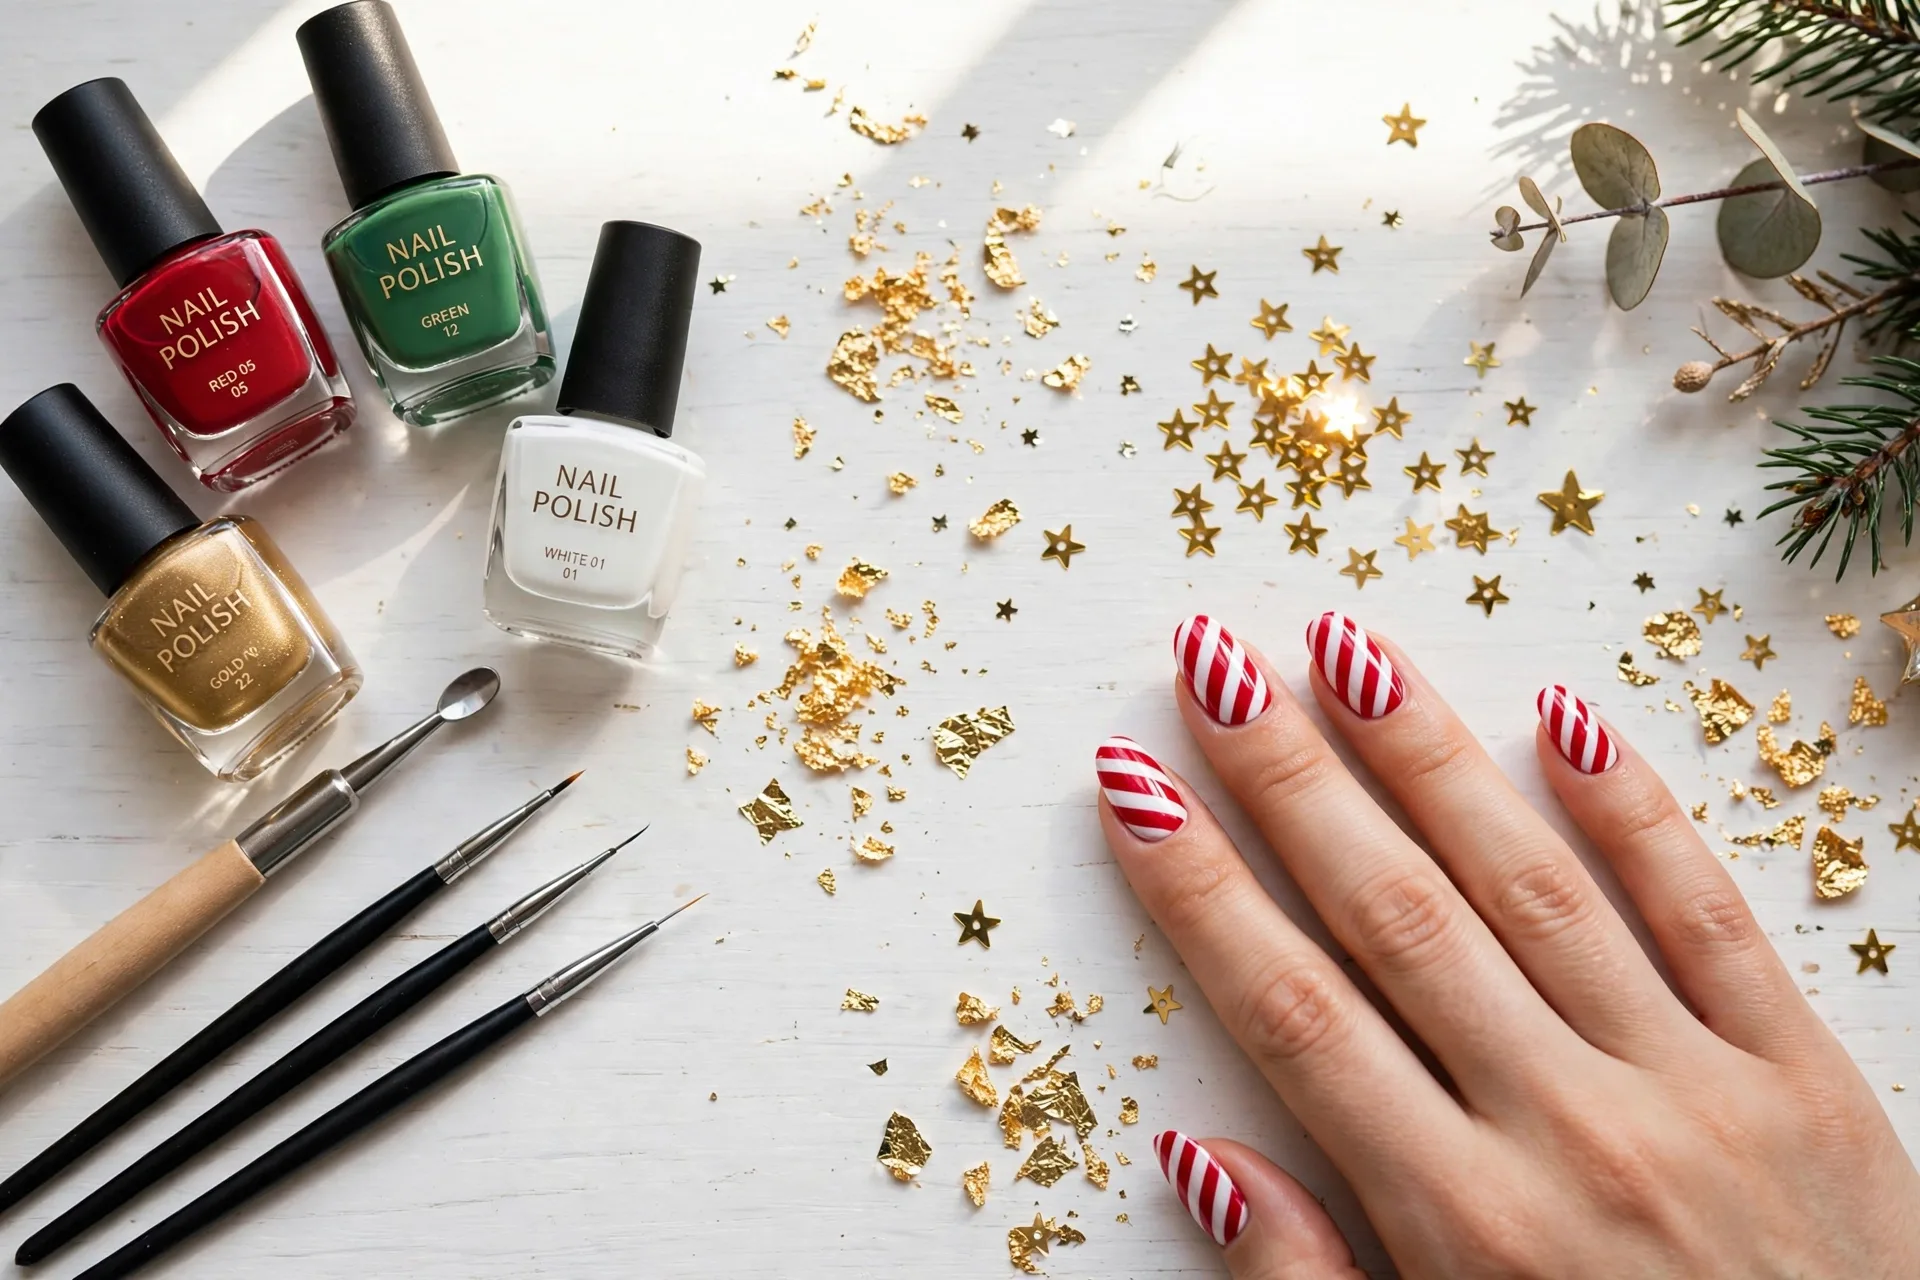
The intern was right — this takes twenty minutes and a toothpick. Paint nails white, let dry fully, then drag thin red stripes diagonally across each nail using a toothpick dipped in red polish. Wipe the toothpick between stripes or they get blobby.
Here’s what nobody tells you: the stripes don’t need to be perfect. Slightly wobbly stripes actually look more hand-painted and charming than ruler-straight ones. What ruins them is stripes that are too thick — keep them hairline thin and use at least four per nail. I do this design on short nails because long candy-cane nails cross into costume territory. Finish with a glossy top coat; matte top coat makes candy canes look dusty and wrong.
4. Snowflakes on Midnight Blue
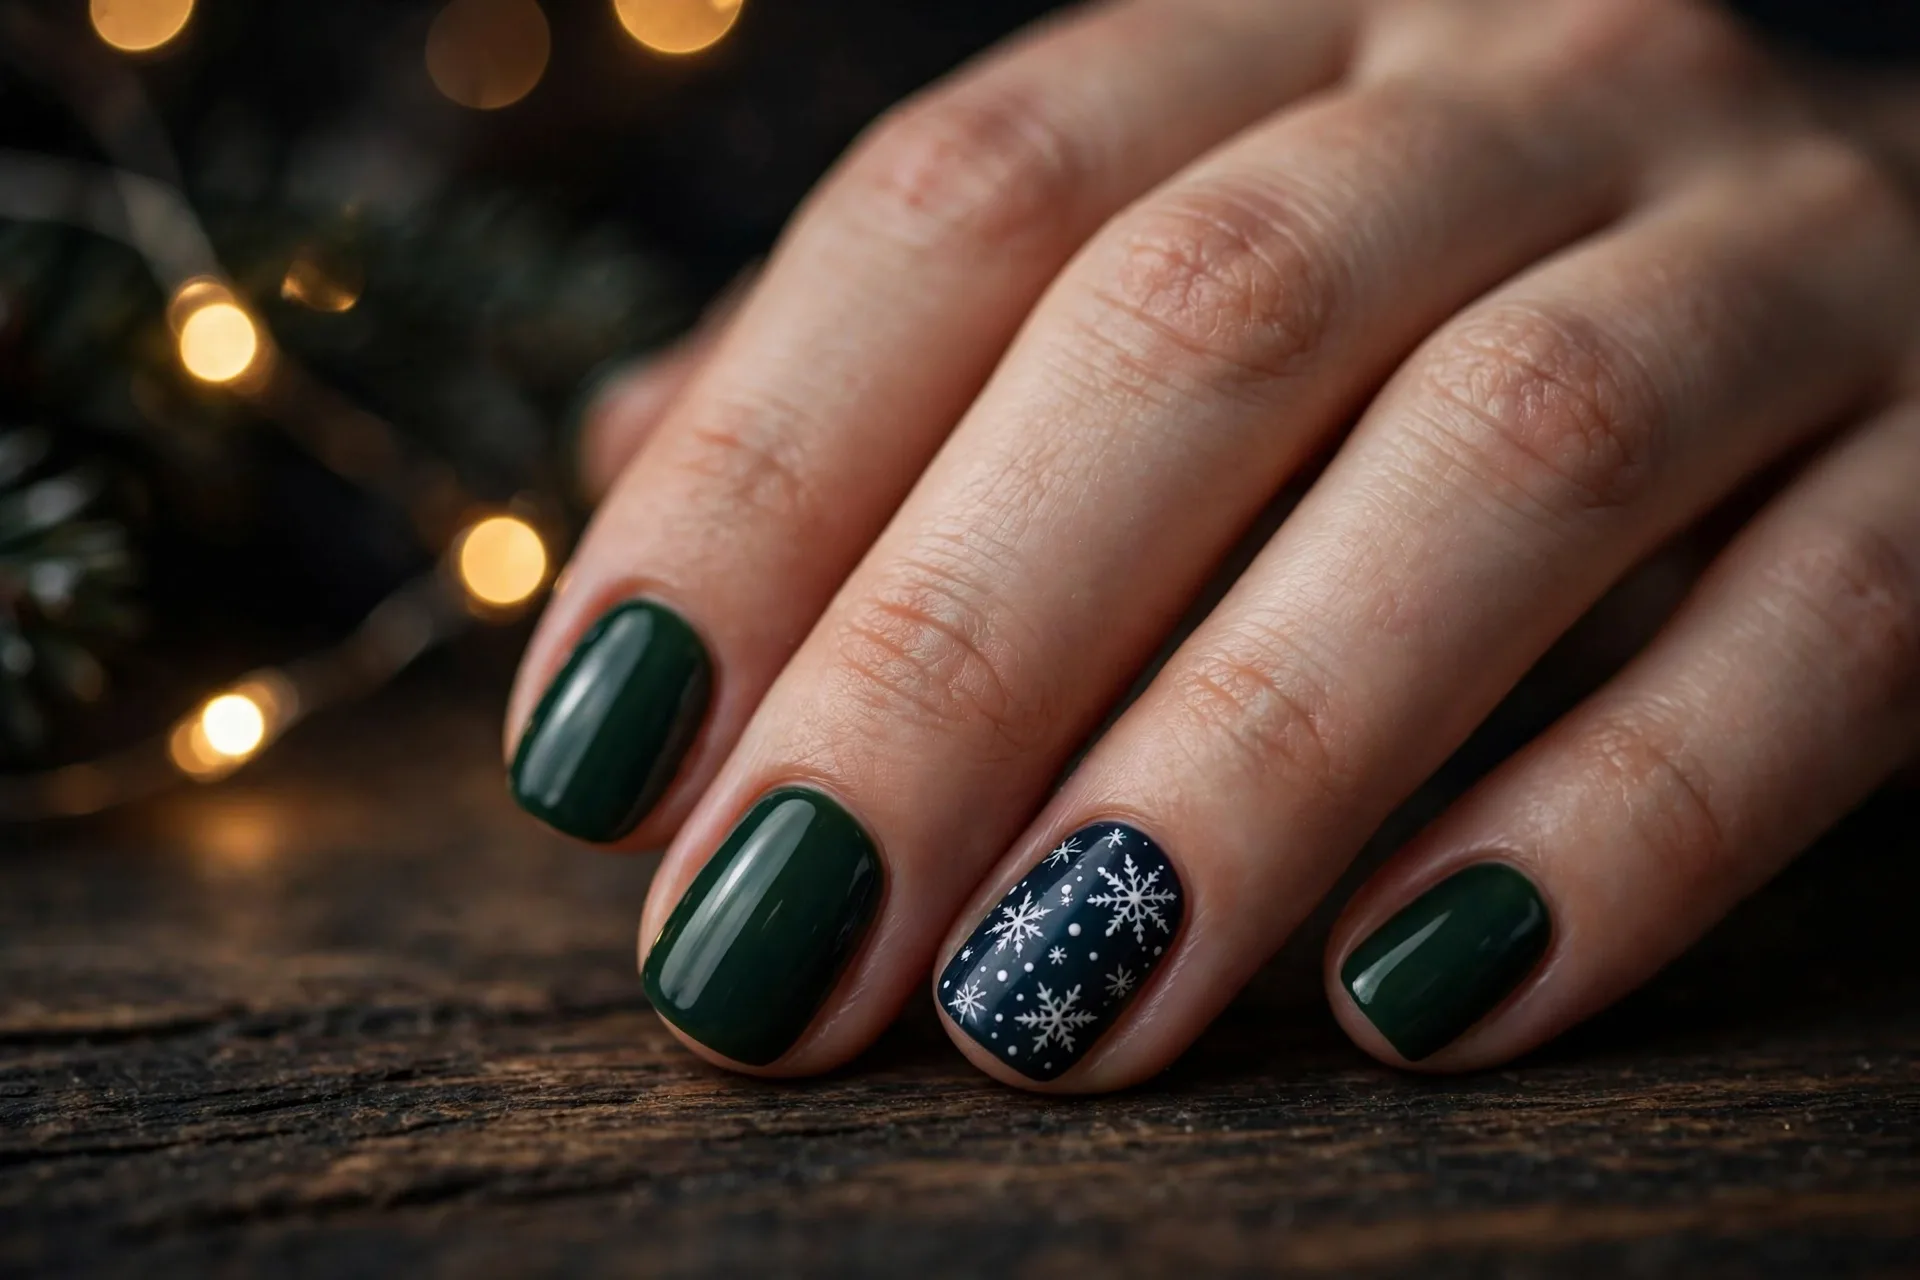
This is my “wow” design — the one that gets compliments from strangers. Base: two coats of midnight or navy blue. Snowflakes: white polish applied with a thin striping brush. A simple snowflake is just six lines crossing at a center point with tiny branches — I practiced on paper first, which sounds silly but saved me five ruined manicures.
Do one statement snowflake per hand (usually the middle or ring finger) and keep the other nails plain blue with maybe a single white dot near the cuticle. Ten snowflakes across ten nails is visually exhausting. The mistake I made twice: drawing snowflakes while the blue base was still tacky. The brush drags and you get blue-white mud. Patience is the entire technique here.
5. Champagne Gold Glitter Fade
For anyone who says “I can’t do nail art,” this is your design. Paint nails a sheer nude or pale pink. Then sponge gold glitter polish onto just the tips, fading it downward — dab, don’t stroke. The sponge creates a gradient that looks airbrushed.
Use a makeup sponge wedge, and apply the glitter in three light layers rather than one heavy one. Heavy application gives you a hard line where the glitter stops; light layers melt into each other. This design photographs beautifully and works for every December event from office parties to New Year’s Eve. It also grows out gracefully, which can’t be said for most nail art. My only caution: glitter is stubborn to remove. Use the foil-wrap method with acetone (cotton ball + foil square per nail, ten minutes) instead of scrubbing.
6. Minimalist Evergreen Sprigs
If bold Christmas nails aren’t your style, this quiet design is gorgeous. Nude or sheer base, then a tiny evergreen sprig on one or two nails per hand — three short green strokes fanning from a center stem, with a microscopic gold dot as the “star” on top.
I use a detail brush and dark green polish, and I keep the sprig small — no bigger than a grain of rice. On short nails this looks incredibly chic. The sprig goes near the cuticle or centered on the nail; never at the tip, where it looks like a smudge. This is also the fastest design on this list once you get the motion down — about three minutes per hand. Seal carefully: one heavy top coat stroke can drag the tiny green lines, so float the brush without pressing.
7. Plaid Like a Christmas Scarf
Buffalo plaid nails look complicated but they’re just layered stripes. Base coat: deep red. Then paint thick black horizontal stripes, thick black vertical stripes, then thin white stripes crossing through the black ones. Each layer must dry before the next — this is a “do it while watching a movie” manicure, not a rushed one.
I do plaid on only two accent nails per hand and keep the rest solid red or black; full plaid on all ten nails is a lot of visual noise. The white stripes are what sell it — skip them and it just looks like a grid. Use a striping brush for the white lines, keep them thin, and don’t stress about perfect spacing. Real buffalo plaid isn’t mathematically perfect either. This design lasts well because the layered polish is thick, but that also means longer dry time — give it a full hour before bed or you’ll wake up with sheet marks.
8. White Sweater Texture (Cable Knit Nails)
This is the coziest design on the list and it’s weirdly easy. Paint nails a creamy off-white. Then, using the same polish, paint a simple cable-knit pattern — a vertical line with small diagonal ticks alternating sides, like a braid. The trick: use polish straight from the bottle without wiping the brush, so the pattern sits slightly raised and catches light like real knit texture.
Then — and this is the key step — don’t add top coat, or use a matte top coat. Glossy cable-knit looks wet and wrong; matte looks like an actual sweater. I learned this after ruining a perfect set with glossy topper. Keep the pattern to one or two nails per hand; all ten in cable knit looks like you’re wearing mittens on your fingers. Short to medium nails work best — on very long nails the pattern stretches oddly.
9. Burgundy With Rose-Gold Chrome
When I want Christmas nails that don’t look like a craft project, I reach for this. Deep burgundy base on all nails, then rose-gold chrome powder rubbed onto two accent nails. Chrome powder needs a tacky base — apply it over a no-wipe gel top coat if you have gel, or over regular polish that’s dried for exactly 3–4 minutes (tacky but not wet).
Rub the powder in with a silicone tool or your fingertip using firm circular motions until it turns mirror-smooth, then seal with top coat. The burgundy-and-rose-gold combination reads as expensive because it is the same palette as high-end holiday packaging. Warning: chrome shows every imperfection in your base coat, so do an extra careful job on the burgundy underneath. And buy actual nail chrome powder, not craft glitter — they’re completely different products.
10. Tiny Reindeer Silhouettes
The accounting woman’s nails, reverse-engineered. Deep green base (forest or emerald). The reindeer: I use small reindeer nail stickers — yes, stickers, and I’m not ashamed. Hand-painting recognizable reindeers at nail scale is genuinely hard; good stickers look better than bad freehand every time.
Place one reindeer per hand on the ring finger, positioned slightly off-center toward the cuticle. Add a microscopic red dot for the nose with a dotting tool — this one detail transforms it from “deer sticker” to “Rudolph.” Seal with two top coats because sticker edges love to lift. The secret to stickers not looking cheap: press them down firmly with a silicone tool, seal the edges with top coat first, then do a full-nail top coat over everything. Nobody will know.
11. Frosted Tips (Winter Ombré)
Think French manicure, but winter. Nude or pale pink base, then white tips that fade into the base instead of a hard smile line. I do this with a sponge: paint white polish on the sponge edge, dab it onto the tips, building opacity gradually.
This is more elegant than a classic French and more wearable than most Christmas designs — I’ve worn it to work events where reindeer would have raised eyebrows. The fade is the whole point, so blend, blend, blend. If you get a hard line, dab a tiny bit of the nude base color over the transition while it’s still wet. Two thin layers of white at the very tip, fading to nothing by mid-nail. It takes practice; my first attempt looked like I dipped my fingers in milk. The third attempt looked salon-done.
12. Emerald and Gold Geometric
For the modern minimalist: emerald green base, then thin gold lines forming simple geometric shapes — a triangle near the cuticle, a diagonal stripe, a half-moon. Use striping tape for crisp lines: lay the tape, paint gold over it, peel the tape off while the polish is still wet.
Peeling while wet is non-negotiable — wait until it’s dry and the tape pulls the polish up with it. I ruined three nails learning this. Keep to one geometric element per nail and vary them across the hand for an editorial look. This design is very forgiving of imperfect polish application because the gold lines draw the eye. It also works beautifully on almond-shaped nails, where the geometry follows the nail’s natural lines.
13. Ornament Nails (Tiny Baubles)
My personal favorite and the perfect finale: paint nails any deep base color (I like navy or burgundy), then paint 2–3 small circles per nail in metallic gold, silver, or red — these are your baubles. Add a tiny horizontal line at the top of each circle (the ornament cap) and a microscopic highlight dot in white.
The circles don’t need to be perfect — slightly organic shapes read as hand-painted ornaments, which is the charm. Vary the sizes and stagger them so they don’t line up in a grid. This design gets more compliments than anything else on this list, possibly because people recognize what it is instantly and it makes them happy. It works on any nail length and any skin tone. My tip: use a dotting tool in two sizes for the baubles rather than a brush — circles come out rounder with zero skill required.
What I Learned Doing All Thirteen
A few universal truths emerged from my three weeks of testing. First, dry time is the real skill in nail art — 90% of my failures were impatience, not lack of talent. Second, invest in three tools: a dotting tool set, a thin striping brush, and good tweezers. That $12 kit upgraded everything I did. Third, always seal with top coat, and wrap the free edge (run the brush along the tip of the nail) — it doubles how long any design lasts. And finally, remove glitter and chrome with the foil-wrap acetone method, never by peeling or scrubbing, unless you enjoy thin, sad nails in January.
Start with the glitter fade or the evergreen sprigs if you’re nervous. Work up to the snowflakes when you’re feeling brave. And if a design goes wrong, remember: it’s just polish. Remove it, pour some cocoa, and try again — that’s the whole spirit of the season anyway.