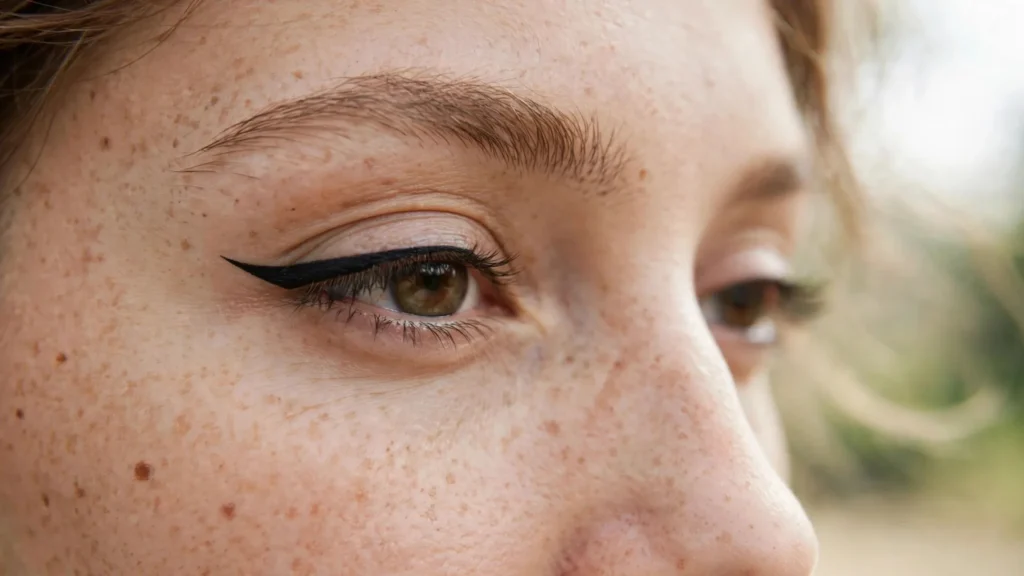

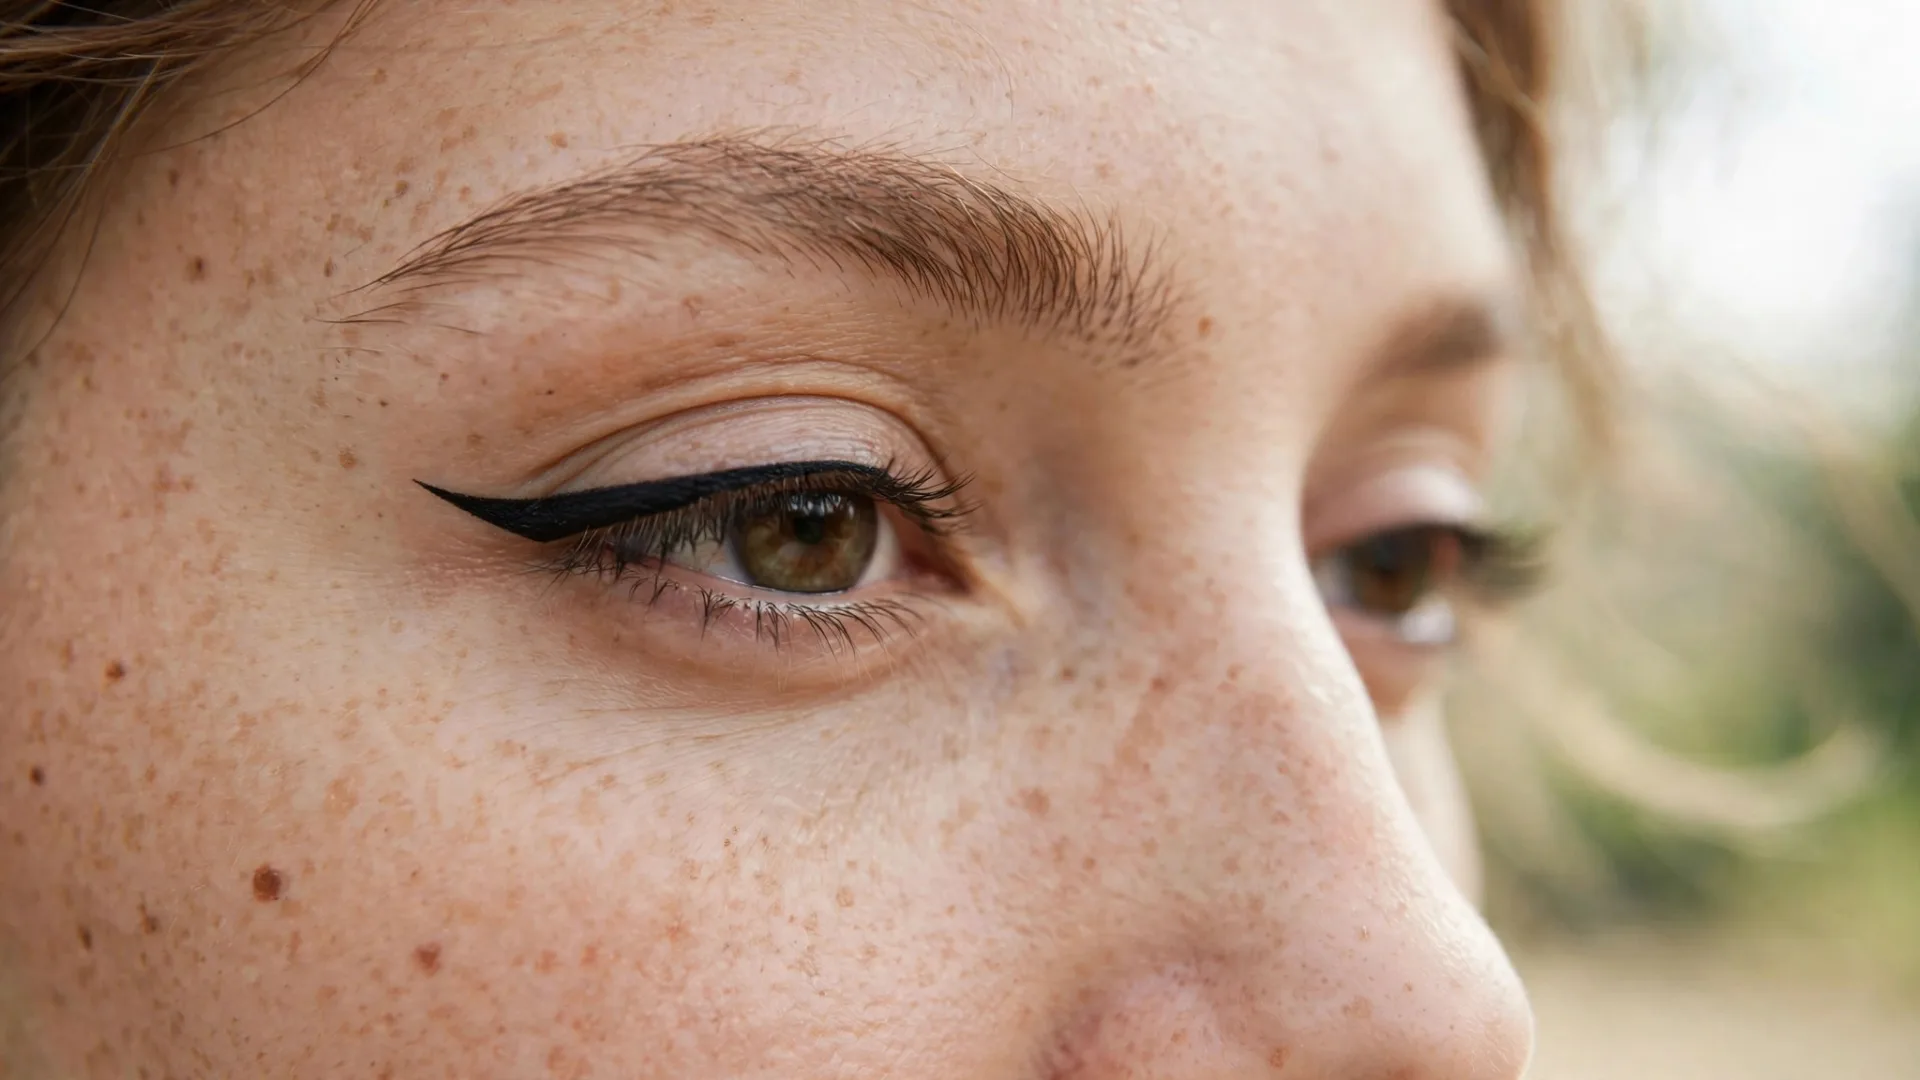
I have hooded eyes, and for years winged eyeliner was my enemy. I’d watch a tutorial, follow it exactly, close my eye, open it — and poof, the entire wing had vanished into my lid fold like it never happened. Or worse: it had transferred onto my upper lid, so I was walking around with a smudgy black line in the middle of nowhere.
It took me an embarrassingly long time to figure out that I wasn’t bad at eyeliner. I was just doing it for someone else’s eye shape.
Every mainstream winged eyeliner tutorial assumes you have a visible, flat eyelid to work with. Hooded eyes don’t. That extra fold of skin changes everything — where you draw, when your eyes should be open, even which products survive the day. Once I stopped fighting my eyes and started working with them, my everyday wing went from a 20-minute disaster to a reliable five-minute routine.
So here’s my honest, lived-in version of the everyday winged eyeliner tutorial for hooded eyes — the one I wish someone had handed me years ago.
Why Hooded Eyes Need a Different Technique
With hooded eyes, a fold of skin sits over your crease and outer corner. When your eye is closed, there’s plenty of lid to draw on. When it’s open, that lid disappears under the hood — and your wing goes with it.
This is the single biggest mistake hooded-eye beginners make: they draw the wing with their eyes closed or half-closed. Then they open their eyes and the line looks completely different — usually thicker, smudged, or bent at a weird angle where the fold cut through it.
The golden rule, the one that changed everything for me, is simple: draw the wing with your eyes open and looking straight ahead. It will look a little strange with your eyes closed — mine still looks like a zigzag when I close my eye — but it looks clean and sharp when they’re open. And open is how the world sees you.
What You Actually Need (My Everyday Kit)
You don’t need a huge kit for this. Here’s what lives in my makeup bag, and why:
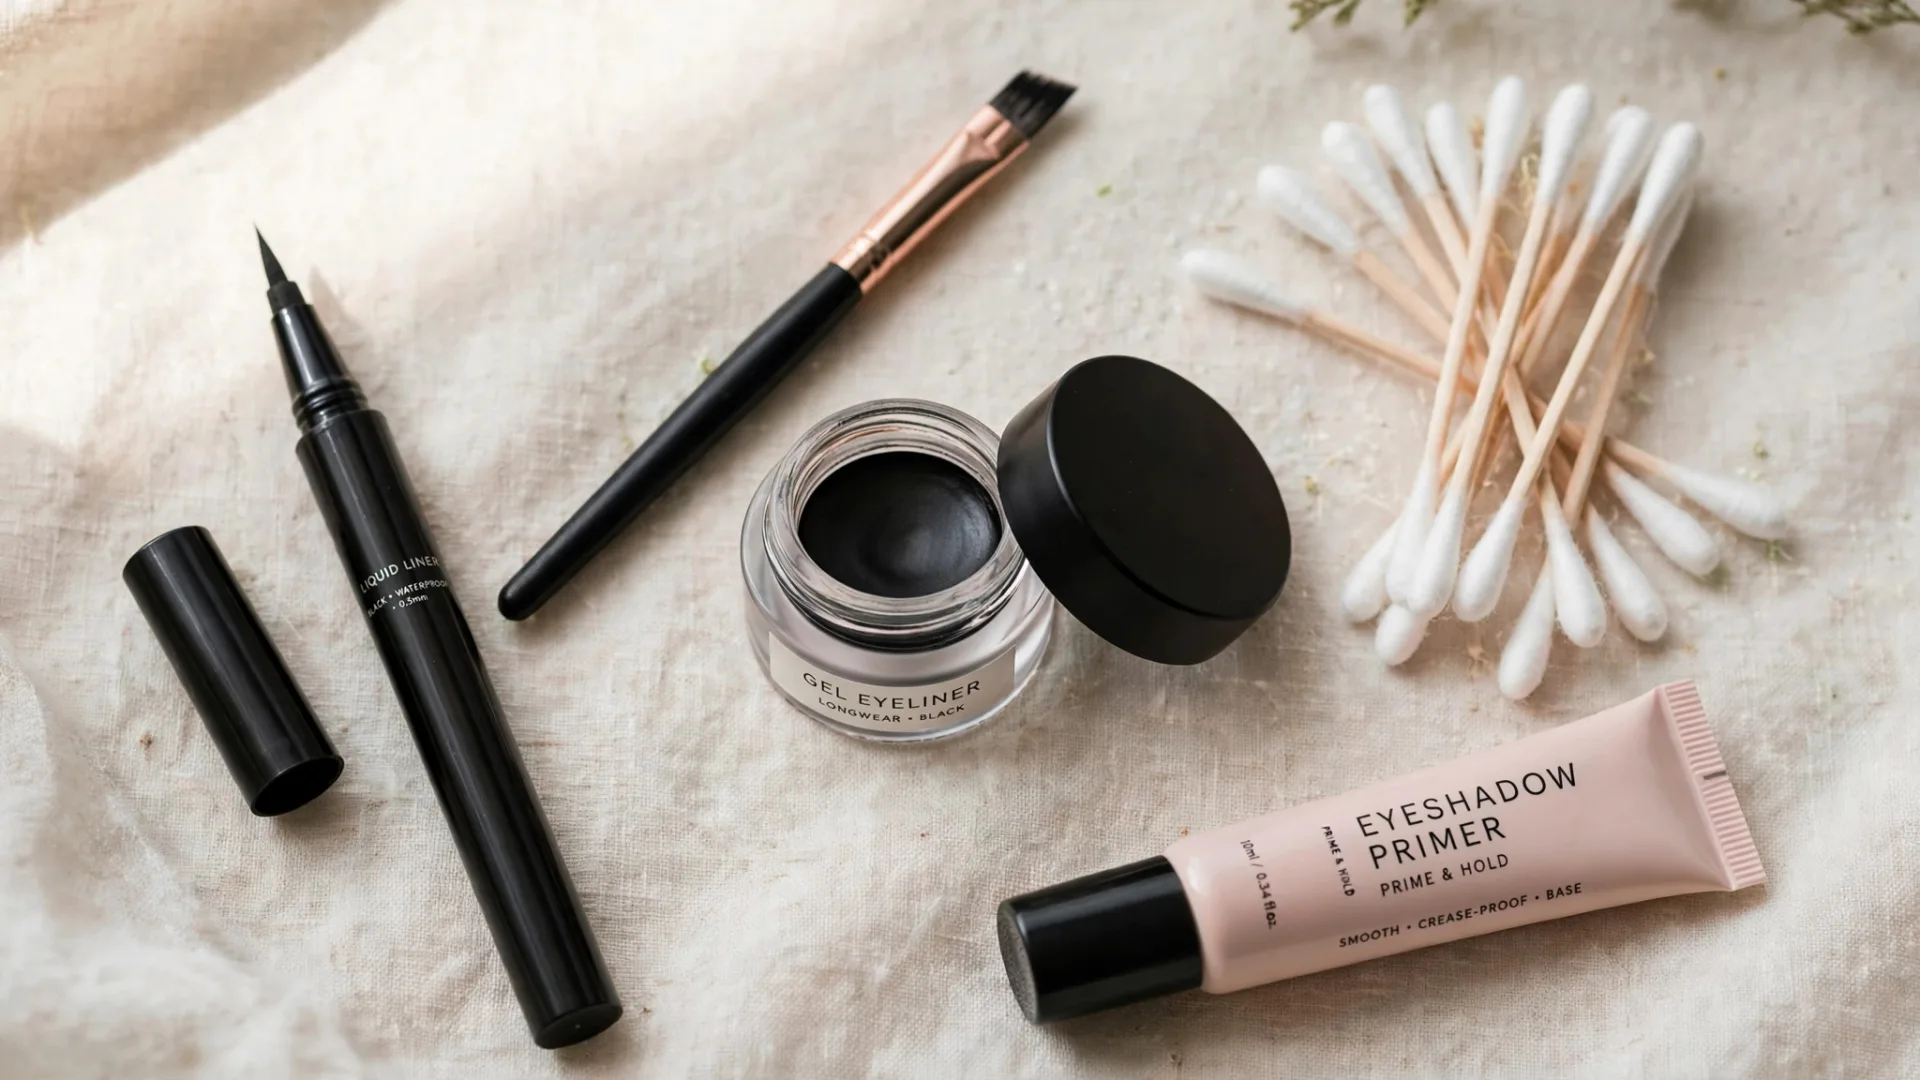
- A brush-tip liquid liner pen — my everyday hero. The NYX Epic Ink Liner is a classic for a reason: fine brush tip, truly black, doesn’t skip. Maybelline’s Hyper Easy Liquid Pen is another great drugstore option if you want a softer brush. If your budget stretches, Stila Stay All Day is the one every makeup artist reaches for.
- An eyeshadow primer — non-negotiable for hooded eyes. Our lids get oily and the liner transfers. A dab of primer (the e.l.f. Power Grip primer is a bargain and genuinely good) on the lid before liner keeps everything exactly where you put it.
- A small angled brush — for cleanup and for the eyeshadow version on days your hands are shaky.
- Cotton swabs + micellar water — for fixing, not redoing. A pointed cotton swab is the best eraser ever invented.
- Dark brown eyeshadow — for practicing. Liner is unforgiving; eyeshadow wipes off easily.
If you’re brand new, start with a felt-tip pen rather than a brush tip. Felt tips are steadier. Once you’re comfortable, the brush tip gives you that flick that actually looks like a wing.
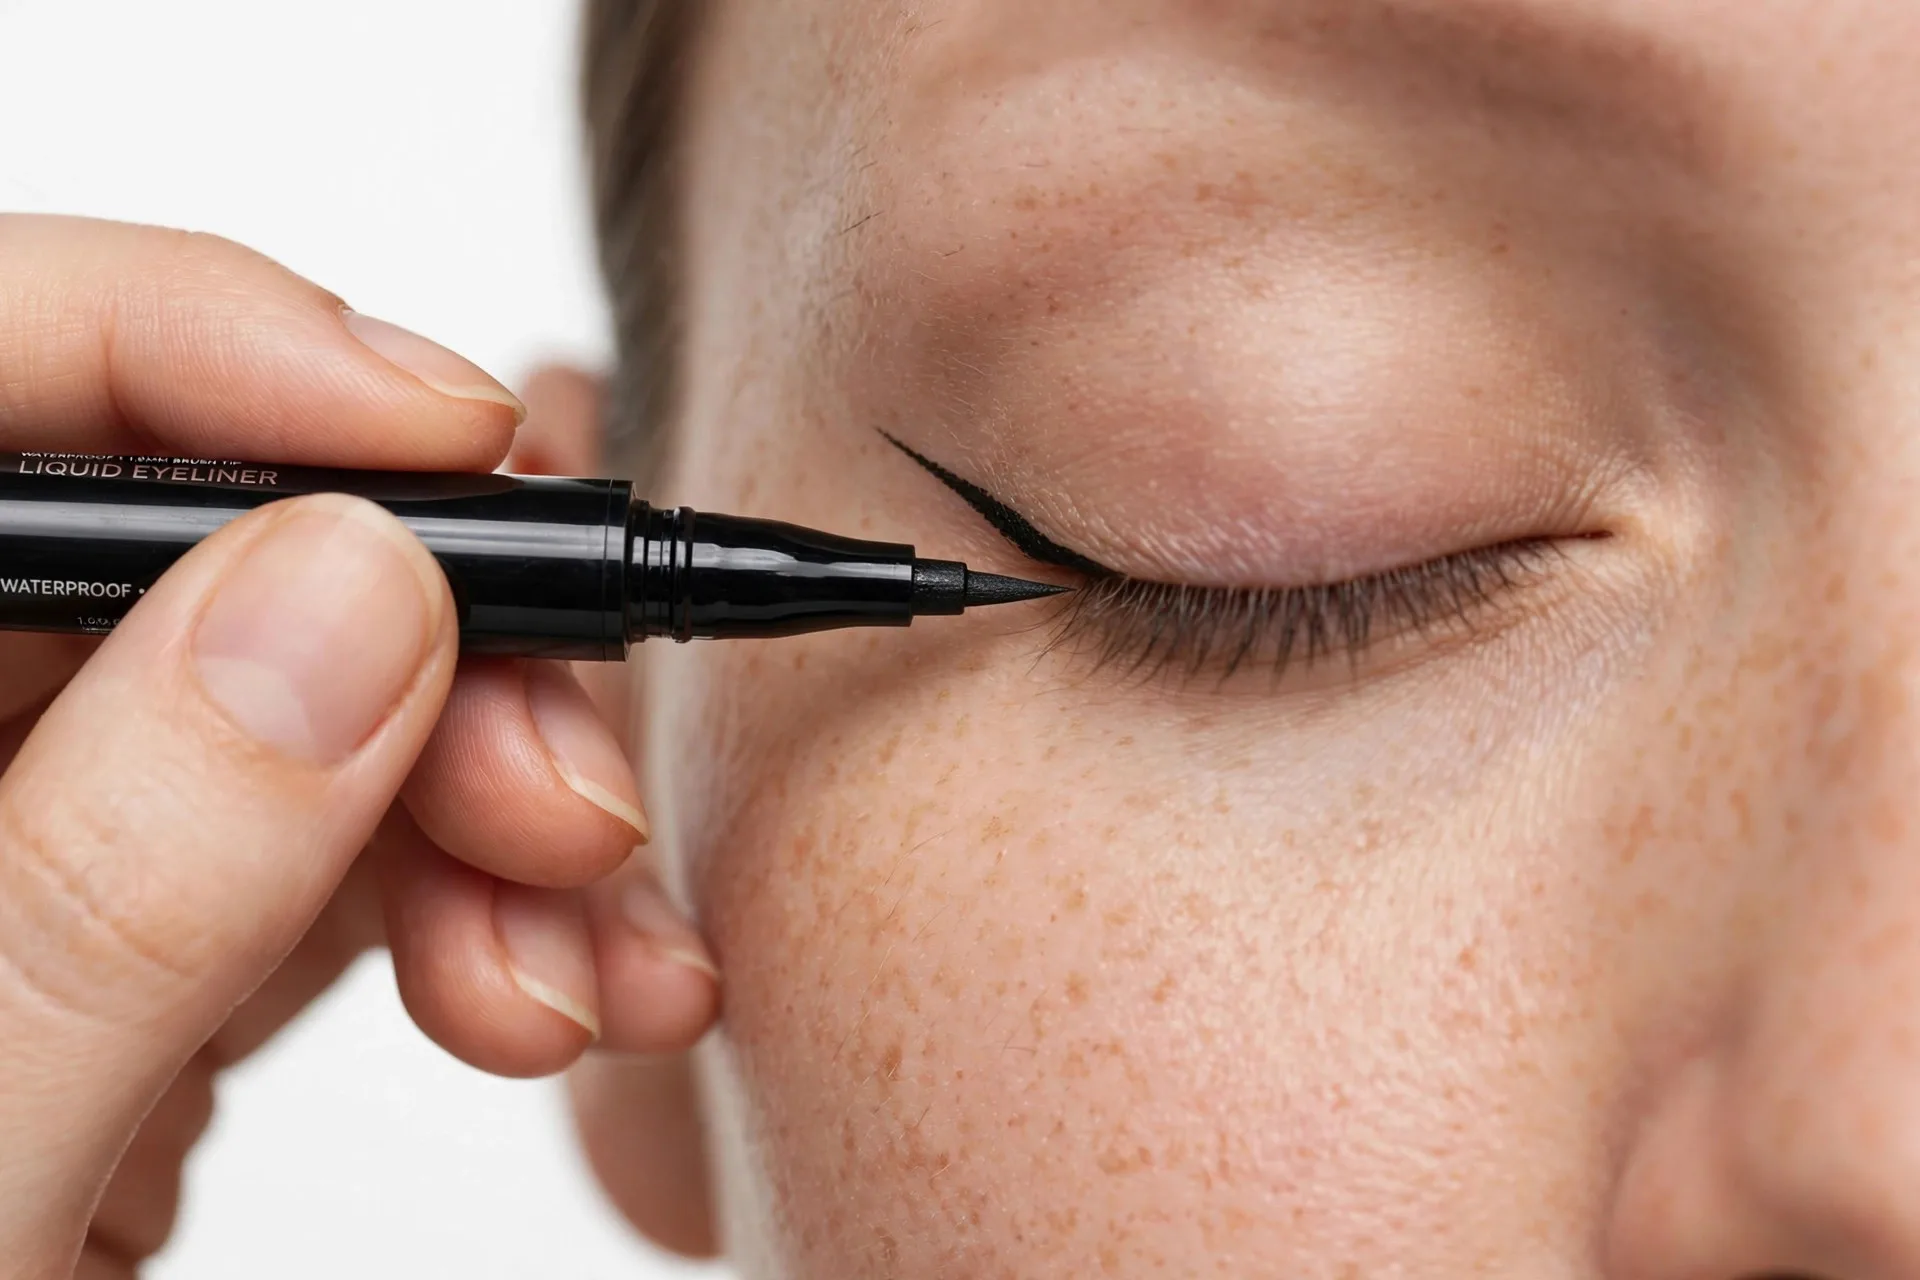
The Everyday Winged Eyeliner Tutorial for Hooded Eyes (Step by Step)
This is the outer-corner straight-line method, adjusted for hooded eyes. It’s the most forgiving everyday technique I’ve found — not the dramatic cat eye, not the bat-wing version (that one comes later if you’re curious), just a clean wing that works for work, school, and grocery runs.
Step 1: Prime Your Lid
Pat a thin layer of eyeshadow primer from your lash line up to your brow bone. Let it set for about 30 seconds. This is the step I skipped for a year because it felt unnecessary, and it cost me daily smudging. On hooded eyes, liner touches skin folds constantly — primer is what keeps it from migrating by lunch.
Step 2: Line the Lash Line — Thin
With your eyes open, draw a thin line along your upper lashes, starting from the inner corner and stopping about halfway to two-thirds across the lid. Keep it tight against the lashes. On hooded eyes, a thick base line eats up what little visible lid you have and makes eyes look smaller. Thin is your friend.
Use tiny, light strokes instead of one long drag. Nobody draws a perfect line in one motion — I certainly don’t. Little overlapping dashes look identical once filled in.
Step 3: Mark the Wing With Eyes Open
Here’s the part that matters most. Look straight into the mirror, head level, eyes open. Imagine a line continuing from your lower lash line outward and slightly upward toward the tail of your eyebrow. That’s your wing angle — not straight up, not parallel to the ground, but the natural extension of your lower lash line.
Now draw a short flick from the outer corner of your eye, following that angle, extending outward just a few millimeters. Because your eye is open, you’ll place this on the little plane of skin that’s actually visible — above the fold, not lost inside it. For an everyday look, keep it short: the width of your pinky nail is plenty.
Step 4: Connect and Fill
Still looking straight ahead, draw a line from the tip of your flick back down toward the outer corner of your lash line. This creates a little triangle — with hooded eyes it may dip a bit over the fold, and that’s fine.
Now close the eye and fill in the triangle plus the outer third of the lash line so everything connects. Fill carefully: leave no skin gaps between the lash line and the wing, because gaps are what make a wing look messy from across a room.
Step 5: Check With Eyes Open
Open your eyes and look straight. This is the moment of truth. The wing should sit cleanly outside the fold. If part of the base line has disappeared into the hood, resist the urge to thicken it — a slightly uneven line that reads clean from open eyes beats a thick line that makes your eye look heavy.
Step 6: Clean Up (The Real Secret Weapon)
Honestly? Half of every good wing I’ve ever done was the cleanup. Dip a pointed cotton swab in micellar water, roll it gently under the wing’s lower edge to sharpen it, and run it along the top edge if you wobbled. A little concealer on a flat brush does the same thing more precisely — drag it just under the wing and blend outward, and the wing instantly looks sharper and more lifted.
Step 7: Finish With Mascara
One or two coats of mascara, focusing on the outer corners. Mascara pulls the whole look together and makes the wing look intentional rather than floating on its own. I’ve found waterproof mascara survives the hood-fold contact better, but a tubing mascara is gentler to remove at night.
The Bat-Wing Method (When You Want to Go Bolder)
Once the everyday version is muscle memory, try the bat-wing on a weekend. You draw the wing shape while looking straight ahead with eyes open, deliberately mapping the outline to stay visible above the fold. When your eyes are closed it looks oddly shaped — like a bat wing, hence the name — but open-eyed it reads as a bold, even wing.
Same rules apply: prime first, keep the inner line thin, clean up with a cotton swab. It’s just a longer, more dramatic flick. It took me about five attempts to get a bat-wing I’m proud of. Worth it for evenings out.
Common Mistakes I Made (So You Don’t Have To)
Drawing with eyes closed. The classic. It will look wrong when you open them. Always map the wing with eyes open.
Angling the wing too high. When the wing points straight up at your temple, the hood fold usually cuts it in half. Follow the lower lash line’s angle instead — it stays visible and lifts naturally.
Making the base line too thick. Thick liner on hooded eyes shrinks your visible lid and can make eyes look tired. Keep the lash line thin; let the wing itself carry the drama.
Skipping primer. I know I keep saying it, but oily hooded lids plus liquid liner equals transfer every time. Primer (or even a dab of concealer set with translucent powder) is a two-minute fix for an all-day problem.
Tugging the skin. Pulling your outer corner tight makes the line smooth — and then it buckles when you let go. Draw with your natural eye shape, then clean up.
Expecting symmetry on the first try. My eyes are sisters, not twins, and their hoods aren’t even the same size. I map one eye, then consciously adjust the other rather than copying blindly. Slightly different wings on each eye is normal; nobody stands close enough to measure.
Real-World Adjustments That Saved My Routine
Shaky hands days: Do the whole thing with dark brown eyeshadow and an angled brush first. It gives you a soft smudged wing that’s honestly gorgeous on its own — and if it’s wobbly, you just blend it. On days I want crisp, I trace the eyeshadow wing with liquid liner after. Two products, double the forgiveness.
Oily lids by 2pm: Set the liner with a tiny dusting of translucent powder or black eyeshadow pressed over it with an angled brush. Locks it in without changing the color.
Beginner shortcut: The tape trick still works. A tiny piece of tape angled from your outer corner toward your brow tail gives you a guide line to draw against. Peel it off, clean up, done. No shame in it — makeup artists use guides constantly.
One-eye-at-a-time: Finish one eye completely before starting the other. If you draw both flicks first and then fill both, the first one may have dried oddly or you lose track of which step you’re on. I learned this the hard way during a rushed morning and ended up looking like two different people.
My Everyday Liner Pairings
For a full face that takes me about fifteen minutes: primer, the thin wing, waterproof mascara, a light concealer under the eyes, and my brows filled in. That’s it. The wing does the heavy lifting — you don’t need much else.
If you’re pairing liner with eyeshadow, keep the lid simple: a neutral base shade swept above the crease makes the hood look a little more open, and then the wing reads clearly. I avoid heavy lid shimmer under the liner because it can make liquid liner skip.
How Long It Takes to Learn
Honest answer: my everyday wing took about three weeks of daily practice to become automatic. The first week was rough — I removed it more often than I wore it. Week two, the mapping clicked. By week three I was doing it in under five minutes without thinking.
Start with the eyeshadow version if liquid liner scares you. It’s the same muscle memory, lower stakes. And photograph your eyes open from a straight-on angle when you like the result — that photo becomes your personal reference map for your exact eye shape.
Final Thoughts
Hooded eyes aren’t a problem to fix — they’re just a shape that needs its own technique. The day I stopped trying to draw wings for almond eyes and started drawing for mine, eyeliner went from my most-hated step to my favorite one. It genuinely changes a face: brighter, more lifted, more awake-looking, all from a few millimeters of black.
So grab a pen liner, prime your lids, keep your eyes open, and give yourself a couple of weeks. You’ll get there. And if you mess up — cotton swab, micellar water, thirty seconds. Nobody ever has to know attempt number one happened.