Last month I spent my entire Saturday afternoon at the salon, picked the perfect glossy red, and walked out feeling like a new woman. By Monday morning, I had a chip the size of a crumb on my index finger. By Wednesday, three more nails had joined the club. Two hundred and fifty dollars of my time, gone in less than a week.
Sound familiar? Here is the thing nobody tells you: the polish itself is rarely the problem. It is everything that happens before, during, and after the color goes on. I started asking nail techs, reading product labels like a detective, and testing every trick on my own nails. And I learned that a manicure that chips in three days is not your fault — it is your process.
The women whose manicures survive two full weeks are not lucky, and they are not buying magic polish. They are doing a handful of small things differently. Here are the nine pro secrets that finally made my manicures last.
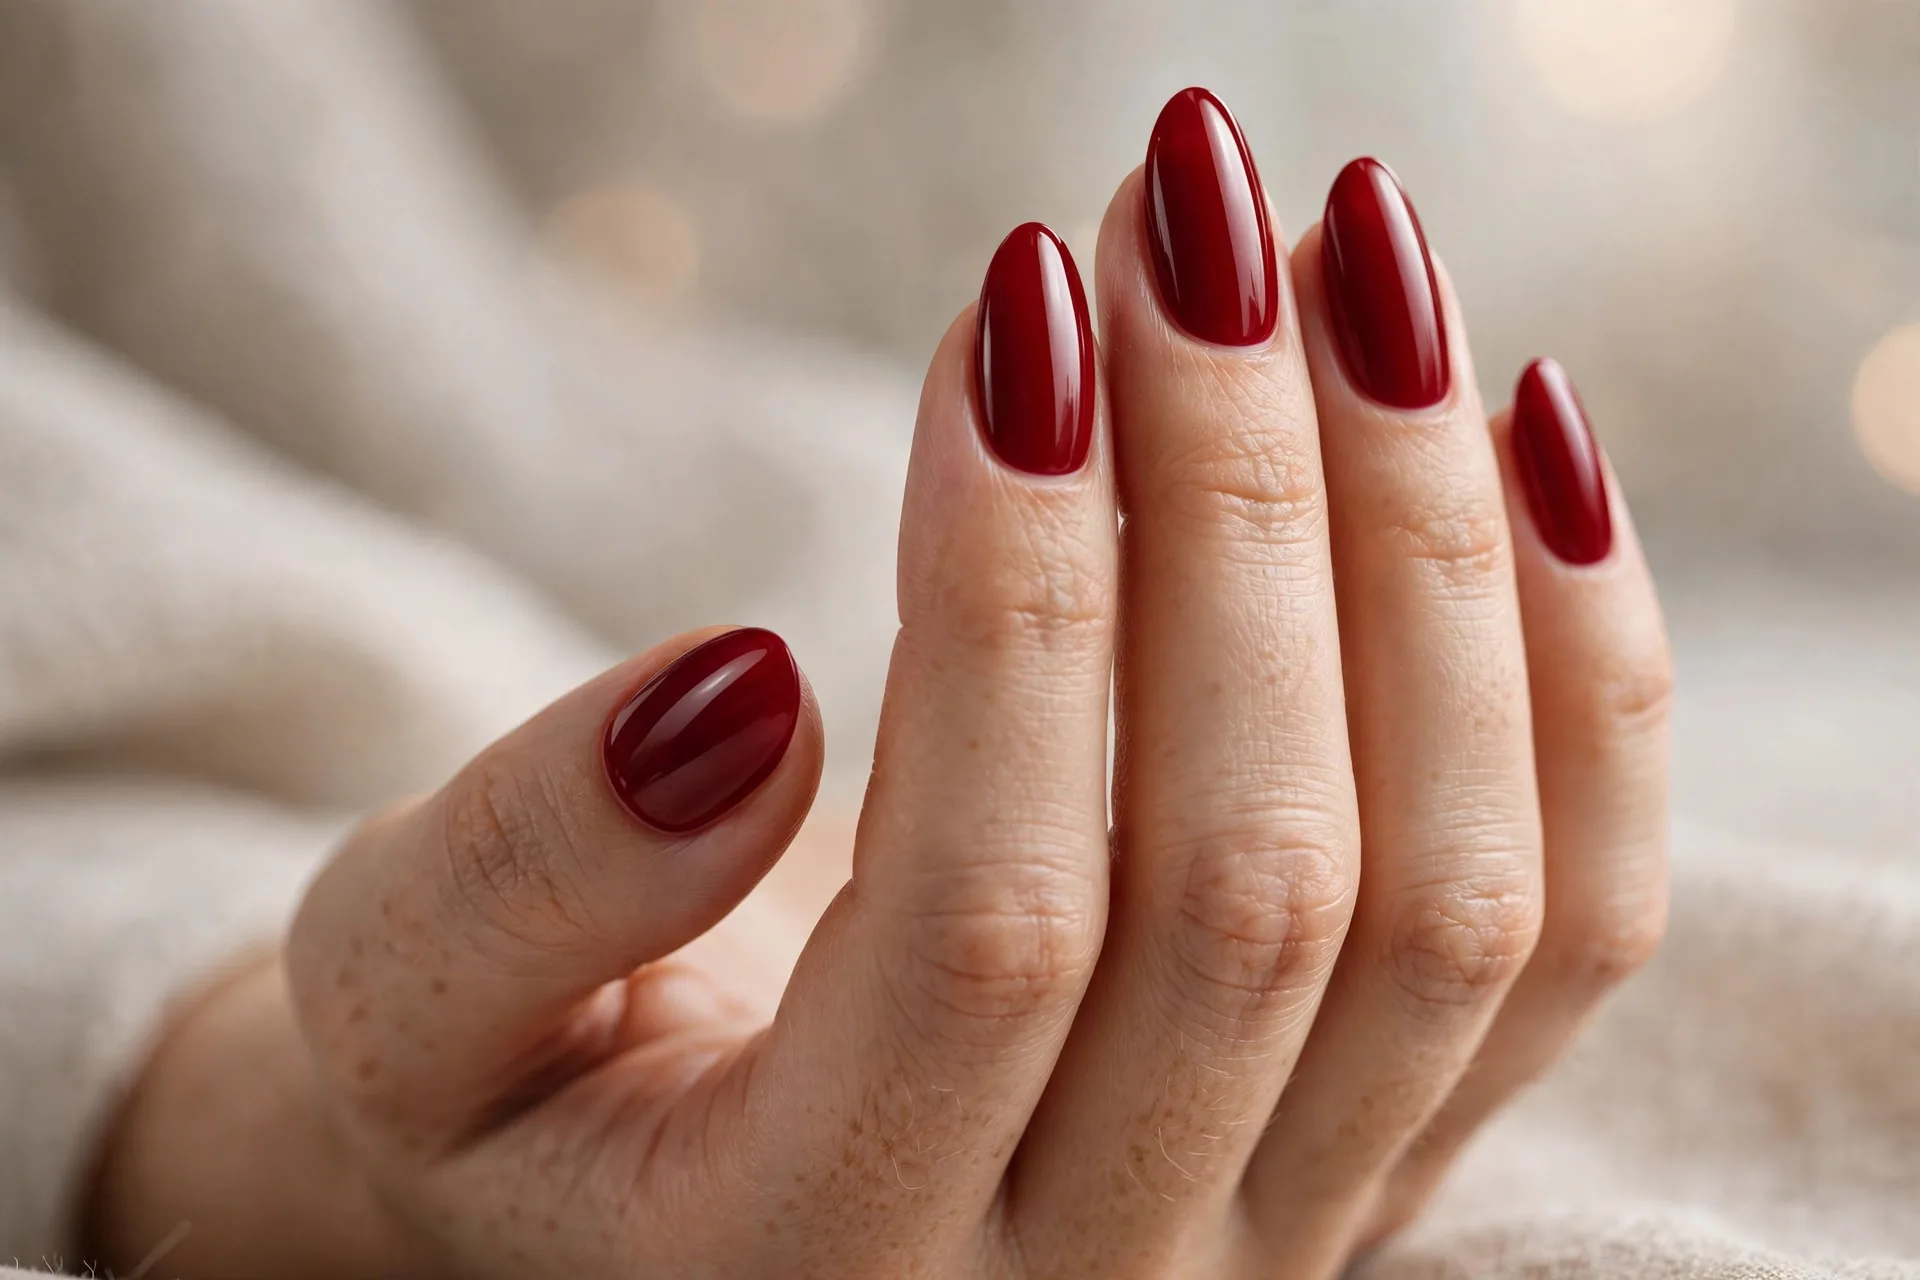
Why Your Manicure Keeps Chipping
Polish chips for one simple reason: something breaks the seal between the polish and your nail. Water, oil, rough edges, or old product all create weak spots, and everyday life finds every single one of them.
Your nails are also more flexible than you think. They bend slightly every time you type, open a can, or dig through your bag. Regular polish is fairly rigid once it dries, so when the nail flexes and the polish does not, tiny cracks form. The better your prep, the better the polish grips — and the fewer cracks appear.
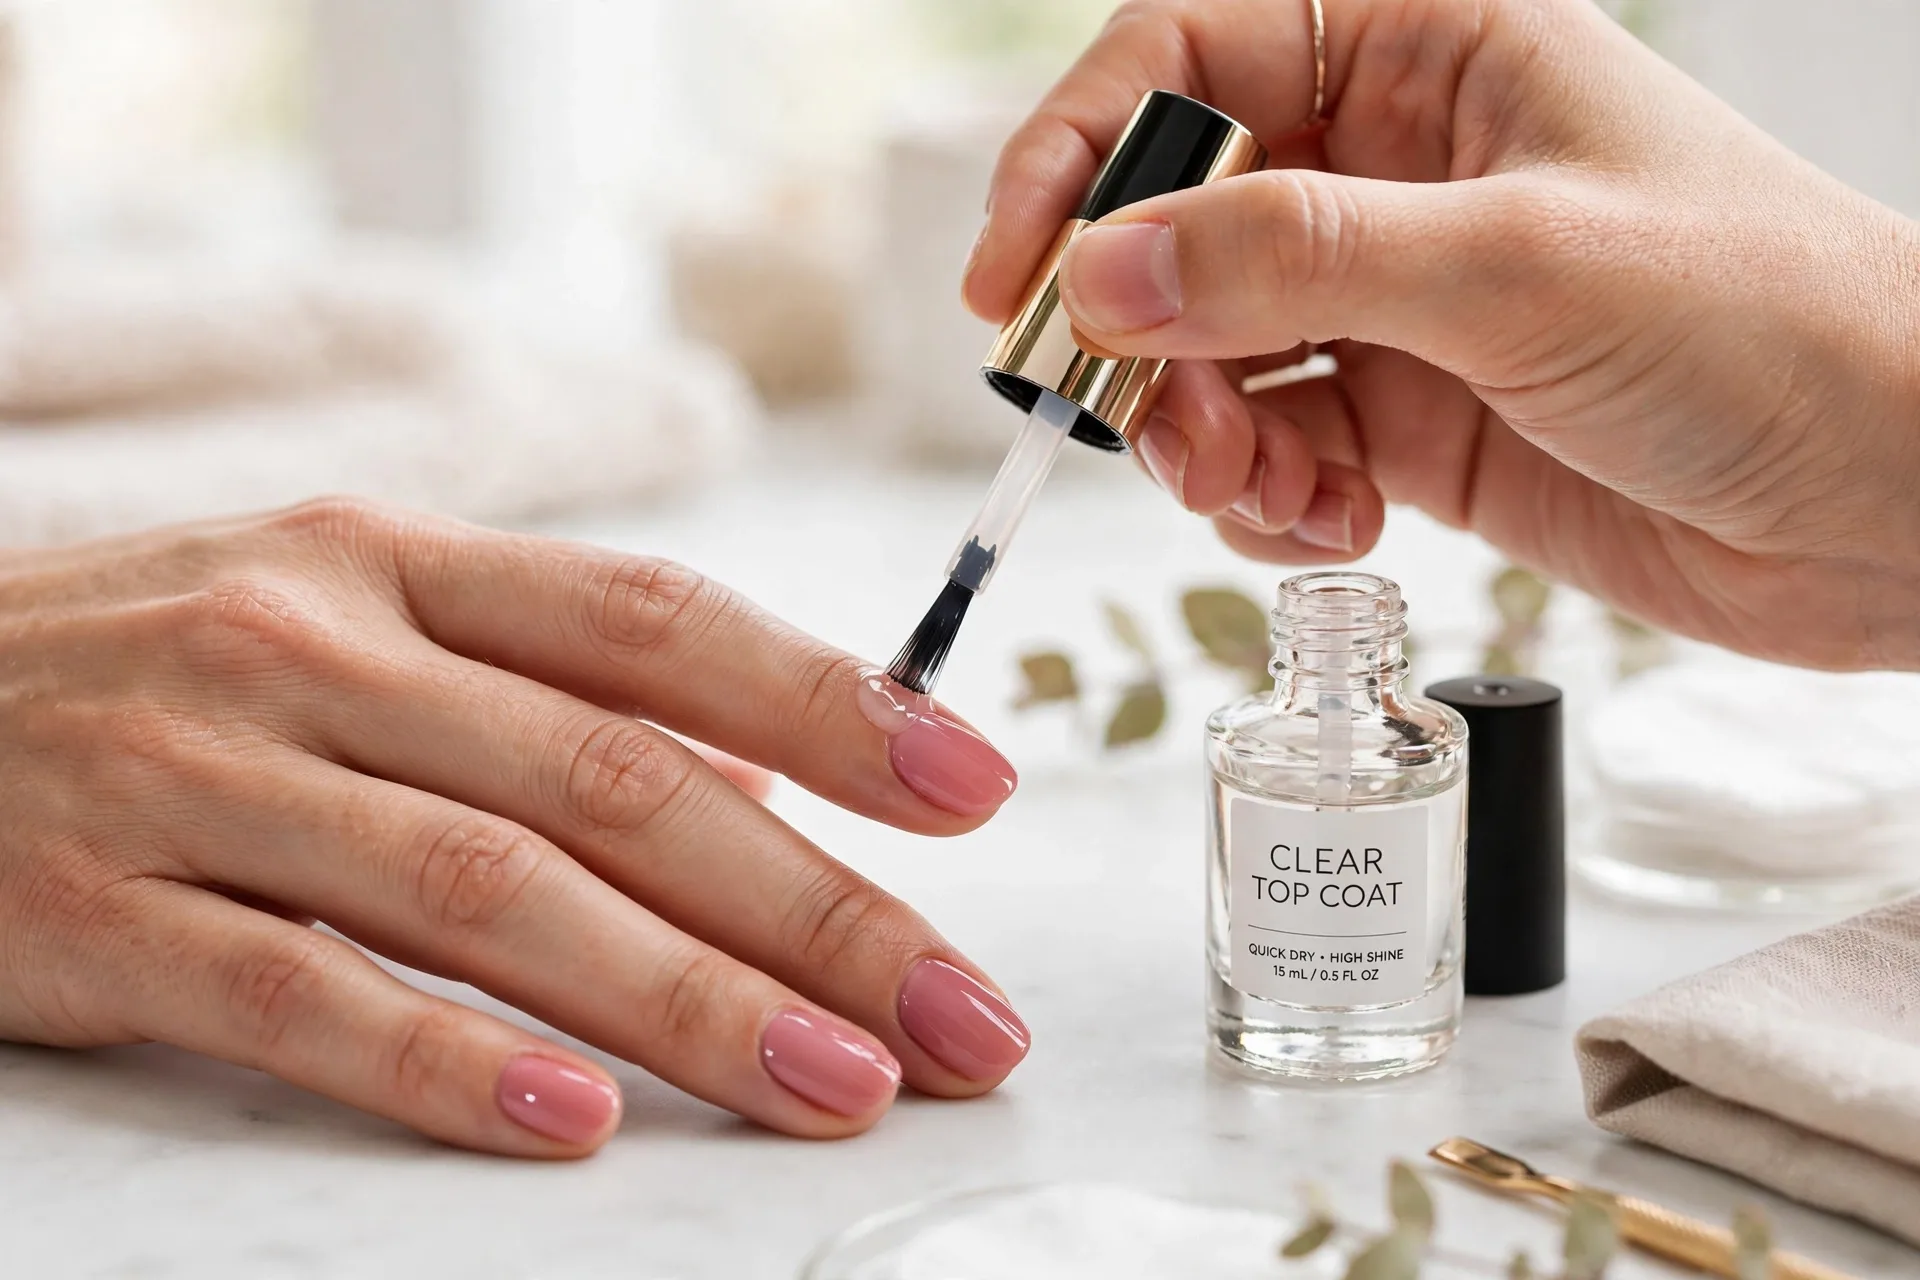
Get the Basics Right First
Before the secrets, cover the foundation. Work on dry, clean nails: wash your hands, then wipe each nail with rubbing alcohol or a nail dehydrator to remove every trace of oil and lotion. Oil is the number one enemy of long wear, and even the natural oils on your fingertips count.
Use a base coat every time, no exceptions, and apply your color in thin layers. Two thin coats last far longer than one thick coat because thin layers dry evenly and hard. Finally, do not paint your nails right after a hot shower — your nails absorb water and swell, then shrink as they dry, which loosens fresh polish from underneath.
1. Push Back Cuticles Instead of Cutting Them
Those little flaps of skin around your nails are not just decoration. Cuticles act like a seal, and trimming them can cause tiny nicks that lift polish later. Gently push them back with a wooden orangewood stick after a quick warm soak instead.
Why it works: polish painted over lifted or ragged cuticle edges peels away from the nail within days. A smooth, pushed-back cuticle line gives your polish a clean border to grip. It also keeps the seal of the skin intact, so moisture and bacteria stay out of your nail bed.
Pro move: apply a drop of cuticle oil to soften them before pushing, then remove the oil with an alcohol wipe before you paint. Oil on the nail plate is a polish killer, so that wipe step matters.
2. Shape Nails with a Gentle File, Not Clippers
Clippers pinch the nail and can create microscopic cracks along the tip, even when you cannot see them. Those cracks become chip launchpads. A fine-grit nail file (180 grit or higher) shapes without that stress.
Always file in one direction rather than sawing back and forth. The sawing motion tears the layers of keratin at the tip, leaving a feathered edge that polish struggles to hold onto. One-direction filing seals the edge smoothly.
Skip the metal files — they are too harsh for natural nails. A glass or crystal file is gentler and leaves a cleaner edge, which means fewer snags and fewer chips at the tips.
3. Dehydrate the Nail Plate Before Base Coat
This is the step most at-home manicures skip, and it is the single biggest wear-time booster. After washing your hands, swipe each nail with rubbing alcohol, pure acetone, or a dedicated nail dehydrator right before applying base coat.
Why it works: nails hold natural oils and moisture that repel polish like rain on a waxed car. A dehydrator strips that invisible layer so the base coat bonds directly to the nail plate. Think of it as sanding before painting furniture — the paint sticks because the surface is ready.
Important: after dehydrating, do not touch your nails with your fingertips. The oils from your skin instantly recontaminate the surface. Hold each finger by the sides if you need to steady it.
4. Cap the Free Edge of Every Nail
Here is the secret nail techs swear by: after each coat, run the brush along the very tip of the nail — the free edge — so the polish wraps slightly underneath. Base coat, color, top coat: cap every layer.
Why it works: chips almost always start at the tip, because the tip takes the most impact and has the thinnest polish coverage. Capping seals the edge like shrink-wrap, so there is no exposed starting point for a chip to grab.
Wipe any polish off the skin under the tip with a small brush dipped in acetone so you keep a clean, sealed line. A sloppy edge under the nail catches on things and peels the whole tip.
5. Paint Thin Coats and Let Each One Set
Thick coats look like they give better coverage, but they are a trap. The surface dries while the layer underneath stays soft, so the polish dents, bubbles, and chips easily. Two or three whisper-thin coats beat one heavy one every time.
Wait at least two to three minutes between coats. You do not need each coat to be fully cured — just set enough that the brush glides over it without dragging. A polish that drags and pulls is being applied too soon.
Thin layers also flex better with your nail. A heavy, rigid slab of polish cracks when the nail bends; thin layers move with it. That flexibility is what carries you from day five to day twelve.
6. Seal Everything with a Quality Top Coat
Top coat is not optional decoration — it is the protective shield of your manicure. It locks in the color, adds a layer of thickness that absorbs impact, and creates that glassy shine we all want.
Look for a top coat labeled “sealing” or “long-wear,” and apply it the same day you paint. Then add a fresh layer of top coat every two to three days to refresh the seal. This is the easiest maintenance habit and it genuinely adds days to your manicure.
Tip: also run the top coat along the free edge each time you reapply, re-capping the tip. This reinforces the most vulnerable spot exactly when it starts to wear down.
7. Let Your Manicure Cure Fully Before Real Life
Regular polish feels dry to the touch within minutes, but it does not fully harden for six to twelve hours. That soft window is when most damage happens — you think it is safe, and then you open a soda can.
Plan your manicure for the evening, after chores are done. Let it set overnight with minimal handling, and sleep with clean hands (a tiny bit of cuticle oil around the nails before bed keeps the skin soft without touching the polish).
If you are impatient, cold water hardens polish faster than a hairdryer — the hairdryer keeps it soft and can even cause ripples. A quick dip in ice water after the final top coat sets the surface fast.
8. Wear Gloves for Dishes, Cleaning, and Hot Water
Water is polish’s worst enemy after oil. Prolonged soaking swells the nail, and when it shrinks back, the polish loses its grip from underneath. That is why salon manicures die after a weekend of dishwashing.
Keep a pair of dishwashing gloves under the sink and actually use them. For cleaning products, double up — harsh chemicals strip top coat and dull the shine in minutes. A cheap pair of reusable gloves saves a twenty-dollar manicure.
Even hand lotion matters here. Apply lotion and cuticle oil daily, but keep them on the skin around the nail, not flooded over the polish. Hydrated cuticles prevent hangnails, and hangnails lead to picking — and picking is how most manicures meet their end.
9. Fix Small Chips Immediately Instead of Picking
A tiny chip is a warning, not a death sentence. If you catch it early, dab a small amount of matching polish on the spot, re-cap the edge, and add top coat over the whole nail. You can buy yourself several more days this way.
The real enemy is the picking habit. Once a chip appears, it is tempting to peel at it — and peeling takes off way more than polish. It rips up the top layers of your nail, which weakens the next manicure too.
Carry a mini top coat in your bag or desk drawer. A thirty-second refresh when you notice a worn edge is the difference between a manicure that lasts ten days and one that gets ripped off in frustration on day four.
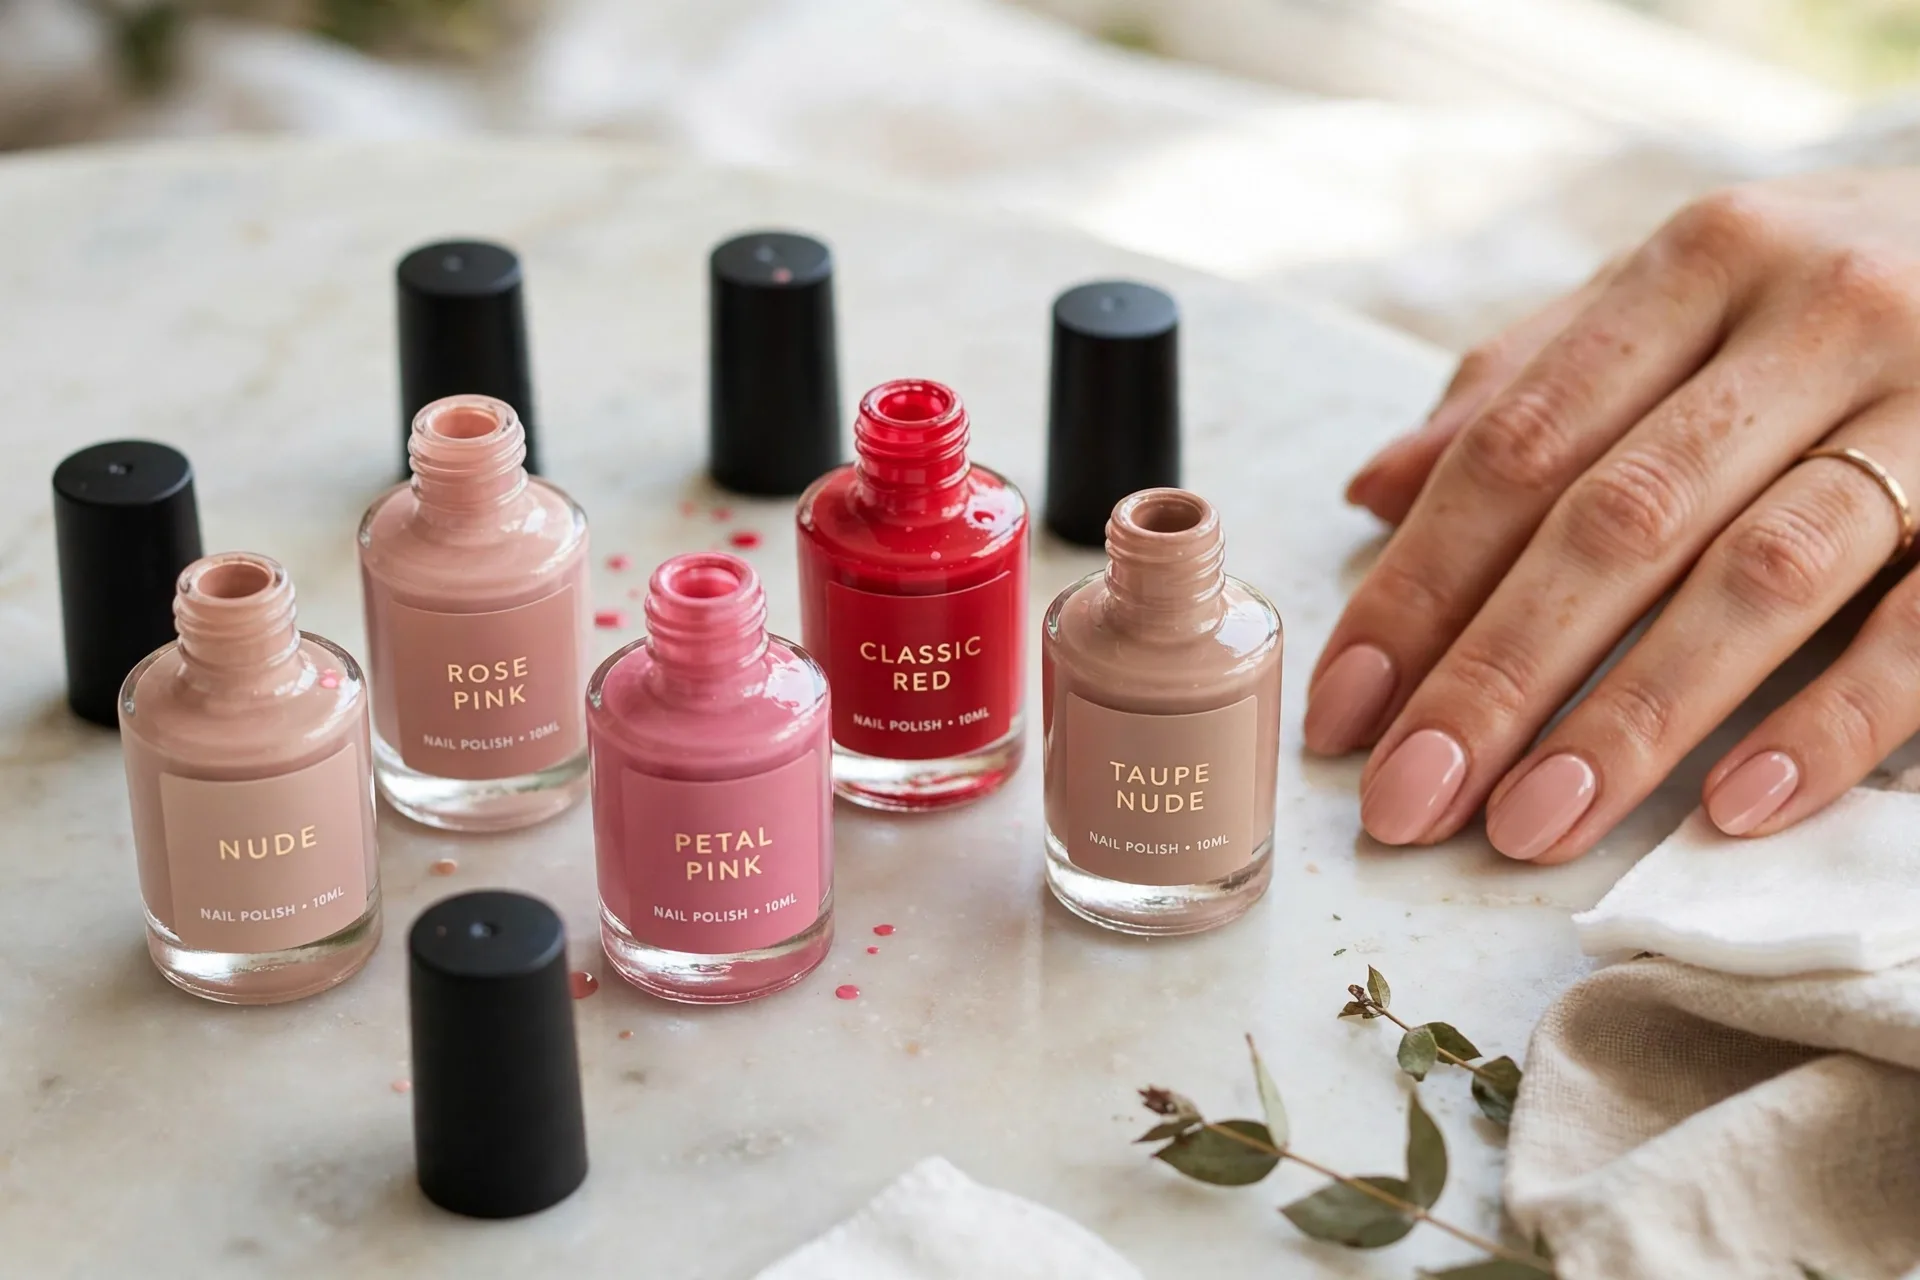
Mistakes That Kill Your Manicure Early
Now that you know what to do, here is what to stop doing. Painting right before bed without letting it set is the classic — you wake up with sheet marks pressed into soft polish. Shaking the bottle creates air bubbles that dry into weak spots; roll it between your palms instead.
Using your nails as tools is the other big one. Scraping stickers, prying lids, and digging into cans put direct force on the free edge, exactly where chips start. Use your knuckles, a tool, or literally anything else. Your polish will thank you with an extra week of life.
Finally, do not skip the base coat even when you are in a hurry. It protects your nail from staining, gives color something to grip, and makes removal easier. Every layer of your manicure has a job — skip one and the whole system weakens.
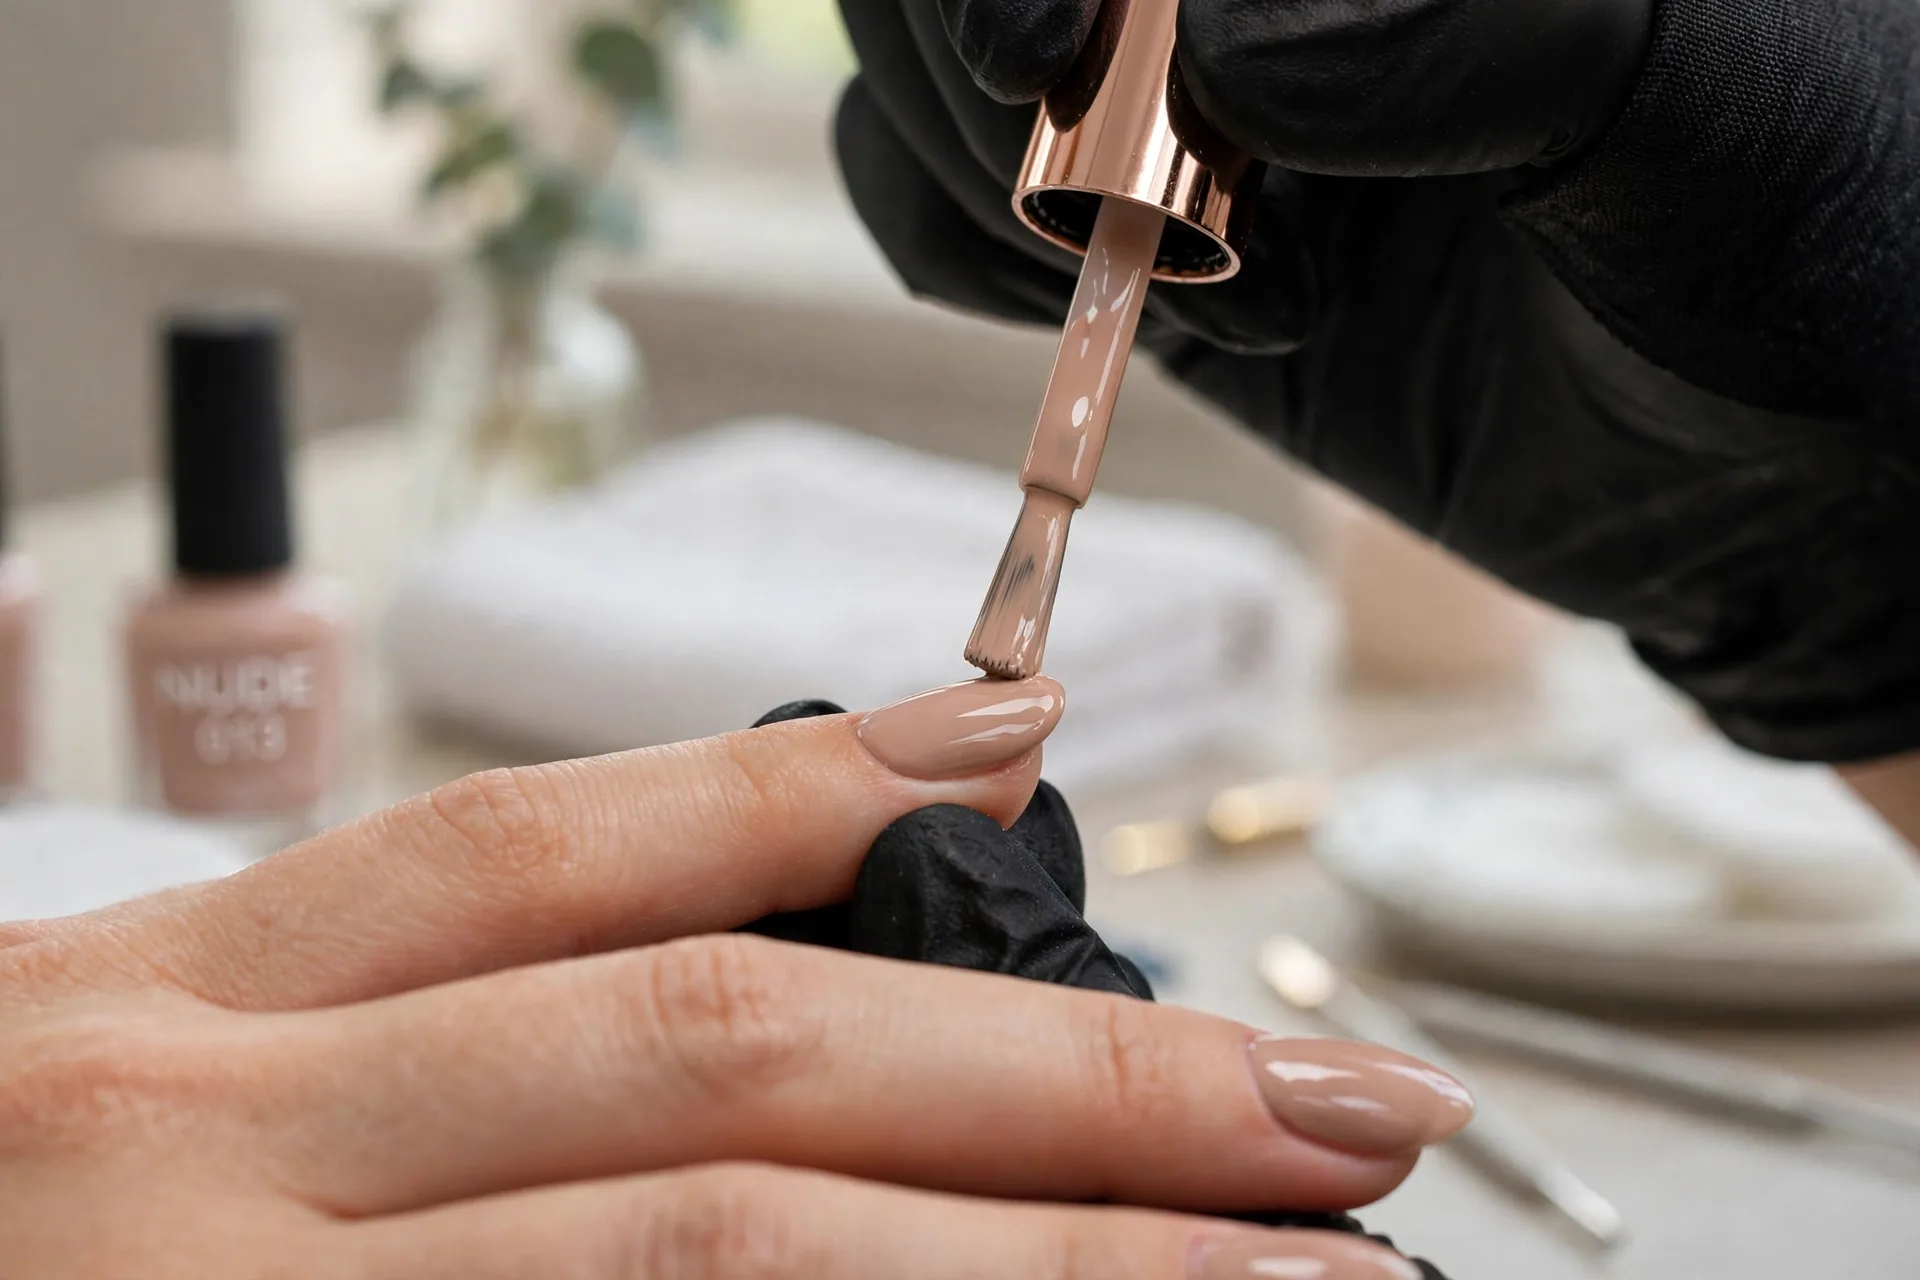
My Two-Week Manicure Routine
Here is how I put it all together now. Evening one: remove old polish, push back cuticles, file in one direction, wash, dehydrate with alcohol, then apply base coat, two thin color coats, and top coat — capping the free edge every single time. I let it set while I wind down for the night.
Days three and six: one fresh layer of top coat, re-capped at the tips. Daily: gloves for dishes, cuticle oil around the nails at bedtime, and no picking, ever. The first time I followed this routine start to finish, my manicure hit day thirteen with only one tiny chip. I was honestly shocked.
You do not need expensive polish or salon visits to get this result. You need clean prep, thin coats, sealed edges, and a little maintenance. Try it once, all nine secrets together, and watch how long your next manicure lasts. Then come back and tell me your number — I am betting on ten days or more.