
We’ve all been there: you spend an hour carefully painting your nails, only for a giant chip to ruin your fresh manicure by day two. It is incredibly frustrating when you love having pretty hands but feel like you’re constantly chasing a losing battle against peeling edges. If your polish seems to lift no matter how high-quality your top coat is, the secret usually isn’t the paint itself—it is everything you do before the bottle even opens.
Properly prepping your nails for polish longevity is the absolute foundation of a manicure that goes the distance. Think of your nail plate like a canvas; if it is uneven, oily, or damp, the polish just won’t have a chance to stick. Today, we are walking through the exact routine that will give you that coveted week-long, chip-free wear right at home, keeping your nail aesthetic pristine without constant touch-ups.
The Classic Warm Water Soak Alternative
While a bubbly hand bath feels like a luxurious spa treatment, soaking your hands before a manicure is actually a sneaky culprit behind early chipping. Your nails are like tiny sponges that expand when they absorb water, and if you paint them while stretched, the polish will crack and peel as your nails shrink back to their normal size later. Try dry prepping instead by using a quick sanitizing spray or a damp wipe to clean up without waterlogging your nail bed. I know it sounds simple, but skipping the soak is a total life-changer for keeping your manicure locked down.
Gently Push Back Your Cuticles
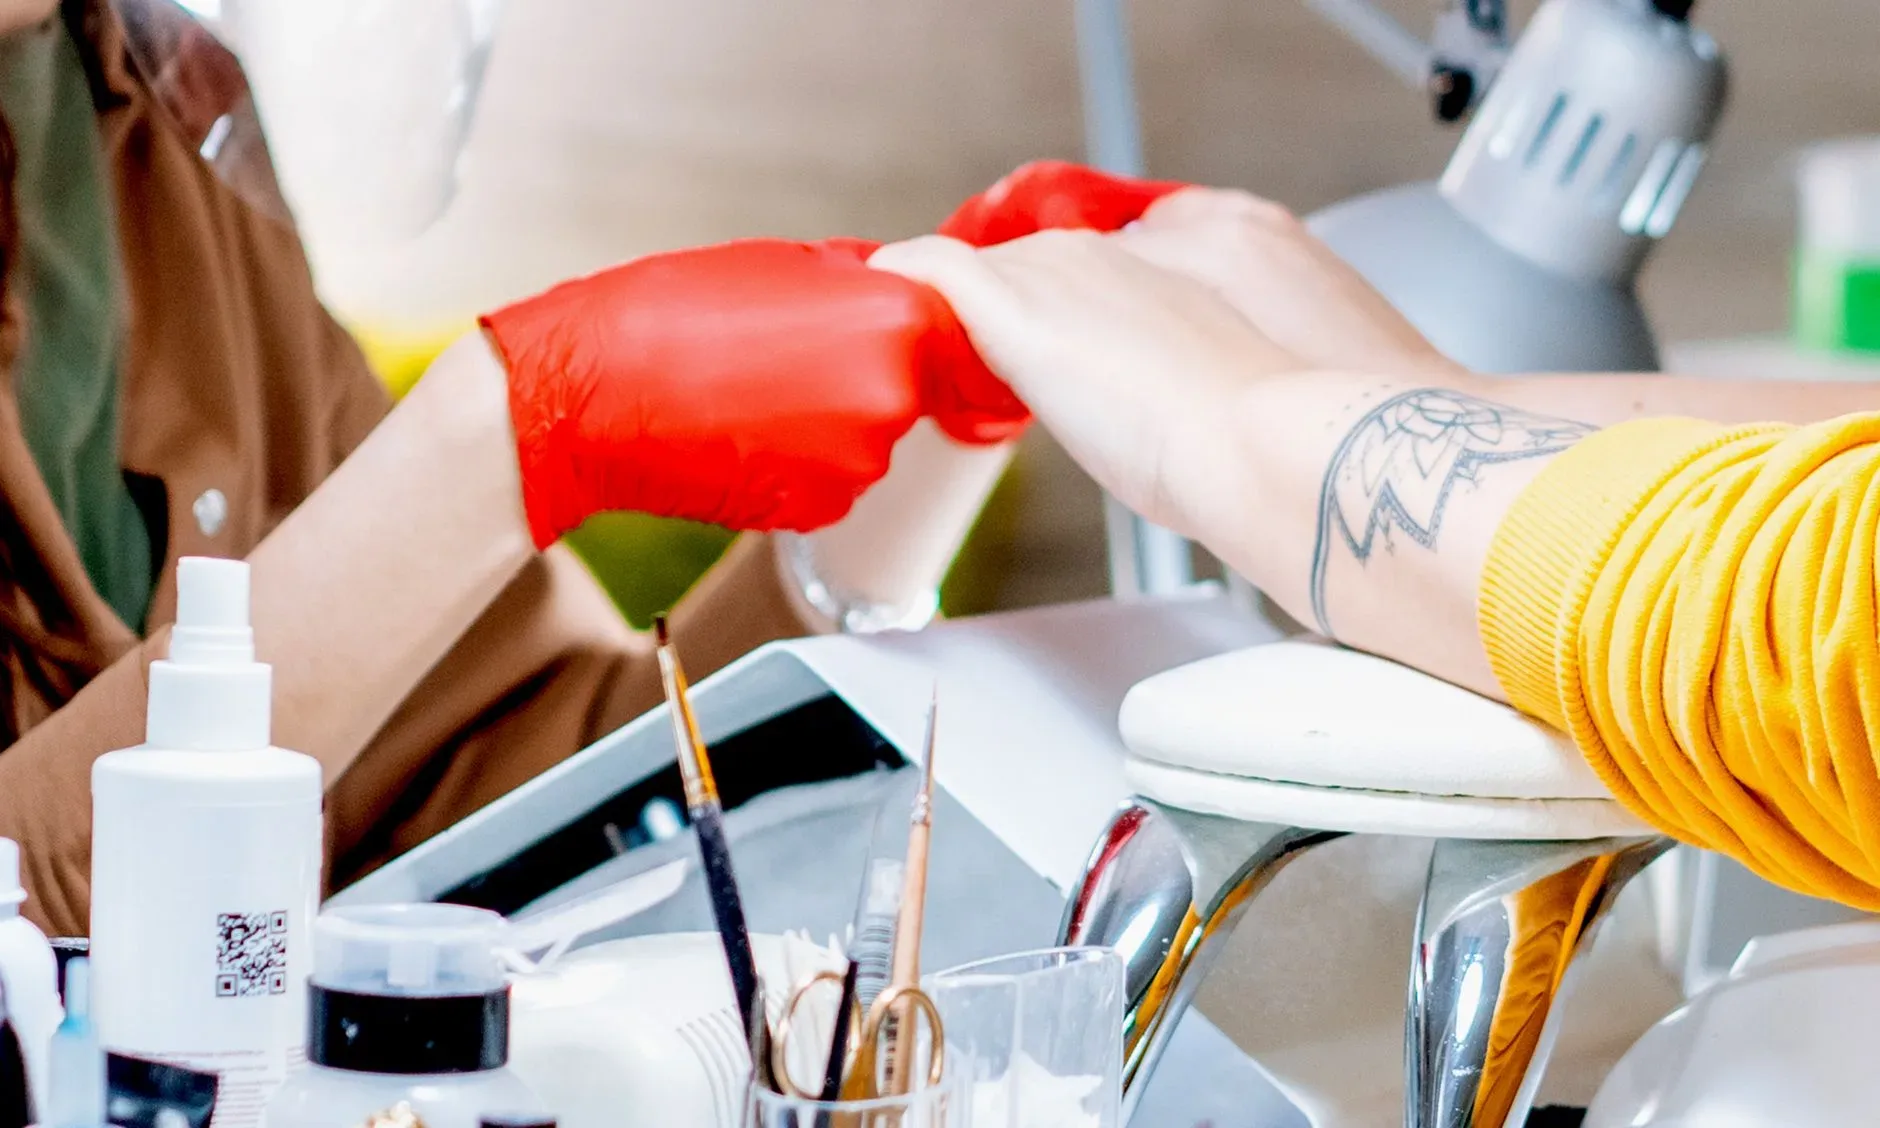
Polish needs a completely clean surface to bond to, and invisible dead skin creeping up your nail plate will cause instant lifting. Grab a rounded wood or metal pusher and gently guide the cuticle back toward the base of your finger using tiny, circular motions. Never push too aggressively or scrape the nail surface, as this can cause permanent damage to your nail matrix. Keeping this area tidy creates a crisp outline for your paint and adds a beautiful, clean finish to your overall look.
Remove Non-Living Tissue with Care
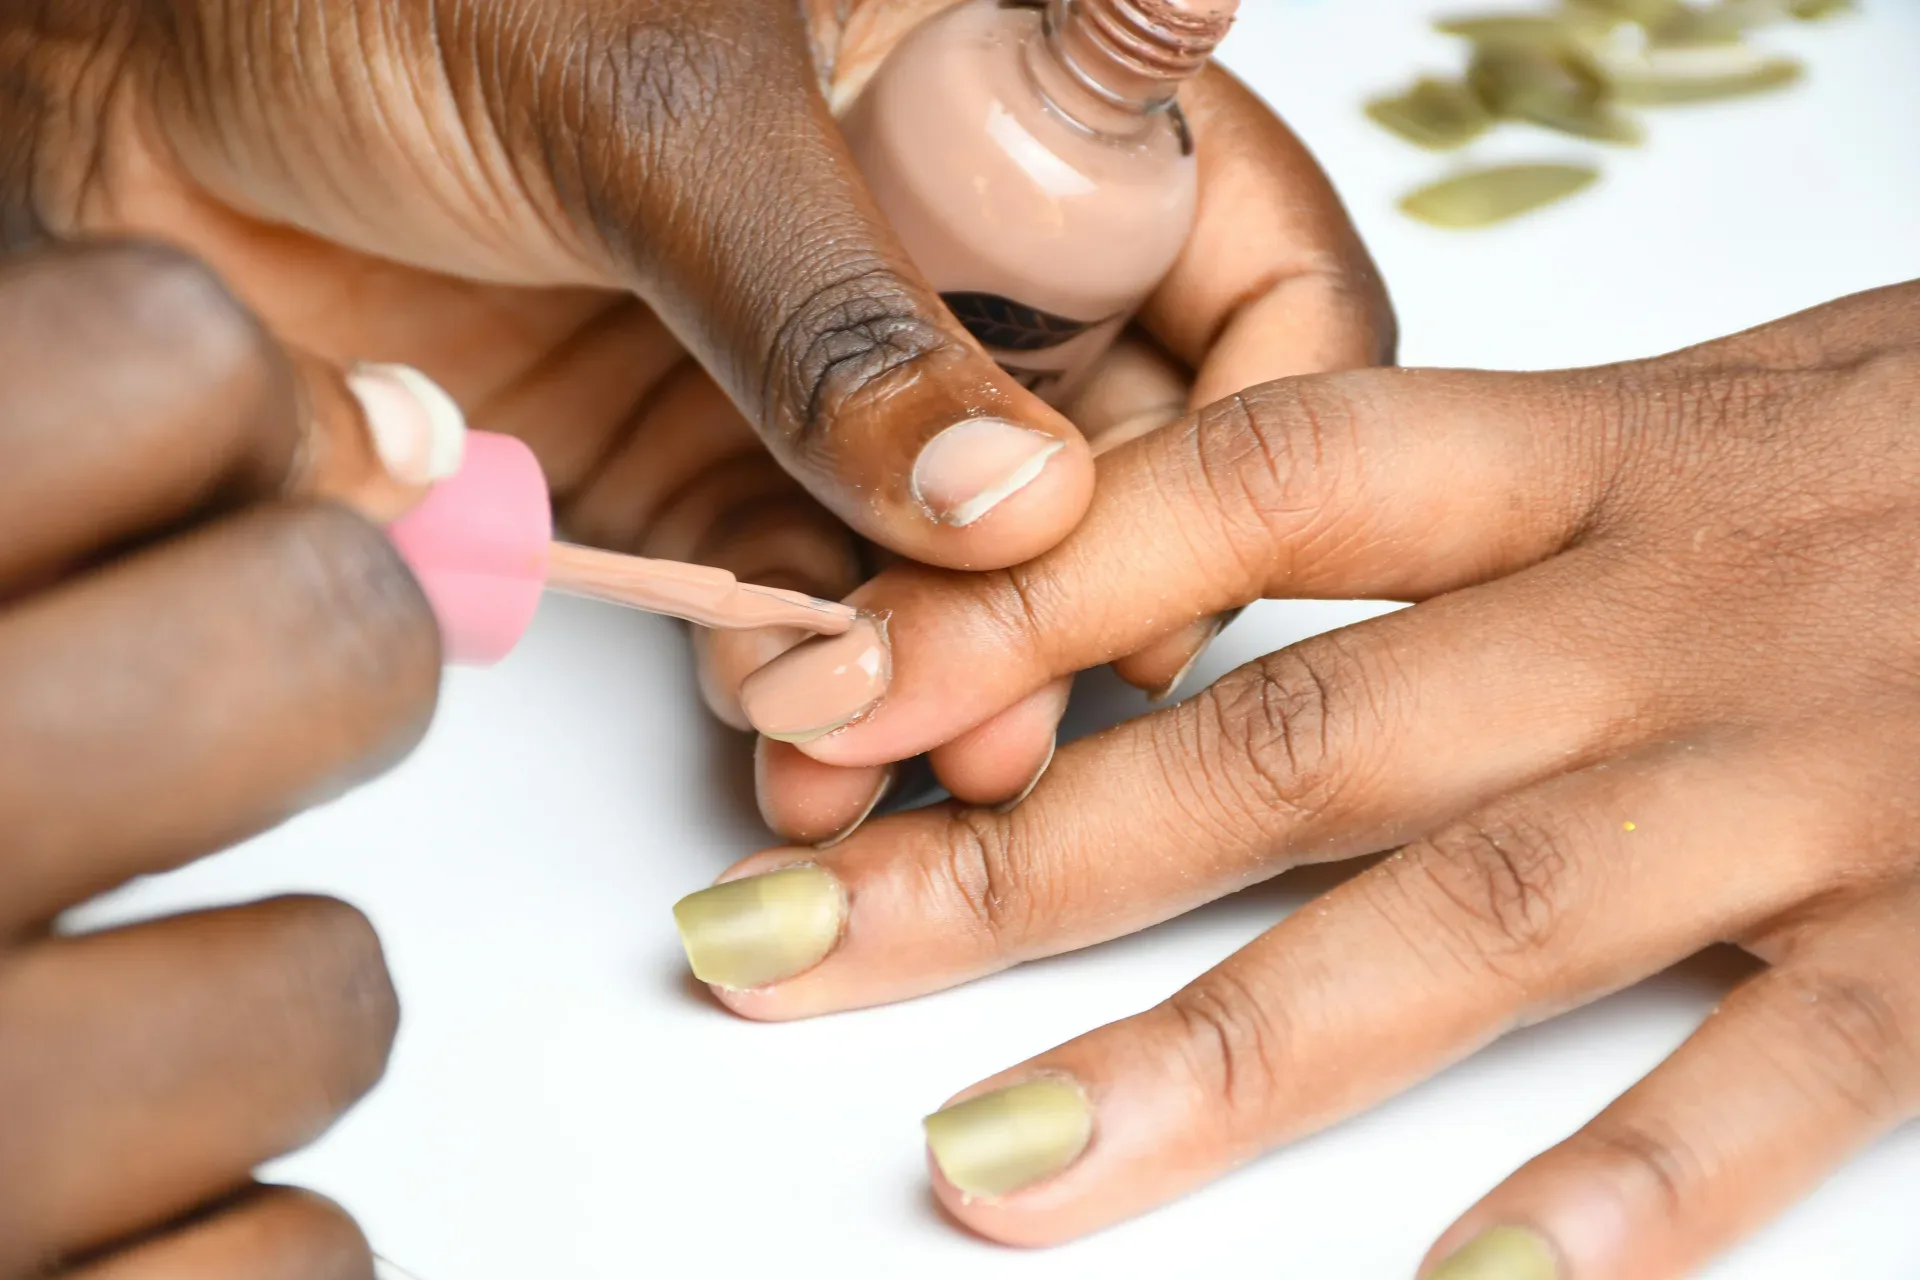
Once your cuticles are pushed back, you might notice small, loose flakes of dead skin sitting around the perimeter of your nail. Only trim away the true hangnails or bits of skin that are completely detached and sticking up, leaving the healthy, protective proximal fold intact. Over-snipping this area leads to ragged edges and raw skin, which ruins the neat look of a fresh bedroom or salon manicure makeover. A light hand here ensures your fingers look perfectly framed and feel comfortable.
Shape Your Free Edge Uniformly
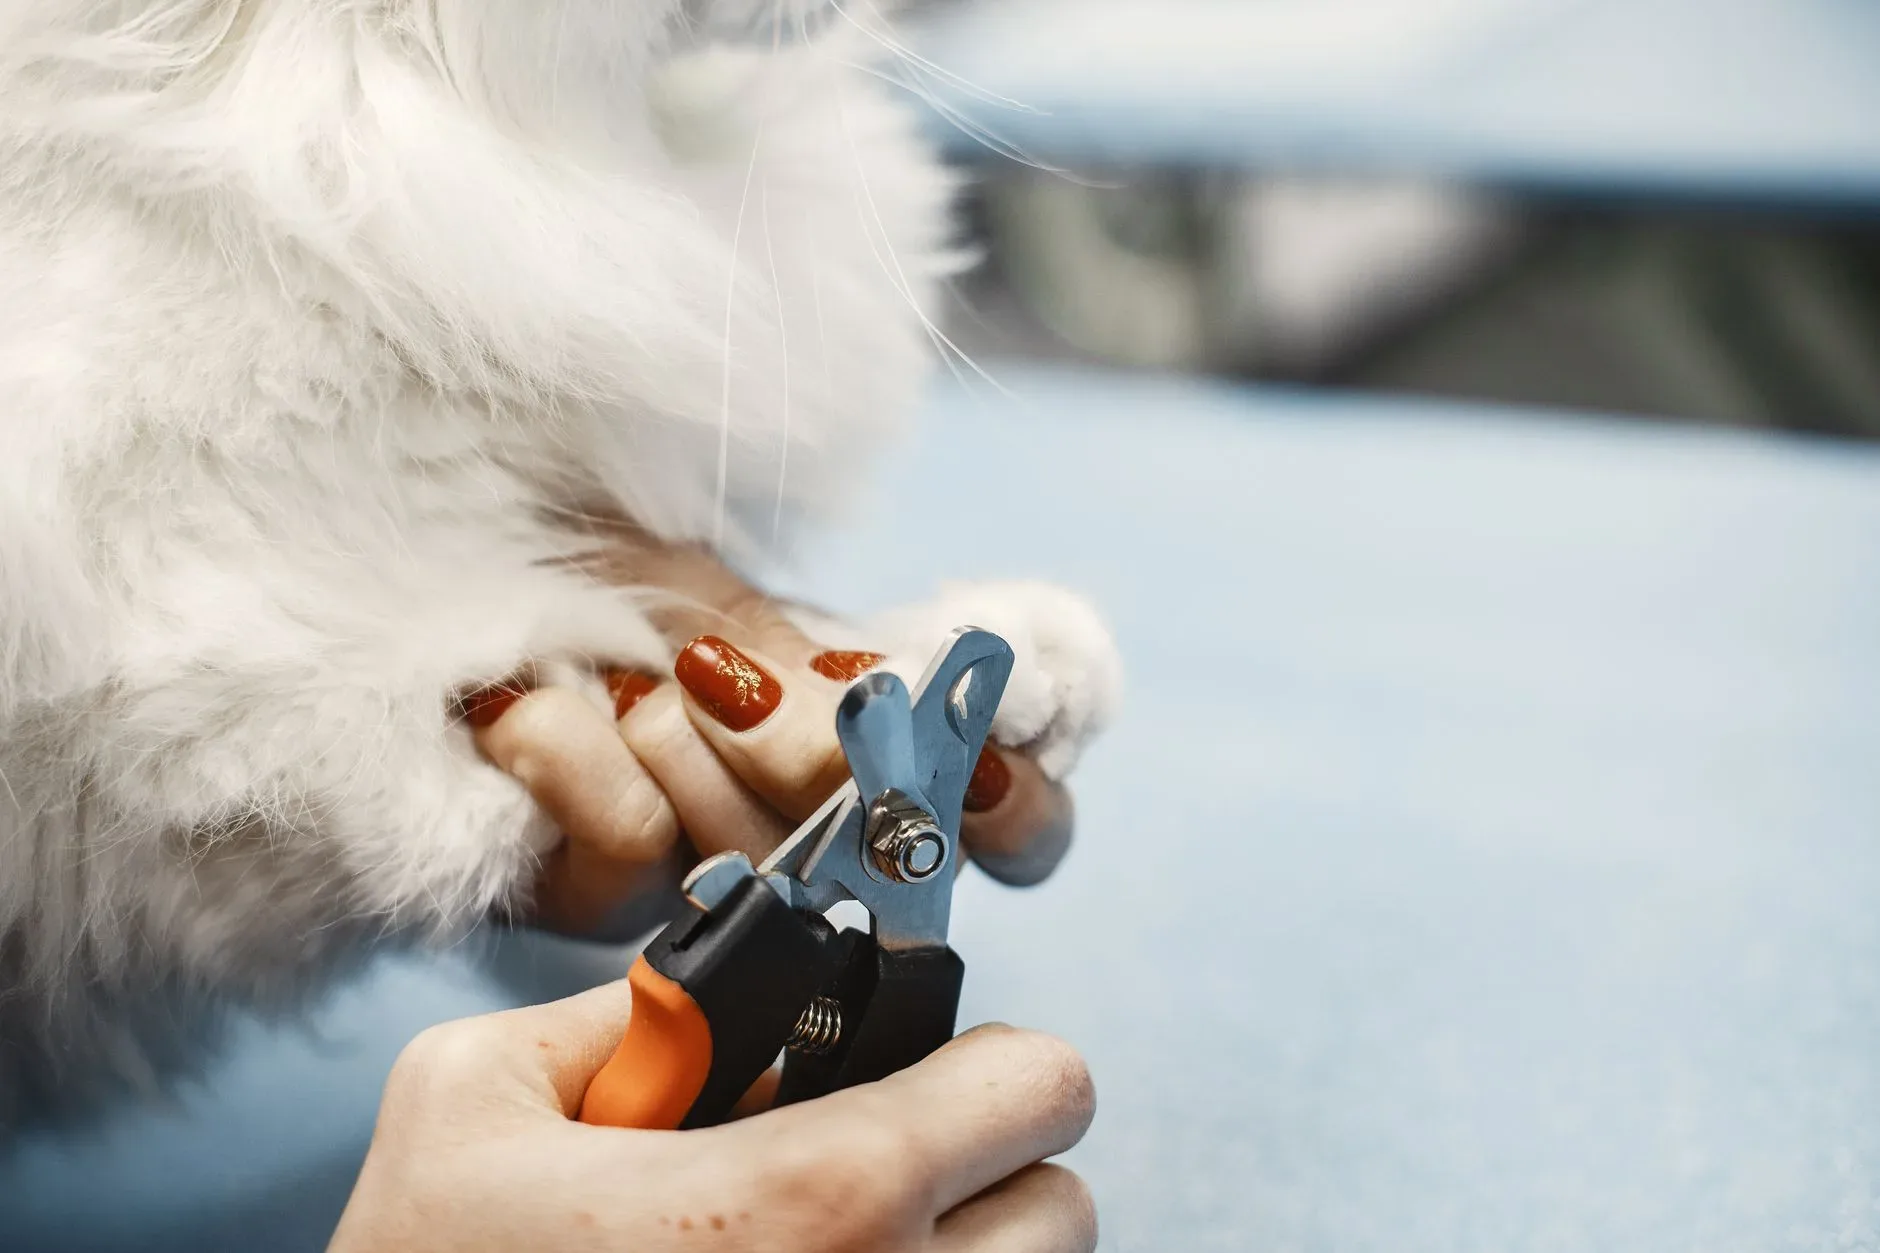
The shape of your tips plays a huge role in how well they withstand daily bumps against your keyboard or phone screen. Use a fine-grit file to shape your nails into a smooth oval, square, or squoval, moving the file in one single direction rather than sawing back and forth. Sawing creates micro-tears in the natural keratin layers, making your tips prone to peeling and splitting within days. Rounding off any sharp corners slightly will drastically reduce the chances of your nails snagging on your clothes.
Remove Shine with a Fine Buffer Block
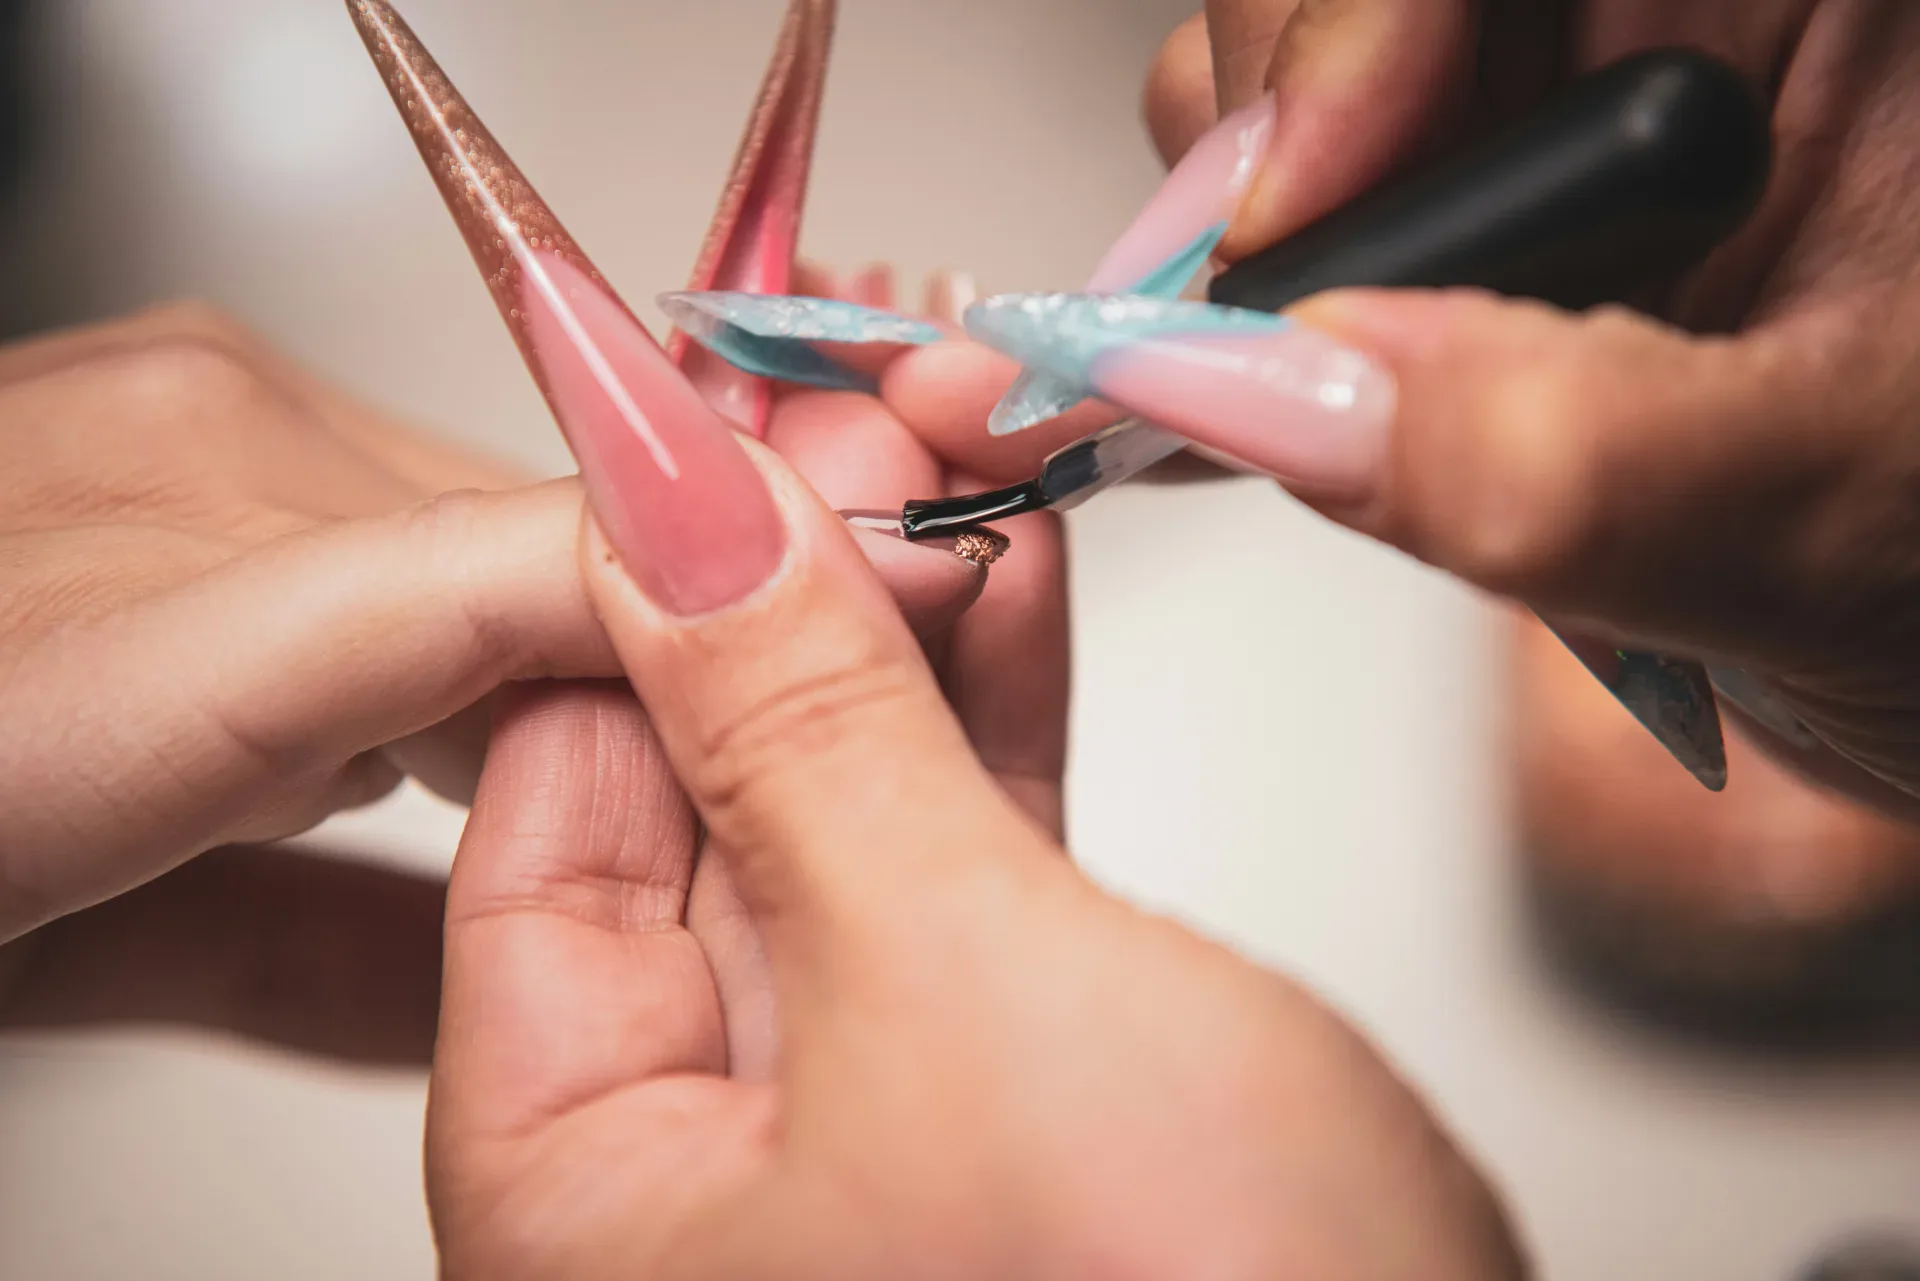
Natural oils create a slippery barrier that prevents your base coat from adhering to the nail plate effectively. Take a high-grit buffer block—something very soft, around 240 grit or higher—and pass it over each nail surface with zero downward pressure. You are not trying to thin out the nail, you just want to create a matte look by removing surface oils and smoothing out deep ridges. This subtle texture gives your base coat something mechanical to grip onto for serious polish longevity.
Dehydrate the Nail Plate Thoroughly
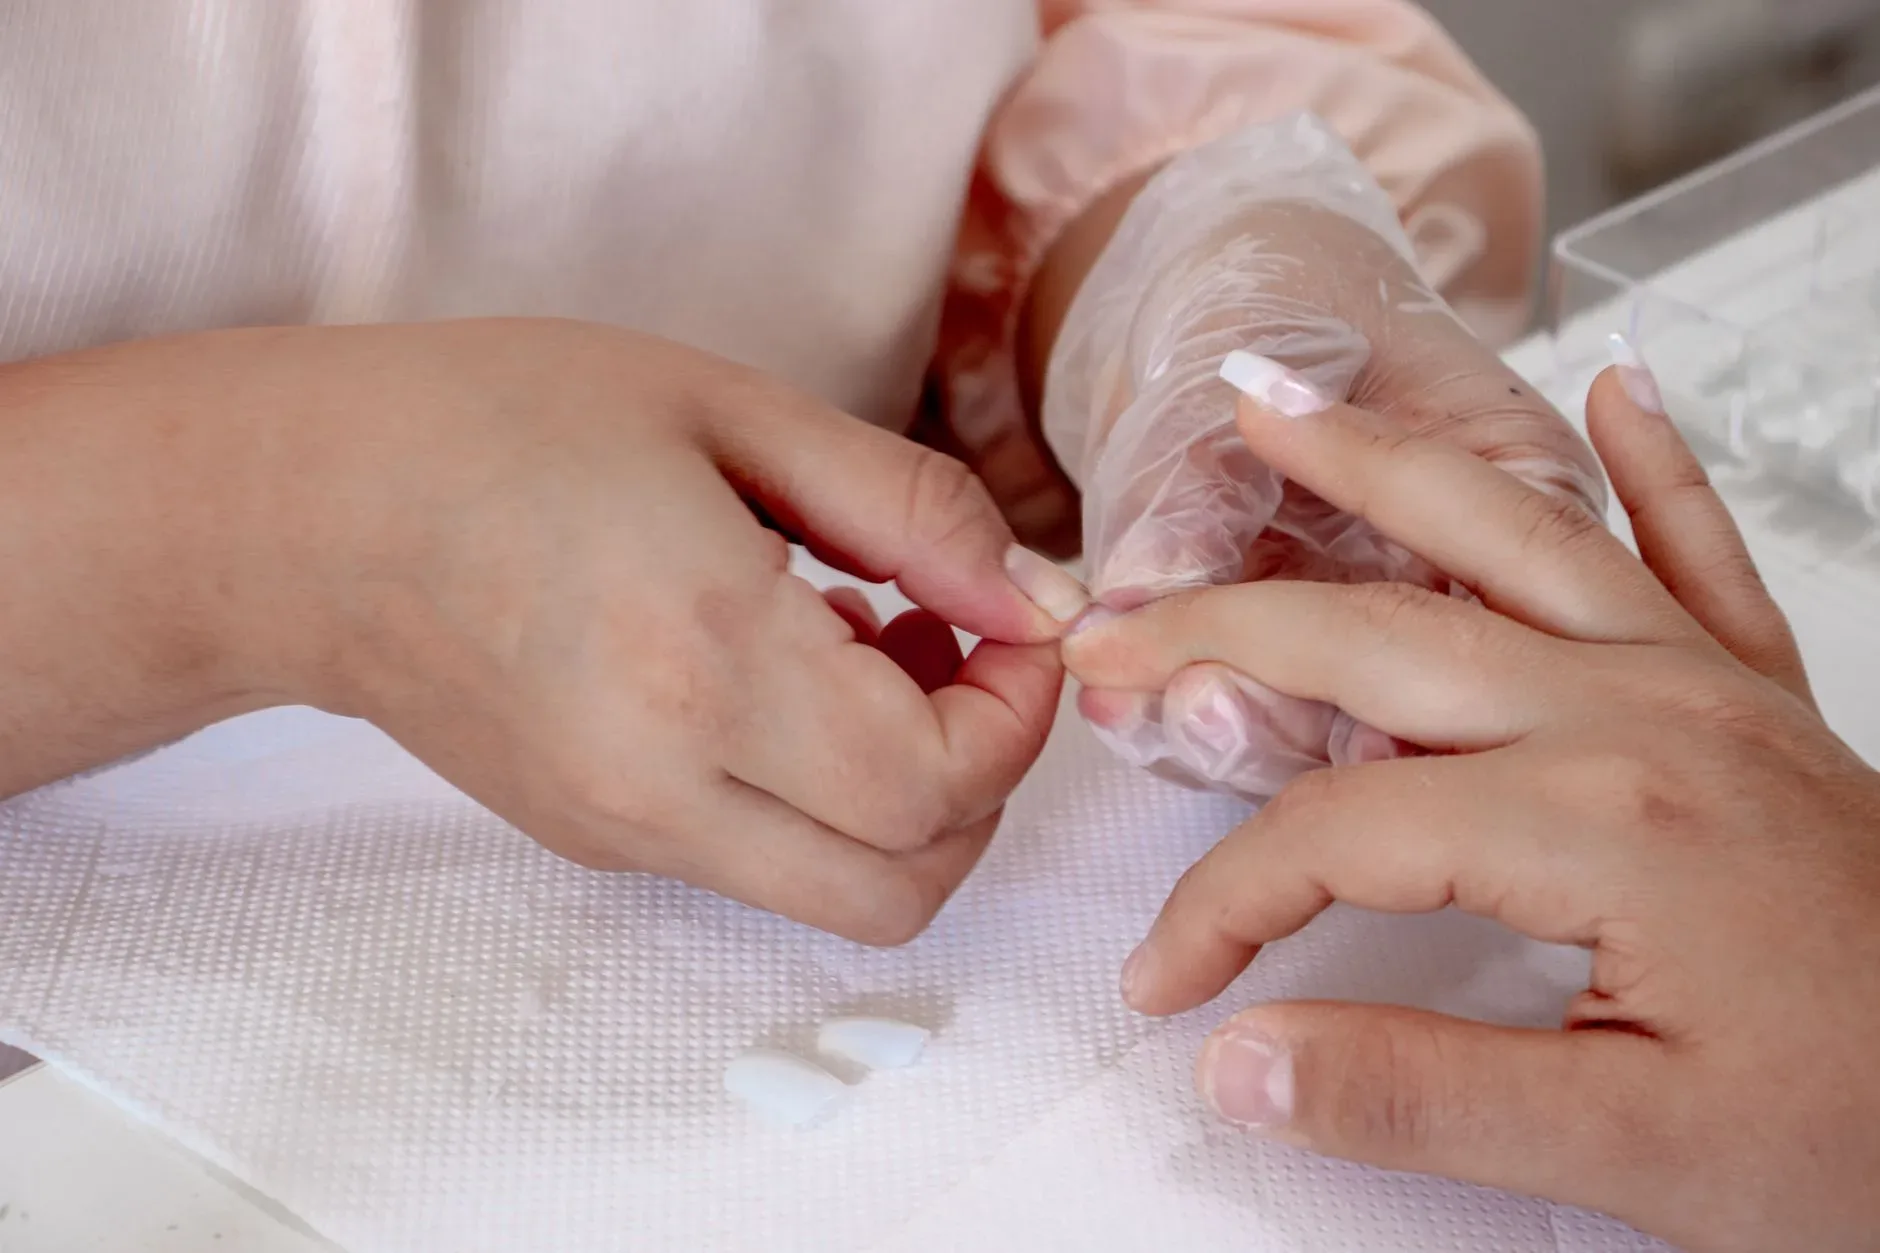
Even after buffing, microscopic traces of oil and dust linger on the nail surface, waiting to ruin your hard work. Scrub each nail down with a lint-free wipe saturated in pure isopropyl alcohol or a dedicated nail dehydrator, paying extra attention to the side walls and the cuticle line. Regular cotton balls leave behind tiny fuzzies that get trapped under your color, so lint-free wipes are your best friend here. This step leaves the surface completely pristine, bone-dry, and ready for your liquid products.
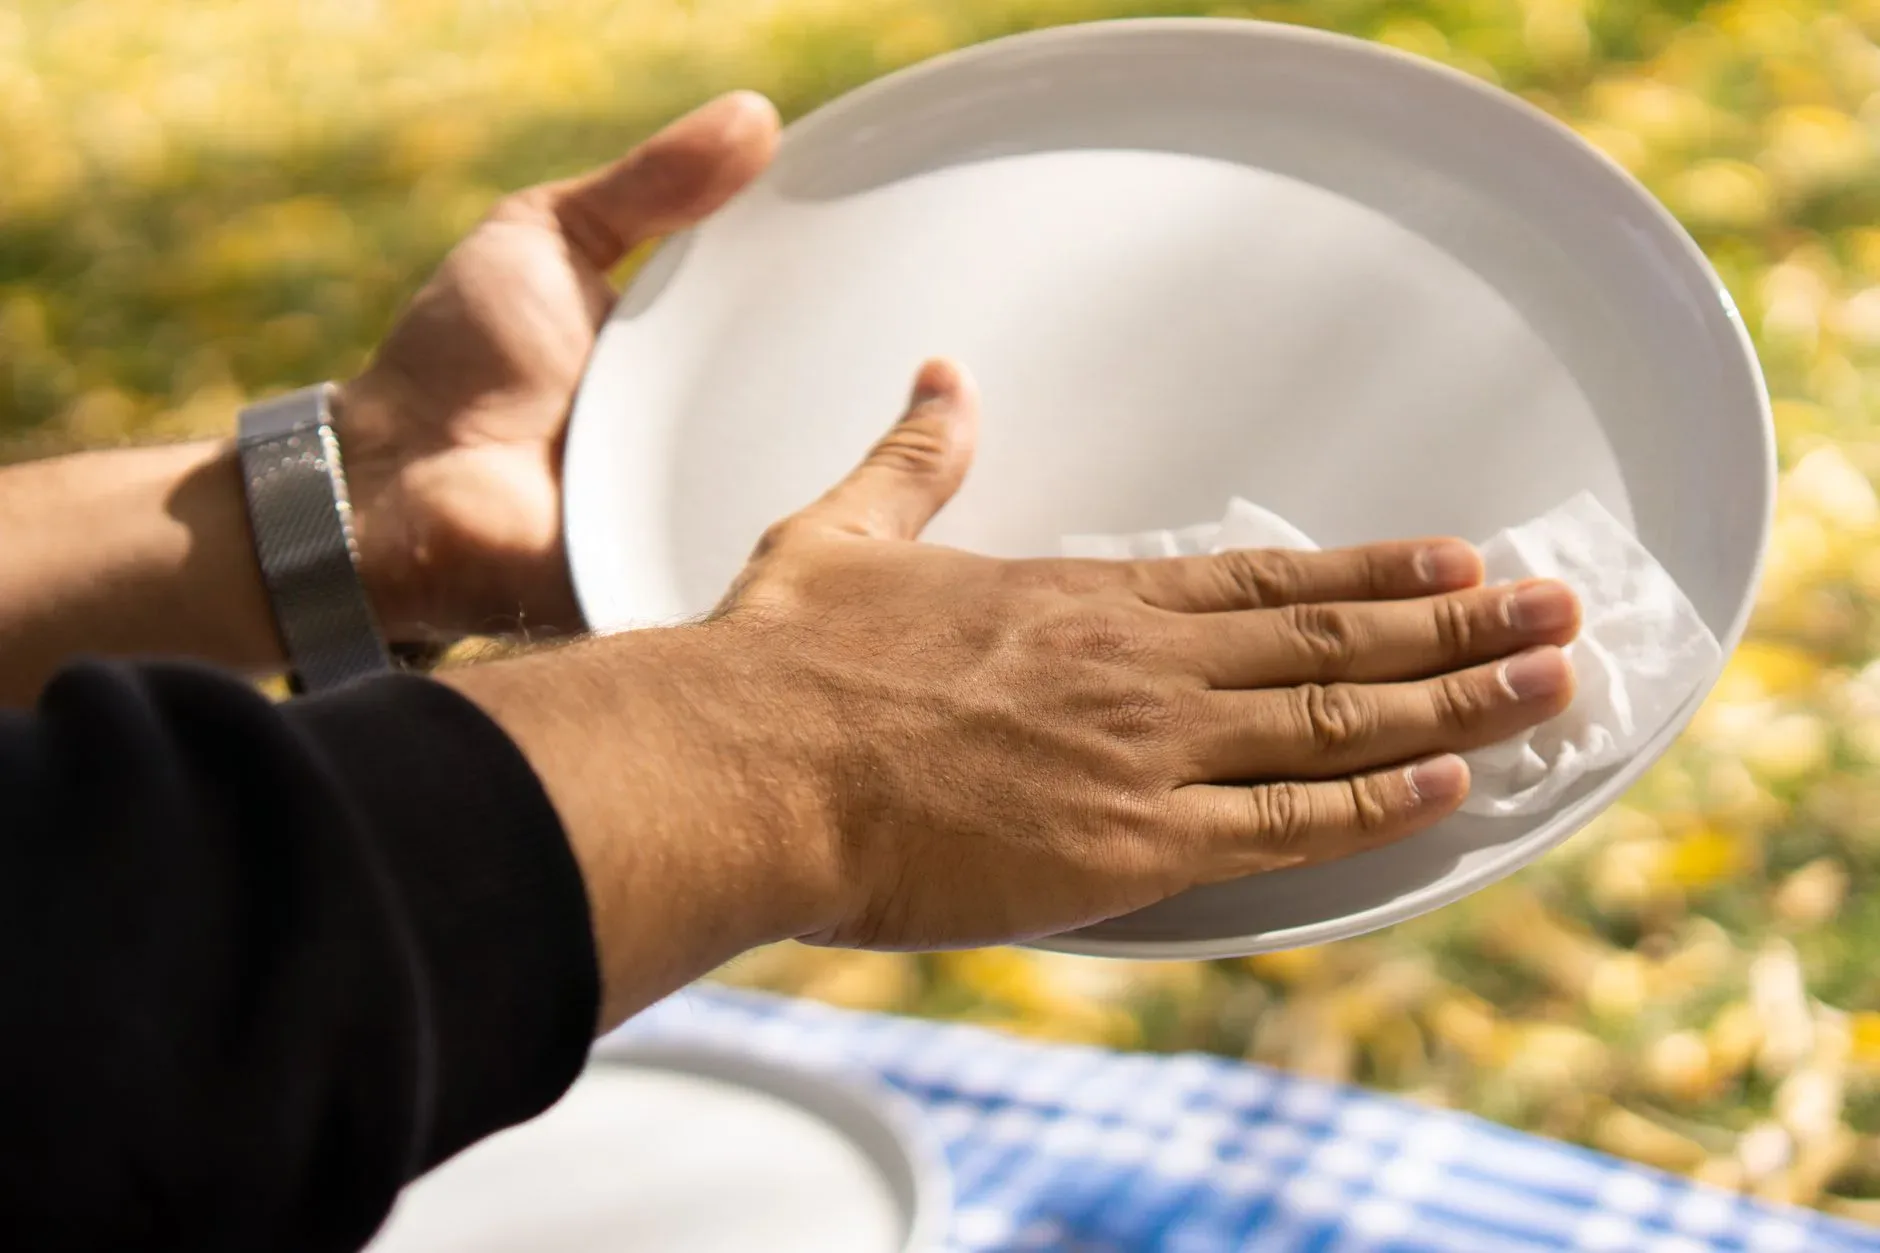
Apply a Dedicated Bonding Base Coat
Skipping base coat to save time is a major mistake if you want your color to last more than forty-eight hours. A good rubberized or sticky base coat acts like double-sided tape, anchoring tightly to the natural nail while providing a smooth surface for your color to cling to. Apply it in a thin, even layer across the entire nail, making sure it doesn’t flood into your skin. Honestly, investing in a high-quality base coat is the smartest move you can make for a DIY nail routine on a budget.
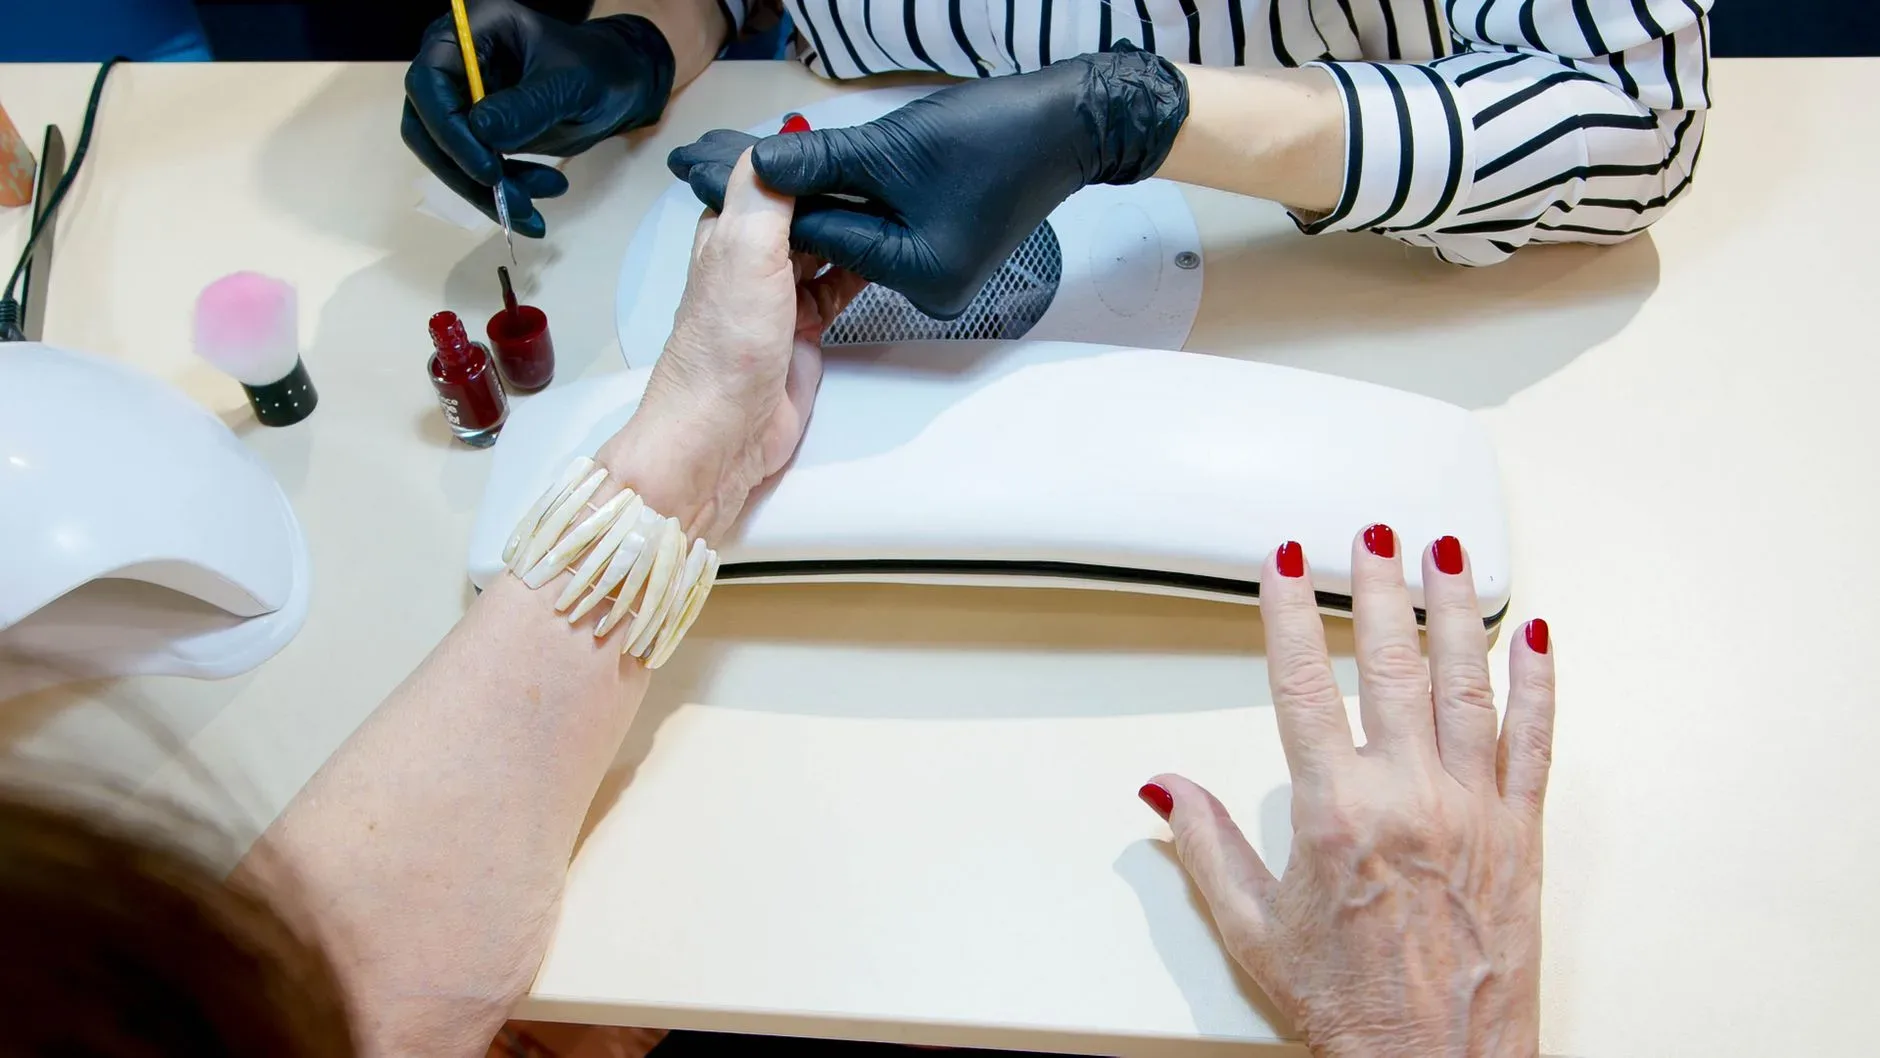
Cap the Free Edge of Every Single Nail
This is the ultimate secret weapon used by professionals that instantly upgrades your at-home manicure longevity. When applying your base coat, color, and top coat, always glide the brush horizontally across the very tip of your nail edge. Capping the edge seals the layers together, preventing water and daily friction from getting between the polish and your nail. This small habit creates a protective shield against the tip wear that usually starts after washing dishes or typing.
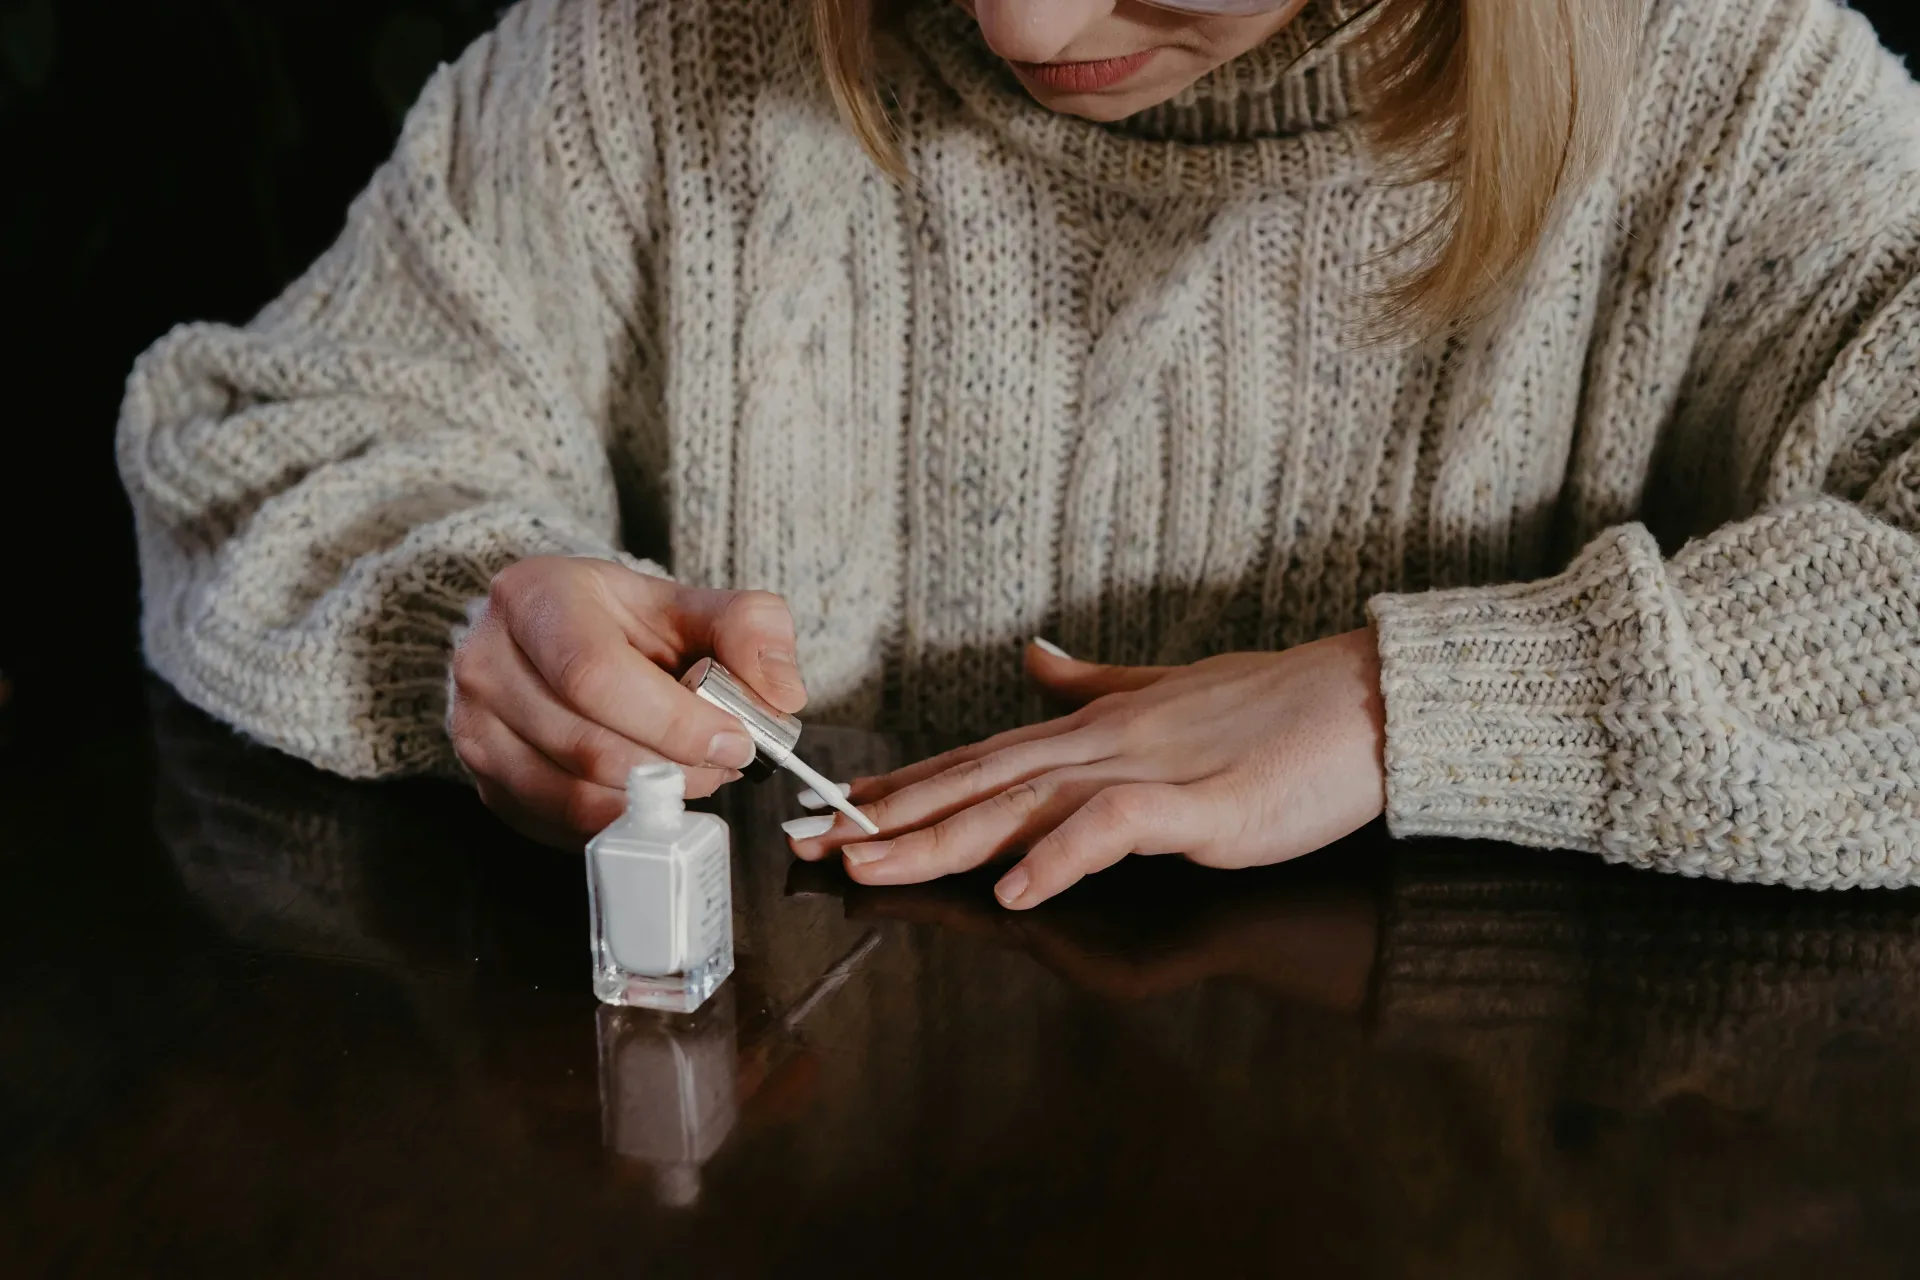
Quick Budget Guide
Under $25 — Wooden cuticle pushers, lint-free wipes, high-grit buffer blocks, and 91% isopropyl alcohol for complete dehydration.
$25–$75 — Adding a premium bonding base coat, glass nail files, and high-quality cuticle oil for post-manicure care.
$75–$150 — Splurging on a professional-grade electric nail file for precision prep work, alongside a full luxury prep kit.
Why This Actually Works
The science behind why your polish sticks comes down to mechanical adhesion and chemical purity. When you gently buff away the natural shine of your nail, you are creating microscopic ridges on the surface. A quality base coat flows into these tiny groves, anchoring itself into place as it dries. If that surface is covered in natural sebum or water molecules, the product simply sits loosely on top, waiting to pop off at the first sign of pressure.
Furthermore, capping the free edge creates an airtight seal that physically protects the tip of the nail. Your nails flex throughout the day as you use your hands, and uncapped polish cannot stretch at the same rate as your natural nail, causing it to shatter at the edges. By understanding how moisture and oils affect adhesion, you can shift your focus to dry, meticulous preparation, which does ninety percent of the heavy lifting for your look.
Final Thoughts
Mastering the art of prepping your nails takes a little bit of patience, but the payoff is incredibly rewarding. There is nothing quite like looking down at your hands a week after painting them and seeing a flawless finish that still looks fresh out of the salon. It turns your nail routine from a frustrating chore into a relaxing ritual you can actually look forward to.
You don’t need to purchase every single tool or change your entire routine by this evening to see a difference. Try just skipping the water soak and grabbing a bottle of alcohol for your next manicure session, and watch how much longer your color stays put. If you found these tips helpful, save this guide to your favorite Pinterest nail board so you can reference it before your next pampering night!