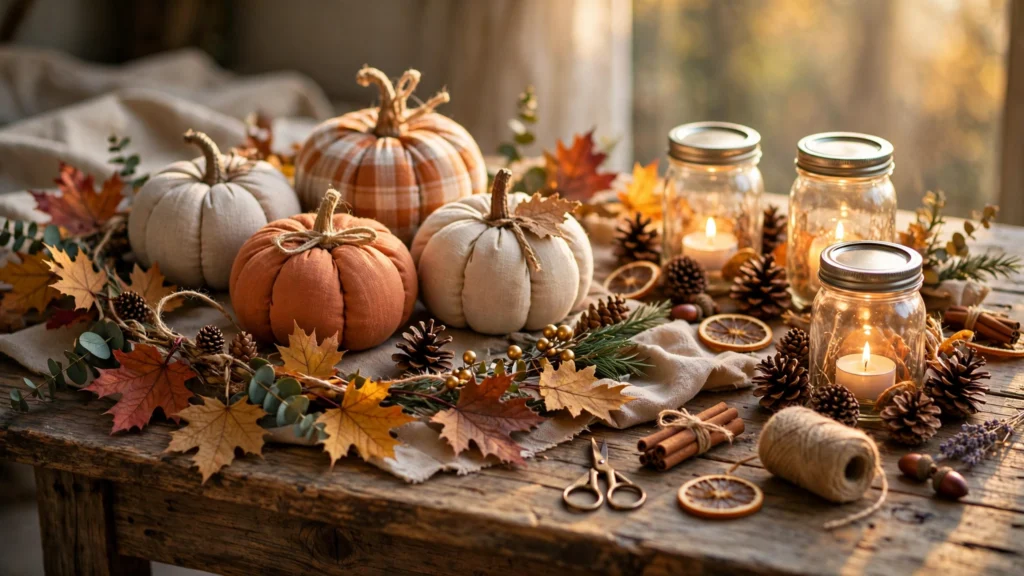

Last October, I walked into a craft store and fell in love with a little fabric pumpkin. It was the perfect burnt-orange color, soft and squishy, with a twine stem that looked hand-tied. I flipped over the price tag: $18. For one pumpkin. A small one. I needed about eight of them for the arrangement I was picturing on my coffee table, which would have been $144 in pumpkins alone, and honestly, that made my stomach hurt a little.
So I did what any stubborn person with a glue gun would do. I went home, dug through my fabric scrap bin, and made my own. The first one took me maybe forty minutes and looked a little lumpy. The second one looked better. By the third, I had pumpkins that honestly looked as good as the store ones, and each one had cost me about $1.50 in supplies. I sat there surrounded by fabric pumpkins, feeling ridiculously proud of myself, and I thought: why did I ever pay full price for this stuff?
That pumpkin experiment turned into a full-blown fall crafting season. Over the next few weekends, I made fourteen different fall projects — garlands, wreaths, luminaries, the works — and decorated my entire house for less than what that one store-bought pumpkin would have cost me eight times over. I made plenty of mistakes along the way (oh, so many mistakes), and I’m going to tell you about all of them so you can skip the learning curve.
Here’s the thing I wish someone had told me sooner: fall is genuinely the best season to start crafting. The supplies are cheap or literally free (nature hands you pinecones and leaves), most projects are beginner-friendly, and the warm colors hide a lot of imperfections. A slightly crooked fall garland still looks charming. A lumpy fabric pumpkin still looks cozy. Autumn is a forgiving season for crafters.
Where I Get Cheap Fall Craft Supplies
Before we start, let me save you some money. Almost everything in this post came from one of these four places:
- Dollar Tree and dollar stores: Fake leaves, faux berries, burlap ribbon, glass jars, paint, and craft pumpkins are all better quality than you’d expect. I built half this list with dollar store finds.
- Thrift stores: Old sweaters (perfect for sweater pumpkins), flannel shirts, baskets, and wooden frames. A $2 thrift store sweater makes three or four pumpkins.
- Your own yard and neighborhood: Pinecones, acorns, pretty branches, and fallen leaves are free. I collected a whole bag of pinecones from a park near my house in about ten minutes. Just bake pinecones at 200°F for 30 minutes to kill any bugs before you craft with them — I learned that one the hard way.
- Your kitchen pantry: Cinnamon sticks, dried orange slices (you can make these yourself in the oven), burlap coffee bags, and flour (for salt dough ornaments) all live in most kitchens already.
Now let’s get into the actual projects. I’ve ordered these from easiest to hardest, and I’m giving you honest difficulty ratings because “beginner-friendly” means nothing when half the tutorials online are lying to you.
14 Easy DIY Fall Crafts I Actually Made
1. No-Sew Fabric Pumpkins
Cost: ~$1.50 per pumpkin | Time: 30–40 minutes each | Difficulty: Easy (my first-ever fabric craft)
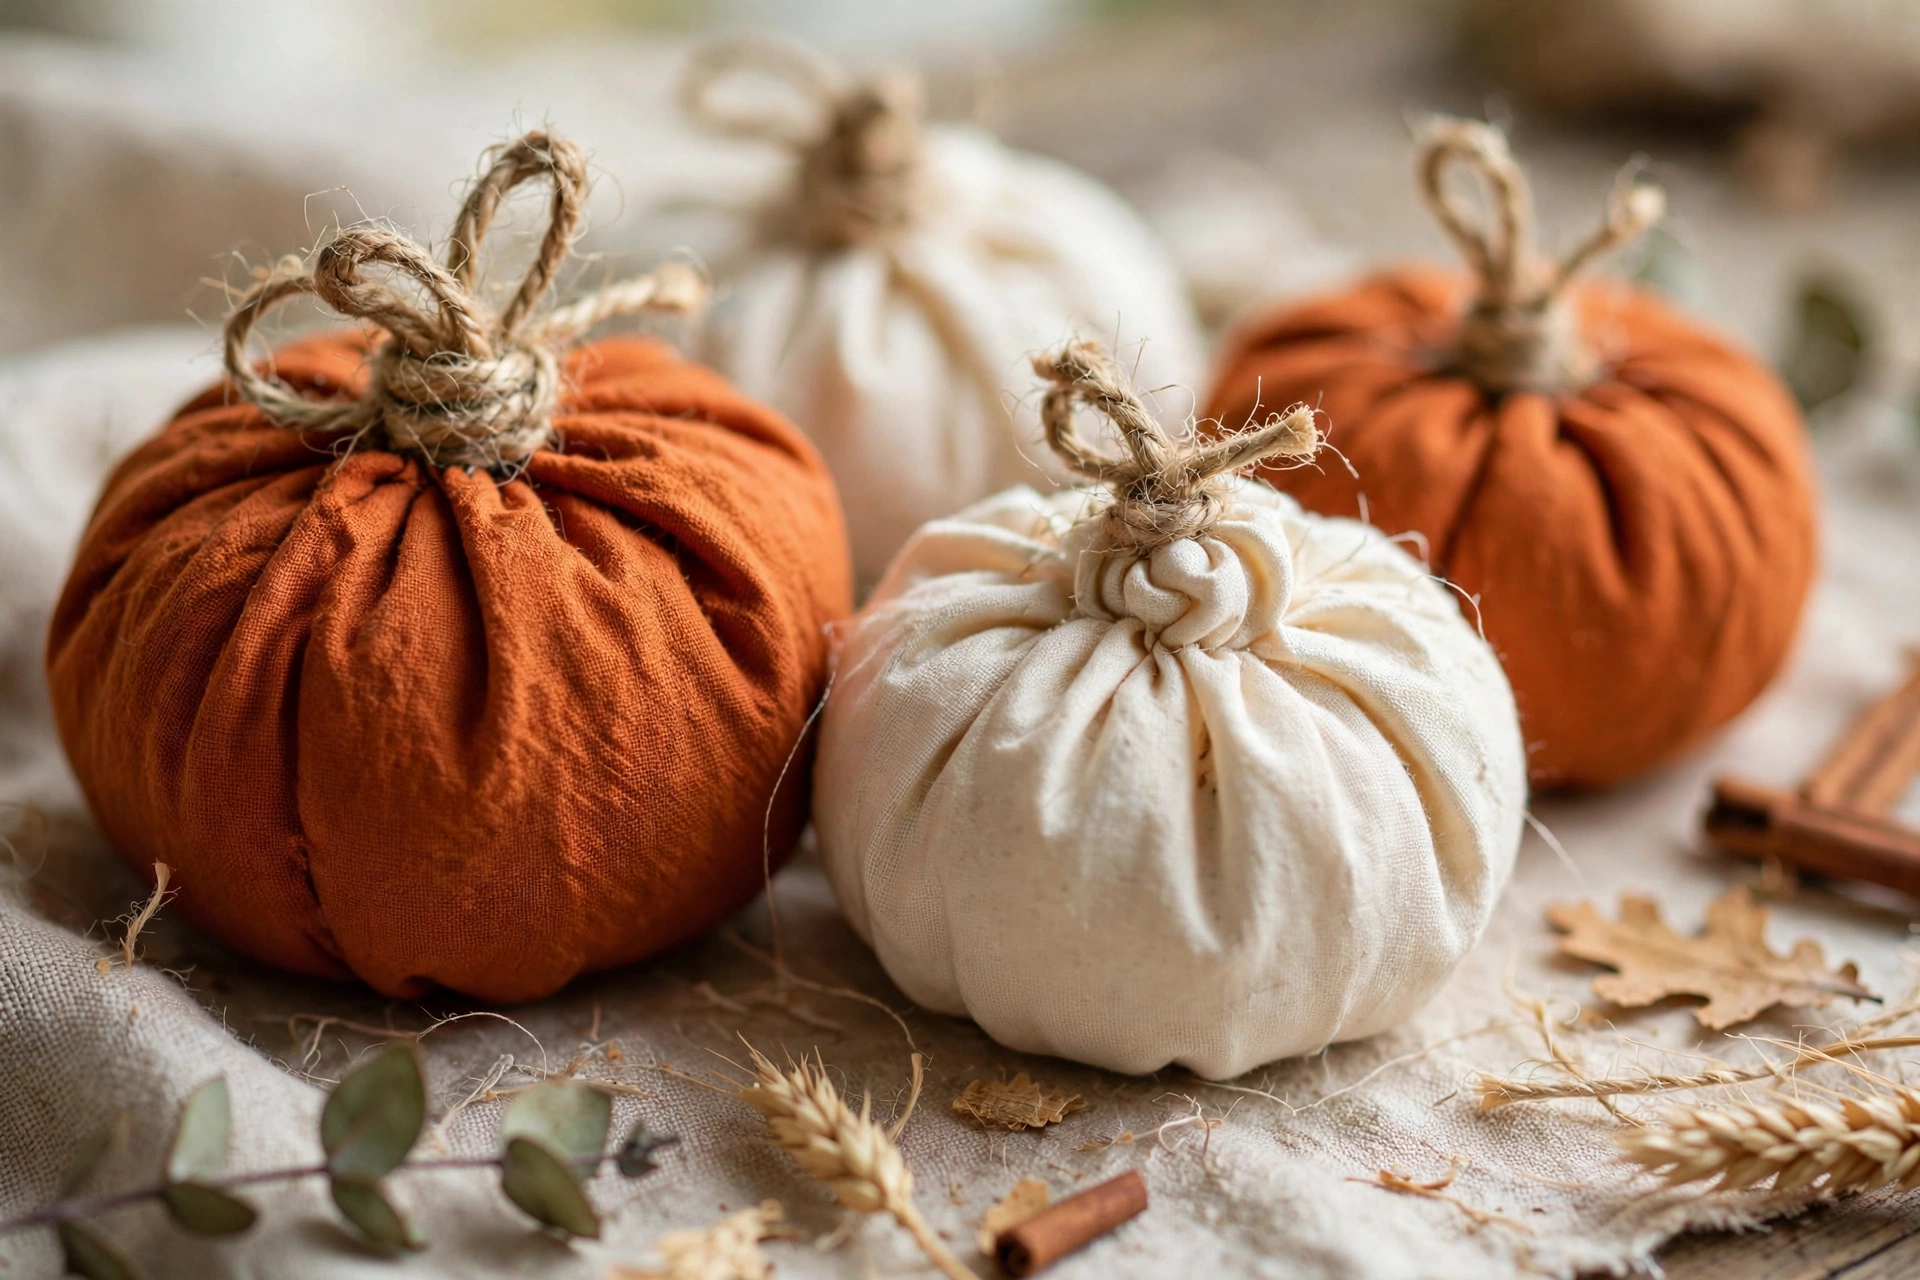
This is the project that started it all for me, so it gets top billing. You’ll need a square of fabric (a fat quarter or an old pillowcase works), a handful of polyester stuffing or even plastic grocery bags, a rubber band, and a piece of twine or a cinnamon stick for the stem.
Lay your fabric square flat and pile stuffing in the center. Gather the fabric up around the stuffing like you’re making a little dumpling, and secure it tightly with a rubber band. Trim the excess fabric if there’s a lot sticking up. Wrap twine around the base of the gathered fabric and tie it off, leaving the ends long enough to curl into a stem shape. Then take a long piece of embroidery thread or twine, wrap it around the pumpkin vertically and cinch it slightly to create those classic pumpkin ridges — four to six wraps does the trick. Tuck a cinnamon stick into the top for the stem and you’re done.
The fabric choice makes all the difference. Plaid flannel looks rustic, plain linen looks modern-farmhouse, and burnt orange cotton looks classic. Mix colors and sizes for a group that looks like it came from a boutique. My grouping of five pumpkins cost me about $7 total. The store version would have been $90.
2. Fall Leaf Garland
Cost: ~$4 for a 6-foot garland | Time: 45 minutes | Difficulty: Easy
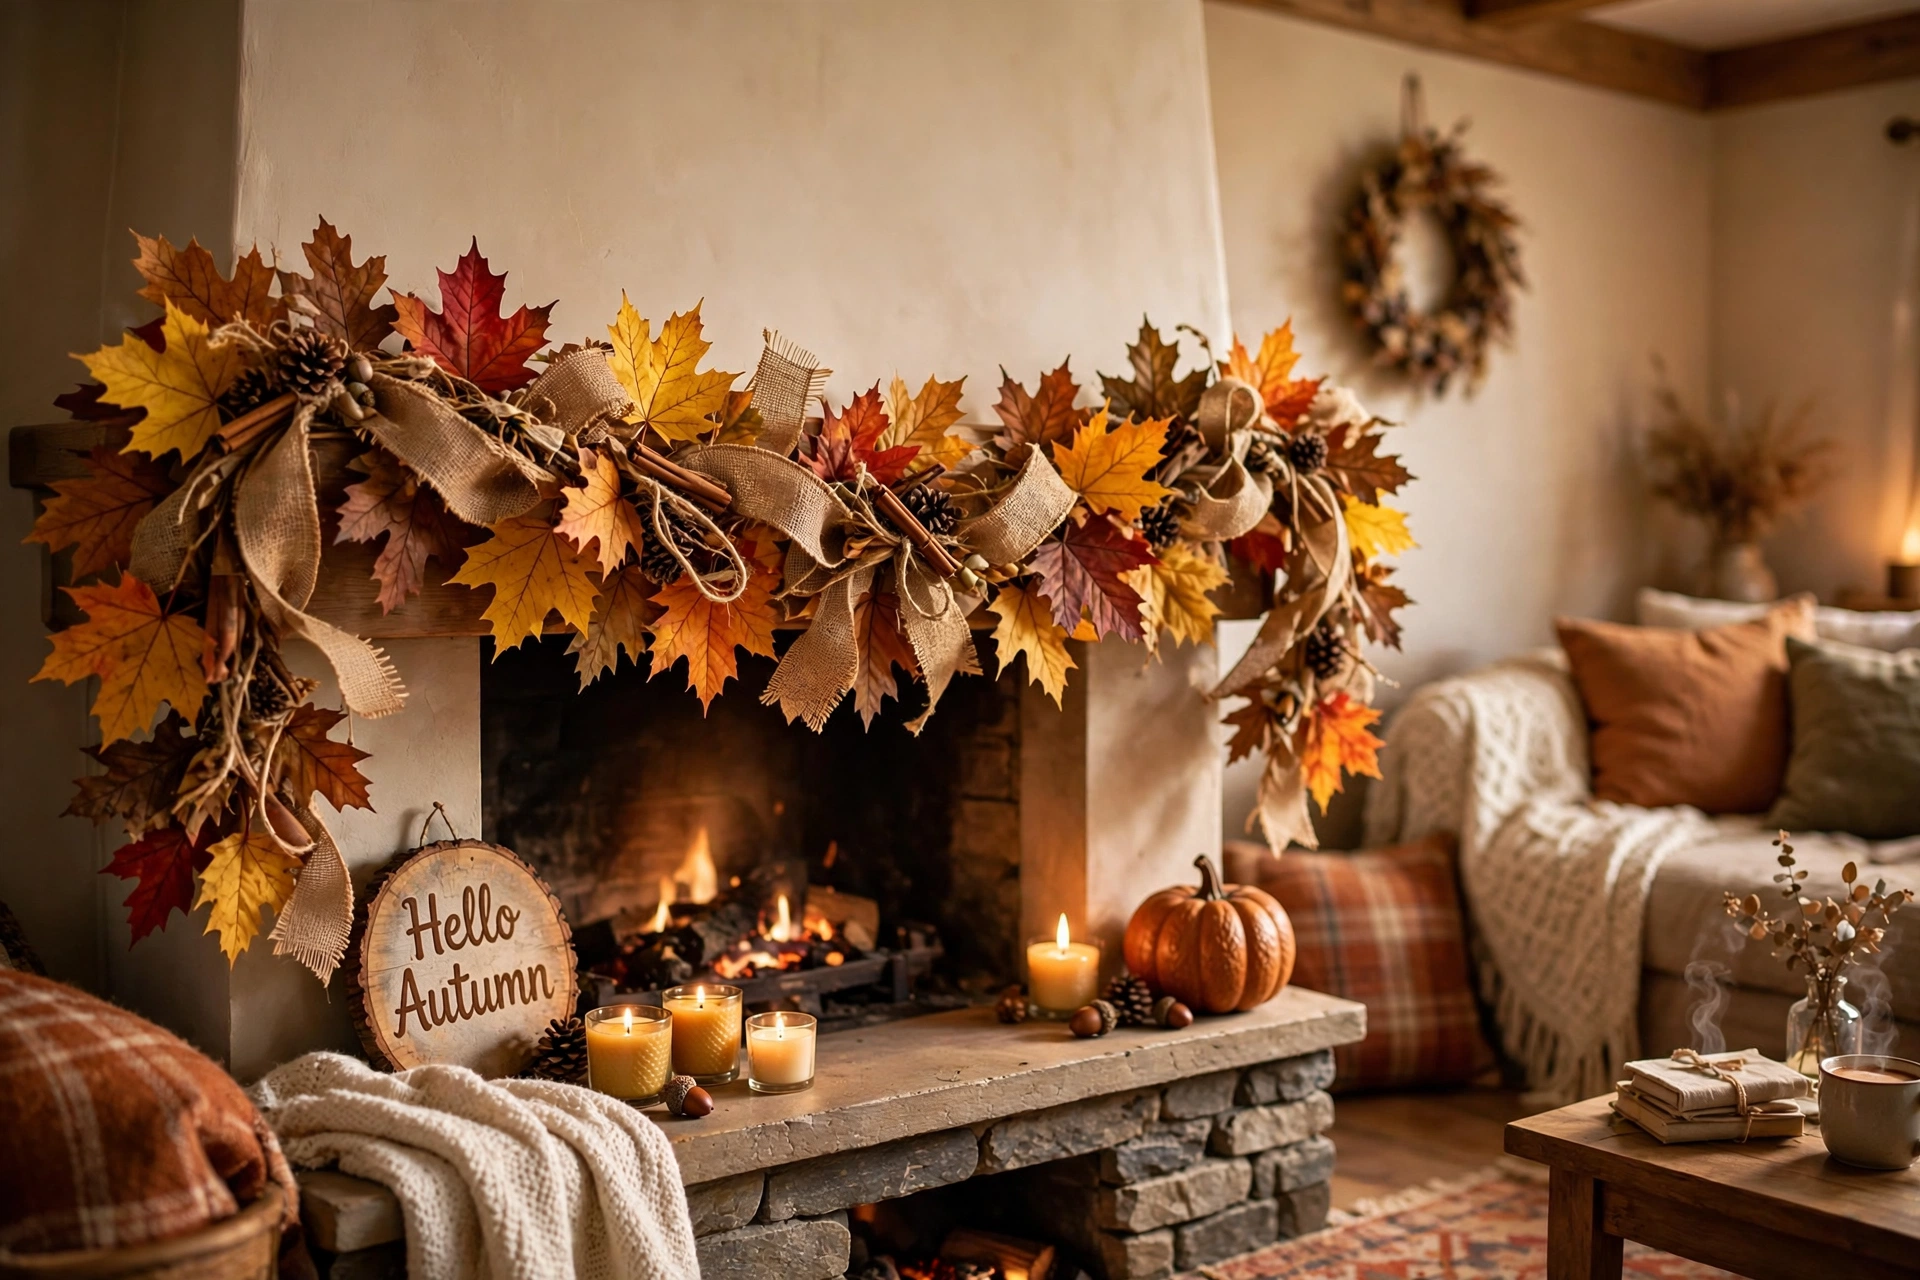
There are two ways to do this: real leaves or fake ones. Real pressed leaves look gorgeous but dry out and crumble within a couple of weeks. Fake leaves from the dollar store last for years and cost almost nothing. I started with real leaves my first year, cried a little when my garland turned to dust by Thanksgiving, and switched to fake leaves forever after.
Cut a length of jute twine or thin rope to whatever length you need — six feet is a good starting point for a mantel. Lay out your leaves in a pattern you like before you attach anything; I do groups of three in different colors, then repeat. Use a hot glue gun to attach each leaf to the twine, or tie them on with small pieces of twine if you want a more rustic look. Tuck in some faux berries or mini pinecones every few leaves for texture. Hang it on your mantel, a doorway, or drape it across a bookshelf.
My tip: make the garland about a foot longer than you think you need. It always shrinks visually once it’s hanging, and a little swag in the middle looks better than a tight straight line.
3. Pinecone Owls
Cost: Free–$2 | Time: 20 minutes each | Difficulty: Easy (great with kids)
These are almost embarrassingly simple, which is exactly why they’re perfect. Find nice open pinecones — the fatter the better. Cut two circles of felt for the eyes (white with smaller black circles glued on top), a small triangle of orange felt for the beak, and two leaf-shaped pieces of felt for the wings. Hot glue everything onto the pinecone and you’ve got an owl.
I made a whole parliament of these with my niece one rainy afternoon. We gave them all different personalities — one got sleepy half-closed eyes, another got oversized wings. Line them up on a windowsill or tuck them into a fall centerpiece. If you want to get fancy, a tiny bow or a miniature scarf made from fabric scraps turns them into fall fashion icons. Total cost for eight owls: one sheet of felt from the dollar store and free pinecones.
4. Painted Acorns
Cost: Free–$3 | Time: 1 hour for a big batch | Difficulty: Easy
Acorns are nature’s perfect craft supply — they’re already shaped like tiny little ornaments. Collect acorns with their caps intact (the caps fall off easily, so handle them gently), wash them, and let them dry completely. Paint the nut part in fall colors: metallic gold, copper, cream, sage green, or classic orange. Leave the cap natural for contrast, or paint it too.
Once the paint dries, scatter your painted acorns in a glass bowl or apothecary jar for an instant centerpiece that looks like you spent real money on it. I painted about forty acorns while watching TV one evening, put them in a bowl I already owned, and my sister asked where I’d bought them. Metallic gold acorns in a clear glass bowl look genuinely expensive. Nobody needs to know they came from my backyard.
One warning: acorn caps pop off in the oven if you bake them too hot. Keep it at 200°F for 20 minutes max, and check on them. I once heard tiny popping sounds from my oven and found acorn caps had launched themselves everywhere.
5. Burlap Fall Wreath
Cost: ~$10–12 | Time: 1.5 hours | Difficulty: Easy-Medium (first wreath took me two tries)
A good fall wreath from a home store runs $40 to $70. This one costs about ten bucks and looks just as full. Get a wire wreath form from the dollar store (usually $1.25), a roll of burlap ribbon or burlap fabric strips, and whatever fall embellishments you like — fake leaves, mini pumpkins, pinecones, berries.
Cut the burlap into strips about 6 inches wide. Tie or loop each strip through the wire form, pushing them close together so the wreath looks full — this is where people go wrong, by spacing them too far apart and ending up with a sad, sparse wreath. Work your way around the whole form, fluffing as you go. Once the base looks full, hot glue your embellishments in clusters of three (an odd-number rule that designers swear by and I now understand why). I did a cluster of mini pumpkins at the top, berries along the sides, and pinecones at the bottom.
Hang it with a wide ribbon looped through the top. The whole thing took me an afternoon, and it’s been on my front door for two Octobers now. When one season ends, I just swap the embellishments and keep the burlap base — it’s now pulled triple duty as a fall, Halloween, and Thanksgiving wreath.
6. Cinnamon-Scented Broom
Cost: ~$5–8 | Time: 30 minutes | Difficulty: Easy
You know those cinnamon brooms they sell at grocery stores every fall for $8–12? You can make your own for less, and honestly the homemade version smells stronger because you control the spice. Buy a small plain decorative broom or a bundle of cinnamon sticks from the dollar store. If you’re using a plain broom, brush the bristles with a little cinnamon essential oil mixed with a carrier oil (or even just water with ground cinnamon). Tie a bundle of cinnamon sticks to the handle with raffia or twine, add a burlap bow, and hang it on your front door.
The smell hits everyone who walks in — guests always comment on it before they notice anything else. Mine lasted about six weeks before the scent faded. When it fades, just add a few more drops of cinnamon oil and it’s good as new. I refresh mine once a season and it’s still going strong.
7. Mason Jar Fall Luminaries
Cost: ~$2–3 per jar | Time: 25 minutes each | Difficulty: Easy
These are my favorite evening project because the result is pure magic when the sun goes down. You need mason jars (dollar store or thrift store), a few pressed fall leaves or tissue-paper leaves, Mod Podge or white glue thinned with water, and a foam brush. Battery-operated tea lights go inside — never use real candles in these, especially around kids or curtains.
Brush a thin layer of Mod Podge onto the outside of the jar, press your leaves onto it, and brush another layer over the top to seal them. Overlap the leaves slightly for a stained-glass effect. Let it dry completely, then pop in a tea light. When they’re lit, the leaves glow in these incredible amber and gold tones. I lined my porch steps with six of these last October and my neighbor literally stopped her car to look.
If you’re using real leaves, press them in a heavy book for a few days first so they lie flat. Wrinkly leaves create air bubbles that show up when the jar is lit. Ask me how I know. (I know because my first batch looked like lumpy frog skin.)
8. Sweater Pumpkins
Cost: ~$1 per pumpkin (from one thrifted sweater) | Time: 30 minutes each | Difficulty: Easy
Take the fabric pumpkin method from project #1 and swap the fabric for an old cable-knit sweater, and you’ve got sweater pumpkins — the coziest-looking fall decor that exists. Thrift stores are full of chunky knit sweaters in cream, gray, and oatmeal tones for a couple of dollars each. One adult sweater makes three to four pumpkins depending on size.
Cut a sleeve off the sweater and turn it inside out. Sew or hot-glue one end shut (hot glue works fine on knit, I promise), turn it right-side out, stuff it with polyfill, and gather the top with a rubber band just like the fabric pumpkins. The knit texture gives them this soft, lived-in look that flat fabric can’t match. Add a real stick from the yard as a stem for the full rustic effect — I use short pieces of branches I find on walks.
These photograph beautifully, by the way. If you’re the type to post your fall decor, sweater pumpkins are the ones that get the comments. A cream cable-knit pumpkin next to a rust-orange fabric one is my favorite pairing in the whole house.
9. Acorn Napkin Rings
Cost: ~$0.50 per ring | Time: 15 minutes each | Difficulty: Easy
Thanksgiving table, I’m coming for you. These tiny napkin rings elevate a whole dinner table and cost basically nothing. You need shower curtain rings or wooden craft rings (dollar store), a hot glue gun, and acorns — painted or natural, your choice.
Glue five to seven acorns around each ring, mixing sizes and colors. Tuck a small fake leaf or a sprig of dried wheat in with them if you want extra flair. Let them dry flat so the acorns don’t slide. Roll your cloth napkins, slide the rings on, and suddenly your Tuesday-night dinner table looks like a magazine shoot.
I made twelve of these for our family Thanksgiving and my mother-in-law asked if she could take hers home. That is the highest compliment a crafter can receive. Total cost for twelve rings: about $6. The store-bought equivalent would have been at least $36.
10. Dried Orange Slice Garland
Cost: ~$3–4 | Time: 2.5 hours (mostly oven time) | Difficulty: Easy (mostly waiting)
Dried orange slices are the unsung heroes of fall decorating. They look like little stained-glass wheels, they smell amazing, and they cost pennies. Slice oranges about a quarter-inch thick — too thin and they burn, too thick and they take forever to dry. Blot them with paper towels to remove surface moisture, lay them on a wire rack over a baking sheet, and bake at 200°F for 2–3 hours, flipping once halfway through.
Once they’re dry and slightly translucent, string them onto twine with a needle, alternating with cinnamon sticks and dried bay leaves for a garland that smells like a fall candle but better. Hang it in a window where the light shines through the slices — that’s when they really show off. I keep one of these up from October through Christmas because it works for both seasons.
The most common mistake is impatience: cranking the oven higher to speed things up. Don’t. Anything above 225°F and the edges scorch before the centers dry. Low and slow is the whole game here. Make extra while you’re at it — these are great tucked into wreaths, tied onto gift packages, or floating in a bowl of potpourri.
11. Twig Pumpkin Sign
Cost: ~$3 | Time: 1 hour | Difficulty: Medium (requires some patience)
This one looks impressive but it’s just sticks and glue. Find straight-ish sticks or thin branches in your yard — the straighter the better, though a little character is fine. Cut or break them into graduated lengths to form a pumpkin shape: longer sticks in the middle, shorter ones toward the top and bottom. Lay them out on a flat surface in the pumpkin shape first, before any glue touches anything.
Hot glue the sticks to two vertical support sticks running down the back, or glue them to a piece of cardboard cut in a pumpkin shape if you want it sturdier. Add a short thick stick as the stem and a small piece of green felt or a fake leaf beside it. Lean it on your mantel or hang it by the stem with twine.
The layout step is the part people skip, and it’s the part that matters most. I glued mine directly once without planning and ended up with something that looked more like a lopsided hedgehog than a pumpkin. Lay it out, step back, squint at it, adjust, then glue. Your future self will thank you.
12. Pressed-Leaf Candle Bowl
Cost: ~$4 | Time: 1 hour + drying | Difficulty: Medium
This is the showpiece project — the one guests pick up and examine. Blow up a balloon to the size bowl you want. Brush Mod Podge over the top half of the balloon, press fall leaves (real pressed ones work best here) onto it with the pretty side facing out, overlapping them generously. Brush another layer of Mod Podge over everything. Add two or three layers total, letting each one dry in between. Once it’s completely dry and stiff, pop the balloon and peel it away.
What you’re left with is a delicate bowl made entirely of leaves. It’s not waterproof and it’s not sturdy enough for heavy things, but filled with pinecones, potpourri, or wrapped candy, it’s stunning. Set a battery tea light inside and the whole thing glows through the leaves.
Be generous with the Mod Podge — skimping is why my first attempt collapsed into a sad leaf puddle. Three full layers, and let it dry overnight before you pop the balloon. Patience is the actual craft supply here.
13. Corn Husk Door Swag
Cost: ~$6 | Time: 1 hour | Difficulty: Easy-Medium
Corn husks are a fall decorating secret. They come in those beautiful cream and gold tones, they have amazing texture, and a bag of dried corn husks from the craft store costs a few dollars. Soak the husks in warm water for about 20 minutes to make them pliable — dry husks crack and snap if you try to bend them.
Take a grapevine swag base or just a sturdy branch, and layer the damp husks along it, fanning them out and securing each one with floral wire or hot glue. Work from the outside in, overlapping the husks so no base shows through. Tuck in dried wheat stalks, mini gourds, and a burlap bow at the top. Let it dry completely before hanging.
Hang it vertically on your front door or beside it. Mine looked like something from a farmhouse magazine, and it survived two months of autumn weather on my covered porch. The soaking step is non-negotiable — I tried skipping it once and every husk snapped in half the moment I bent it.
14. Plaid Flannel Table Runner
Cost: ~$5 | Time: 45 minutes | Difficulty: Easy (no-sew option included)
The easiest project on this list, and it makes the biggest visual difference at the dinner table. Buy a yard of plaid flannel from a fabric store (usually $4–6, or cut up an old flannel shirt), and cut it to runner length — about 72 inches for a standard dining table. If you can sew, hem the edges. If you can’t (no judgment, I’m barely a sewer myself), use iron-on hem tape or pinking shears to cut a zigzag edge that won’t fray much.
For a finishing touch, tie the ends with twine and tuck in a sprig of dried wheat or a small pinecone at each end. Layer it over a plain tablecloth or directly on a wooden table. I made mine in burnt orange and navy plaid, and it instantly made my whole dining room feel like fall. It also hides a multitude of table sins, which during the holidays is a genuine blessing.
This runner has survived three autumns, countless spills, and one memorable gravy incident. Flannel washes well and the plaid hides stains like a champ. Best $5 I ever spent on decor.
Mistakes I Made (So You Don’t Have To)
I promised you my mistakes, and I’m a woman of my word. Here’s everything I got wrong so you can skip straight to the good part:
- The hot glue burns. My first fall crafting season, I burned my fingertips at least a dozen times. Get a low-temp glue gun if you’re doing a lot of gluing, or keep a bowl of ice water nearby. The low-temp guns work just as well for lightweight fall crafts and they hurt so much less.
- Real leaves crumble. I made a beautiful real-leaf garland that disintegrated within two weeks. Press real leaves if you love the look, but for anything that needs to last the season, fake leaves are the smarter choice. Save the real ones for short-term projects like the leaf bowl.
- Overbuying supplies. My first trip to the craft store for fall projects cost me $60 because everything was cute. Now I start every project with what I already own. You’d be amazed what you can make from a junk drawer, a fabric scrap bin, and a walk around the block.
- Skipping the layout step. Whether it’s a wreath, a twig pumpkin, or a garland, laying everything out before you glue is the difference between “charming handmade” and “what is that.” Five minutes of planning saves an hour of regret.
- Not baking my pinecones. I brought a bag of pinecones inside, left them in a basket overnight, and woke up to tiny bugs crawling on my coffee table. Bake them at 200°F for 30 minutes first. Every time. No exceptions.
- Impatience with drying times. The leaf bowl, the orange slices, the corn husks — every project that involves drying or curing needs the full time. Rushing it gave me a collapsed bowl, scorched oranges, and cracked husks. Fall crafting rewards the patient.
Start Small, Then Go Wild
If fourteen projects feel overwhelming, they should — don’t try to make them all in one weekend. Start with the no-sew fabric pumpkins. They’re cheap, they’re fast, and finishing your first one gives you the confidence to tackle the rest. Then pick whatever catches your eye. There’s no rule that says your house has to be fully decorated by October 1st.
What I love most about fall crafting is how forgiving it is. Autumn colors are warm and rich, natural materials have built-in texture, and “rustic” is basically a style that means “imperfections welcome.” Your slightly lopsided wreath will look better than the perfect store-bought one because you made it, and every time you look at it, you’ll remember the afternoon you spent making it.
My total spend across all fourteen projects was about $52 — less than the cost of three store-bought fabric pumpkins. My house looked like a fall magazine, my front door smelled like cinnamon, and I had a genuinely good time making everything. That’s the part the craft stores don’t tell you: the making is half the fun.
So grab some pinecones, raid your fabric bin, and make something. Tag me if you post your creations — nothing makes my day like seeing someone else’s fabric pumpkins. Happy fall crafting!