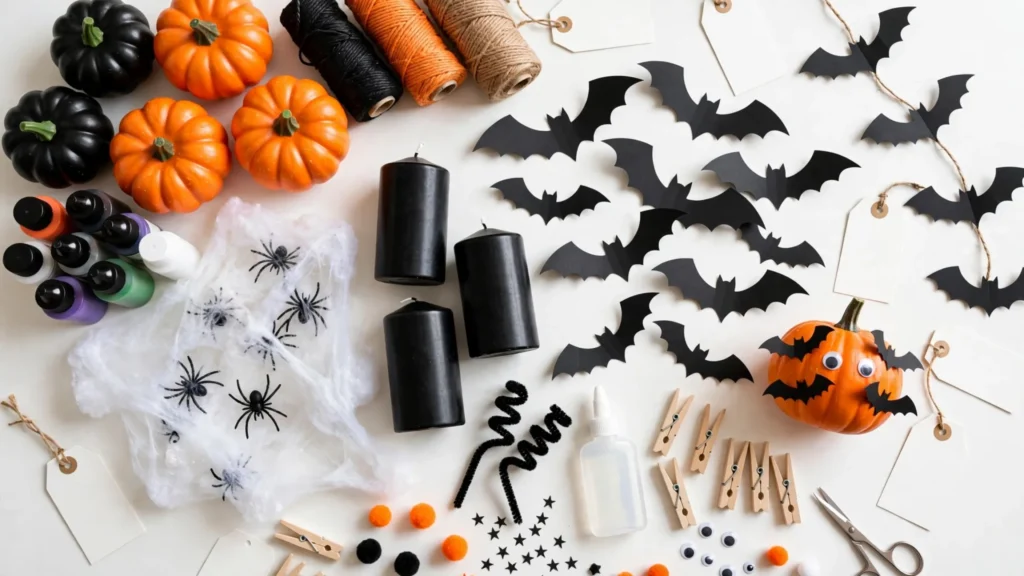

Last October, I spent exactly $23 at the dollar store and came home with two bulging bags. My neighbor, who watches my every crafting move like it’s a competitive sport, spent $140 on Halloween decorations at the craft superstore the same weekend. When we both put our pumpkins out on the porch on October 1st, guess whose house got more trick-or-treater compliments?
Yeah. Mine. And I’m not saying that to brag — okay, maybe a little — but to make a point: Halloween is the one holiday where the dollar store is genuinely your best friend. Cheap plastic skeletons look better than expensive ones because they’re supposed to look a little junky. Spiders, bats, ghosts — spooky things are naturally low-fi. You don’t need to spend a fortune to get a porch that makes people slow down their cars.
Over the years I’ve figured out exactly what to grab, what to skip, and which five-minute projects actually end up looking like something you’d find at a boutique home decor shop. Here are 15 of my favorite Dollar Store Halloween crafts, each under $5 per project, with the exact materials and steps.
The Dollar Store Halloween Shopping List
Before we start crafting, let’s talk strategy. Walking into a dollar store in September without a list is how you leave with eleven bags of candy and zero decorations. Here’s what I always put in my basket first:
- Glass vases and candle holders — the dollar store’s glass selection is unbeatable. Grab a few shapes in different heights.
- Foam pumpkins — usually $1 to $3 depending on size. These are your canvas for half the projects below.
- Plastic skulls and skeletons — sold individually and in bags. Quality varies, but the small ones are great.
- Black and orange craft paint — the $1 acrylic bottles work fine for decor pieces.
- Battery-operated tea lights — flameless and kid-safe. I buy them in packs.
- Faux spider webbing — one bag stretches further than you think.
- Black felt, foam sheets, and construction paper — the backbone of bat garlands and paper crafts.
- Ribbon, twine, and burlap — instant texture and farmhouse charm.
- Plastic spiders, bats, and rats — the little bags of creepy crawlies are gold.
- Picture frames — cheap frames become spooky wall art with a little paint and imagination.
What to Actually Skip
Not everything at the dollar store is a deal. Skip the pre-made Halloween centerpieces and wall hangings — they usually look exactly like what they are, and you can make better versions yourself in ten minutes. Skip the flimsy plastic tablecloths for anything permanent; they’re fine as a disposable backdrop for one night but they tear if you look at them wrong. And be honest with yourself about the fake candles — the LED tea lights are great, but the battery pillar candles with the molded “flames” look plastic and stay looking plastic. Stick to glass + tea lights and you’ll be much happier.
1. Stacked Pumpkin Topiary (Cost: ~$4)
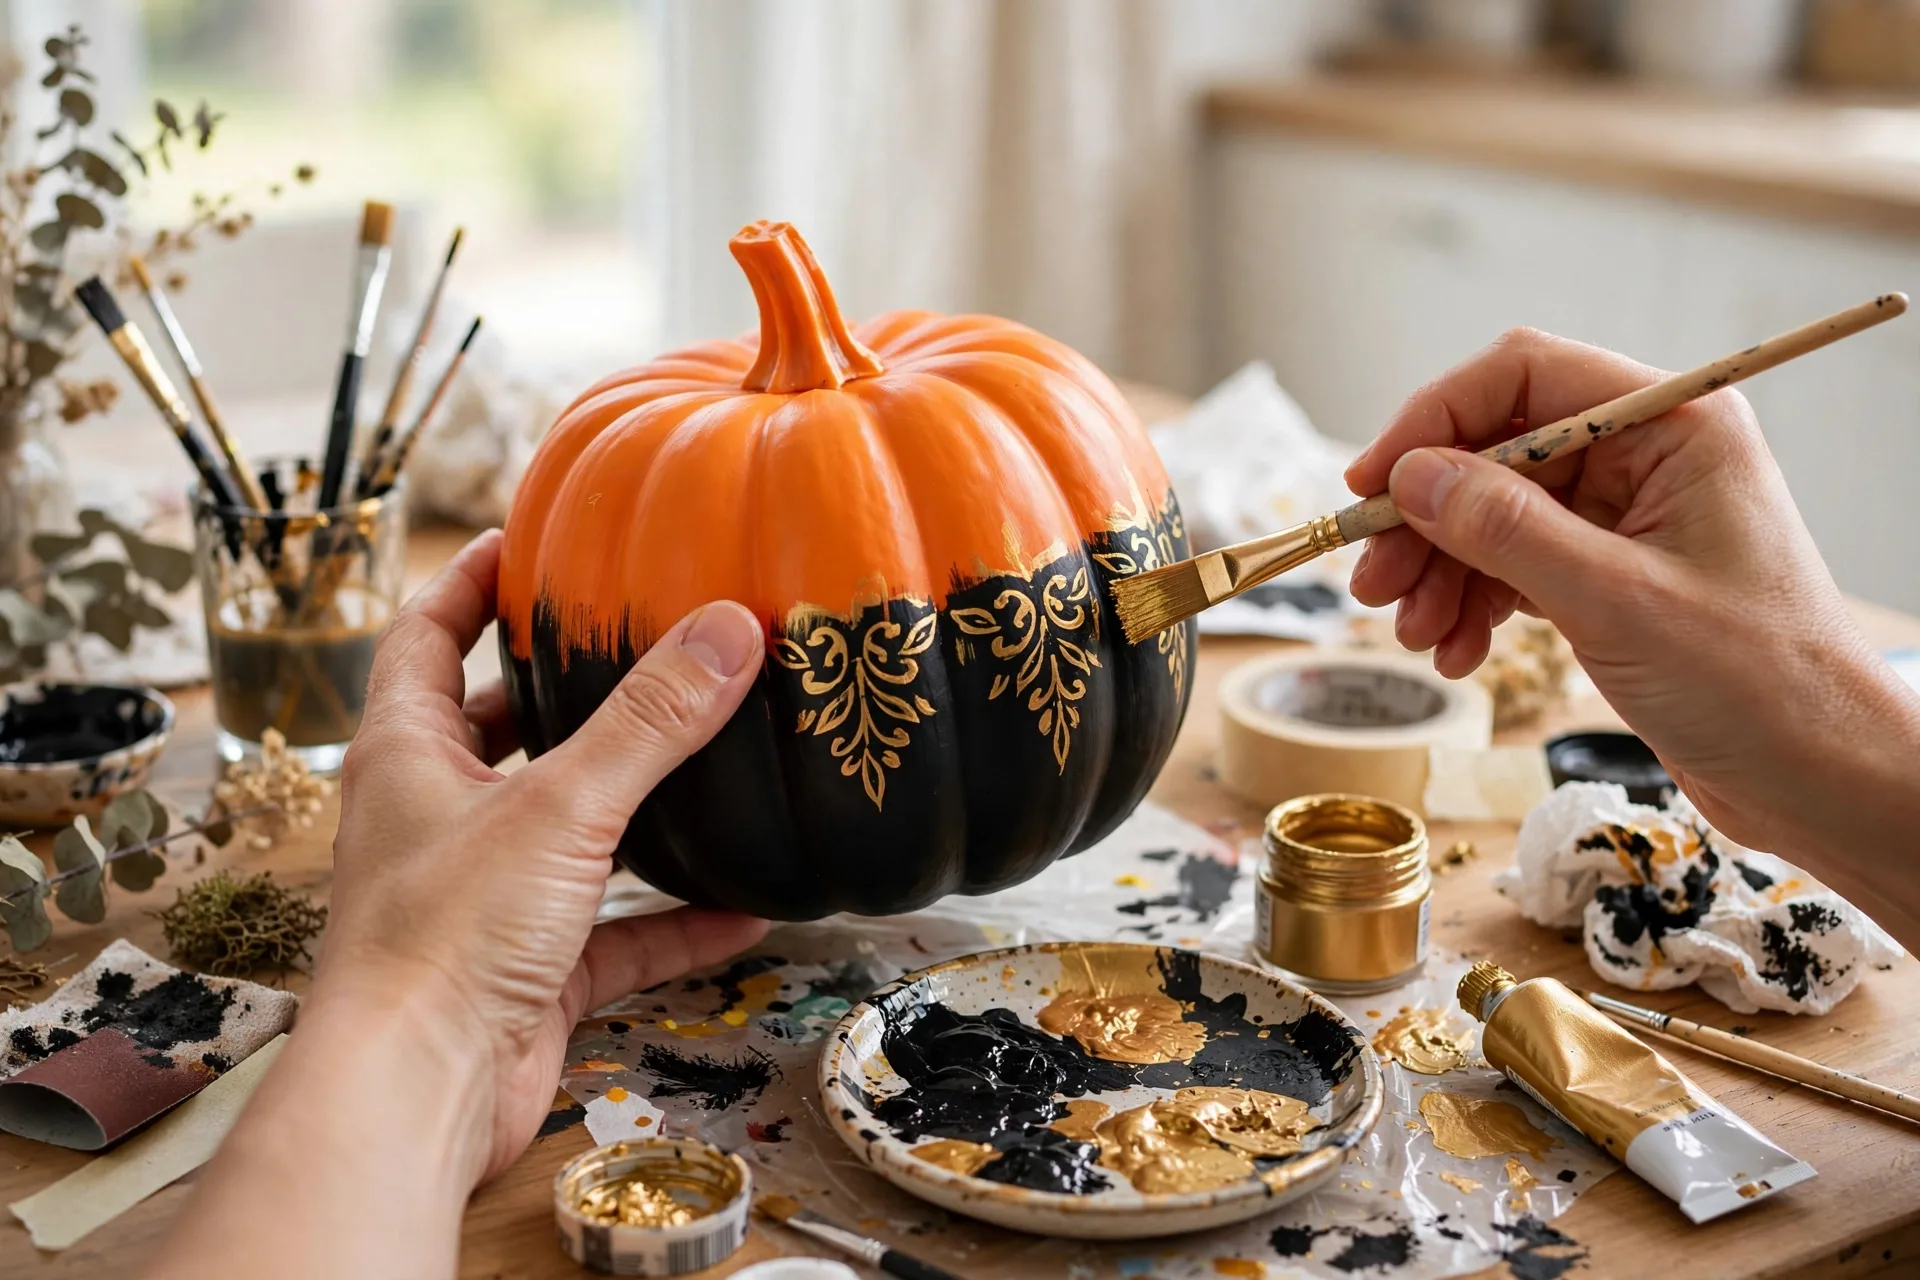
This is the project that started my neighbor’s downfall. Three foam pumpkins stacked on a wooden dowel or a candlestick base, painted in matte black or aged white, with a little moss or faux greenery tucked between layers. It looks like something from a $60 catalog.
You need: 3 foam pumpkins in descending sizes, a wooden dowel or cheap candlestick, black or cream craft paint, moss or faux leaves.
Time and difficulty: About 30 minutes including paint drying. Beginner-friendly.
Paint each pumpkin and let it dry fully. Slide them onto the dowel largest to smallest, then wedge moss around the seams to hide the joints. That’s it. The trick is the color — ditch the orange. Matte black with a burlap bow screams designer. Antique white with silver glitter accents goes farmhouse-glam. One year I did ombre gray and my book club lost their minds.
2. Cheesecloth Ghost Centerpiece (Cost: ~$3)
This is my favorite five-minute project in the entire Halloween season. Drape cheesecloth over a small balloon or a foam ball on a stick, glue googly eyes or black felt circles on, and you have a floating ghost.
You need: cheesecloth (from the kitchen aisle), a foam ball or balloon, a stick or dowel, black felt or googly eyes, fabric stiffener or a watered-down glue mix.
Time and difficulty: 15 minutes of work, plus a few hours of drying. Easy.
Cut the cheesecloth into a square, drape it over the ball, and brush it lightly with the glue mixture so it holds its shape. Let it dry, remove the ball, and add eyes. Group three of these in different sizes on your mantel or dining table and it looks like you hired a stylist. The secret to making it look expensive instead of kindergarten-craft is using real cheesecloth rather than tissue paper — the texture reads as linen from a distance.
3. Spooky Apothecary Jars (Cost: ~$2 each)
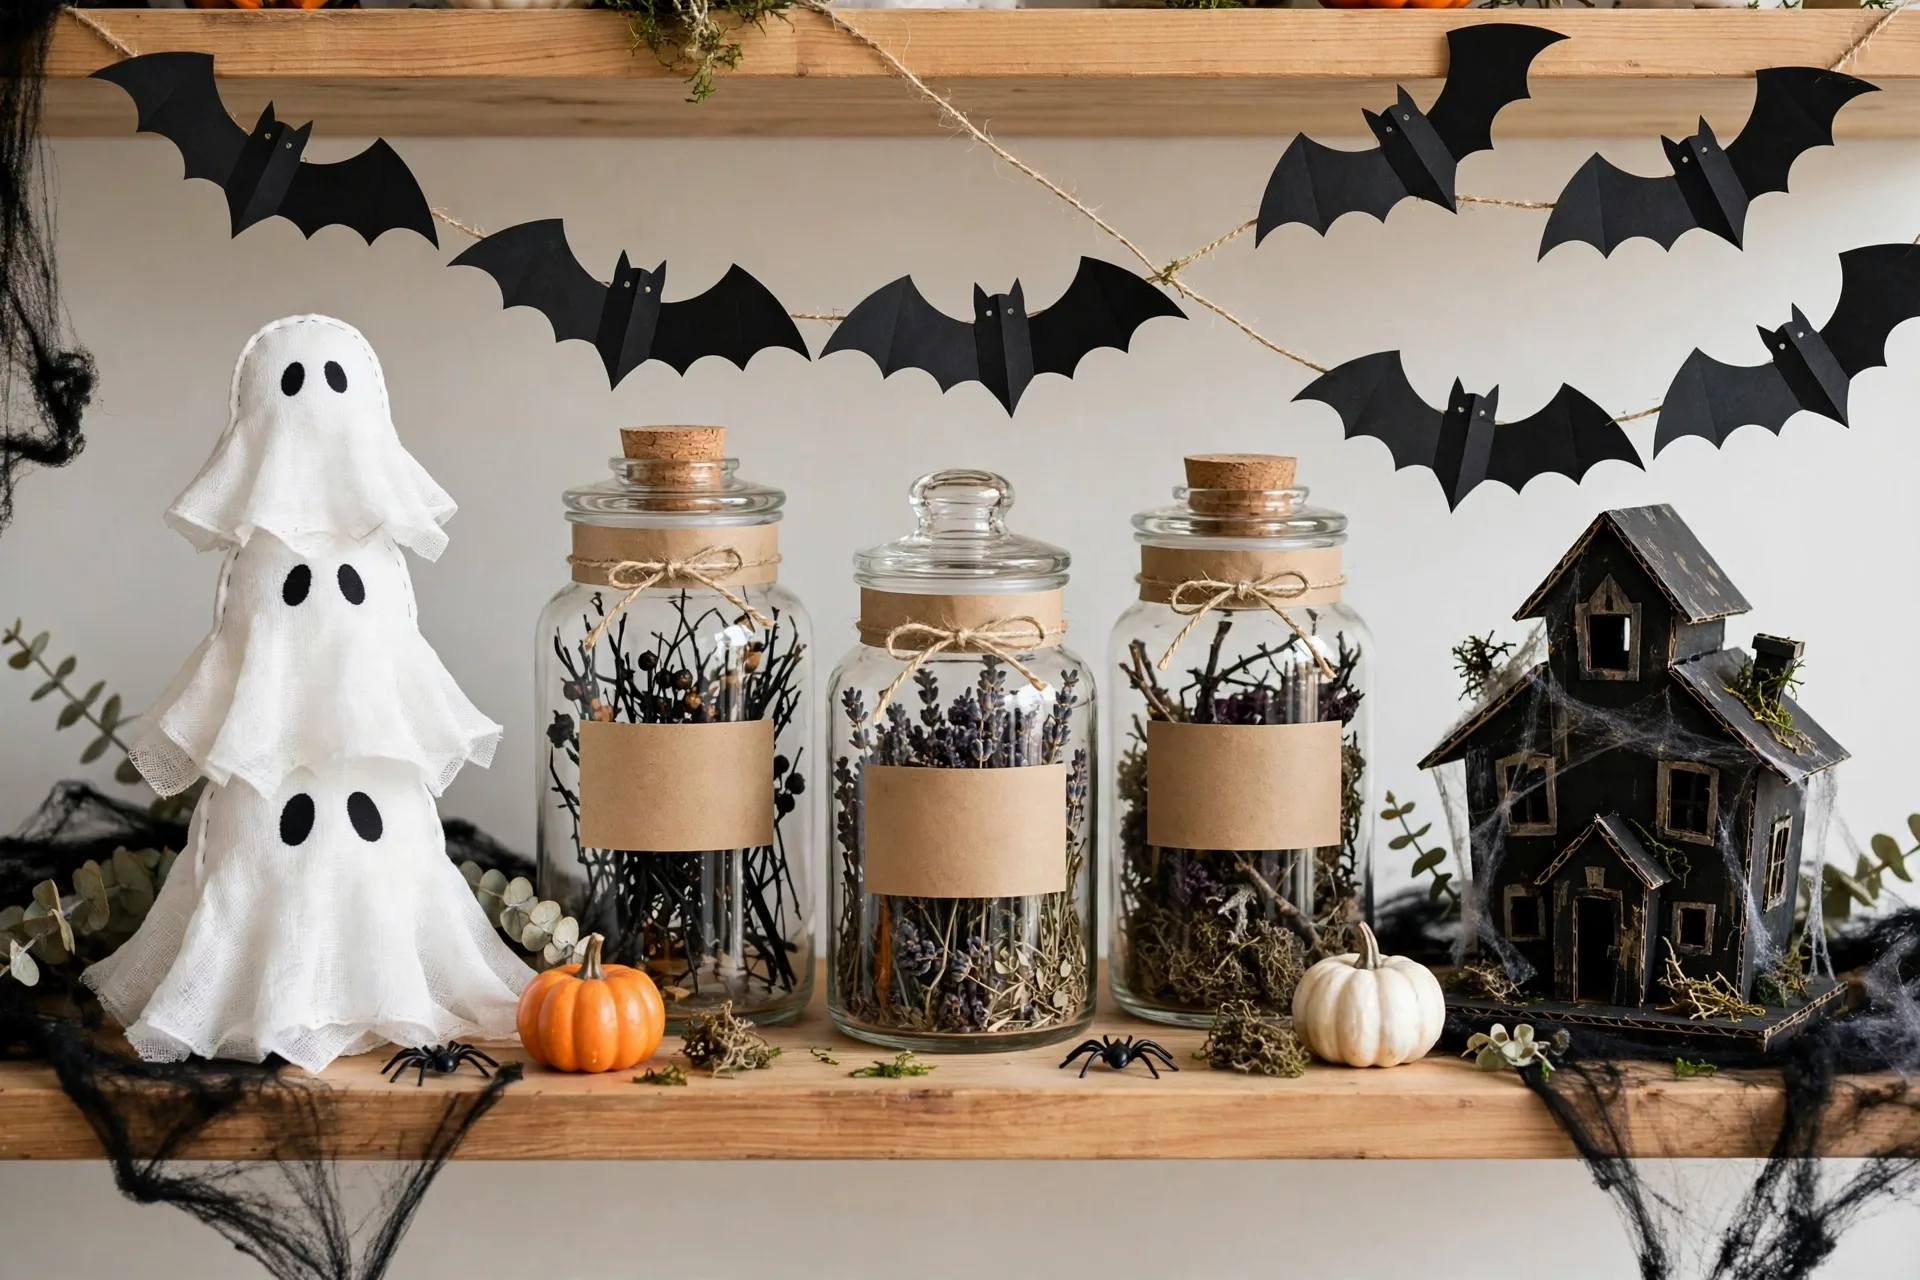
Apothecary jars full of potions and oddities are the backbone of every stylish Halloween display, and the dollar store practically hands you this one. Glass canisters or vases + a candlestick base + a few plastic bugs or skulls = a display piece.
You need: a glass vase or canister, a glass candlestick (for the lid base), a plastic skull or spiders, and a hand-written label.
Time and difficulty: 10 minutes. Easiest project on this list.
Glue the candlestick upside-down on top of the vase to create a lidded jar, or just use an open vase. Fill it with your creepy fillers — spiders, moss, fake eyeballs if you’re feeling dramatic. The upgrade that takes it from dollar-store to boutique is the label. Hand-write labels like “Eye of Newt” or “Bat Wings” on kraft paper tags with twine. Calligraphy pens cost a dollar too. These jars photograph beautifully, which is half the point.
4. Mercury Glass Candle Holders (Cost: ~$2 each)
You know those silvery, speckled glass votives that cost $12 each at home decor stores? You can fake mercury glass with a $1 glass votive, metallic spray paint, and a little vinegar in a spray bottle.
You need: glass votive holders, silver metallic spray paint (one can does a dozen), a spray bottle with half vinegar and half water.
Time and difficulty: 20 minutes plus drying. Easy, but do it outside.
Lightly mist the inside of the glass with the vinegar water, then spray a thin coat of metallic paint over it. The vinegar makes the paint bead and crackle as it dries, creating that antique mercury look. Drop in a battery tea light and the flicker through the speckled glass is genuinely gorgeous. I made twelve of these one year for under $8 total and lined my entire porch steps with them.
5. Paper Bat Garland (Cost: ~$1)
The cheapest project here and somehow one of the most effective. Cut bats from black construction paper or foam sheets, string them on twine, and drape them across a window, mantel, or doorway.
You need: black construction paper or foam sheets, scissors, twine or string, a bat template (free printables are everywhere).
Time and difficulty: 20–30 minutes of cutting. Mindless and kid-friendly.
Cut bats in three different sizes for visual interest. The pro move is folding the wings slightly upward before hanging them — it makes them look like they’re mid-flight instead of flat paper cutouts. Space them unevenly along the twine and let a few hang lower than others. A 10-foot garland of black bats against a white wall is a genuine statement piece, and it cost you a single sheet of paper.
6. Mini Haunted House from a Birdhouse (Cost: ~$4)
This one surprises people. Those unfinished wooden birdhouses at the dollar store? Paint one charcoal gray or black, add tiny windows with a paint pen, glue a couple of plastic bats to the roof, and stick a battery tea light inside.
You need: unfinished wooden birdhouse, black and gray craft paint, white paint pen for windows, plastic bats or spiders, tea light.
Time and difficulty: 20–30 minutes of cutting. Mindless and kid-friendly.
Paint the whole birdhouse black first. Once dry, use the white paint pen to draw crooked little windows — imperfection is the point, it’s haunted. Add a crooked “roof” of cardboard painted to look like shingles if you’re feeling ambitious. Pop a tea light inside so the windows glow at night. Line up three of them in different sizes on a windowsill and you’ve built a haunted village for under $12.
7. Skull Planter (Cost: ~$3)
Plastic skulls + succulents or faux plants = a planter that looks like it belongs in a trendy boutique. The dollar store skulls are hollow, which makes this almost too easy.
You need: a large plastic skull, a small faux succulent or air plant, potting soil if using a real plant, gold or black spray paint (optional).
Time and difficulty: 10 minutes. Extremely easy.
Cut or crack open the top of the skull (most dollar store skulls are thin enough to cut with a craft knife — be careful). Drop your plant in. The skull head is naturally the perfect size for a 2-inch succulent pot. If you want to class it up, spray the skull matte gold before planting. I keep a row of these on my bookshelf year-round because they work as edgy decor long after October.
8. Witch Hat Door Hanger (Cost: ~$3)
A witch hat wreath is the Halloween equivalent of a Christmas wreath — it tells the whole neighborhood you’re in the spirit. The dollar store sells cone-shaped party hats and wide-brimmed options around Halloween, or you can shape one from a foam cone and a cardboard brim.
You need: a foam cone or party hat, a cardboard circle for the brim, black paint or black felt to cover, ribbon, and embellishments (spiders, a buckle cut from gold paper).
Time and difficulty: 30 minutes. Easy.
Cover the cone and brim in black felt or paint, glue them together, add a ribbon band and a gold buckle, then glue a spider crawling up the side. Hang it on your front door with a command hook. The bent-tip version — where you crease the top of the cone to flop over — is the classic witch silhouette and it’s much easier than it looks. Add some purple or orange ribbon and it pops against any door color.
9. Bloody Candle Pillars (Cost: ~$2 each)
White pillar candles (real or LED) with red “wax” dripping down the sides. It looks like a haunted mansion prop, and it’s one of those projects where the cheaper candle actually works better because real wax does the work for you.
You need: white pillar candles or LED pillars, a red candle or red crayons, a lighter.
Time and difficulty: 15 minutes. Easy but mind the flame.
Light the red candle and let the wax drip down the sides of the white pillar. Rotate the pillar as you go so the drips run naturally. The messier and more uneven, the better — drips that run halfway down look genuinely creepy. If you’re using LED pillars, melt red crayons with a lighter instead (adults only, obviously) or just paint red drips on with a steady hand. Cluster three at different heights on a black tray for a centerpiece that looks straight out of a vampire movie.
10. Spider Web Placemats (Cost: ~$1 each)
Cut a spider web pattern from black felt or even black trash bags, and you have Halloween placemats that make an ordinary dinner table look party-ready.
You need: black felt sheets or black plastic tablecloth, scissors, a white paint pen for accents (optional).
Time and difficulty: 10 minutes each. Very easy.
Fold the felt like you’re cutting a paper snowflake, cut out wedge shapes, and unfold to reveal a web. The same technique as grade-school snowflakes, just in black and with fewer cuts. Lay them under plates or use a big one as a table runner. Add a plastic spider or two on top and dinner is decorated. These also work great as a base layer under other centerpieces to give everything a cohesive spooky foundation.
11. Floating Witch Boots (Cost: ~$4)
This is the porch decoration that stops traffic. Witch boots or striped stockings stuffed and hung upside-down from your porch ceiling or a tree branch, so it looks like a witch crashed into your house.
You need: witch boots from the costume aisle (or make legs from striped tights), stuffing or newspaper, fishing line or twine, a broomstick (optional).
Time and difficulty: 30 minutes. Easy.
Stuff the boots or tights, hang them upside down from a porch beam with fishing line so they dangle and sway. If you add a broomstick angled nearby, the story writes itself — a witch flew straight into your house. Kids absolutely lose their minds over this one. The fishing line is invisible from the street, so the boots appear to float, which is the whole magic trick.
12. Potion Bottle Collection (Cost: ~$2 each)
Small glass bottles — the dollar store has tons in different shapes — become a potion collection with colored water, labels, and corks. Group five or six together and it’s a display.
You need: small glass bottles or vials, food coloring, water, corks or caps, kraft paper labels, twine.
Time and difficulty: 20 minutes. Easy and kid-friendly (with supervision).
Fill each bottle with water tinted a different color — green, purple, blood red, murky brown. Add a drop of dish soap and shake for a bubbly potion effect. Label them with names like “Witch’s Brew,” “Dragon Tears,” or “Liquid Luck.” Cork them and arrange on a small tray with some moss. The trick to making colored water look expensive is layering: put a little oil in some bottles so the colors separate, or add glitter for a shimmer effect. They catch light beautifully on a windowsill.
13. Mummy Mason Jars (Cost: ~$2 each)
Wrap a mason jar or any glass jar in white gauze or medical tape, glue on googly eyes, drop in a tea light, and you have a mummy lantern. This is the perfect project to do with kids — it’s basically impossible to mess up.
You need: glass jars, white gauze or medical tape, googly eyes, glue, battery tea lights.
Time and difficulty: 15 minutes. Great for kids.
Wrap the gauze around the jar at slightly random angles, leaving a gap for the eyes. Glue the eyes on, pop in a tea light, and done. The irregular wrapping is what makes it look like a real mummy — neat wrapping looks like a craft project, messy wrapping looks like a creature. Make a family of them in different sizes for a mantel display. My kids made six of these last year and they lived on our porch all month.
14. Haunted Mirror or Picture Frame Art (Cost: ~$3)
Dollar store frames become spooky art with black paint and a little creativity. Print a vintage-style portrait (free printables online), distress it with tea staining, and frame it in a black-painted ornate frame.
You need: an ornate-looking picture frame, black craft paint, a printed vintage portrait or spooky saying, tea bags for staining.
Time and difficulty: 30 minutes plus drying. Easy.
Paint the frame matte black. Soak your printed image in strong tea for a few minutes to age it, let it dry, and frame it. The tea stain is what sells the antique look — it yellows the paper unevenly in a way that looks genuinely old. Make a gallery wall of three or four: haunted portraits, a spooky quote in a script font, maybe a black-and-white owl. Visitors will assume you bought them at an antique shop.
15. Skeleton Terrarium (Cost: ~$5)
The grand finale and my personal favorite. A glass bowl or fishbowl filled with moss, a few plastic skeletons in dramatic poses, tiny tombstones cut from foam, and a string of fairy lights. It’s a tiny haunted graveyard.
You need: a glass bowl or fishbowl, moss, small faux succulent or air plant, potting soil if using a real plant, gold or black spray paint (optional).
Time and difficulty: 10 minutes. Extremely easy.
Cut or crack open the top of the skull (most dollar store skulls are thin enough to cut with a craft knife — be careful). Drop your plant in. The skull head is naturally the perfect size for a 2-inch succulent pot. If you want to class it up, spray the skull matte gold before planting. I keep a row of these on my bookshelf year-round because they work as edgy decor long after October.
Common Mistakes (So You Can Skip Mine)
I’ve made every dollar store Halloween mistake so you don’t have to. Here’s the short list:
- Buying everything orange. Orange reads as “Halloween aisle clearance.” Black, white, gold, and deep purple read as “design choice.” Use orange as an accent, not the main event.
- Skipping the paint. A $1 plastic pumpkin painted matte black looks like a $20 decoration. An unpainted $1 plastic pumpkin looks like a $1 plastic pumpkin. Paint is the single biggest upgrade you can make.
- Forgetting scale. One tiny skeleton on a big mantel looks lost. Group things in threes and fives, and vary the heights. Small items need friends.
- Using real candles in flammable crafts. Cheesecloth ghosts and paper bats do not mix with open flame. Battery tea lights exist for a reason — use them in everything.
- Waiting until the last week of October. Dollar stores sell out of the good Halloween stuff by mid-October. Shop in late September or the first week of October for the best selection.
- Over-gluing everything. Hot glue is permanent and unforgiving. For items you might want to reuse or repaint next year, use removable adhesive dots or just arrange things without glue.
The Real Math
Let’s be honest about the total. If you did all 15 projects, you’d spend roughly $40–45 at the dollar store, plus paint and glue you probably already own. My neighbor’s $140 bought her one wreath, two pumpkins, and a light-up ghost that broke by October 15th. My $23 bought a porch that got photographed by strangers.
The dollar store doesn’t win because it’s cheap. It wins at Halloween because spooky decor is supposed to look a little rough around the edges. A plastic skull doesn’t need to be convincing — it needs to be in the right place with the right lighting and a good story. That’s free. The skull is a dollar.
So grab a basket, stick to the list, skip the pre-made stuff, and give yourself one Saturday afternoon. Your porch is about to become the house everyone slows down for.



Pingback: 15 Dollar Store Christmas Crafts That Look Expensive