


The first time I saw chrome nails in real life, I honestly thought the woman had tiny mirrors glued to her fingertips. It was at a friend’s birthday dinner, she waved her hand to call the waiter, and every head at our table turned. They caught the candlelight and just… threw it back. I asked her which salon did them, expecting some fancy answer, and she laughed and said, “My couch. Took me forty minutes and a little jar of powder that cost less than this dessert.”
That’s the moment this tutorial was born. Because a salon charges a premium for chrome nails, but the actual technique is weirdly simple once you know the one step that matters. And yes, I messed it up twice before I got it right — I’ll tell you exactly where I went wrong so you don’t have to.
What Chrome Nail Powder Actually Is
Chrome nail powder is an ultra-fine metallic pigment, basically a sparkly dust that looks like nothing special in the jar. The magic happens when you rub it onto a cured no-wipe gel top coat. The pigment particles grab onto that surface and melt into a smooth, reflective, liquid-metal finish. It is NOT the same as glitter polish. Glitter sits on the nail like confetti; chrome powder becomes the nail’s surface. That is the whole trick, and honestly, once you see it happen for the first time, you’ll gasp. I did.
One honest note before we start: chrome powder only works over gel. The pigment needs the slightly tacky surface of a cured no-wipe top coat to bond. If you only use regular air-dry polish, this particular technique won’t work for you. But if you already have a UV or LED lamp from your gel polish days (or you’re willing to grab one), you are ninety percent of the way there.
What You’ll Need

Here’s the full kit. Nothing fancy, and most of this you probably already own if you’ve done gel polish at home:
The non-negotiables:
- A UV or LED nail lamp (any basic 36W LED lamp works fine)
- Gel base coat
- A no-wipe gel top coat — this is THE star of the show, do not substitute a regular top coat
- Your chosen gel color polish (black for classic mirror, more on this below)
- A jar of chrome powder (silver is the classic beginner pick; pearl white is gorgeous too)
- Small sponge applicators — the cheap eyeshadow sponges work perfectly, or a silicone-tipped tool
- A soft dust brush (a fluffy makeup brush works) for brushing off excess powder
Also handy:
- Cuticle pusher and nail file
- Rubbing alcohol and lint-free wipes for cleanup
I used Beetles gel polish and their no-wipe top coat for my first successful set, which I mention only because the brand is easy to find and affordable — any decent gel system works the same way. The powder itself came in a tiny jar that has lasted me through roughly eight full manicures. These jars look small but you use a genuinely tiny amount each time, so don’t let the size worry you.
Pick Your Base Color (It Changes Everything)
This is the part nobody tells beginners, and it’s the single biggest factor in how your chrome nails turn out. The chrome powder is semi-transparent, so your base color shines through it and completely changes the final look:
- Black → the bold, true mirror-metal effect. This is the classic. If you want the full showstopper, start here.
- Sheer pink or nude → the soft, glazed-donut glow that went viral. Dreamy and wearable for everyday.
- White → a cool, pearlescent shine, almost icy.
- Dark colors like navy or burgundy → dramatic, high-shine colored chrome. Gorgeous in the fall.
My first attempt used a bright red base because it was the only dark polish I had. The result was… a weird coppery-pink thing that was pretty, honestly, but it wasn’t the mirror look I wanted. My advice: do your first set on black. Get the technique down, see the mirror effect in its full glory, and then start playing with colors. You can always try fun bases once the method is in your muscle memory.
The Step-by-Step Chrome Nail Powder Tutorial
Alright, hands washed, lamp plugged in, podcast on. Let’s do all ten nails. I’ll talk you through it the way I wish someone had talked me through it — including the timing detail that makes or breaks the whole thing.
Step 1: Prep like you mean it
File and shape your nails, gently push back your cuticles, and lightly buff the surface to remove shine. Then wipe each nail with rubbing alcohol on a lint-free wipe. Chrome powder is dramatic, which means it also shows every ridge, bump, and uneven edge. Ten extra minutes of prep here is the difference between “salon” and “I did this in a moving car.”
Step 2: Base coat and cure
Apply a thin layer of gel base coat to each nail, capping the free edge (that’s just brushing a little polish over the tip of the nail), and cure under your lamp — usually 30 to 60 seconds depending on your lamp. Thin coats are the rule for everything in gel. Thick coats lead to wrinkling, and wrinkling under chrome powder looks heartbreaking.
Step 3: Your color coat
Apply your chosen gel color in a thin, even coat and cure fully. Do two thin coats if you need full opacity — with black, I always do two, curing each one completely. Take your time here and get the color smooth, because the chrome layer can’t hide lumps. Let the last color coat cool for a few seconds out of the lamp before moving on.
Step 4: The no-wipe top coat — the make-or-break step
Here’s where everything is decided. Apply a thin, even layer of no-wipe top coat over your color, and cure it for about 30 seconds. Not a full cure — a light one. This is the detail I got wrong the first time: I cured it for a full 60 seconds like a normal top coat, and the powder just slid around and refused to stick.
The powder needs the top coat surface to be cured but still very slightly tacky. Different lamps and top coats vary a little, so think of 30 seconds as your starting point. When the nail comes out, it should look glossy and dry but feel just barely sticky if you touch it with the very tip of a finger. If it’s wet and streaky, you under-cured — put it back in for another 10 seconds. If it’s rock-hard with zero tack, you over-cured, and you need to redo this layer. I know that’s annoying to hear, but one practice nail will teach your hands what the right tack feels like, and then you’ll nail it every time.
Step 5: Rub in the powder
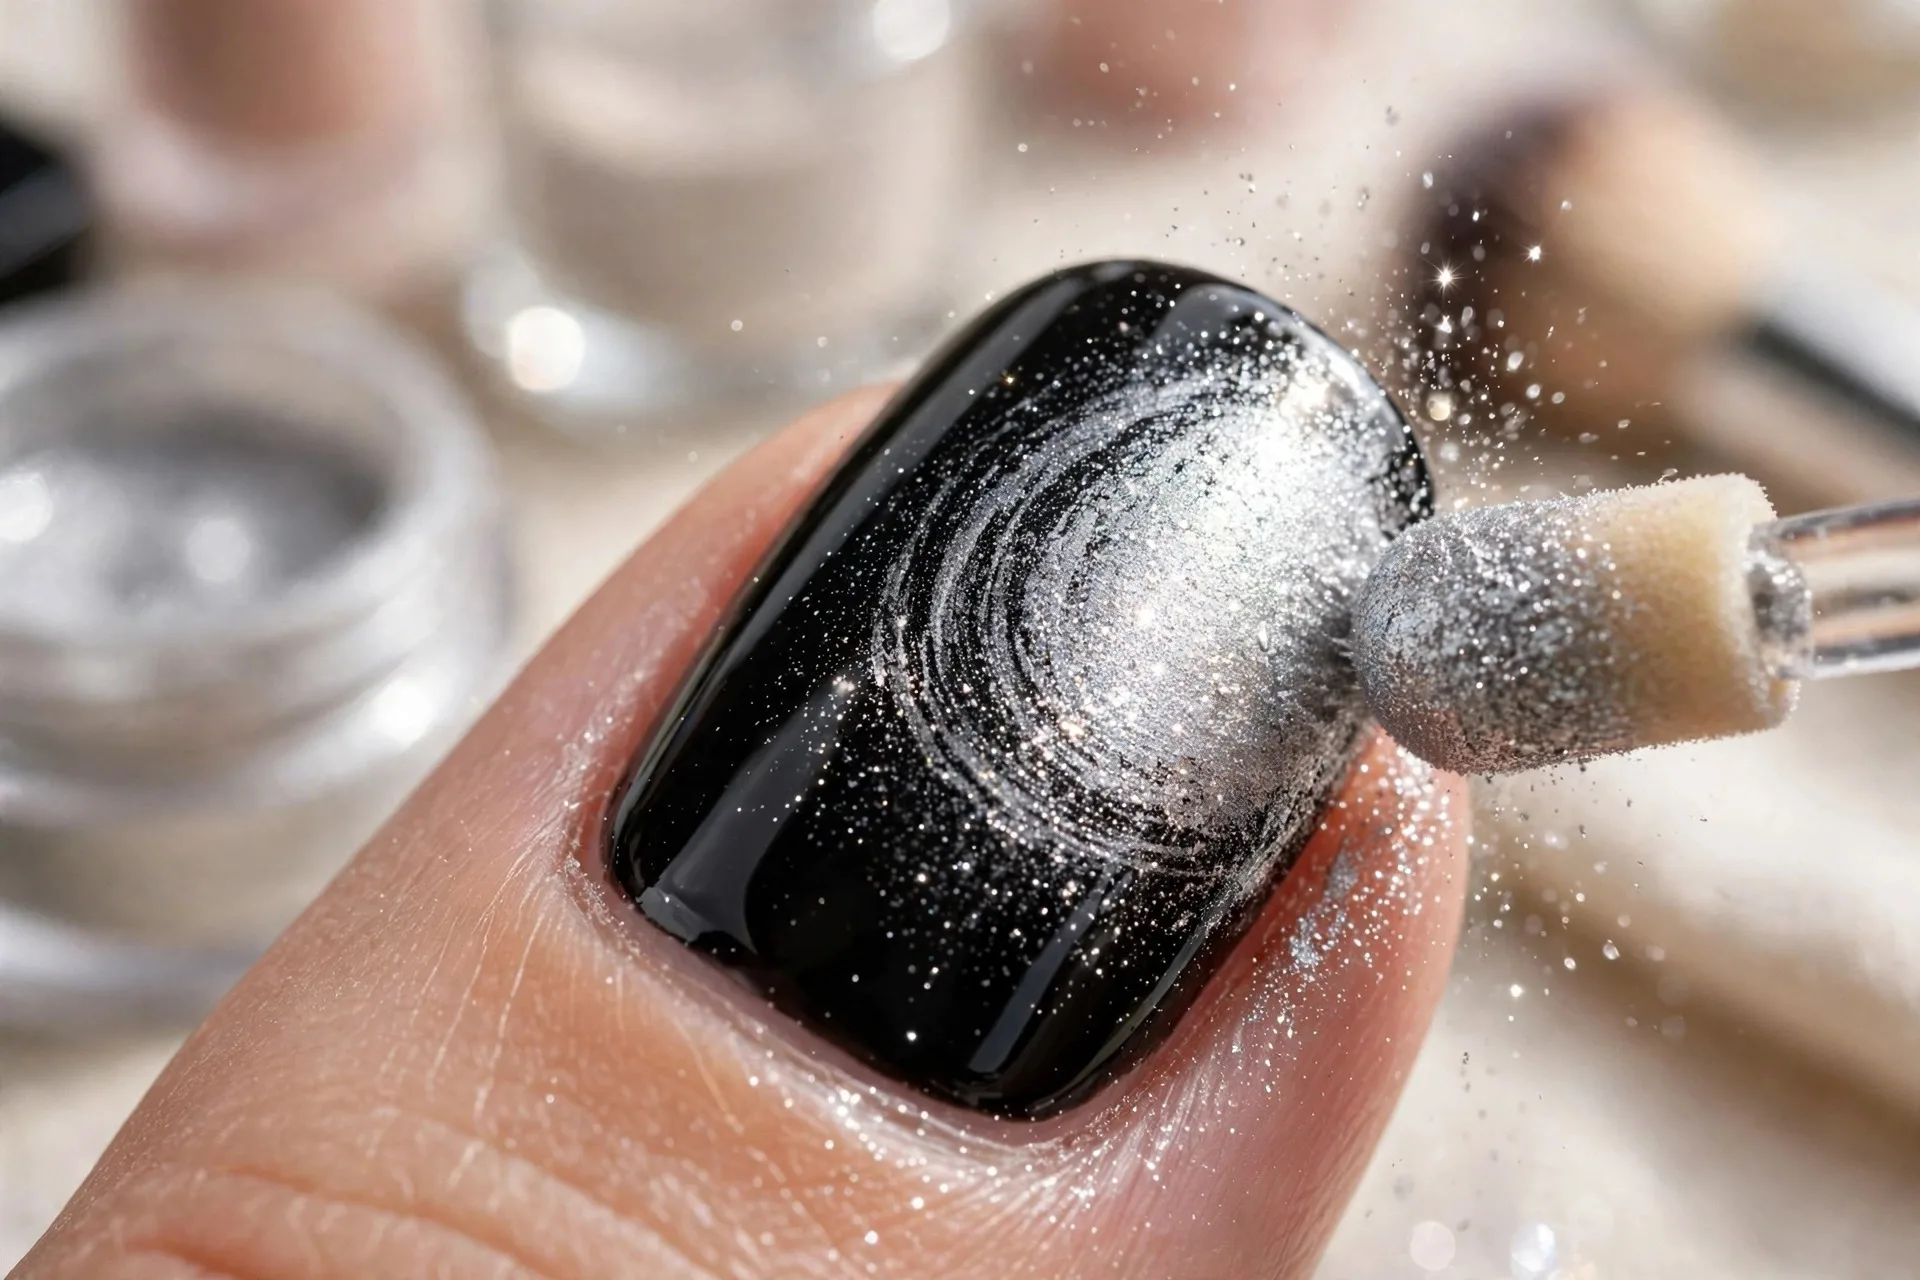
Dip the tip of your sponge applicator into the chrome powder — you want the tiniest amount, barely a dusting — and rub it onto the nail in small circular motions. Go gently. The mirror effect appears almost instantly, which is the most satisfying part of this entire process. Work from the cuticle toward the tip, and keep rubbing until the whole nail is covered and reflective.
This is where my second mistake happened: I pressed too hard and loaded up too much powder, convinced more would mean shinier. It doesn’t. Pressing hard gives you a patchy, gritty, glittery finish instead of a smooth mirror. Light pressure, small circles, tiny amount of powder. If you miss a spot, just dab a little more on that spot and keep buffing. And do one nail at a time for this step — the tacky window is your friend, but it doesn’t wait forever.
Step 6: Dust off the excess
Take your soft dust brush and gently brush away any loose powder around the cuticles and under the free edge. You can also run a very light buffer across the free edge to remove stray powder there, which helps the final top coat grip properly. Don’t skip this — loose powder mixed into your sealing top coat creates a gritty texture.
Step 7: Seal it and cure fully
Apply your no-wipe top coat (a fresh layer, over the chrome) carefully, cap the free edge again, and cure for a full 60 seconds this time. The chrome will dull slightly under the brush and then come roaring back to full shine as it cures. Wipe each nail with a lint-free wipe and a drop of rubbing alcohol if there’s any residue, push on your cuticle oil, and you’re done. Mirror nails. On your couch. For the price of a dessert.
6 Beginner Mistakes I Made (So You Don’t Have To)
Because I learned all of these the hard way, here’s the quick-hit list:
1. Over-curing the bonding top coat. The number-one beginner mistake, and it was mine. Thirty seconds, not sixty. Tacky is the goal.
2. Using too much powder and pressing too hard. Tiny amount, light circles. Heavy hands make glitter chrome, not mirror chrome.
3. Skipping the base color and going straight to powder over the base coat. Technically possible, but the powder over clear base looks thin and patchy. A color underneath gives the chrome depth. Always.
4. Doing all ten nails’ powder step at once. Do one nail, finish it, move on. Rushing all ten means the tack sets before you’ve buffed the last few.
5. Forgetting to dust off excess powder before sealing. Loose powder in the final top coat = gritty, dull finish that chips fast.
6. Buying the cheapest mystery powder with no reviews. Pigment quality genuinely varies. A well-reviewed chrome powder and a decent no-wipe top coat will outperform a bargain-bin jar every time.
How Long Do Chrome Powder Nails Last?
On my nails, a chrome powder manicure lasts about as long as a regular gel manicure — roughly two to three weeks with normal wear. The chrome layer itself is sealed under top coat, so it doesn’t rub off; what eventually happens is the same as any gel set, where the free edge starts to show tiny wear or a tip chips.
To stretch the wear, cap that free edge on both the color and the sealing top coat, wear gloves for heavy cleaning (dish soap is the enemy of all gel), and reapply a thin layer of regular top coat around day ten to refresh the seal. Removal is the same as any gel: soak in acetone with foil wraps, never peel. Peeling lifts layers of your natural nail, and I say this as someone who learned that lesson painfully in 2023.
Can You Use Chrome Powder on Regular Nail Polish?
I get asked this a lot, so the honest answer: not with this technique. Chrome powder needs the specific slightly-tacky cured surface that only a no-wipe gel top coat gives. Over regular air-dry polish, the powder just sits there like glitter dust and wipes right off.
That said, there ARE chrome-effect regular polishes on the market — bottled polishes that mimic the look without gel. They won’t give you the true liquid-mirror finish, but they’re a fine option if you don’t want to buy a lamp. If you want the real mirror effect, though, gel is the only way, and a basic starter lamp is genuinely a one-time purchase that pays for itself after two skipped salon visits.
Final Thoughts
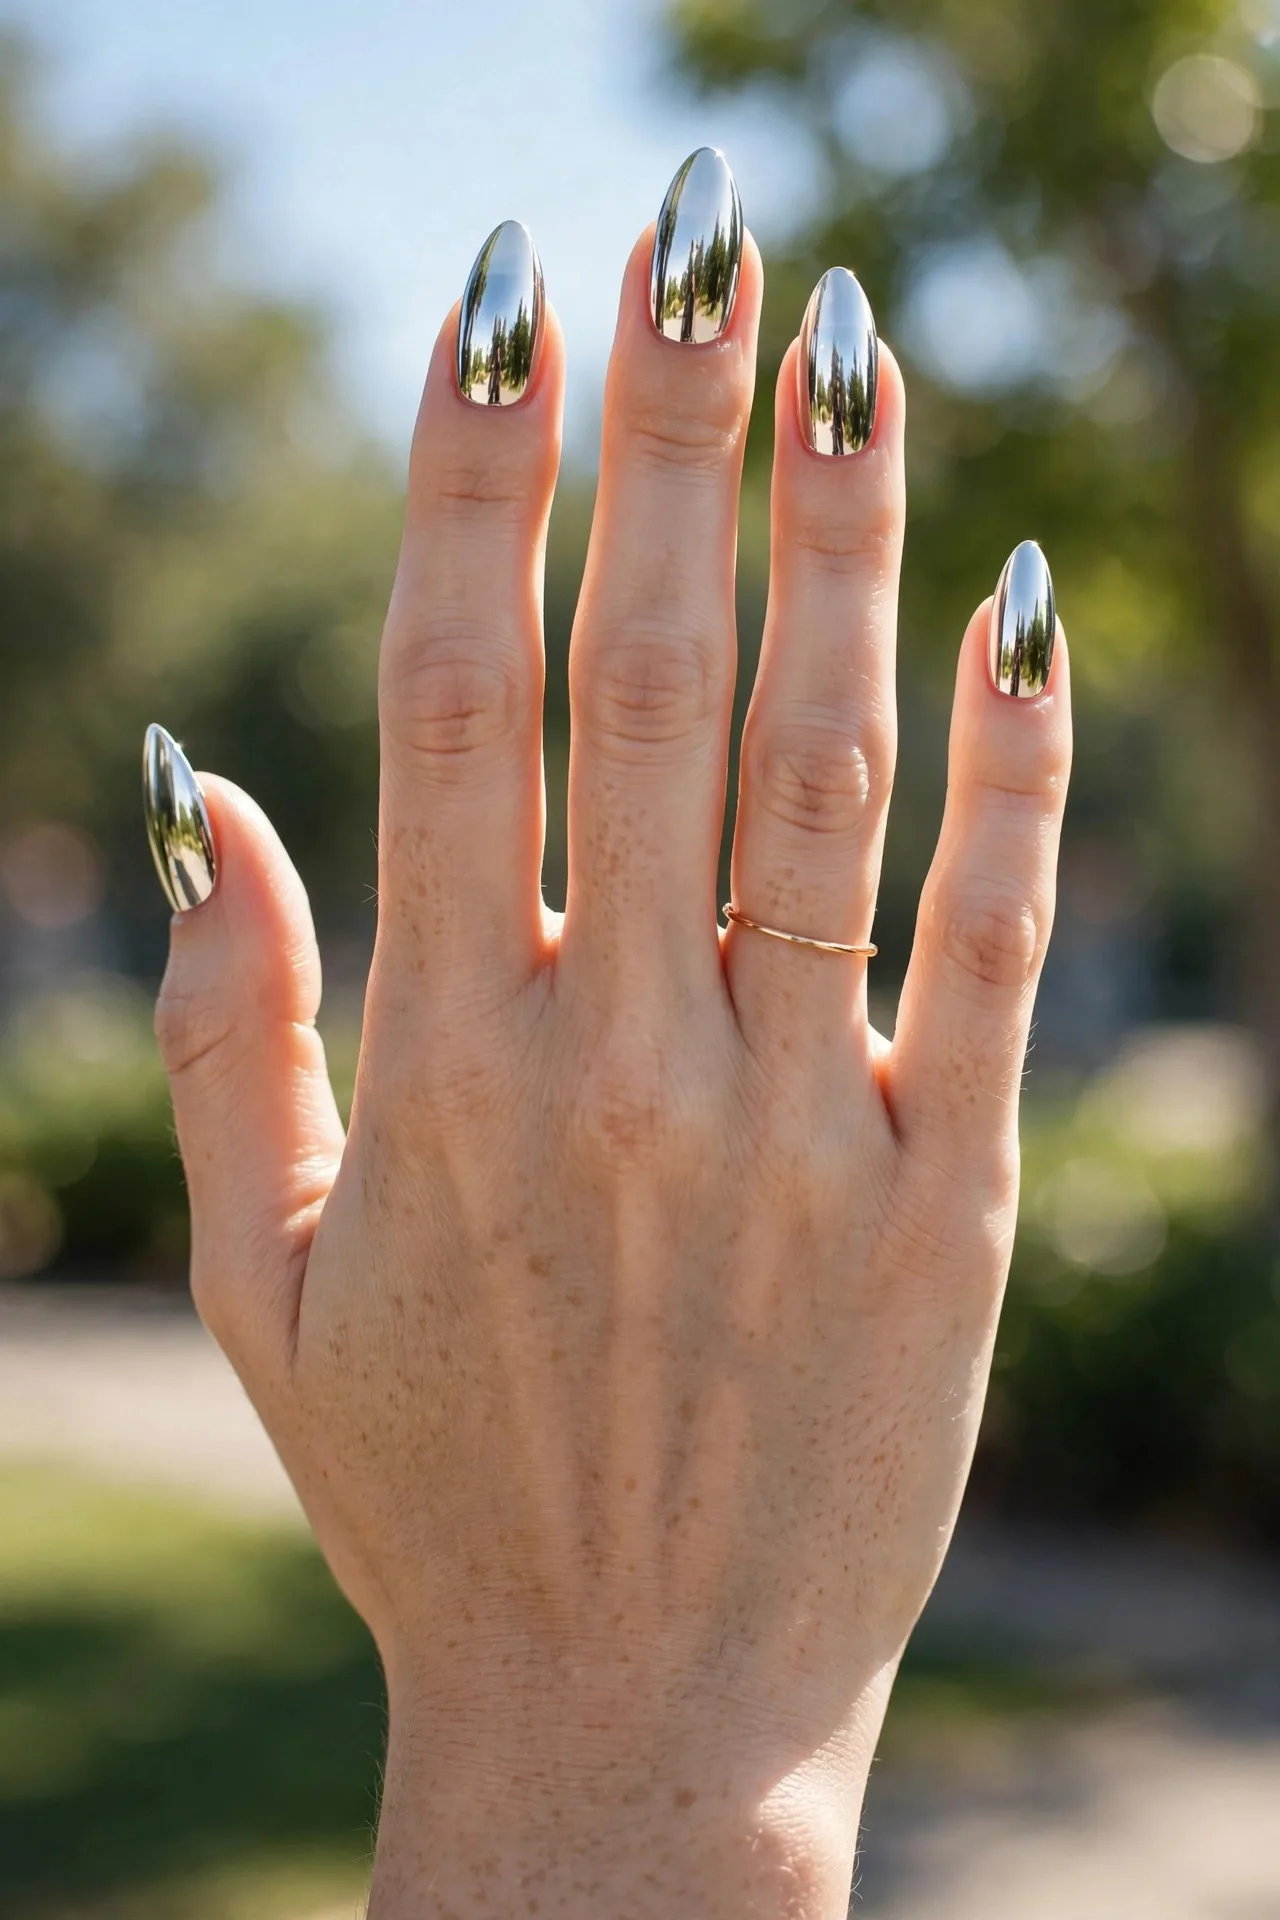
My first set took me about an hour and a half, including one full redo of the hand where I over-cured the top coat. My third set took forty minutes, start to finish, and looked better than the salon set I’d paid for the month before. That’s the real story with chrome powder: it looks like a professional-only technique, but it’s honestly one of the most forgiving nail trends to try at home, because the powder does most of the visual work for you. The mirror finish is so reflective that it hides minor imperfections in your application.
Start with black and silver for that classic mirror, get the thirty-second cure timing into your hands, and then go wild — pearl over pink for the glazed look, gold over nude for something warm, colored chrome for the seasons. And when someone at dinner grabs your hand to look closer, you get to say the line: “Thanks — I did them on my couch.”



Pingback: 19 Bright & Colorful Hair Dye Ideas That Fade Beautifully - Beautifully Curated Life