
The coquette aesthetic took over my feed last year and I resisted it for months — all those bows looked adorable on everyone else, but I assumed my hair was too fine, too straight, too boring. Then I bought a three-dollar spool of satin ribbon on impulse, watched one tutorial, and realized the whole trend is built on something wonderfully simple: a piece of ribbon and about ninety seconds.
Hair ribbons are the rare trend that is cheap, easy, and genuinely flattering. You do not need special tools, you do not need long hair, and you definitely do not need to buy those overpriced pre-tied bows (though no judgment — I own several). Making your own means custom colors, perfect sizes, and bows that actually match your outfits.
Here is everything: the materials, how to tie a proper bow that does not look sad, and exactly 5 ways to wear them — from everyday subtle to full coquette.
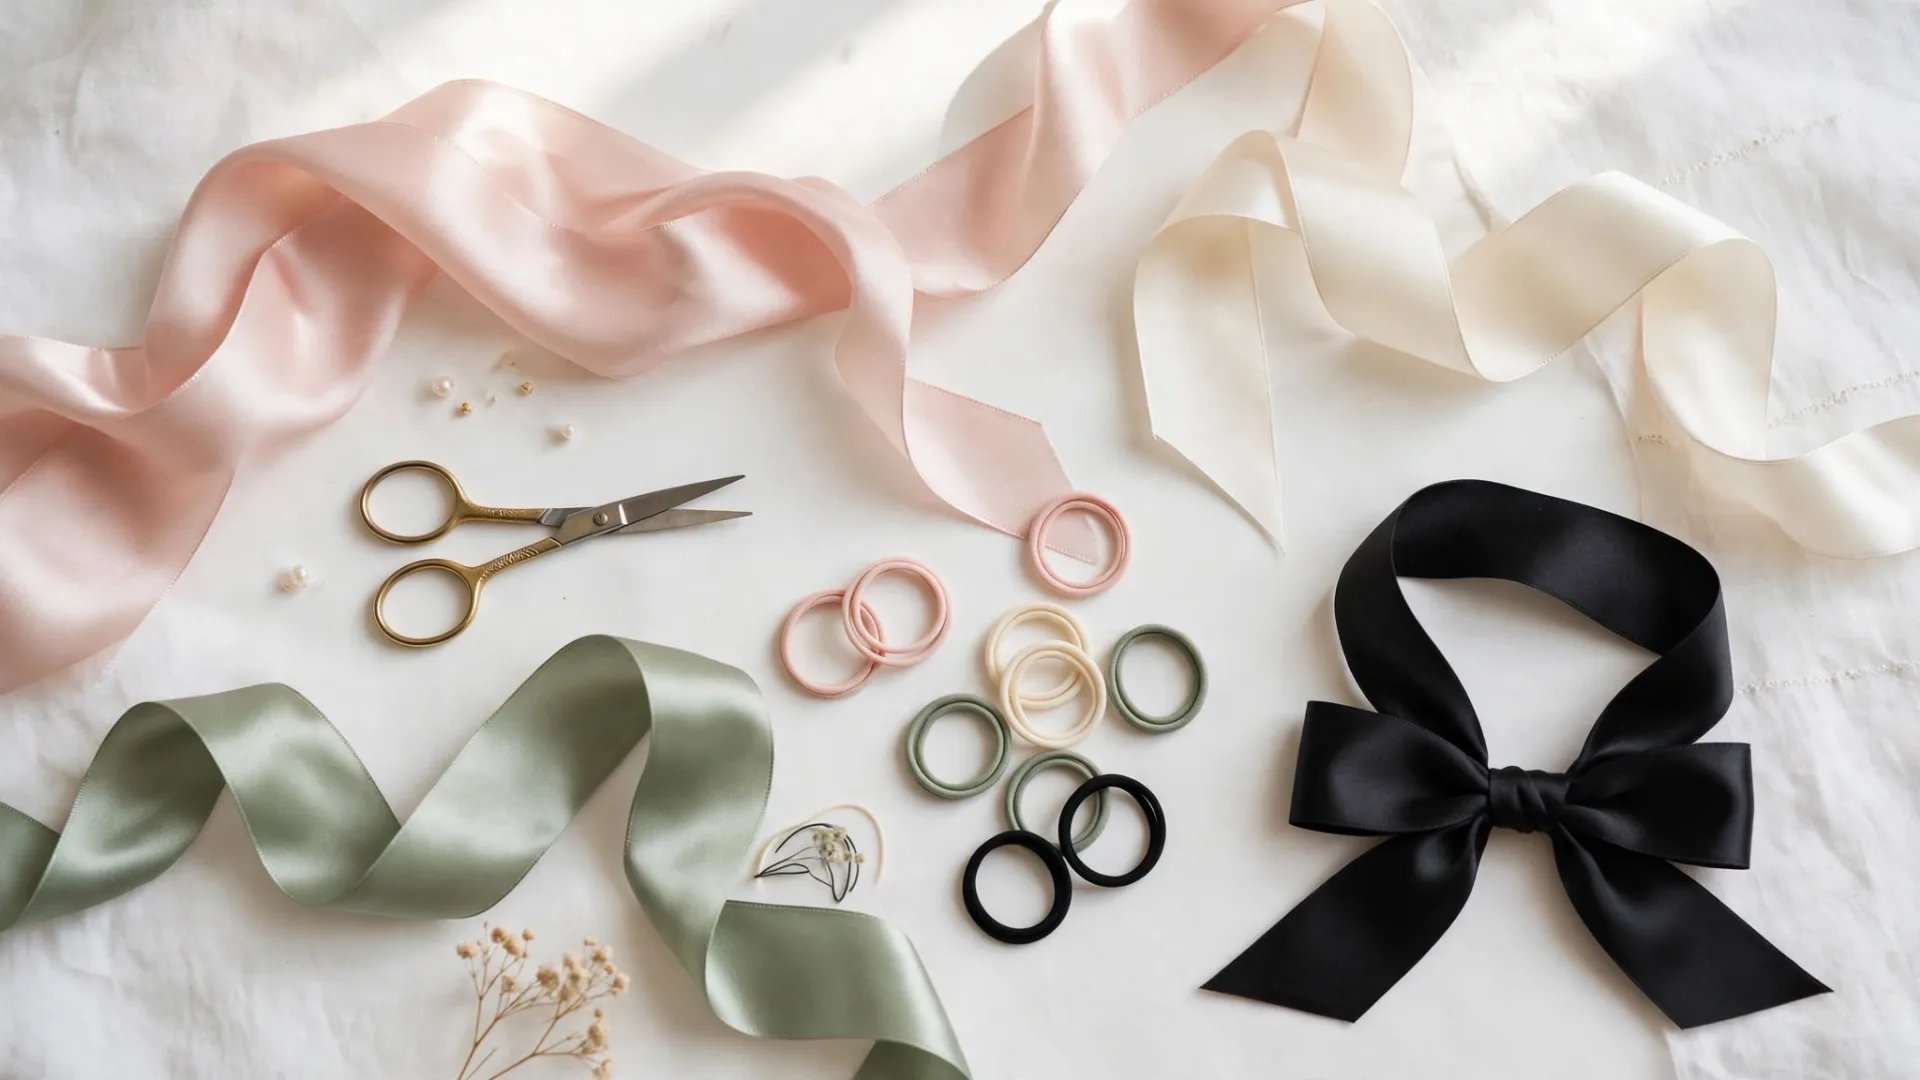
What You Need
Ribbon is the whole supply list. Satin ribbon (7/8-inch or 1.5-inch width) gives that classic glossy coquette look; grosgrain holds its shape better for structured bows; velvet reads luxe for evenings; sheer organza is dreamy for weddings and photos. You will also want small clear elastics, a few bobby pins, and sharp scissors — cut ribbon ends at a diagonal or in a dovetail notch so they do not fray. A quick pass with a lighter seals synthetic ribbon ends permanently. Start with one spool each of black, cream, and one color you love; that covers nearly every outfit.
How to Tie a Bow That Looks Expensive
The difference between a chic bow and a floppy one is all in the loops. Cut your ribbon longer than you think — 24 inches is a good starting length. Make two even loops (like the first step of tying shoelaces, but bigger), cross them, pull one loop through the center knot, and tighten slowly while shaping the loops with your fingers. The secret: make the loops slightly larger than feels right, then fluff them. Small, tight bows look crafty; generous loops look intentional. Steam or iron the ribbon first if it is wrinkled from the spool — crisp ribbon photographs ten times better.
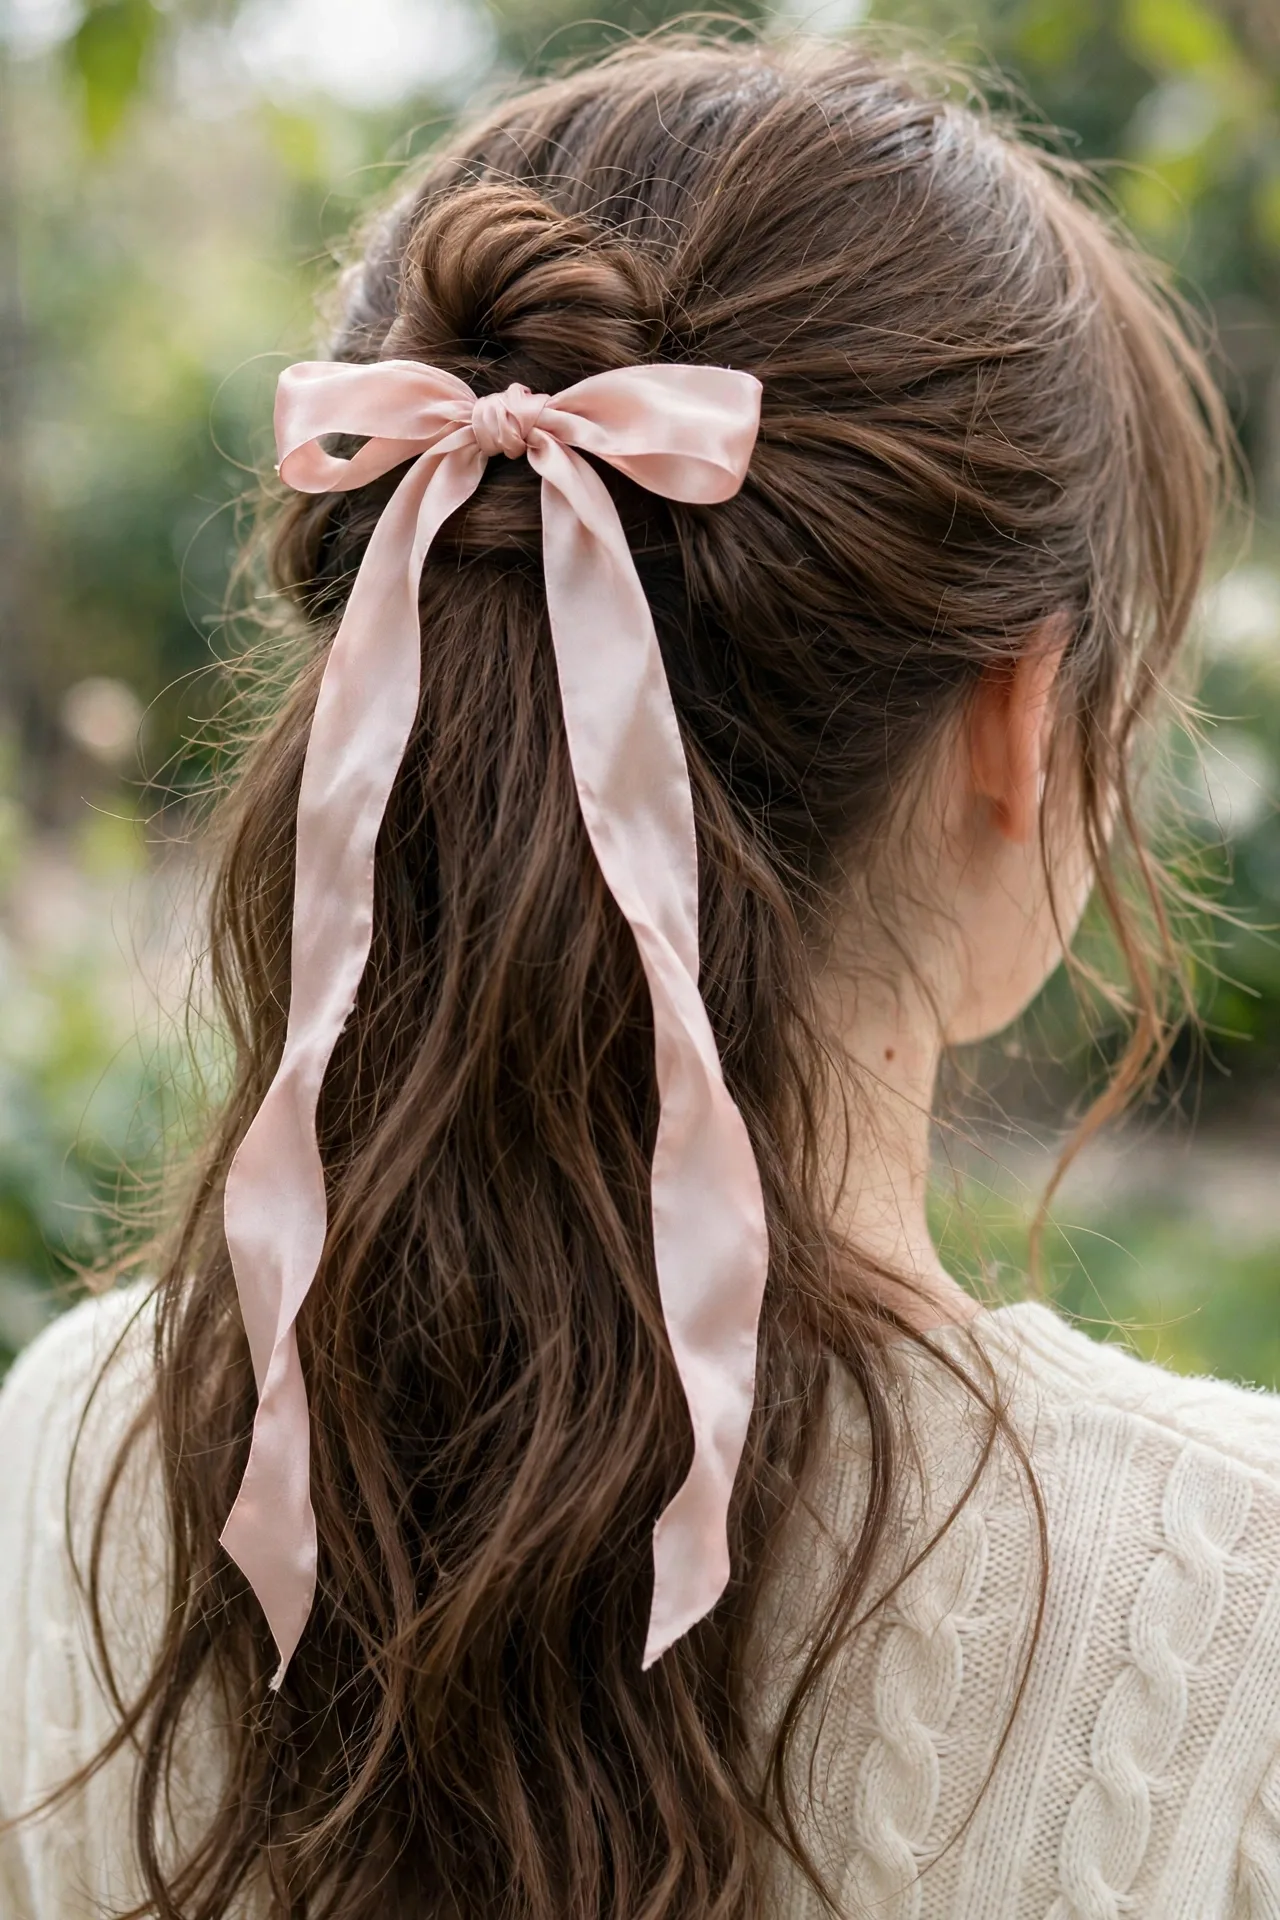
5 Easy Ways to Make & Style Ribbon Bows in Your Hair
Way 1: The Classic Half-Up Bow
Gather the top half of your hair into a small ponytail and secure it with a clear elastic. Take a 24-inch piece of ribbon, thread it through the elastic, and tie your bow right over the elastic so the knot is hidden. Let the ribbon tails hang down over your hair — trim them to end around your shoulder blades. This is the gateway style: it works on straight, wavy, and curly hair, takes two minutes, and instantly makes a basic hair day look styled. A cream or blush satin ribbon is the prettiest starter choice.
Way 2: Ribbon Woven Through a Braid
Start a regular three-strand braid, but tie a long piece of ribbon (about 30 inches) to the top of one of the three sections so the ribbon becomes part of that strand. Braid normally — the ribbon weaves in and out, peeking through the whole length. Tie the end with a small bow using the ribbon tails plus a clear elastic underneath for hold. This looks incredibly intricate but is genuinely just a normal braid with one extra step. It is stunning on long hair and works beautifully for school, work, or events.
Way 3: The Low Ponytail Wrap
Pull your hair into a low ponytail at the nape and secure with an elastic. Take a wide piece of ribbon (1.5-inch satin or velvet) and wrap it around the base of the ponytail two or three times, covering the elastic completely, then tie a bow at the back or side. Let the tails hang long. This is the most polished, grown-up way to wear a bow — it reads elegant rather than cute, and a black velvet ribbon with this style is quietly luxurious. Perfect for offices and dinners where a perky top bow might feel too young.
Way 4: DIY Bow Clips from Ribbon Scraps
This is how you make those boutique bow clips for pennies. Cut two 6-inch pieces of ribbon. Fold each into a loop and glue or stitch the center to form a bow shape, then pinch the middle with thread. Glue the bow onto a blank alligator clip or bobby pin (a dab of hot glue holds fine). Make a handful in different colors — they take five minutes each once you get the rhythm. Clip one above your ear, two as a pair on one side, or scatter tiny ones through an updo. These also make genuinely lovely handmade gifts.
Way 5: Double Bows on Pigtails or Space Buns
The full coquette statement: two high pigtails or space buns, each finished with its own bow. Secure each pigtail with an elastic, tie a medium bow around each base with matching ribbon, and let the tails fly. Keep the bows the same size for symmetry — measure your ribbon pieces against each other before tying. Sheer organza or thin satin keeps this from looking heavy. This is the festival, concert, and photo-day style; it is playful on purpose, so commit to it fully.

Tips for Making Bows Look Expensive
Match your ribbon to your outfit’s undertone — warm cream with warm outfits, bright white with cool ones; the wrong white can clash subtly. Iron or steam every ribbon before wearing; creased ribbon is the number one thing that makes DIY bows look homemade in a bad way. Scale the bow to your hair: petite bows for fine or short hair, bigger statement bows for thick or long hair. And anchor everything — a bow clipped only to slippery clean hair will migrate by noon; a bobby pin crossed through the knot keeps it exactly where you put it.
Mistakes to Avoid
Tying the bow directly onto the hair without an elastic underneath — it slides and pulls. Using wired craft ribbon from the floral aisle — it looks stiff and artificial in hair; stick to fabric ribbon. Making both tails wildly uneven — a small difference is charming, a big one looks accidental. And buying the cheapest thin satin, which frays within an hour; mid-weight satin costs barely more and lasts years.
Start with Way 1 tomorrow morning. It takes less time than deciding what to wear, and you will catch yourself checking the mirror — in a good way — all day.

Ribbon Types Compared: Which to Buy First
Walk into any craft store and the ribbon wall is overwhelming, so here is the short version. Satin is the classic coquette choice — glossy, soft, drapes beautifully, and photographs like a dream; it is also the hardest to keep tied, so anchor it well. Grosgrain has a ribbed texture and holds a bow shape crisply, making it the easiest for beginners to tie neatly. Velvet looks expensive and stays put thanks to its texture, but it shows lint — keep a lint roller handy. Organza is sheer and floaty, gorgeous for events, but too slippery for everyday wear. Start with mid-weight satin in 7/8-inch width: the most versatile, the most forgiving, and the prettiest in photos.
Styling Bows for Your Hair Length
Short hair and bobs: go petite. A small bow clipped just above one ear, or a thin ribbon tied around a tiny half-up section, looks deliberate rather than lost. Medium-length hair: the half-up bow (Way 1) is your sweet spot, and low ponytail wraps sit perfectly at the nape. Long hair: you can do everything, but braided-in ribbon (Way 2) shows off length best — the ribbon trailing down a long braid is genuinely striking. Very thick hair: use wider ribbon (1.5-inch) and longer lengths so the bow does not disappear into the volume; double up the elastic underneath for hold.
Where to Wear Each Style
Not every bow suits every setting, and that is fine — it is a versatile accessory. The low ponytail wrap in velvet works for offices, interviews, and formal dinners. The half-up bow and bow clips are perfect everyday styles for school, errands, and casual outings. Braided-in ribbon shines at parties, weddings, and anywhere photos will be taken. Double bows are for festivals, concerts, themed parties, and days when you simply feel like being extra. Matching the bow’s energy to the occasion is what separates stylish from costume.
Caring for Your Ribbons
Good ribbon lasts years if you treat it decently. Store spools or folded lengths in a drawer away from sunlight, which fades satin over time. If a ribbon wrinkles, a quick pass with a hair straightener on low heat smooths it in seconds — the same tool, two jobs. Frayed ends can be trimmed and resealed with a lighter flame passed quickly along the edge. And keep a small pouch with your three staple colors plus bobby pins in your bag; a ribbon touch-up takes thirty seconds and rescues more bad hair days than dry shampoo ever has.


