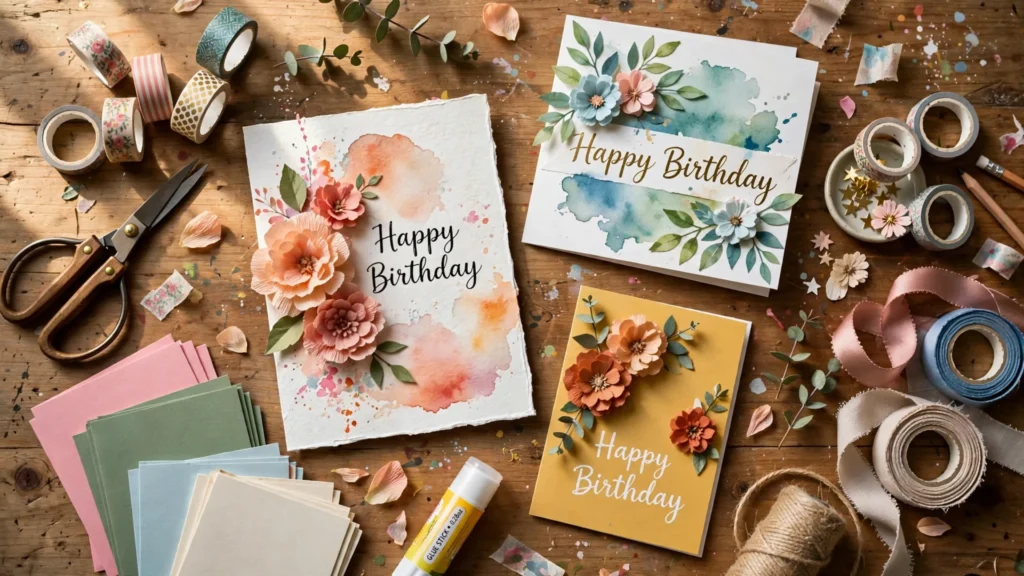

I still remember the first handmade birthday card I ever made. It was for my best friend’s 25th, and I was so broke that week that a store-bought card felt like a luxury. I grabbed some cardstock, a dried-out glue stick, and markers that had seen better days. The result? Lopsided, smudged, and absolutely perfect in her eyes. She still has it pinned to her fridge, eleven years later. That’s the thing about handmade birthday cards — people keep them.
Since then I’ve made dozens. Some turned out gallery-worthy. Some… did not (we’ll get to the glitter disaster). But every single one got a bigger reaction than any store-bought card ever could. There’s something about receiving a card that someone sat down and made, with glue on their fingers and half the kitchen table covered in paper scraps, that a $5 card off the rack just can’t match.
So here are 13 creative handmade birthday card ideas I’ve actually made — the real ones, including the supplies that worked, the mistakes I made, and the small tricks that make each one look polished even if your artistic skills stop at stick figures. Most of these use supplies that cost under $10 if you’re starting from scratch, and many use things you already have at home.
Before You Start: My 5 Hard-Learned Basics
After making more cards than I can count, these are the basics I wish someone had told me on day one:
1. Use the right cardstock. Anything between 80 lb and 110 lb is the sweet spot. Lighter paper warps the second it touches paint or glue; heavier paper fights you when you fold it. I score my folds first with an empty ballpoint pen and a ruler — it sounds fussy, but it gives you a clean fold every single time.
2. Measure your envelope first. Nothing sadder than a beautiful card that doesn’t fit in the only envelope you own. I keep a stack of standard A2 envelopes (4.25 x 5.5 inches) and cut my card bases to match. If I’m making something chunky — buttons, foam layers — I use padded envelopes.
3. Test on scrap paper. This rule would have saved me from the glitter disaster. Test your stamp, your fold, your color combo on scrap first. Every time.
4. Let things dry completely. I once handed someone a card with wet glue and a piece of their shirt came off with it. Not my proudest moment. Glitter, paint, and glue all need more drying time than your patience allows. Give them an hour, minimum.
5. Write the inside first, decorate second. Trying to write a heartfelt message after the card is fully decorated is nerve-wracking — one smudge and the whole thing’s ruined. Write your message while the card is still plain, then go wild on the front.
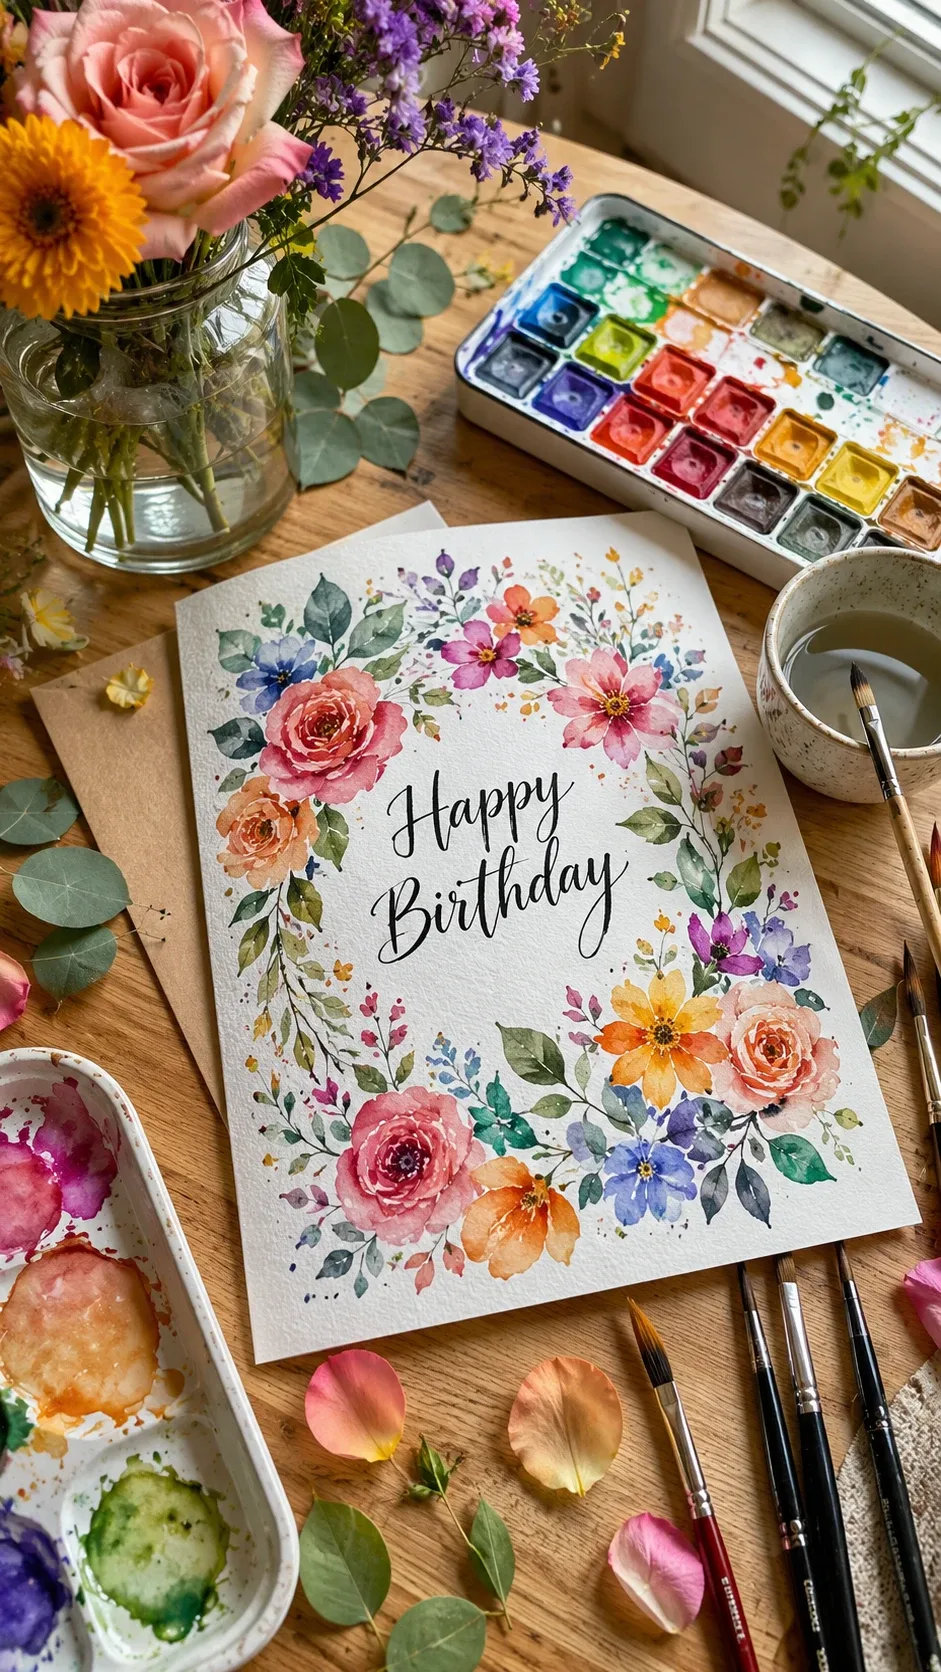
1. Floral Watercolor Birthday Card
This is the one I make when I want someone to think I’m way more talented than I am. Loose watercolor flowers look elegant and artistic, and the beautiful secret is that they don’t need to be precise — soft, blurry petals look intentional.
What you’ll need: watercolor paper or heavy cardstock, a basic watercolor set, a round brush, a pencil, and a black fine liner. A gold gel pen is a lovely extra for tiny accents.
Here’s my actual process: I lightly sketch a loose circle of flower shapes around where my “Happy Birthday” will go — nothing detailed, just blob-petals. Then I paint with more water than paint. Wet-on-wet blends give you those soft, dreamy edges that make the card look like something from a stationery shop. While the petals are still slightly damp, I drop in a darker color at the center for depth. Once everything is fully dry (walk away for at least an hour), I erase any pencil lines and write the greeting with a fine liner or brush pen.
The mistake I made my first time: using too much water on regular printer paper. The paper buckled into something resembling a potato chip. Watercolor paper or at least heavy cardstock is non-negotiable here.
2. Pressed Flower Birthday Card
My grandmother used to press flowers in heavy books, and the first time I glued a few of her dried violets onto a card, I almost cried. There’s something about real flowers on paper that no printed design can imitate.
If you don’t have pressed flowers ready, you can buy packs online for a few dollars — or press your own between book pages with parchment paper for about two weeks. The flowers must be completely dry before you attach them; even a little moisture causes brown spots over time.
You’ll need: blank cardstock, pressed flowers, craft glue (I use a toothpick to apply tiny dots — never squeeze glue straight from the bottle near dried petals), tweezers, and optionally a clear adhesive sheet over the top for protection.
Arrange everything on the card before you glue a single petal. Dried flowers are fragile and do not forgive repositioning. I lay out my design, photograph it with my phone so I remember the layout, then attach one piece at a time, working from the largest flowers to the smallest filler bits. A few sprigs of baby’s breath and some leaves fill gaps beautifully.
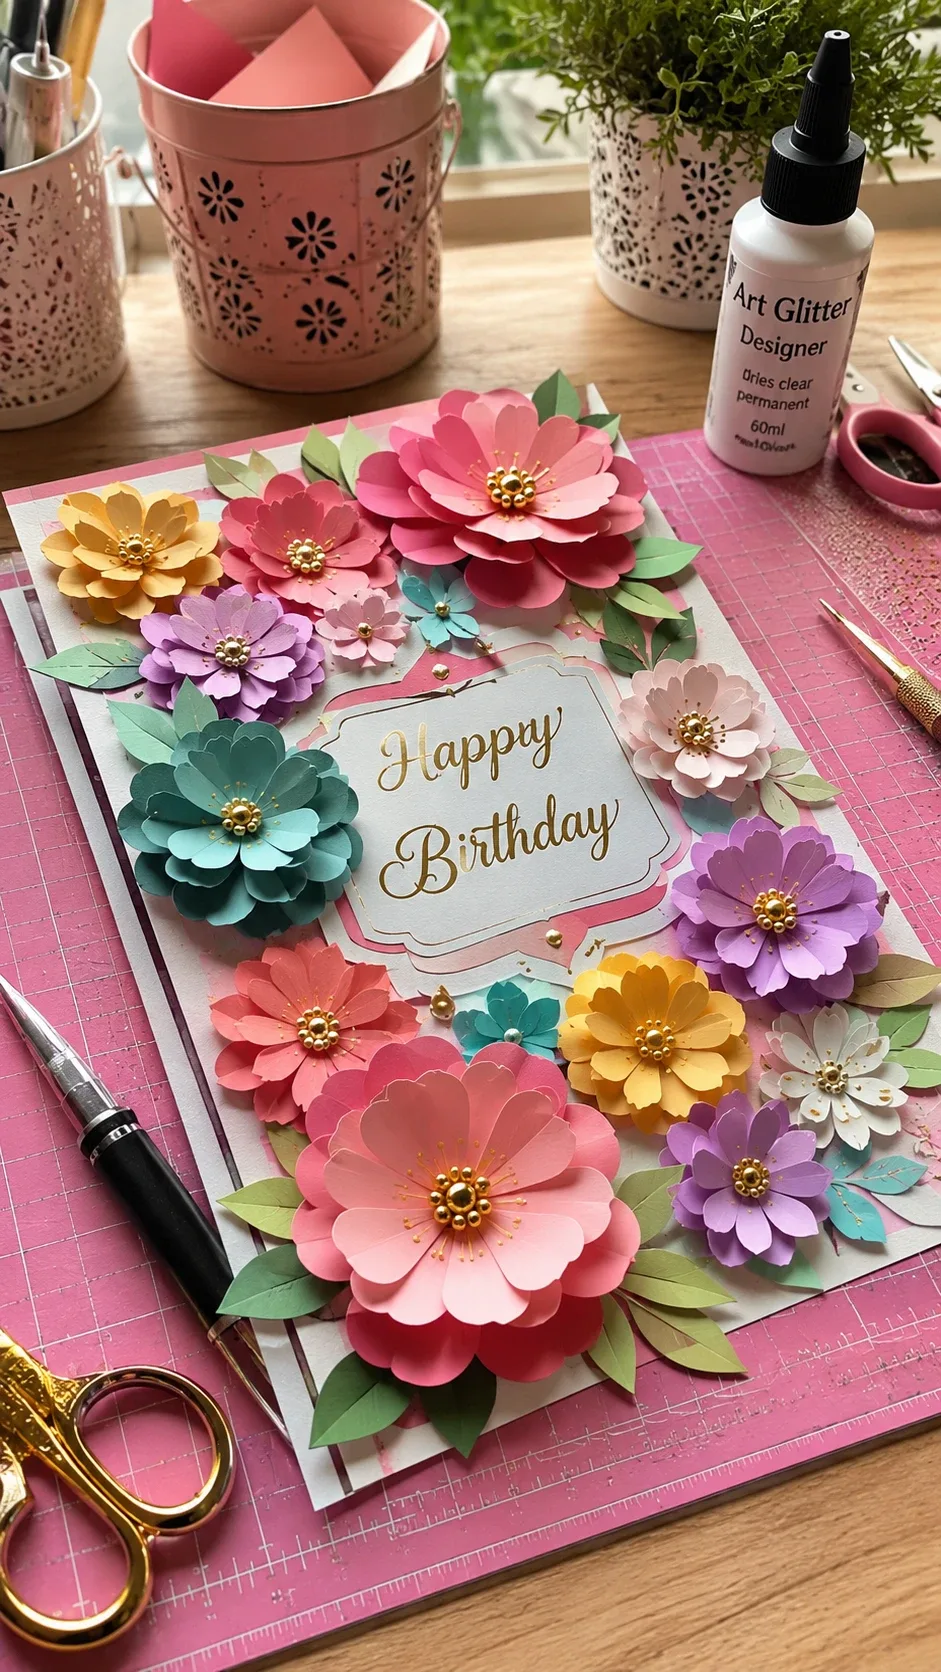
3. Layered Paper Flower Card
This one looks like you spent four hours on it, and honestly the first time it took me three. The second time took forty minutes. There’s a learning curve and then it’s all muscle memory.
The idea is simple: cut flower shapes in two or three sizes from colored cardstock, stack the layers, curl the petal edges with your scissors or a pencil, and glue the stack together. Foam adhesive dots between layers add real dimension that makes the flowers pop off the card.
My best tip: use two or three shades from the same color family — say, blush pink, rose, and deep magenta. That shade variation is what makes the flowers look realistic instead of flat. Curl the petals toward you slightly before gluing; that tiny curl catches the light and does all the heavy lifting for the 3D effect.
Test your arrangement on the card before committing. I’ve glued down a gorgeous cluster only to realize it was lopsided, and un-gluing a paper flower is not a thing that ends well.
4. Pop-Up Birthday Cake Card
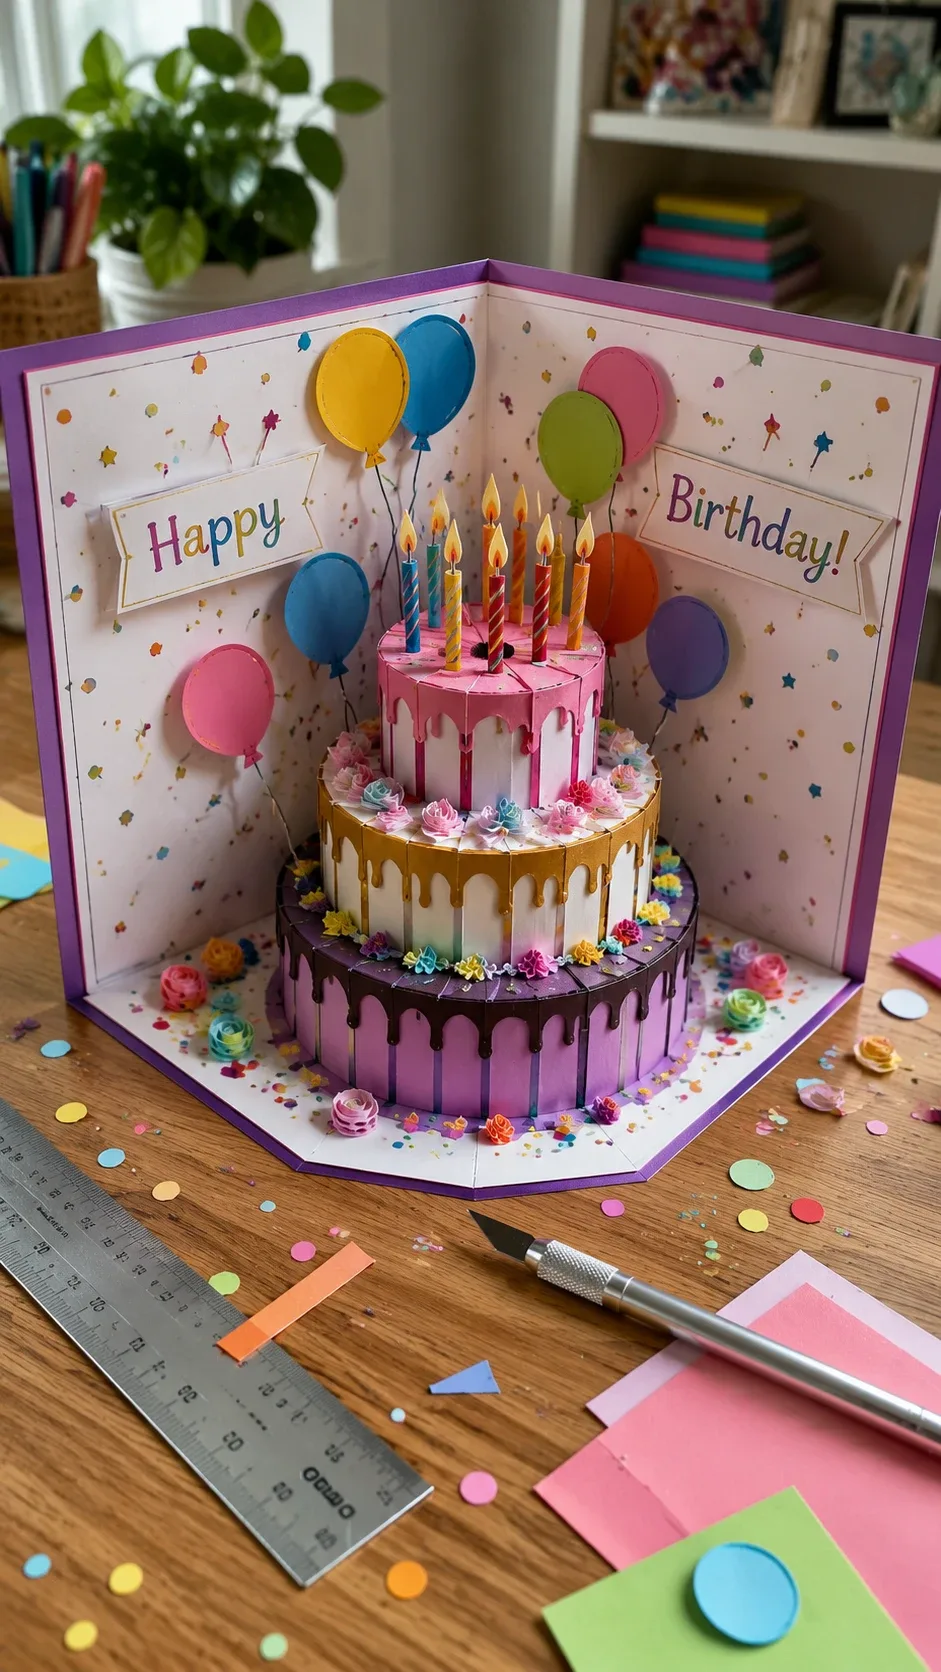
The gasp when someone opens this card is worth every minute. Pop-up cards look like engineering marvels, but the mechanism is genuinely simple: two folded tabs on either side of the crease hold a raised platform that lifts when the card opens.
You’ll need: cardstock for the base, colored paper for the cake layers, glue, a craft knife, and a ruler. Accuracy matters more than creativity here — clean, measured folds are the whole trick.
My method: fold the base card and crease it firmly with a bone folder (or the back of a spoon — I used a spoon for my first five). Inside, I cut two small parallel slits on the fold line to create a tab, fold the tab inward, and that’s the platform. Then I build a little layered cake on it — three rectangles getting smaller, candles on top, and simple paper flames. When the card closes, the cake folds flat; when it opens, up pops the cake.
Do NOT skip the practice round. I tried to be clever on my first pop-up and cut directly into my final cardstock. The mechanism tore. Always test the folding on scrap paper first.
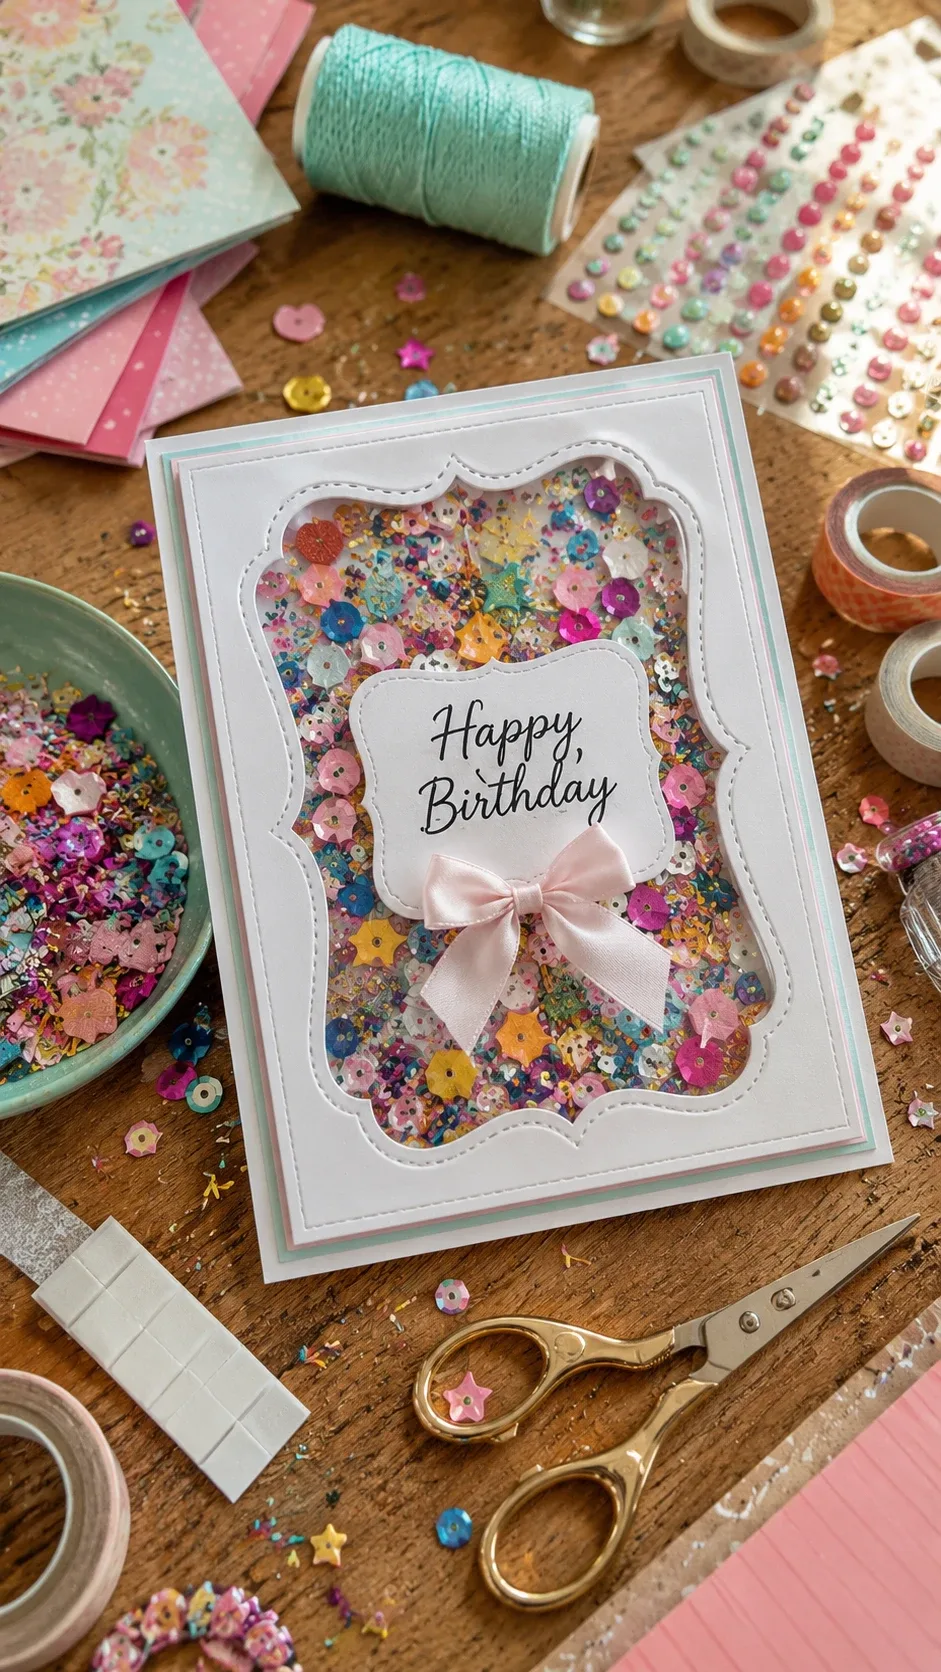
5. Confetti Shaker Birthday Card
Kids go absolutely wild for these, and honestly so do adults. A shaker card has a clear window full of confetti and sequins that moves when you shake it. It’s the card equivalent of a snow globe.
You’ll need: cardstock, a clear acetate sheet (transparency film or even a piece of packaging plastic works), foam tape to build the “walls,” sequins and confetti, and glue.
Cut a window in the card front. Glue acetate behind the opening. Build a ring of foam tape around the opening — this creates the pocket. Drop in a small amount of sequins and confetti (resist the urge to fill it; a sparse amount moves beautifully, a packed pocket just sits there). Then seal it with a backing layer of cardstock. I like to stamp or write the birthday greeting on the backing so it’s visible through the window.
The lesson I learned: use lightweight sequins. Chunky embellishments are too heavy to shake freely, and they scratch the acetate over time. Fine glitter plus small sequins is the magic combo.
6. Minimalist Line Art Card
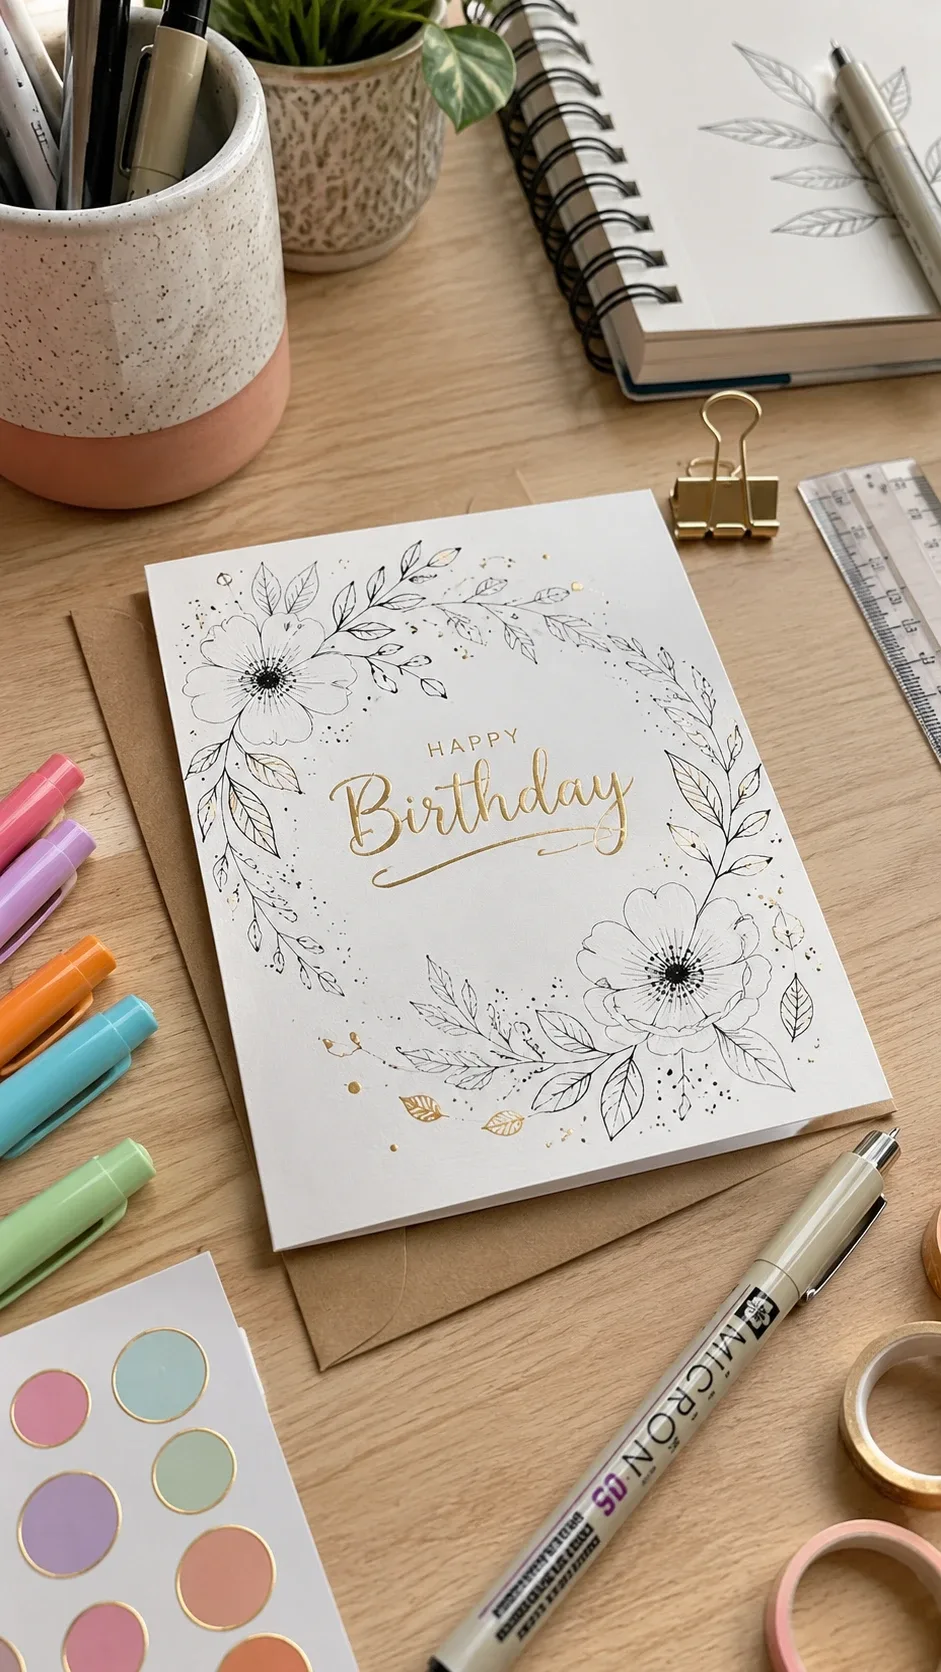
For the person who hates fuss — or for when you only have twenty minutes. A single elegant line drawing on quality white cardstock looks like a $12 boutique card, and all it takes is a fine liner and a steady hand.
I usually draw something simple: a sprig of flowers, a small cake outline, a cluster of balloons. The key is generous white space. Minimalist designs die the moment you start adding “just one more” element.
My trick for straight-ish lines without artistic ability: sketch the design lightly in pencil first, trace slowly with the pen (slow and steady beats fast and shaky), then erase every trace of pencil once the ink is dry. A gold gel pen adds a small touch — maybe tiny dots or a highlighted word — that elevates the whole thing.
Drawing tip from my many failures: don’t try to draw in one continuous confident stroke. Short, slow strokes that you connect look just as good and are ten times easier to control.
7. Washi Tape Pattern Card
Washi tape is the cheat code of card making. It’s colorful, repositionable for the first minute or so, and it turns a plain card into something patterned and cheerful in about five minutes.
My favorite approach: tear or cut strips of washi tape and lay them diagonally across the card in stripes, then write or stick a birthday sentiment over the top. Limit yourself to three or four coordinating patterns — more than that starts to look chaotic. I also love making a washi tape “bunting” — little flag triangles strung across the card like party garland.
Press every strip down firmly with a ruler or your fingernail. Tape edges that lift make the card look unfinished, and they’re the first thing to catch and peel when the card goes through the mail.
8. Button Balloon Birthday Card
I raided my grandmother’s button tin for this one, and now I keep a jar of colorful buttons specifically for cards. Buttons make the cutest balloons — they already have the perfect shape.
Glue colorful buttons in a cluster toward the top of the card, then draw or thread balloon strings beneath them. Embroidery thread tied through the button holes looks adorable; a fine liner drawing wavy strings works too. A mix of button sizes looks playful and natural.
Keep the buttons lightweight — heavy wooden or metal buttons can make the card too bulky to mail and pull the cardstock open. Two or three thin foam dots on the back keep the card standing nicely on a shelf.
9. Stamped Birthday Card
Rubber stamps are my go-to when I need a card fast but don’t want it to look fast. Good stamps and good ink make almost anything look professional.
The stamp itself matters less than the technique: test every stamp on scrap paper first to check ink coverage, press the stamp straight down with even pressure (don’t rock it — rocking is what causes smudged edges), and let the ink dry completely before layering anything on top.
I like stamping a background pattern in a light color, then stamping one bold birthday sentiment in dark ink on top. Layering two tones of the same color gives depth without complexity. If your stamp impression comes out patchy, your ink pad is probably dry — re-ink it and stamp again.
10. Embroidered Thread Card
Stitching on paper sounds intimidating until you try it — it’s genuinely one of the most forgiving crafts, because even wobbly stitches look charmingly handmade.
You’ll need: heavy cardstock (at least 100 lb so it doesn’t buckle), embroidery floss, a sharp needle, and a pin or awl to pre-punch holes. Pre-punching is the step that makes this beginner-friendly — punching evenly spaced holes along a simple outline, then stitching through them with a basic backstitch.
Simple shapes work best: a heart, a balloon, a star, a small flower. Draw the shape lightly in pencil, punch holes every 2-3 millimeters, and stitch. Don’t pull the thread tight — gentle tension keeps the cardstock flat. Tie off your knots on the inside of the card where nobody sees them.
I’ll be honest: my first stitched heart looked like a potato. My third looked like something from Etsy. Practice on scrap, and give yourself three attempts before judging.
11. Kraft Paper Rustic Card
Brown kraft cardstock plus a white gel pen is possibly the highest style-to-effort ratio in all of card making. The contrast is striking, the look is warm and rustic, and it takes about fifteen minutes.
I fold a kraft card, wrap a piece of natural twine around the front two or three times, tie a small bow, and tuck in a dried leaf or small paper flower. Then I write the birthday message directly on the card with a white gel pen — it stands out beautifully on the brown paper.
The rustic style has one golden rule: restraint. A few well-placed elements beat a crowded card every time. This is also the perfect card for people who claim they “don’t like handmade stuff” — the kraft-and-twine look reads as stylish, not crafty.
12. Photo Memory Birthday Card
If you want a guaranteed emotional reaction, put a photo in the card. I made one for my dad’s 60th with a picture of us at his favorite fishing spot, and he got quiet in a way I hadn’t seen before.
Print a wallet-sized photo (home printers work fine, or a quick print shop run). Frame it with decorative paper — a slightly larger rectangle behind the photo in a coordinating color acts as a mat and makes the photo look intentionally placed rather than stuck on.
Then write the memory beside the photo. Not just “Happy Birthday” — the actual memory: where the photo was taken, what was happening, why you chose it. That handwritten line is what turns this from a nice card into a keepsake. Use acid-free glue so the photo doesn’t yellow over the years.
13. Glitter Accent Birthday Card
Ah, glitter. The reason I now craft over a dedicated tray. Used carefully, glitter adds gorgeous sparkle to small details — a glittery star here, sparkly lettering there. Used carelessly, it redecorates your entire house.
The technique: apply craft glue ONLY where you want sparkle, with a small paintbrush for precision. Sprinkle fine glitter over the glue, tap off the excess, and let it dry completely before you touch the card. Fine glitter sticks more evenly than chunky glitter and creates a smoother finish.
My glitter system now: work over folded scrap paper so the excess funnels back into the jar, keep a lint roller nearby, and always — always — wash your hands before touching the rest of the card. I learned this the hard way when my signature came out covered in stray glitter sparkles.
Mistakes That Ruined My Cards (So Yours Don’t)
Let me save you from my greatest hits of failure:
The warping disaster: painting or gluing on thin paper. Solution: 80 lb+ cardstock, always.
The smudge: writing the message last, then smearing it with wet glue from decorating. Solution: write the inside message before you decorate the front.
The envelope problem: making a gorgeous 3D card that won’t fit anywhere. Solution: measure the envelope first, or budget for padded mailers.
The impatience: handing someone a card that’s still tacky. Solution: make cards the day before you need them. Drying time is not optional.
My Favorite Supplies (What I Actually Use)
You don’t need a craft store haul. Here’s my real, battle-tested kit: a good paper trimmer, a scoring tool, Tombow Mono Multi liquid glue (the best all-rounder I’ve found), foam adhesive dots for dimension, washi tape, a set of fine liners, and cardstock in white and kraft. Everything else — buttons, pressed flowers, stamps — I buy per project.
If you’re just starting, grab white cardstock, a glue stick that actually sticks (test it!), washi tape, and a black pen. That alone covers ideas 6, 7, and 8 beautifully.
Final Thoughts
I’ve made cards with expensive supplies and cards with whatever was in the junk drawer, and I can tell you honestly: the card people remember is never the fanciest one. It’s the one that made them feel known — their favorite color, an inside joke in the message, a photo that mattered.
So pick the idea that fits the person you’re thinking of, give yourself a quiet hour, and make something. It doesn’t have to be perfect. My first card was lopsided and smudged, and it’s still on my best friend’s fridge. That’s the real magic of a handmade birthday card.
Happy crafting — and if you make one of these, come back and tell me which idea you tried first!


Pingback: 35 Painfully Relatable Mom Memes That Prove You're Not Alone