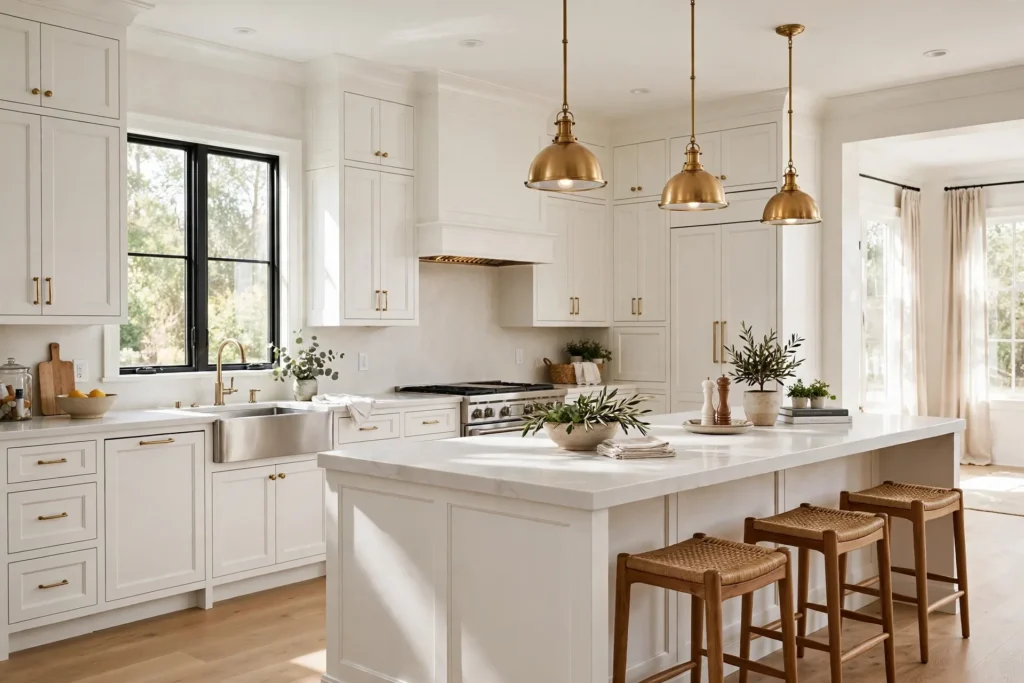

When we bought our house three years ago, the kitchen was the one room I genuinely dreaded walking into. It was shaped like an L — one long wall of tired cabinets, one short wall with a stove that had seen better days, and a big empty patch of floor in the middle where I kept bumping into the trash can. I cooked dinner in there every night, but it never felt like a kitchen. It felt like a hallway that happened to have an oven.
A friend who had just redone her own kitchen said something that stuck with me: “Stop trying to make the L work harder. Give it an island and let the L relax.” I laughed it off at first because our kitchen wasn’t exactly huge, and islands felt like a luxury reserved for those enormous open-plan kitchens on Pinterest. But she was right. The island didn’t just add counter space — it changed how the whole room worked. Suddenly there was a place to chop vegetables while the kids did homework on the other side. Suddenly entertaining didn’t mean everyone crowding around a doorway.
If you’ve got an L-shaped kitchen and you’re wondering whether an island fits — or what on earth to do with it once it’s there — this is for you. I’ve spent the last two years living with ours, making mistakes, rearranging stools, and learning what actually matters. Here are the ideas that made the biggest difference, the ones I wish someone had told me before we started.
Why an Island Works So Well With an L-Shaped Layout
Here’s the thing about L-shaped kitchens: all your cabinets and appliances hug two walls, which leaves the middle of the room open. That open middle is either a traffic lane or an opportunity. Without an island, it’s just dead space you walk through. With an island, it becomes the hardest-working surface in the house.
The classic kitchen work triangle — sink, stove, fridge — still applies, but the island lets you break out of it. It becomes a second prep zone, a landing spot for groceries, a breakfast bar, and the place where everyone naturally gathers. I’ve noticed guests never stand where I tell them to. They stand at the island. Every single time.
The One Measurement That Matters Before Anything Else
Before we get into ideas, let’s talk about the mistake I almost made, because it would have been an expensive one. I fell in love with a huge reclaimed-wood island at a salvage shop — six feet long, gorgeous, and absolutely wrong for my kitchen. My contractor measured the room and showed me that it would have left barely 30 inches between the island and the counters.
Here’s the rule that saved me: leave at least 42 inches of clearance around the island (36 inches is the absolute minimum in a tight kitchen). And measure with the fridge door open, the dishwasher door down, and the oven door open. Not the empty room — the room as it actually gets used. Tape the footprint on the floor with painter’s tape and live with it for a few days. Walk around it with a laundry basket. Open every door. This one step will save you from the most common island regret there is: an island you have to squeeze past sideways.
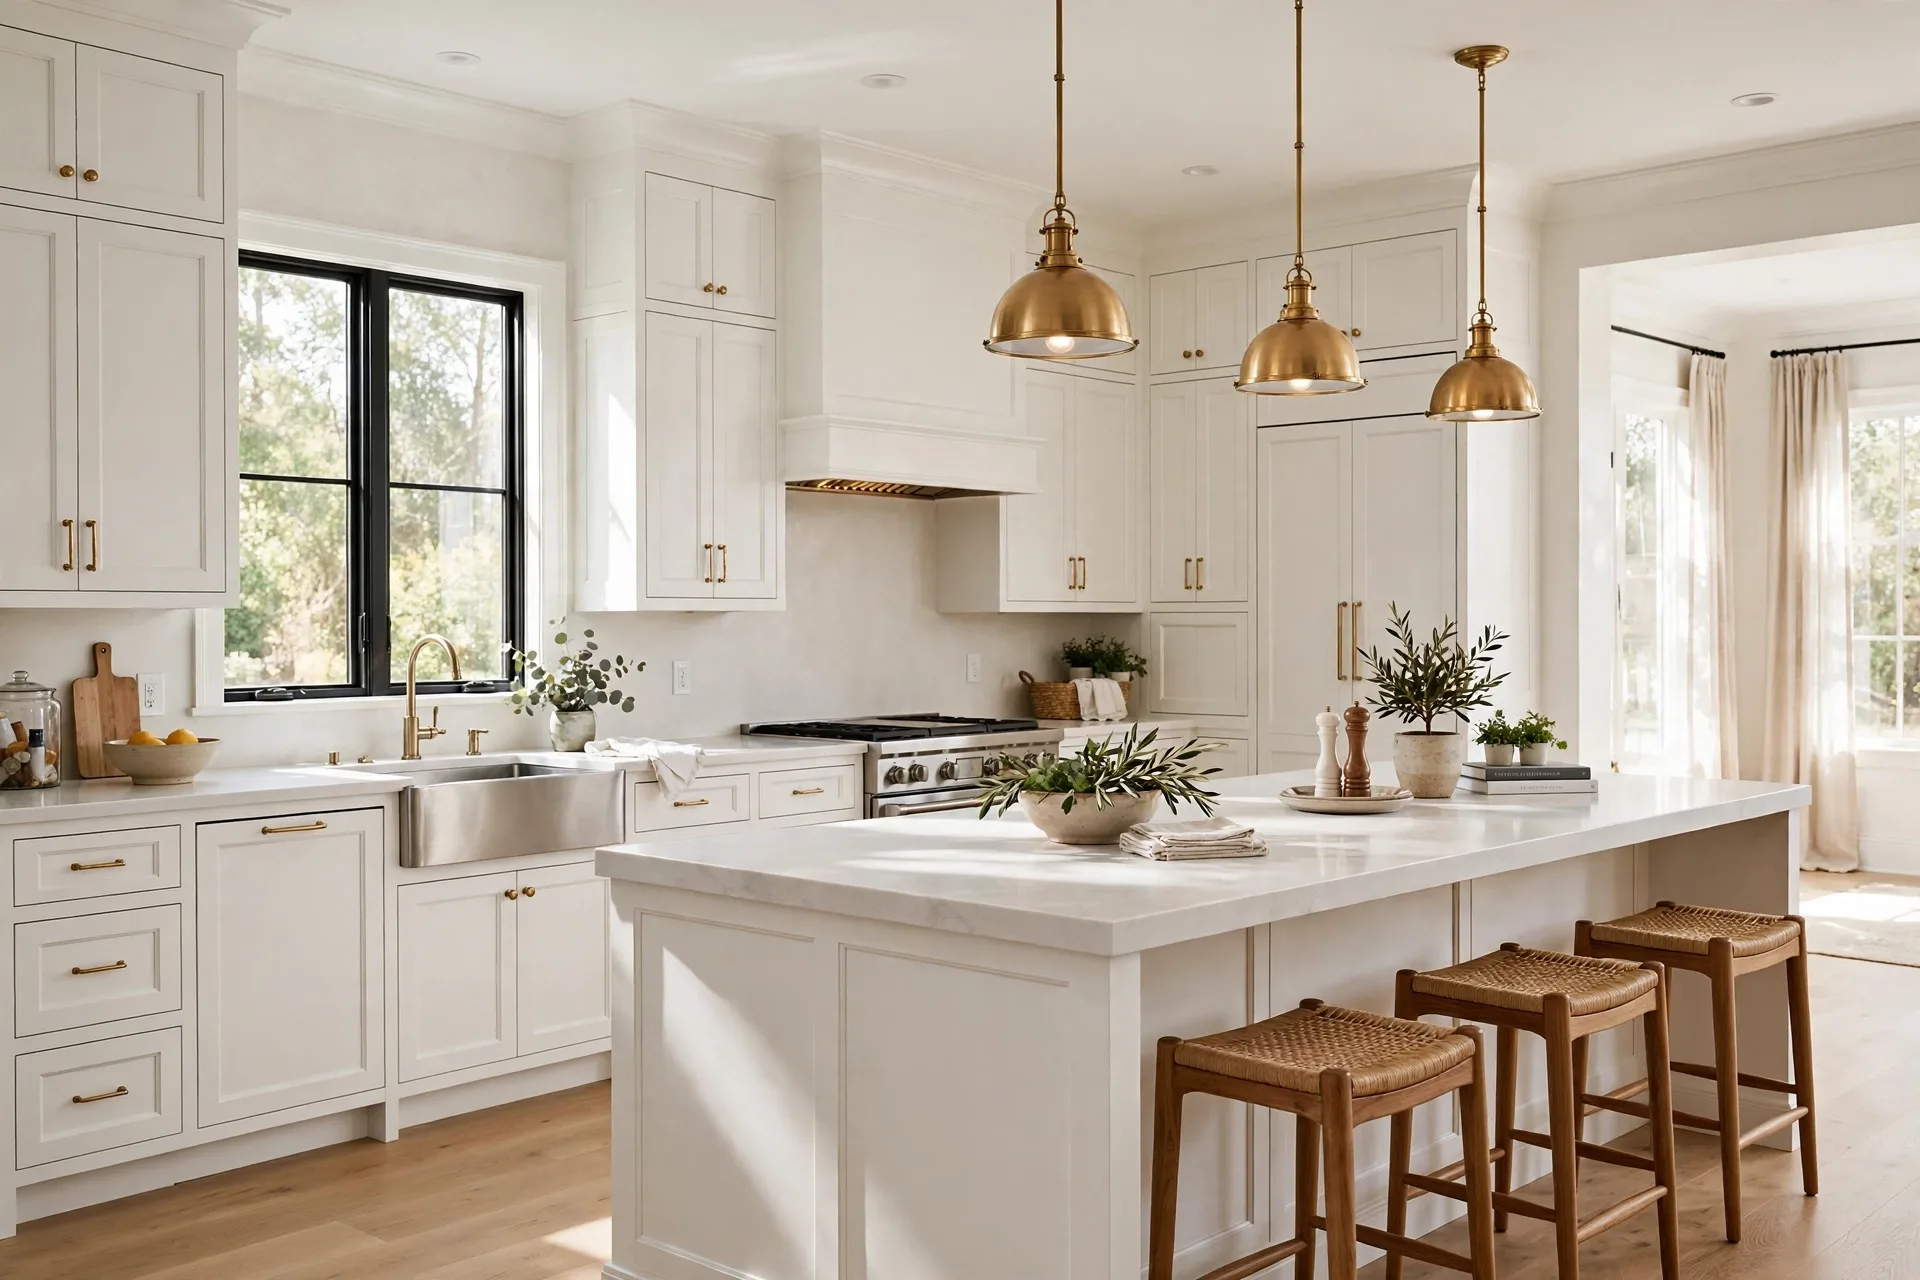
13 L-Shaped Kitchen With Island Ideas That Actually Work
1. The Wide Prep Island With Seating
This is the setup I ended up with, and it’s the one I’d recommend to almost anyone. The idea is simple: one big, uninterrupted island surface where the cooking side faces the L and the seating side faces away. Prep happens on the kitchen side, people sit on the other side, and nobody gets in the way of the cook.
What made this work for us was putting wide drawers on the working side — utensils, mixing bowls, the stuff I reach for constantly — and leaving a generous overhang on the seating side. Our stools tuck completely underneath, which keeps the kitchen looking tidy when nobody’s sitting there. If I’d mounted stools on the working side instead, every dinner would have involved someone getting jabbed by a cutting board. Ask me how I know this was a near-miss.
2. Turn the Island Into a Baking Station
My sister bakes the way some people breathe — constantly, joyfully, with flour on everything. When she redid her kitchen, she designed her island specifically for baking: one long, unbroken stretch of butcher-block-style counter, deep drawers for sheet pans stored vertically, and her stand mixer living in a lift-up cabinet underneath so the counter stays clear.
If baking is your thing, give the island a contrasting countertop material — something durable and heat-friendly — so it visually reads as its own zone. A marble-look quartz or even a real butcher block works beautifully here. The key lesson she taught me: design the island around the activity, not the other way around. A generic slab of counter is fine. A slab designed for what you actually do is transformative.
3. Go Bold With a Waterfall Island
A waterfall countertop — where the stone continues down the sides of the island — is the fastest way to make a kitchen look like it belongs in a magazine. I’ve seen this done with quartz, granite, and even porcelain slabs, and the effect is always the same: the island becomes a piece of furniture, not just a cabinet box.
A couple of practical notes from friends who’ve done this. First, pick the countertop before you finalize the island dimensions, because the fabricator needs to match the veining across the top and the waterfall edges for it to look seamless. Second, ask about the exposed edges — they take a beating from hips, vacuum cleaners, and toy trucks, so a durable material matters. Third, keep the cabinetry underneath simple. The countertop is the star here; busy cabinet doors will fight it.
4. Build Pantry Storage Into the End of the L
Islands have a sneaky problem: they invite clutter. Without enough storage elsewhere, the island becomes a dumping ground for mail, school papers, and that air fryer you use twice a month. The fix that worked best in my kitchen was adding tall pantry cabinets at the end of one leg of the L.
We put in a floor-to-ceiling cabinet with adjustable shelves and pull-out baskets, and it holds dry goods, the coffee supplies, and the small appliances that used to colonize the island. Use matching cabinet fronts so it reads as part of the kitchen rather than a storage locker you bolted on. And put it near the fridge if you can — unloading groceries becomes a two-step process instead of a relay race across the kitchen.
5. Warm It Up With a Natural Wood Island
There’s a reason wood islands show up in every kitchen magazine: they add warmth that painted cabinets just can’t. In an L-shaped kitchen where the perimeter is all white or gray, a wood island breaks up the monotony and gives the room a focal point without adding another paint color to the mix.
My advice from living with one: choose wood with visible grain and a finish actually rated for kitchen use. Butcher block looks stunning but needs regular oiling; a sealed oak or walnut is more forgiving for a busy family. I wipe ours down with a damp cloth and mild soap, and two years in it still looks great. Repeat the wood tone once or twice elsewhere — a cutting board on display, wooden bar stools — so it feels intentional rather than random.
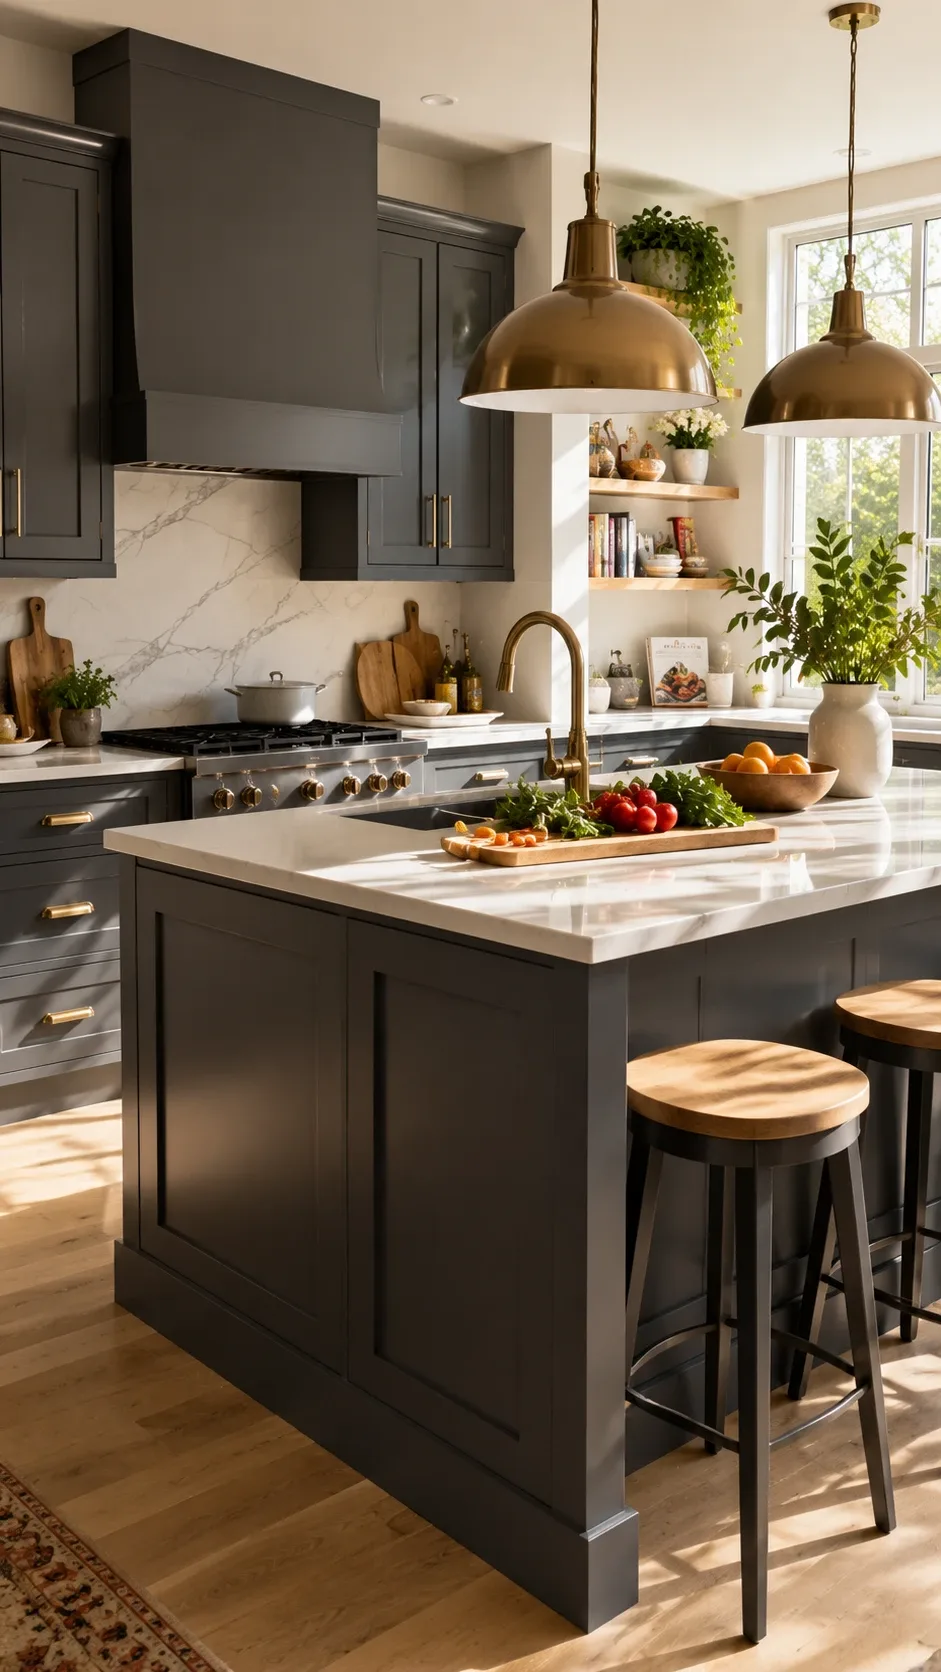
6. Small Kitchen? Get a Slim Island Anyway
This is the idea I want to shout about, because so many people assume their L-shaped kitchen is too small for an island. Mine is not a big kitchen — it’s a modest, lived-in space — and our narrow island is the best thing in it. A slim island, maybe 24 to 30 inches deep instead of the standard 36-plus, gives you extra prep space and storage without turning the room into an obstacle course.
The clearance rule matters even more here. Measure twice, tape the floor, live with the tape for a weekend. If the doors and drawers open comfortably, the island fits. To keep a compact island from feeling bulky, go for a lighter visual profile — open legs, a slim countertop edge, or a lighter color than the perimeter cabinets. I also skipped seating on ours at first, then added two small backless stools later once I was sure there was room. No regrets either way; just don’t cram in seating the space doesn’t have.
7. Make the Island Your Family Dining Hub
Be honest: how often does your formal dining table get used? Ours collects mail and craft projects. The island, on the other hand, hosts breakfast, homework, coffee with the neighbor, and weeknight dinners approximately 300 days a year. If your household is anything like mine, lean into it.
For an island that doubles as the dining table, you need two things: a comfortable overhang (at least 12 inches of knee space, 15 if you can spare it) and stools people actually want to sit on. Cheap stools seemed fine in the showroom and were miserable within a month — I replaced ours with cushioned ones and it made a ridiculous difference. Keep a drawer nearby stocked with napkins, cutlery, and placemats so setting up for a meal takes thirty seconds. And pick a countertop that’s easy to wipe down, because this surface will see everything from spaghetti night to glitter glue.
8. Add a Prep Sink to Create Two Work Zones
This one is a game-changer for households where more than one person cooks. A small prep sink on the island means the main perimeter sink handles cleanup while the island sink handles washing vegetables, filling pots, and rinsing hands. Two people can work without doing that awkward kitchen dance around each other.
It’s not for everyone, though. A sink eats countertop space, and if your island is already modest, you might miss the flat surface more than you use the second sink. Our contractor’s rule of thumb: the island should still have at least one solid three-foot stretch of uninterrupted counter after the sink goes in. We placed ours toward one end rather than dead center, which left a proper chopping zone beside it. Also — and this surprised me — check your plumbing costs before you fall in love with the idea. Running water lines to an island can add a meaningful chunk to the budget.
9. Hide the Small Appliances in the Island
Stand mixer, air fryer, blender, toaster oven, coffee grinder — the average kitchen collects small appliances the way a beach collects shells. Mine used to march across every available counter until I gave the island deep drawers and one appliance garage with an outlet inside.
Measure every single appliance before you plan the storage. My air fryer is half an inch taller than I estimated, which led to an annoying shelf adjustment after installation. Heavy items like the stand mixer should live at a comfortable lifting height — not on the floor, where you’ll dread dragging them out. And leave one stretch of island counter intentionally empty. Visual breathing room is real; a completely covered surface always reads as messy, even when everything on it has a purpose.
10. Try Open Shelving at the Island End
If your L-shaped kitchen has a lot of upper cabinets, it can start to feel like a tunnel of doors. Open shelving at one end of the island breaks that up beautifully. We added two floating shelves at the non-working end of our island for cookbooks, a basket of onions and garlic, and a couple of wooden boards.
The trick is editing. Open shelves with a curated handful of attractive, useful things look styled; open shelves crammed with random mugs look like a dorm room. Keep heavier items low, pretty things high, and wipe them down regularly because kitchen grease floats and settles on everything. I repeat one color from the backsplash in the shelf styling, which ties the whole thing together without trying too hard.
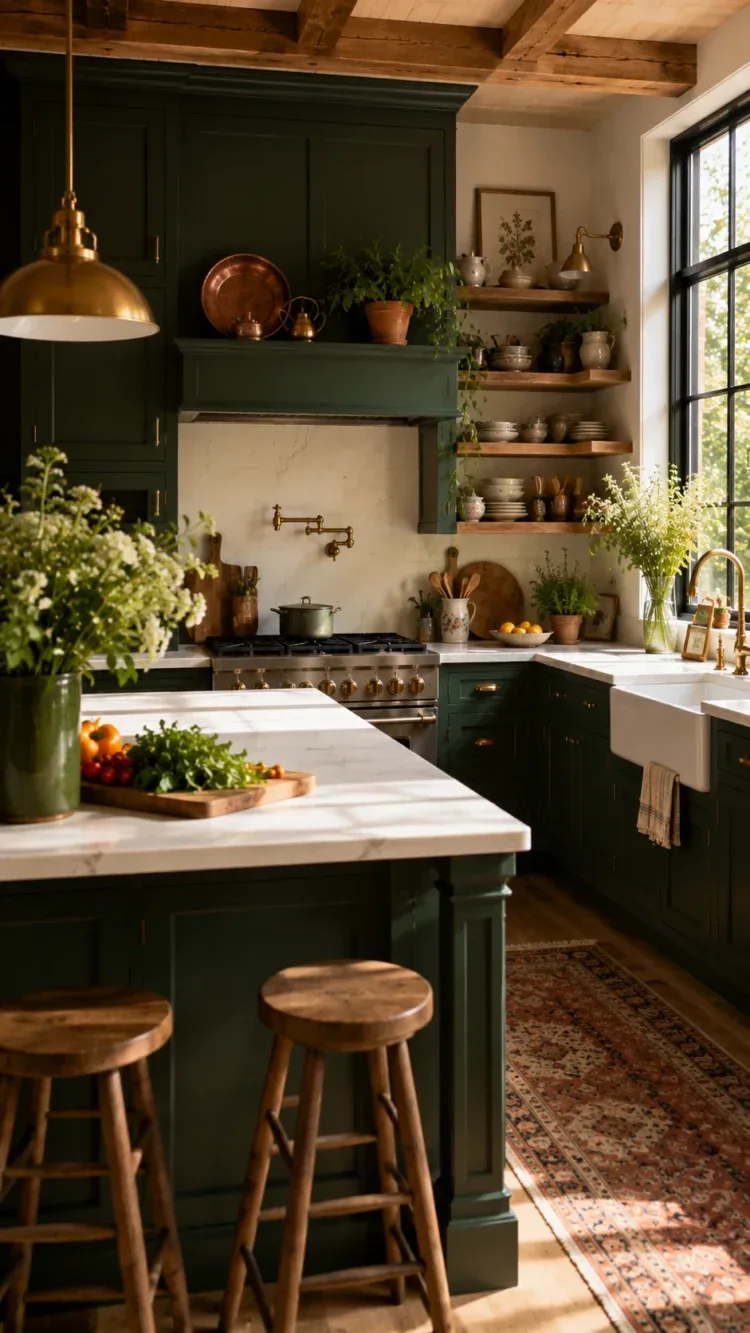
11. Treat the Gap Between Sink and Island as a Prep Zone
This is less a design idea and more a habit change, but it made a bigger difference than half the things we bought. The space between the perimeter sink and the island isn’t just a walkway — it’s your most important prep real estate. Once I set it up that way, cooking got noticeably smoother.
Here’s what I did: I mapped my actual cooking sequence — fridge, sink, chopping, stove — and stored everything within a few steps of the island’s working side. Knives and cutting boards in the island drawer facing the sink. Mixing bowls underneath. Oils and spices in the nearest perimeter cabinet to the stove. It sounds obvious written down, but before I did this deliberately, my most-used tools were scattered across three different zones and I was walking laps around the island every dinner. Keep this zone clear of decorative clutter. A beautiful big cutting board can live there; the mail cannot.
12. Balance a Dark Island With Light Perimeter Cabinets
Two-tone kitchens are having a moment, and for good reason — a dark island against light perimeter cabinets gives you drama without commitment. Deep green, navy, charcoal, or a rich stained wood on the island; white, cream, or light gray on the L. The island becomes the anchor of the room while the walls stay bright and airy.
If you go this route, pick the island color first and build around it. Check it against your flooring and your natural light at different times of day — paint chips lie, especially in north-facing kitchens. Then repeat the dark tone in small doses elsewhere: cabinet hardware, a pendant light, maybe the faucet finish. One echo is enough to make it feel designed rather than accidental. And keep the backsplash calm. A loud island plus a loud backsplash is the fastest way to make a kitchen feel chaotic.
13. Build a Coffee and Breakfast Station Into the Island
Mornings in our house used to be chaos — everyone orbiting the main counter, elbowing for the coffee maker, blocking the stove. Then we moved the coffee setup to the far end of the island: machine, mugs on a small shelf underneath, a basket with tea and coffee, and breakfast stuff in the drawer below. It operates completely independently of the cooking zone now.
This works even in a small kitchen because it takes so little space — a two-foot section is plenty. Keep it away from the primary chopping area so breakfast traffic doesn’t collide with dinner prep (or vice versa). A simple tray corrals the essentials and keeps the rest of the counter clear. My only real tip: if multiple people use it, label nothing and judge no one. The teenager’s hot chocolate packets live next to my French press and everyone is happy.
Common Mistakes to Avoid
I’ve either made or narrowly avoided most of these, so consider this the section I wish I’d read first:
- Buying the island before measuring with doors open. The number one regret. Tape the floor, open every door, and live with it for days before committing.
- Making the island too deep. A super-deep island looks impressive and functions terribly — you can’t reach the middle, and it creates long walks between the sink, stove, and fridge. Around 36 inches deep is the sweet spot for most kitchens.
- Forgetting about outlets. Islands need electrical access — for small appliances, phone charging, homework laptops. Plan outlets into the island design, not as an afterthought. Code in most areas actually requires them.
- No clear purpose. An island that’s just “extra counter” becomes a junk magnet. Give it a job: prep station, dining hub, baking zone, coffee bar. The job drives every other decision.
- Skimping on lighting. One sad flush-mount light over an island is a crime against kitchens. Two or three pendants hung at the right height (about 30-36 inches above the counter) change everything — for cooking visibility and for how the room feels at night.
- Choosing form over function on stools. Beautiful stools that hurt after ten minutes will sit empty. Sit in them before you buy, and check the height against your actual counter — counter height (36 inches) and bar height (42 inches) need different stools.
How to Plan Your Island: A Simple Step-by-Step
If all of this feels like a lot, here’s the stripped-down process that worked for us:
- Step 1: Measure the real room. Not the floor plan — the room with doors open, drawers out, and appliances in use. Note your clearance on all sides.
- Step 2: Pick the island’s job. Prep, seating, storage, dining, baking, coffee — choose one primary purpose and one secondary. Everything else follows.
- Step 3: Size it to the clearance. Work backward from the 42-inch (minimum 36-inch) aisles to find your maximum island footprint. Smaller and functional beats bigger and annoying.
- Step 4: Plan storage from the inside out. List what will live in the island, measure the tallest and heaviest items, then design drawers and shelves around them.
- Step 5: Choose materials for how you live. Busy family? Durable, forgiving surfaces. Love to entertain? Something with a little wow factor. Be honest about your maintenance tolerance.
- Step 6: Light it properly. Pendants for the island, and check that your perimeter task lighting still covers the counters now that the island is there.
- Step 7: Live with the tape outline first. Seriously. A week of walking around a taped rectangle is the cheapest insurance in all of home renovation.
Final Thoughts
Two years after our island went in, I can’t picture the kitchen without it. It’s where my daughter does her math homework while I chop onions. It’s where we open birthday presents and spread out takeout on Friday nights. It’s the spot every guest gravitates to, no matter how nicely I’ve arranged the living room.
The ideas above aren’t about chasing a particular look — they’re about making the layout serve your actual life. Start with the clearance, give the island a real job, and be honest about how your household uses a kitchen. Do that, and the L-shaped kitchen with an island stops being a layout compromise and becomes the best room in the house. Ours certainly did.



Pingback: Small Pantry Organization Ideas: 13 Genius Ways to Make a Tiny Pantry Actually Work