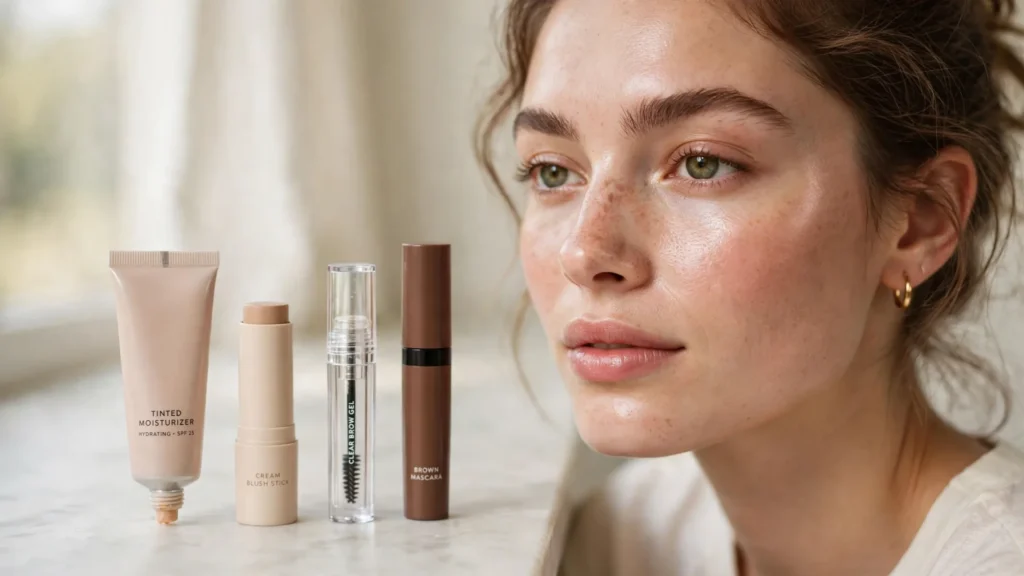

I used to be that person who hit snooze four times and then tried to do a full face of makeup in six minutes flat. Foundation on one cheek, eyeliner winging somewhere near my eyebrow, blending with my fingers because the beauty sponge was still in the sink from yesterday. Then I’d show up to work looking like I got ready in a moving car. Which, honestly, some days I basically had.
Everything changed the morning I had exactly ten minutes, a sleeping baby in the next room, and zero energy. I skipped the foundation entirely, grabbed four products, and somehow walked out looking better than on days I’d spent forty minutes layering everything. A coworker asked what “glow stuff” I was using. I was wearing a tinted moisturizer, concealer under one eye, blush, and lip balm. That’s when I realized the whole game of the no-makeup makeup look in 10 minutes isn’t about products — it’s about which products you refuse to skip.
Since then I’ve done this routine hundreds of times. I’ve tested it in summer humidity, winter dryness, on eight hours of sleep and on three. Here’s the version that actually works, every time, in ten minutes or less.
What the No-Makeup Makeup Look Actually Is (and Isn’t)
Let’s clear this up first, because people overcomplicate it. A no-makeup makeup look isn’t about owning twenty “nude” products. It’s a philosophy: even out what needs evening out, add back the color your face naturally has, and stop there. The goal is for someone to think you just have great skin and slept well — not that you’re wearing anything.
What it isn’t: ten products layered to look like zero products (that’s just regular makeup with extra steps). You don’t need contour, you don’t need baking, you don’t need eyeshadow primer. You need skin that looks like skin and features that look alive.
The 8-Minute Routine, Step by Step
This is the exact order I use. I’ve clocked it — eight minutes when I’m not chatting with anyone, nine if I stop to stare at myself. The order matters because each layer is thin and sets while you do the next one.
Minutes 0–2: Skin prep — the real foundation
Here’s the thing nobody tells beginners: the “no-makeup” look is 70% skincare. If your skin is dehydrated, every bit of makeup you put on top will cling to dry patches and announce itself. So I start with a quick splash of water, then a lightweight moisturizer while my skin is still damp. Damp skin absorbs product better and gives you that plump, bouncy base for free.
On mornings I’m rushing, I use a moisturizer with SPF — something like CeraVe AM or La Roche-Posay Toleriane. If I’m not wearing sunscreen under makeup, I will forget it entirely, and that’s a tradeoff I’m not willing to make. Moisturizer first, one minute to sink in while I brush my teeth.
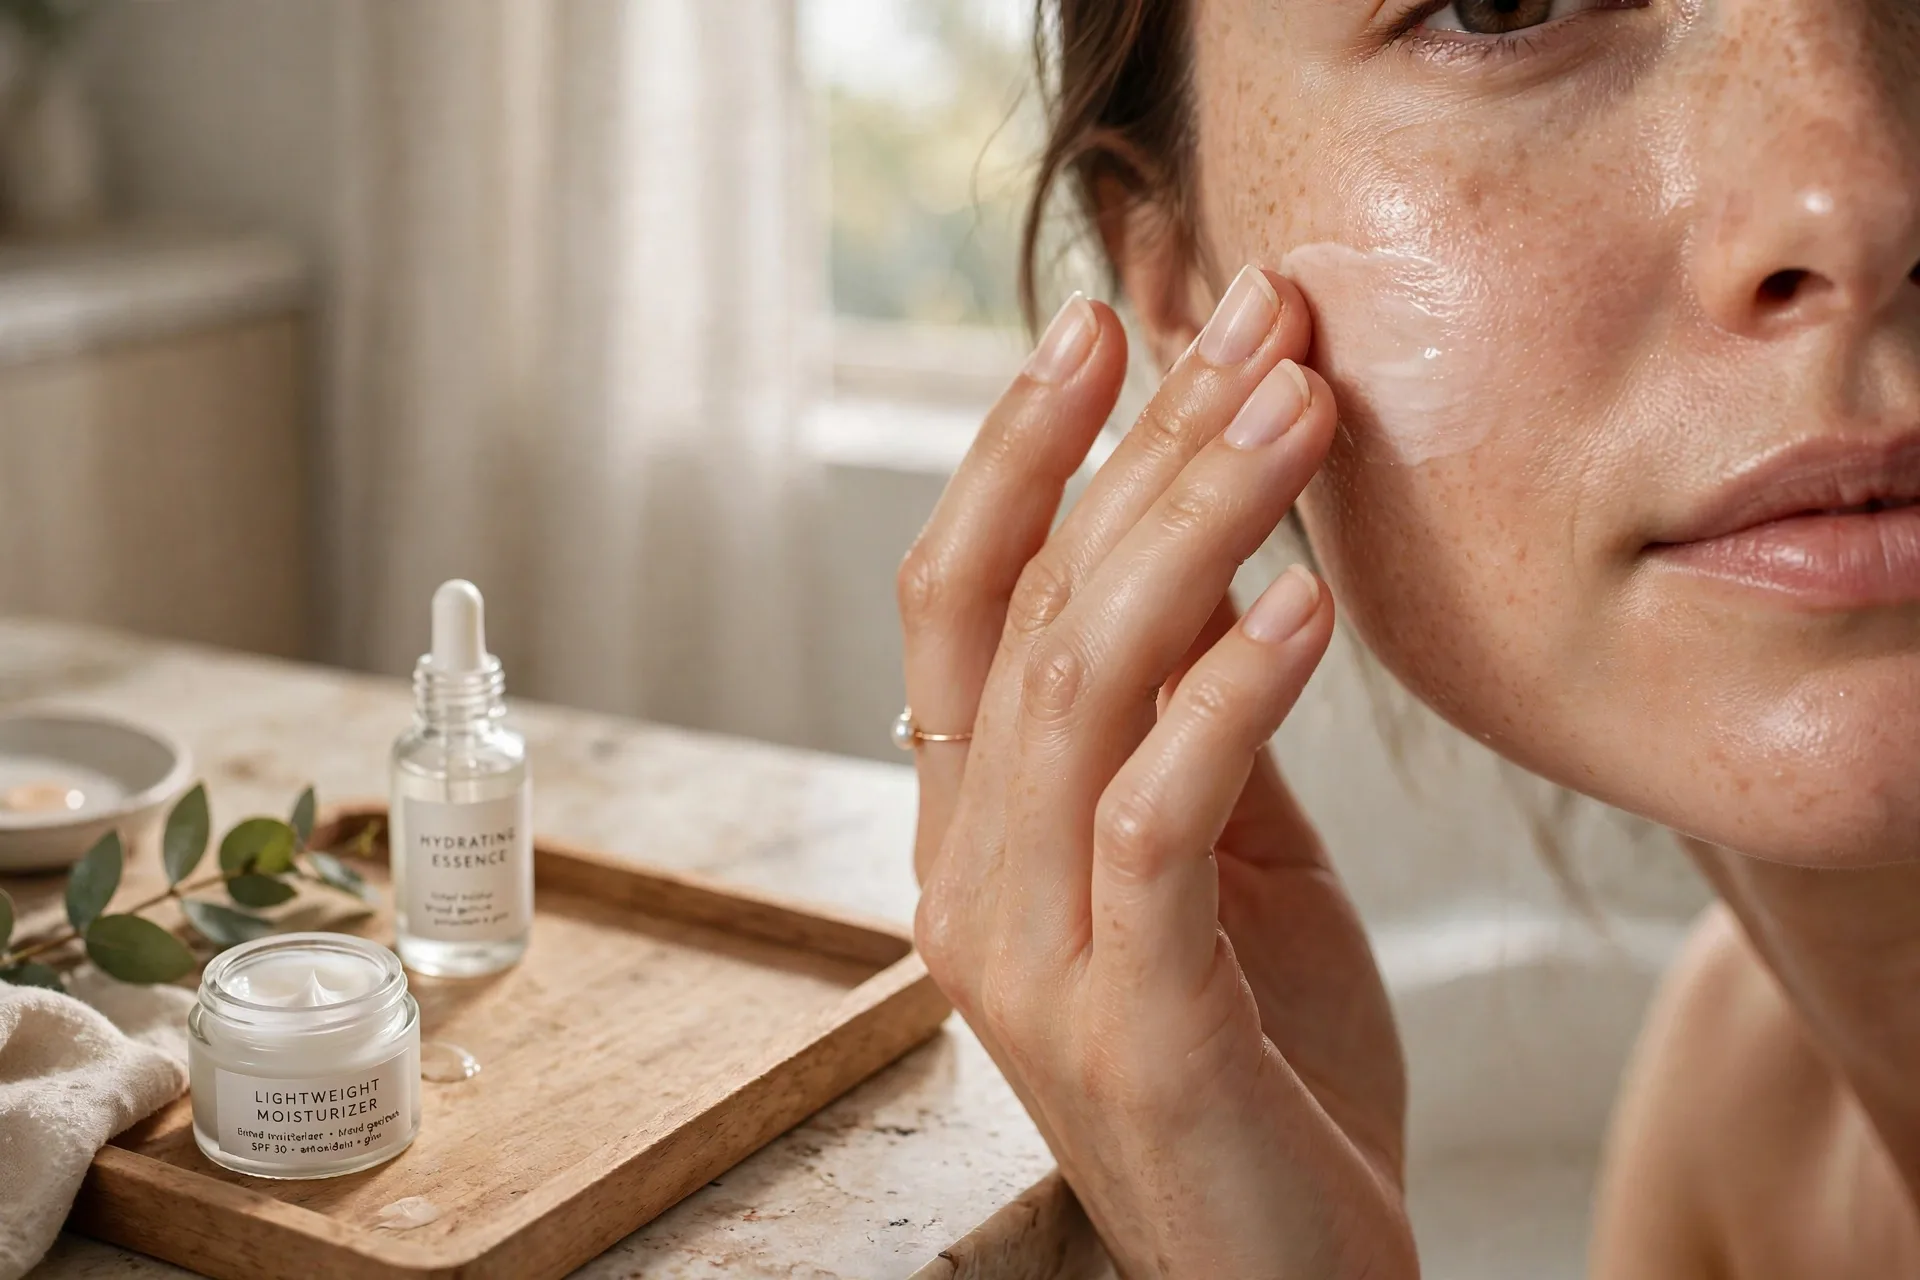
Skin prep is the whole game — hydrated skin makes every product on top look invisible.
Minutes 2–4: Tinted moisturizer or BB cream — not foundation
This is the single biggest mindset shift. Full-coverage foundation is the enemy of this look because it creates a mask. What you want is a sheer tint that evens out redness around the nose and chin while letting your actual skin — freckles, moles, all of it — show through. That’s what sells the “not wearing makeup” illusion.
My drugstore pick for years has been Maybelline Fit Me Tinted Moisturizer. It has SPF, it costs very little, and the finish looks like skin, not product. If you want to step up a level, e.l.f. Halo Glow Liquid Filter gives that lit-from-within finish that reads expensive in photos. I apply it with my fingers — warm fingers melt the product into the skin better than any tool, and it saves washing a sponge.
One pump is enough for the whole face. Start in the center where you need it most (around the nose, mouth, chin) and sheer it outward. Leave your cheeks and forehead barely touched. That unevenness is the point — it looks like skin instead of a uniform layer.
Minutes 4–5: Spot-conceal only where you need it
Do not put concealer all over your face. Seriously. The trick is tiny dots: one small dot on any active blemish, a tiny line under the inner corner of each eye if you’re dark there, and a dab on any red spot. Then pat it in with your ring finger — it’s your weakest finger, so it won’t drag the product around.
Maybelline Instant Age Rewind is the classic for a reason; a thin layer melts in and doesn’t crease. The mistake I made for years was using a full-coverage concealer and blending it wide, which just recreated the foundation mask I’d skipped. Less product, smaller area, pat don’t rub.
Minutes 5–6: Cream blush — the life-bringer
If you only bought one product from this whole list, make it a cream blush. Blush is what makes a bare face look awake instead of tired. Powder blush sits on top of the skin and looks obvious; cream blush melts in and looks like your cheeks just do that.
Smile slightly, dab the blush on the apples of your cheeks, and blend it upward toward your temples with your fingers. Then — this is the trick — dab the leftover product on your fingers across your nose bridge and your eyelids. One product, three spots, and suddenly your whole face looks flushed and alive like you’ve just come in from a walk.
I’ve used the Rare Beauty Soft Pinch in Joy for ages (a tiny dot goes a long way), but on a budget, e.l.f.’s Camo Liquid Blush is genuinely fantastic. For a shoppable shade that works on most skin tones, look for a warm rose or peachy pink — anything too cool or too bright will read “makeup,” which defeats the purpose.
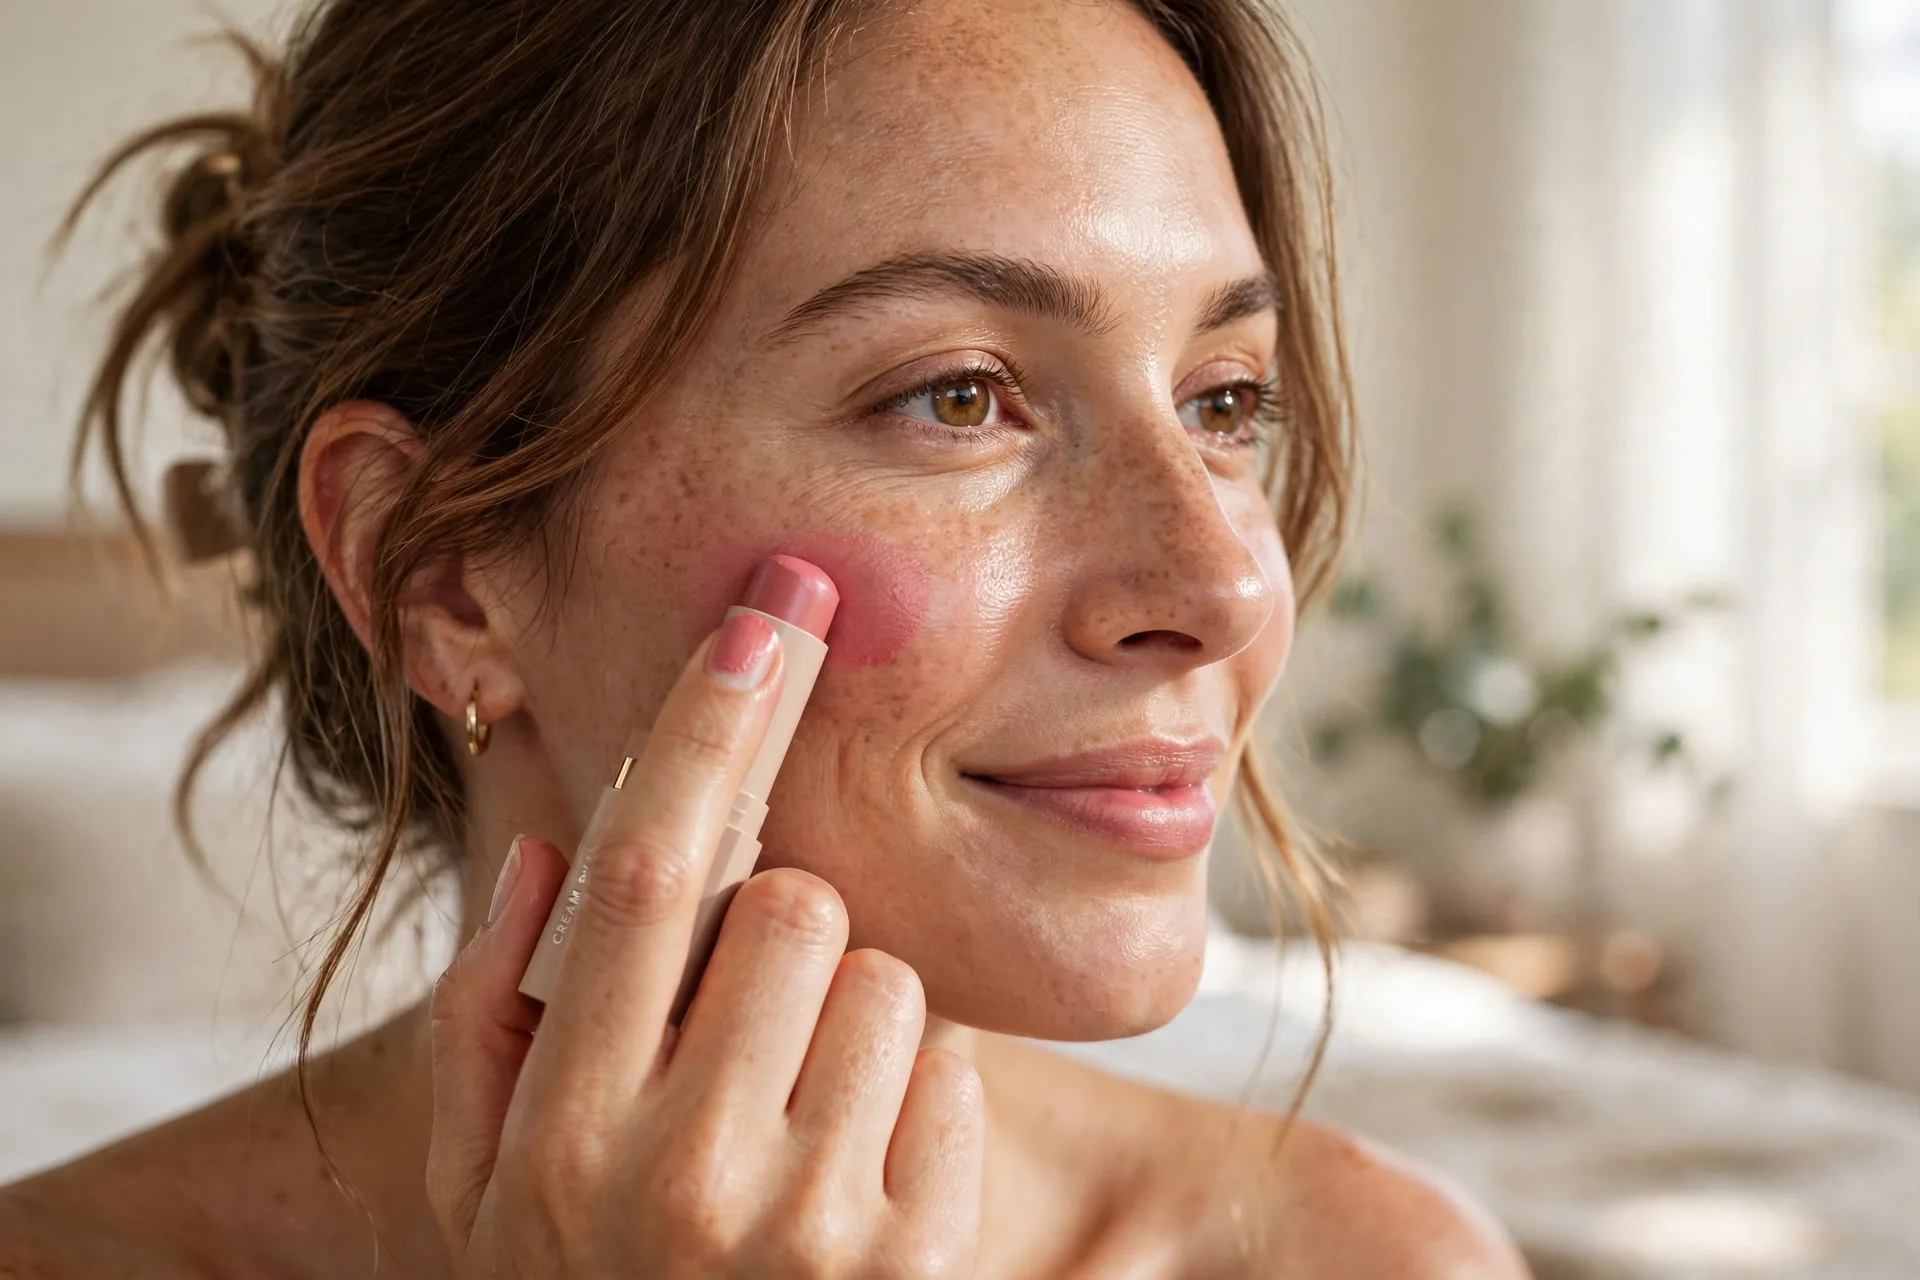
Cream blush applied with fingers — the fastest way to look alive.
Minutes 6–7: Brows — brush up and set
Groomed brows frame the whole face and take thirty seconds. The mistake is over-filling them. Just brush the hairs upward with a spoolie, and if you have sparse spots, fill them with tiny hair-like strokes using a brow pencil one shade lighter than your hair (darker shades look drawn-on at this distance).
Most days I just use a clear brow gel — Glossier Boy Brow in clear is the famous one, but any clear mascara-style gel works. Brush up, press into place, done. Tinted brow gel on days I need a little more definition. This one step makes me look more “done” than mascara ever does.
Minutes 7–8: Lash curler + one coat of brown mascara
Curl your lashes. This is the most underrated step in the entire routine. Curled bare lashes open up the eyes more than two coats of uncurled mascara ever will — the lashes lift away from the eye and catch light. Heat the curler under your hairdryer for three seconds first (test it on your wrist so it’s warm, not hot) and the curl actually lasts.
Then one thin coat of mascara — and here’s the key — in brown, not black. Black mascara is a dead giveaway that you’re wearing makeup; brown defines the lashes softly and looks like you just naturally have dark lashes. Maybelline Lash Sensational in brown is my ride-or-die. Wiggle at the roots, pull straight through, don’t do a second coat. Clumps are the enemy of “natural.”
Minutes 8–9: Tinted lip balm or lip oil
Nobody’s natural lips are one flat color, so a tinted balm brings them back to life without looking “done.” I swipe a tinted lip oil — something like the e.l.f. Glow Reviver or Rare Beauty Soft Pinch Tinted Lip Oil — right down the center of the lips and press them together. It gives that just-bitten, hydrated look.
Skin-tone nudes are the safe zone, but a sheer berry is even better for making teeth look whiter and the whole face look brighter. Avoid anything matte or opaque — gloss and sheer tints are what read as “natural” here.
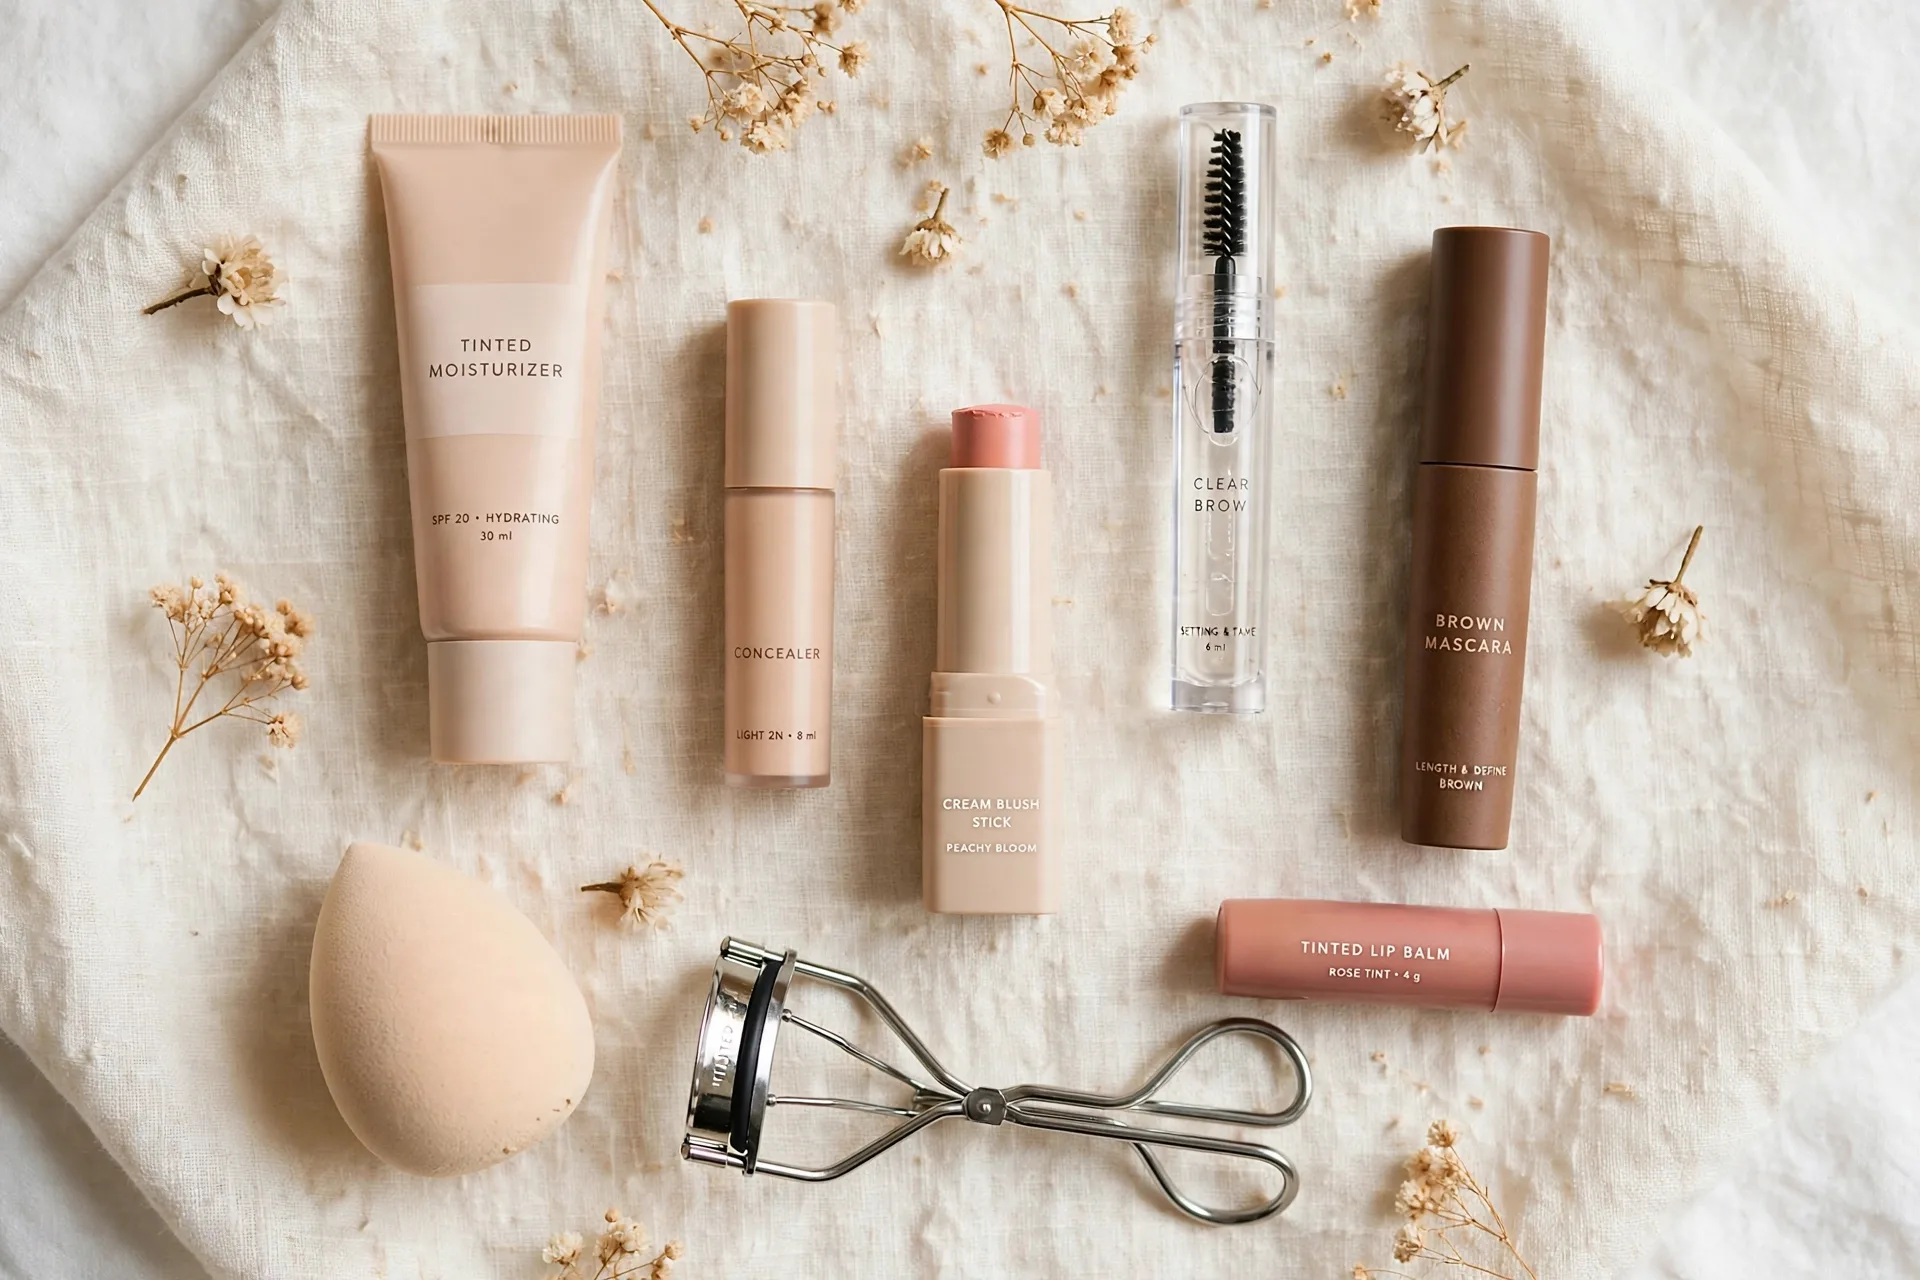
The whole routine fits in one hand — this is everything you need.
Minute 9–10: Optional set, then walk away
If your skin runs oily, press a tiny amount of translucent powder just on the T-zone with your fingers — skipping the cheeks keeps the glow alive. Then stop. Walk away from the mirror. The urge to “fix one more thing” is how ten minutes becomes twenty-five.
Common Mistakes That Ruin the Illusion
I’ve made every single one of these, some of them this week.
Using too much product
The number one killer. Two pumps of tinted moisturizer instead of one, a thick line of concealer, three swipes of blush — each one is fine alone, but together they stack into a visible layer. When in doubt, use half of what you think you need. You can always add; you can’t un-add in a rush.
Skipping the skin prep
I tried doing this routine on un-moisturized skin once during a rushed morning and looked like I was wearing a dusty mask by noon. Hydrated skin is non-negotiable. If you have thirty seconds, it’s moisturizer — everything else is optional.
Black eyeliner and black mascara
Both scream “I’m wearing makeup.” If you can’t live without eyeliner, tightline with a brown pencil — fill in right at the lash roots so there’s no visible line, just the illusion of denser lashes. It takes twenty seconds and photographs beautifully.
Powder all over the face
Blanketing the face in setting powder kills the dewy finish that makes this look work. Powder only where you get shiny, nowhere else. Better yet, use a blotting paper midday and leave the morning glow alone.
Forgetting the neck
If your tinted product stops at the jawline and your neck is a different shade, the game is over. Sheer whatever’s left on your fingers down your neck and behind your ears. Takes five seconds.
Adapting the Routine for Your Skin
This routine isn’t one-size-fits-all, so here’s how I tweak it:
Oily skin: swap the moisturizer for a gel formula, use a mattifying primer just on the T-zone, and do use that translucent powder. The tinted moisturizer step stays — just pick an oil-free one. By midday, blot instead of re-powdering to keep it from caking.
Dry skin: this routine was made for you, honestly. Layer a hydrating serum under your moisturizer, and consider a dewy primer. Skip powder entirely. Your skin type gets the glow for free.
Mature skin: the lighter the better — heavy product settles into fine lines and announces itself. Sheer tint, cream everything (cream blush, cream concealer), and curl those lashes. Cream formulas move with the skin instead of cracking on it.
Dark circles that won’t quit: color correct before concealing. A peach-toned corrector neutralizes blue/purple circles so you need half the concealer on top. This is the single technique that made my under-eyes look like I sleep eight hours when I absolutely do not.
The 7 Products I’d Actually Buy (Drugstore to Mid-Range)
People always ask for a shopping list, so here’s what I’d buy if I were starting from zero today — no hundred-dollar serums required:
- Tinted moisturizer: Maybelline Fit Me Tinted Moisturizer (drugstore) or e.l.f. Halo Glow Liquid Filter (a little more, worth it)
- Concealer: Maybelline Instant Age Rewind — thin, blendable, doesn’t crease
- Cream blush: e.l.f. Camo Liquid Blush or Rare Beauty Soft Pinch
- Brow gel: any clear brow gel — Glossier Boy Brow if you’re treating yourself
- Lash curler: the cheap metal one works fine, honestly
- Brown mascara: Maybelline Lash Sensational in brown
- Tinted lip oil: e.l.f. Glow Reviver or a drugstore tinted balm
Total damage: roughly the price of one dinner out, and all of it lasts months because you’re using so little each day.
Final Thoughts
The funny thing about the no-makeup makeup look is that it took me years of wearing too much makeup to learn how to wear almost none of it. The secret was never a magic product. It was learning that skin prep does the heavy lifting, that blush does the emotional labor, and that brown mascara is the closest thing to a cheat code that exists in a makeup bag.
Give it a try tomorrow morning. Ten minutes, fingers only, walk away from the mirror. I have a feeling someone will ask you what glow stuff you’re using — and you get to smile and say “nothing much.”



Pingback: Black Friday Beauty Deals Worth Buying (And the Traps to Skip)
Pingback: Everyday Winged Eyeliner Tutorial for Hooded Eyes (5-Minute Method That Actually Works)